
Beastmaster Bestiary Locations and Summary — Dawntrail 7.56
On this page, we cover the locations for every wild beast obtainable by Beastmaster, their abilities and traits in Final Fantasy XIV: Dawntrail (Patch 7.56).
Introduction
Capturing and training beasts is the core progression system for Beastmaster.
Beastmaster weakens wild creatures in combat and then uses
 Capture to take them. Successfully captured
beasts are recorded in your Master's Bestiary.
You can capture up to 50 different beasts in total. Each beast provides its own set of actions and a passive auto-attack element, making your choice of beast important for specific encounters.
How to Capture Beasts
The capture process works as follows:
- Find the beast you want. You must be at or above its level to capture it, and this is checked against the specific enemy you are hitting rather than the species, so a lower level spawn of the same creature is fair game.
- Engage it and get its HP as low as you can. Capture rate scales with missing health, so aim for under 10%, or under 5% on anything tanky.
- Use
 Capture. It deals damage of its own, and since
its potency is the same as your opening combo action you can simply spam it as
your filler while you whittle the target down.
- If successful, the beast is added to your Master's Bestiary.

What Actually Affects Your Odds
A handful of important factors influence your odds at capturing a beast.
- Level sync does not matter. Running a dungeon unsynced has no effect on capture rate. What matters is the target's HP when you last applied Capture.
- You need your own buff. Capture is personal, so you need the green buff on yourself and the red mark on the target. Another Beastmaster applying theirs does not overwrite or block yours even though it may visually look like it on the debuff bar.
- Everyone can capture the same enemy at once. This is the big one. Parties do not need to take turns, and entire alliances have landed a Behemoth capture off a single kill.
- Timing is forgiving. As long as you press Capture before the enemy dies, it counts, even if you do not see it apply, and even if you are dead when it dies.
- Beast HP. The lower the HP, the higher your chances but, this does not necessarily guarantee you will catch your beast.
The one thing that will ruin a group's day is somebody doing too much damage. If a max level player bursts the target down, only their party tends to get the capture. In an alliance raid, have the high level players disengage entirely and let the Beastmasters do the last stretch.
Beast Sizes
Beasts come in three sizes: small, medium, and large. This is purely visual. Size has no bearing on a beast's actions, stats or how it behaves in combat, so bring whichever one you like the look of.
Beast Actions
Each captured beast has four actions:
 Trick (unlocked at level 8): The beast performs actions that
interact with the Instinctual Combo system.
 Tempered Release (unlocked at level 18): Beast-specific specialized
attacks or buffs.
 Borrow (unlocked at level 22): The Beastmaster draws power
from the beast to allow you to perform Kinship abilities.
 Parting Blow: A powerful area-of-effect attack with no
damage falloff. After using this, the beast leaves the field and that
battlehorn goes on cooldown.


Kinship Abilities
The third skill listed against each beast in the list below is its
kinship ability. These
are shared across an entire classification type rather than being unique
to one creature. There are only eight of them in total, one per kin, and
 Borrow is what lets you use one.
- Beastkin:
 Beastskin
- Vilekin:
 Vileskin
- Cloudkin:
 Cloud Skim
- Seedkin:
 Seedsower
- Wavekin:
 Quelling Wave
- Scalekin:
 Scaleskin
- Soulkin:
 Soul Crush
- Ashkin:
 Scouring Ash


In practice this means you should think about your three battlehorns as three kin types first, and three specific beasts second. For example, if you want an interrupt you need any Soulkin, not a Coblyn in particular, which gives you much more freedom than the bestiary makes it look.
Assigning Beasts
You assign your captured beasts to three battlehorn slots. During combat you can summon one beast at a time and swap between your three assigned beasts as needed. Choosing which three beasts to bring and when to swap between them is an important part of Beastmaster gameplay.
Known Beasts
Listed below is a table of every unlockable beast, along with the level you need to be to capture it, where to find it, and the skills it brings. Remember that you must be at or above the enemy's level to capture it, so the level column is the gate rather than a suggestion.
Where the community has found an easier route to a beast than the one outlined in the bestiary, whether that is a FATE, a guildhest, a hunt mark, or simply buying it with gourds, I have noted it in the location column. Every beast tied to a duty can also be bought with gourds from the Crucible vendor, and the vendor's stock expands once you have cleared the second board of the Crucible of the Unbroken. A bad run of luck in a dungeon still gives you progress towards these.
| No. | Beast | Class | Lv. | Location | Skills |
|---|---|---|---|---|---|
| 1 |  Cu Sith |
Beastkin | 1 |
|
|
| 2 | 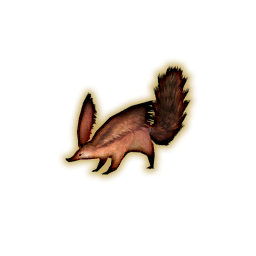 Squirrel |
Beastkin | 2 |
|
|
| 3 | 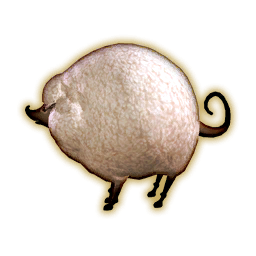 Lamb |
Beastkin | 2 |
|
|
| 4 | 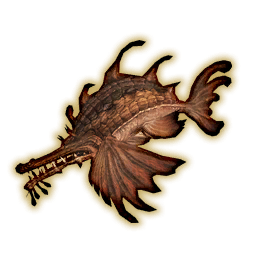 Pugil |
Wavekin | 6 |
|
|
| 5 | 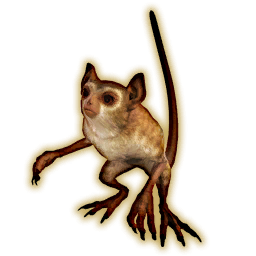 Opo-opo |
Beastkin | 4 |
|
|
| 6 | 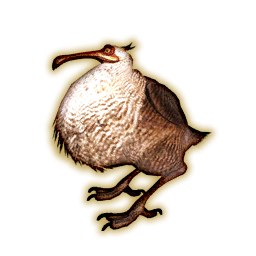 Dodo |
Cloudkin | 7 |
|
|
| 7 |  Coblyn |
Soulkin | 6 |
|
|
| 8 | 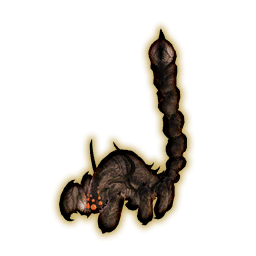 Diremite |
Vilekin | 10 |
|
|
| 9 | 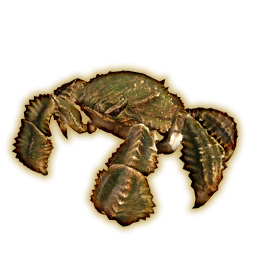 Megalocrab |
Wavekin | 10 |
|
|
| 10 | 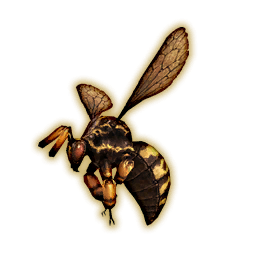 Wespe |
Vilekin | 10 |
|
|
| 11 | 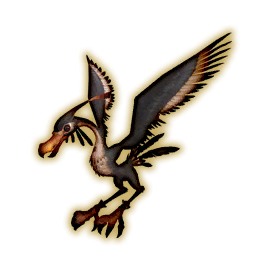 Vulture |
Cloudkin | 6 |
|
|
| 12 |  Mandragora |
Seedkin | 5 |
|
|
| 13 | 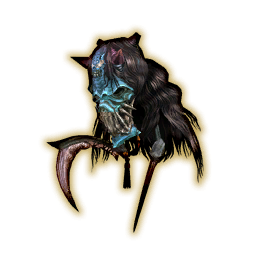 Geshunpest |
Ashkin | 14 |
|
|
| 14 | 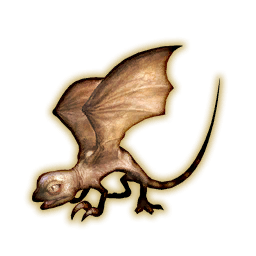 Puk |
Scalekin | 4 |
|
|
| 15 | 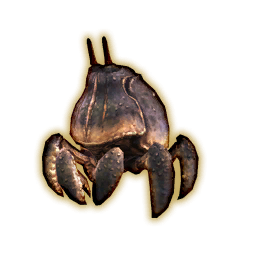 Crab |
Wavekin | 13 |
|
|
| 16 | 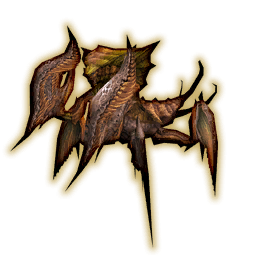 Mantis |
Vilekin | 16 |
The overworld spawns are heavily contested right now, so the dungeon is often faster. |
|
| 17 | 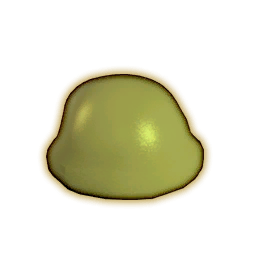 Slime |
Ashkin | 17 |
|
|
| 18 | 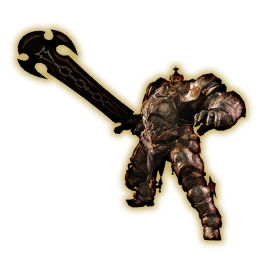 Dullahan |
Soulkin | 20 |
|
|
| 19 |  Bat |
Cloudkin | 7 |
|
|
| 20 | 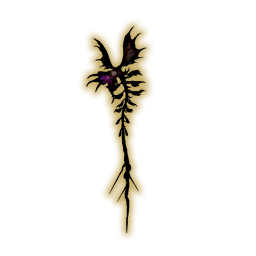 Flying Trap |
Seedkin | 10 |
|
|
| 21 | 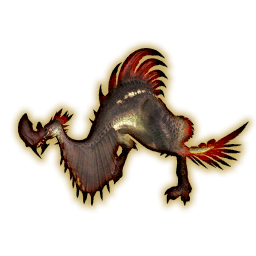 Ziz |
Scalekin | 16 |
|
|
| 22 |  Sabotender |
Seedkin | 3 |
|
|
| 23 | 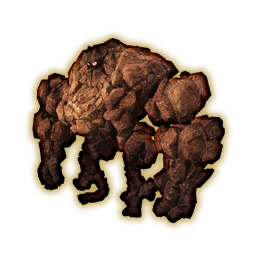 Golem |
Soulkin | 25 |
|
|
| 24 |  Apkallu |
Cloudkin | 30 |
|
|
| 25 | 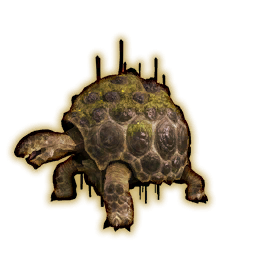 Adamantoise |
Scalekin | 12 |
Five spawns spread across the Spineless Basin. |
|
| 26 | 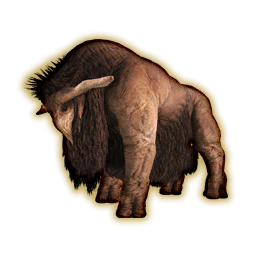 Buffalo |
Beastkin | 9 |
|
|
| 27 | 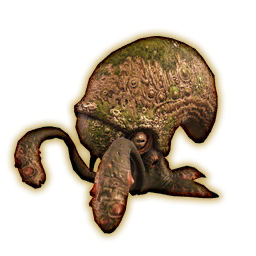 Uragnite |
Wavekin | 14 |
|
|
| 28 | 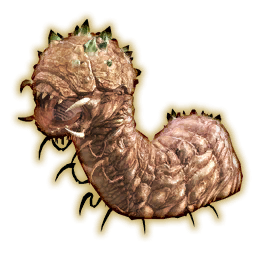 Worm |
Vilekin | 31 |
|
|
| 29 | 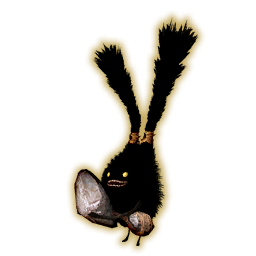 Spriggan |
Soulkin | 7 |
|
|
| 30 |  Goobbue |
Beastkin | 12 |
Spawns range from level 12 to 17 and are spread out, so the level 17 ones are the reliable pick. |
|
| 31 | 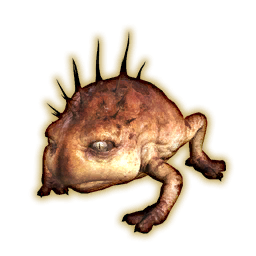 Gigantoad |
Wavekin | 4 |
|
|
| 32 | 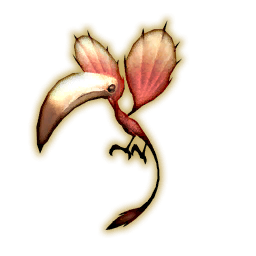 Colibri |
Cloudkin | 33 |
|
|
| 33 |  Coeurl |
Beastkin | 24 |
|
|
| 34 | 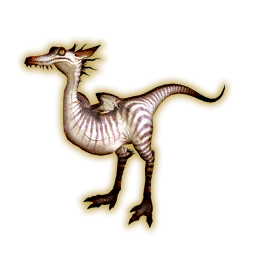 Raptor |
Scalekin | 3 |
|
|
| 35 | 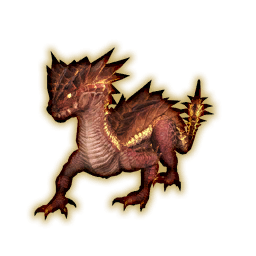 Drake |
Scalekin | 32 |
|
|
| 36 |  Treant |
Seedkin | 12 |
|
|
| 37 | 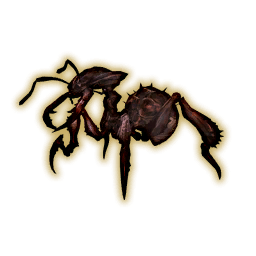 Antling |
Vilekin | 38 |
|
|
| 38 | 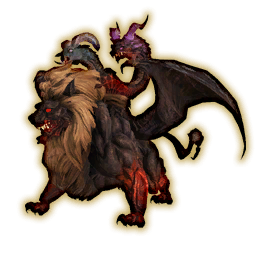 Chimera |
Beastkin | 38 |
|
|
| 39 |  Morbol |
Seedkin | 31 |
|
|
| 40 |  Ghost |
Ashkin | 7 |
|
|
| 41 | 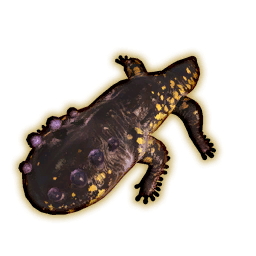 Salamander |
Wavekin | 6 |
|
|
| 42 | 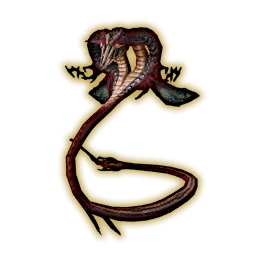 Cobra |
Scalekin | 20 |
|
|
| 43 | 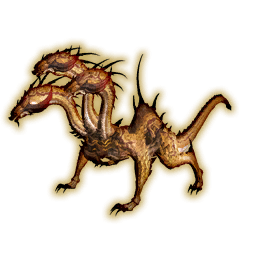 Hydra |
Scalekin | 50 |
|
|
| 44 | 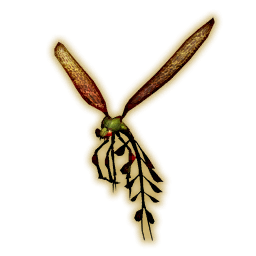 Damselfly |
Vilekin | 50 |
|
|
| 45 |  Rotting Goobbue |
Ashkin | 50 |
|
|
| 46 | 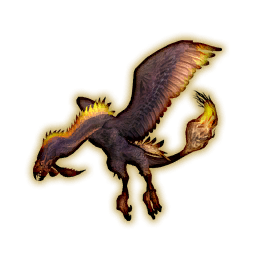 Zu |
Cloudkin | 50 |
|
|
| 47 | 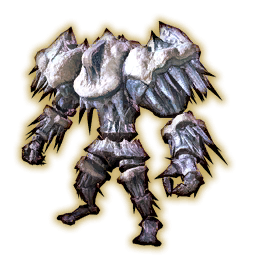 Ice Golem |
Soulkin | 50 |
|
|
| 48 |  Karlabos |
Wavekin | 50 |
|
|
| 49 | 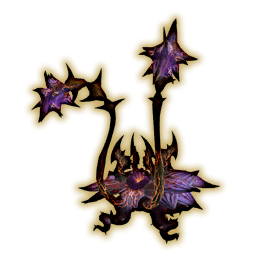 Rafflesia |
Seedkin | 50 |
|
|
| 50 | 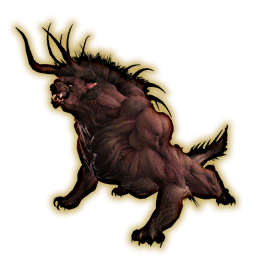 Behemoth |
Beastkin | 50 |
Have everyone stop attacking around 5% so the whole alliance can land a Capture. |
|


Changelog
- 10 Sep. 2026: Morbol corrected, Halitostropers can be tamed as well as Stropers.
- 09 Sep. 2026: Beast sizes clarified as visual only.
- 09 Sep. 2026: Capture mechanics corrected, kinship abilities added, beast table rebuilt with levels and multiple sources per beast.
- 08 Sep. 2026: Beast locations Added.
- 14 May 2026: Guide added.
Guides from Other Classes

This guide has been written by Liam Galt, who created the Blue Academy Youtube channel and Discord in response to the lack of consolidated and accurate Blue Mage resources available. Liam enjoys finding non-standard solutions to problems, so Blue Mage content with all of its zaniness is a natural interest! Outside of Blue Mage, he also enjoys Savage and Ultimate raiding which he streams on Twitch.
- Earn FFVII-Themed Prizes by Playing Keybound Brawler!
- Square Enix Announces Roland Bridge Cast FFXIV Edition Mixer
- FFXIV Tokyo Fan Fest Schedule Is Now Available!
- FFXIV Patch 7.57 Brings Crucible Rankings & Adjustments
- We Scare Grisly Bears: All Saints’ Wake Returns to FFXIV!
- Snag Nendoroid Haurchefant Before Pre-Orders Close!
- Rumble and Tumble to Victory: The Fall Guys Collab Returns!
- FFXIV Mobile Permanently Ceases Operations, What’s Next?