Cosmic Tools Relic Guide and Best Missions for FFXIV
Cosmic Tools are the newest Crafting and Gathering relics added in Dawntrail, read on to learn about these tools, their special effects as well as how to farm for Cosmic Tools.
What Are Cosmic Tools in FFXIV?
Cosmic Tools are the Crafting and Gathering relic tools available for Dawntrail. These tools are upgraded using content called Cosmic Exploration where these tools are upgraded over a range of stages to become some of the best tools in the game.
For players looking for information about the core mechanics of Cosmic Exploration such as how to unlock, rewards, or further information about game mechanics. Please read our guide!
How do i Unlock Cosmic Tools?
Cosmic Tools are simply given to you as soon as you enter Sinus Ardorum while unlocking the Cosmic Exploration. Your first tool is given to you from the questline however all other tools can be picked up for free by speaking to Researchingway in any of the 4 planets.
Cosmic Tools Have Special Effects
Cosmic Tools have special effects on them. These are:
- All: Completing a stellar mission from start to finish with this tool equipped grants a bonus to earned rewards. Region-specific Credit Bonuses: +35%
- Crafting: Increases to quality are 1.75 times higher than normal when material condition is Good.
- Miner/Botanist: Increases the chance to trigger Collector's Intuition by 20% when gathering collectables.
- Fishing: Has a chance to reduce the GP cost of Powerful Hookset and Precision Hookset by 50%. (Chance is around 10-15%)
Are Cosmic Tools Worth Using?
The Cosmic Tools currently go up to i780. Cosmic Tools have increased stats, no meld slots but do already have a meld worth of CP added onto them.
These tools are the best tools available bosting better stats on top of their unique effects compared to pentamelded crafted tools.
For further information such as meld adjustments from crafted tools check out our melding guides!
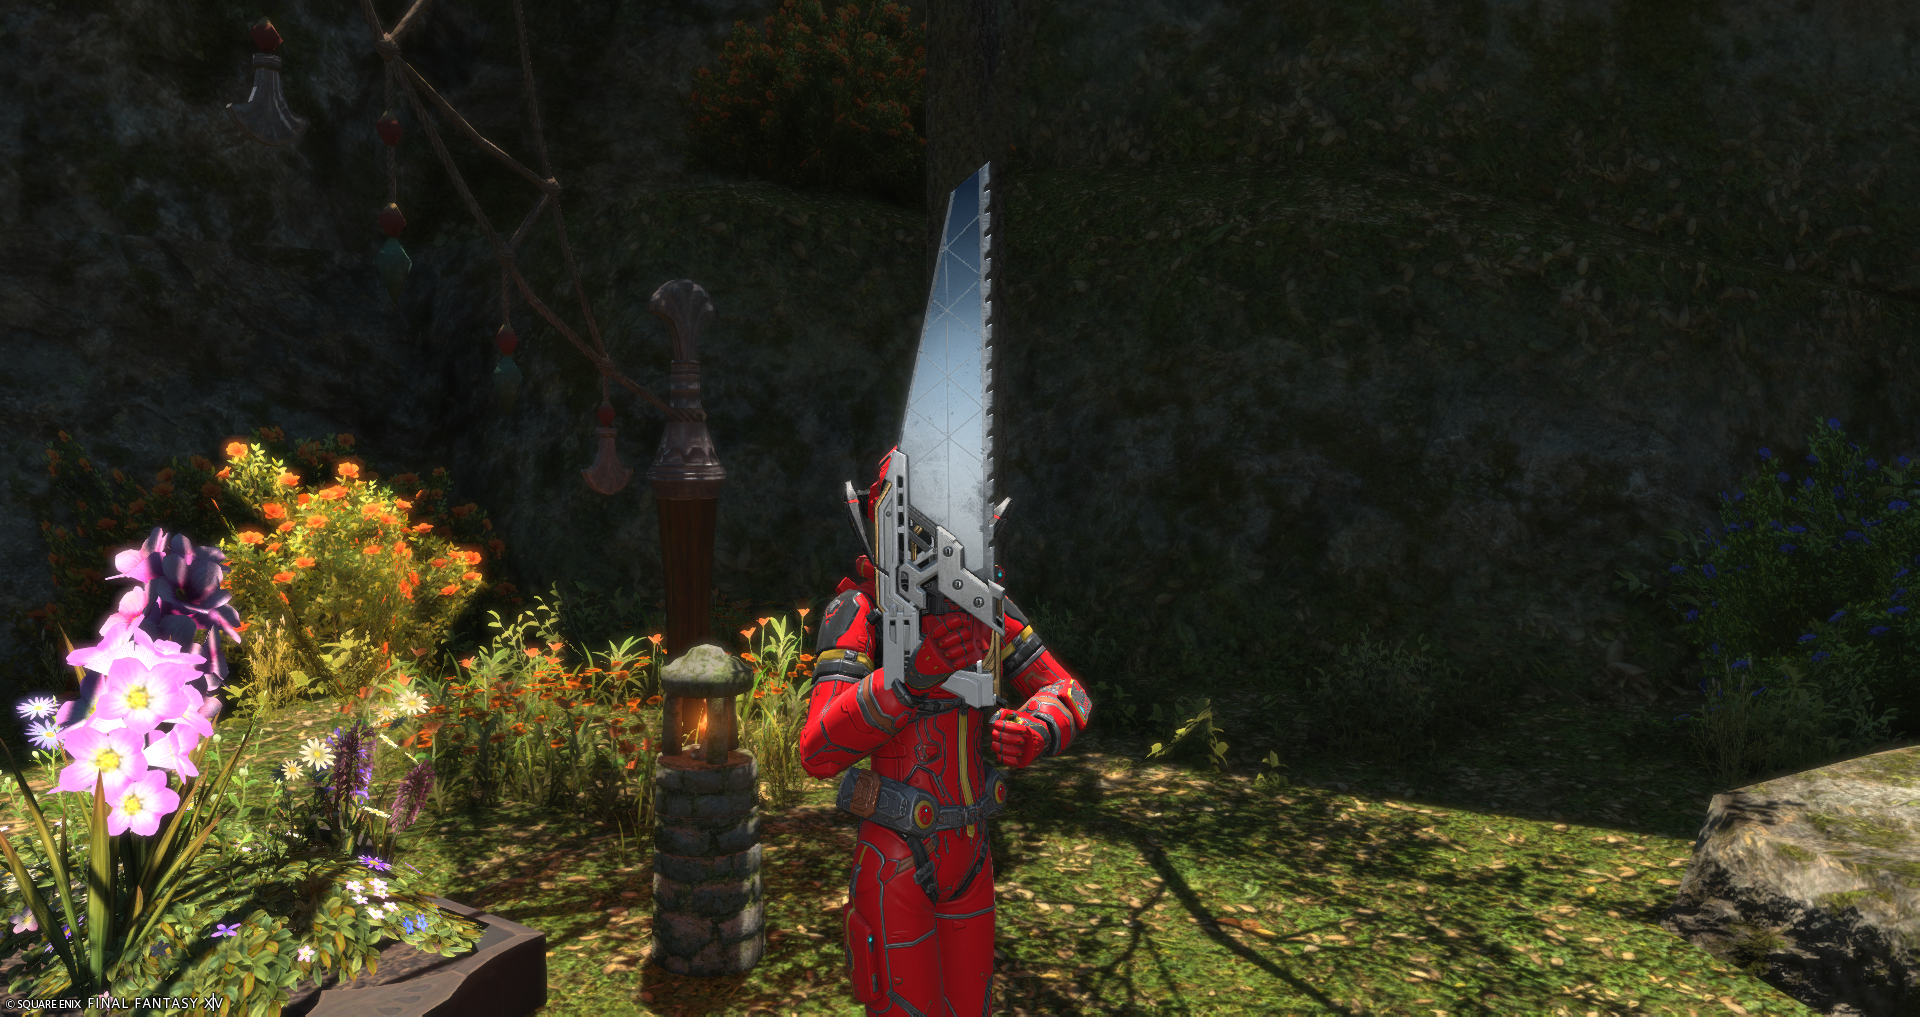
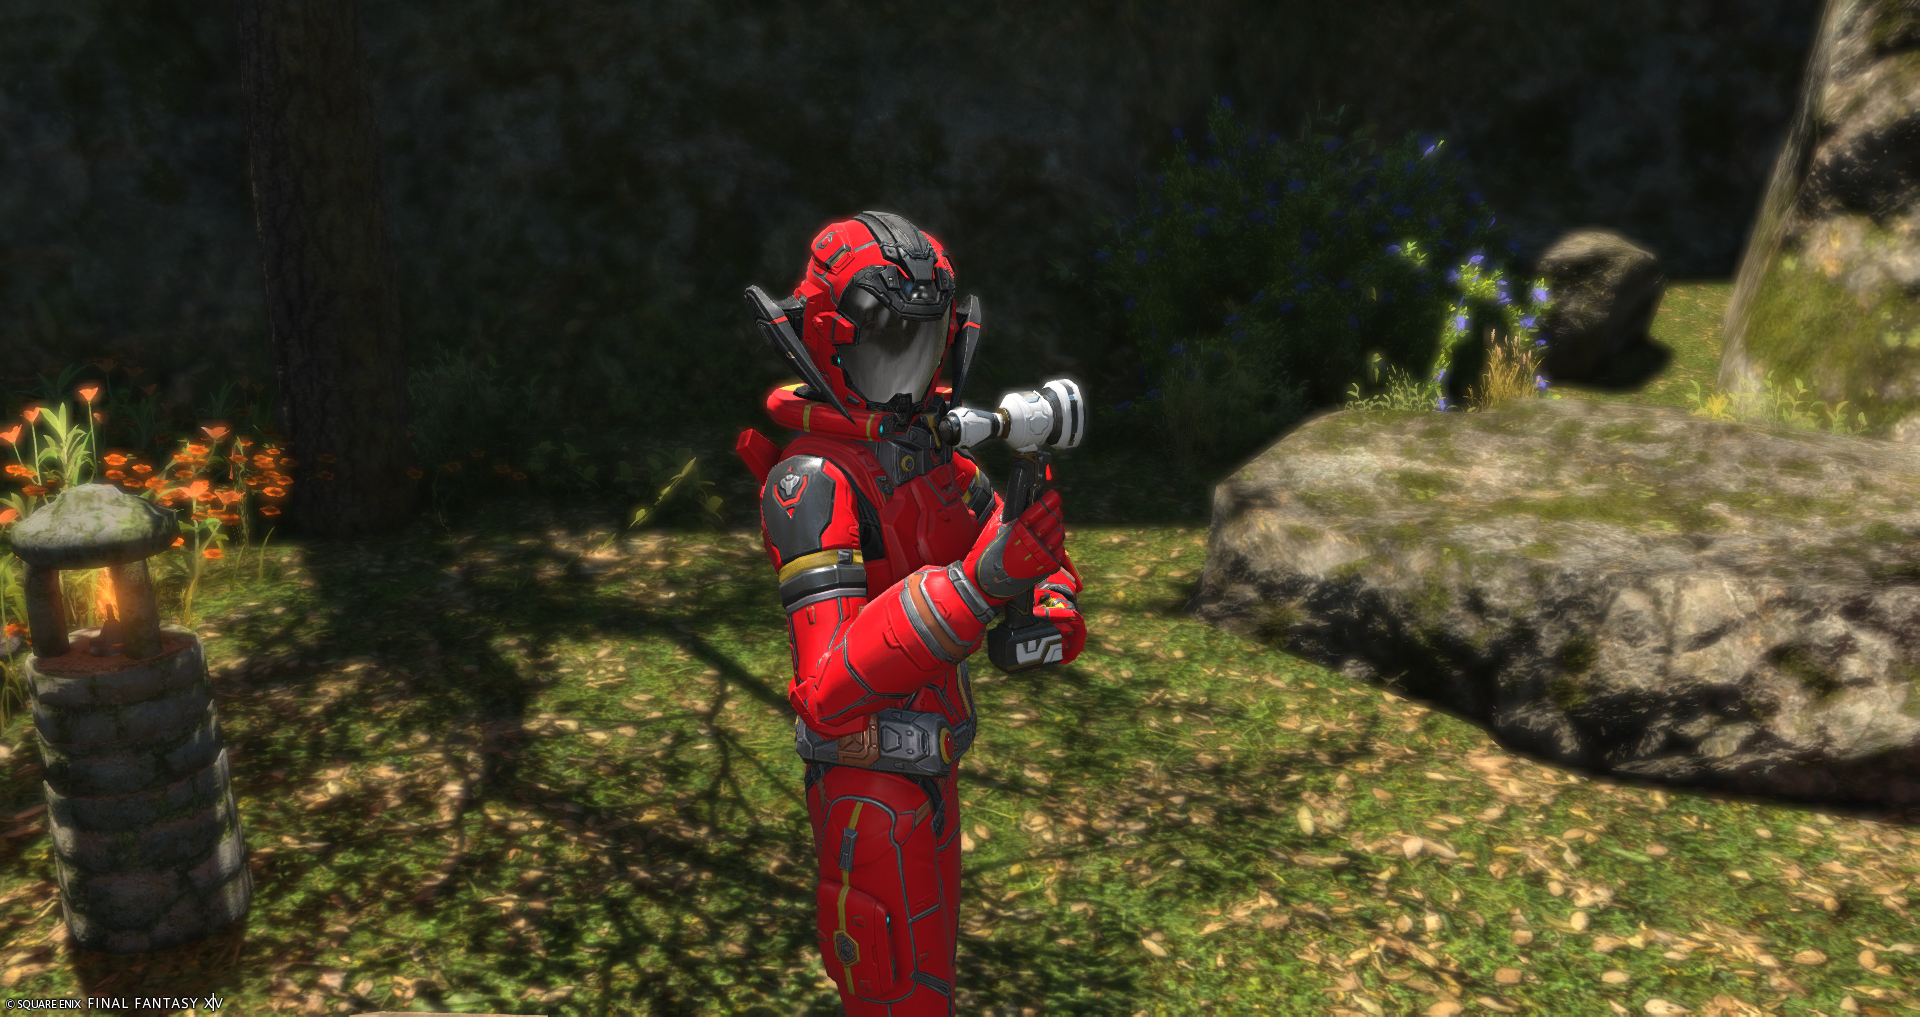
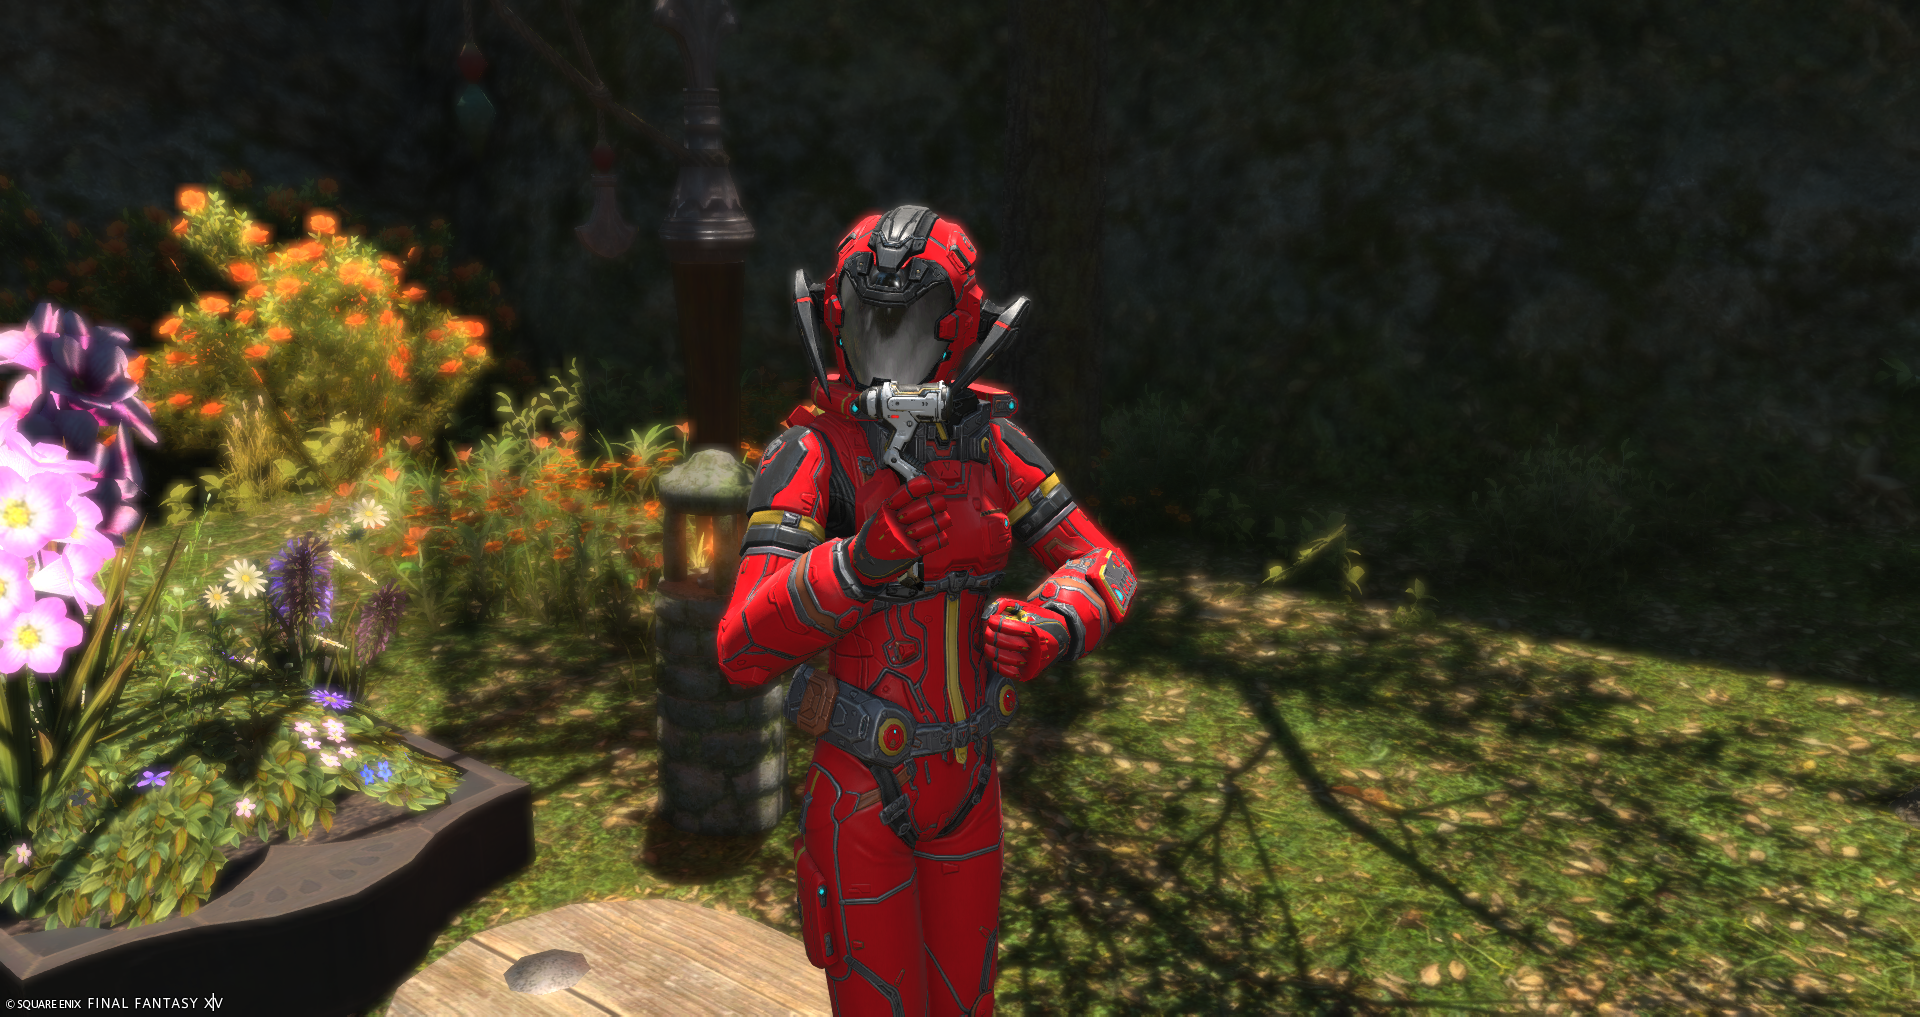
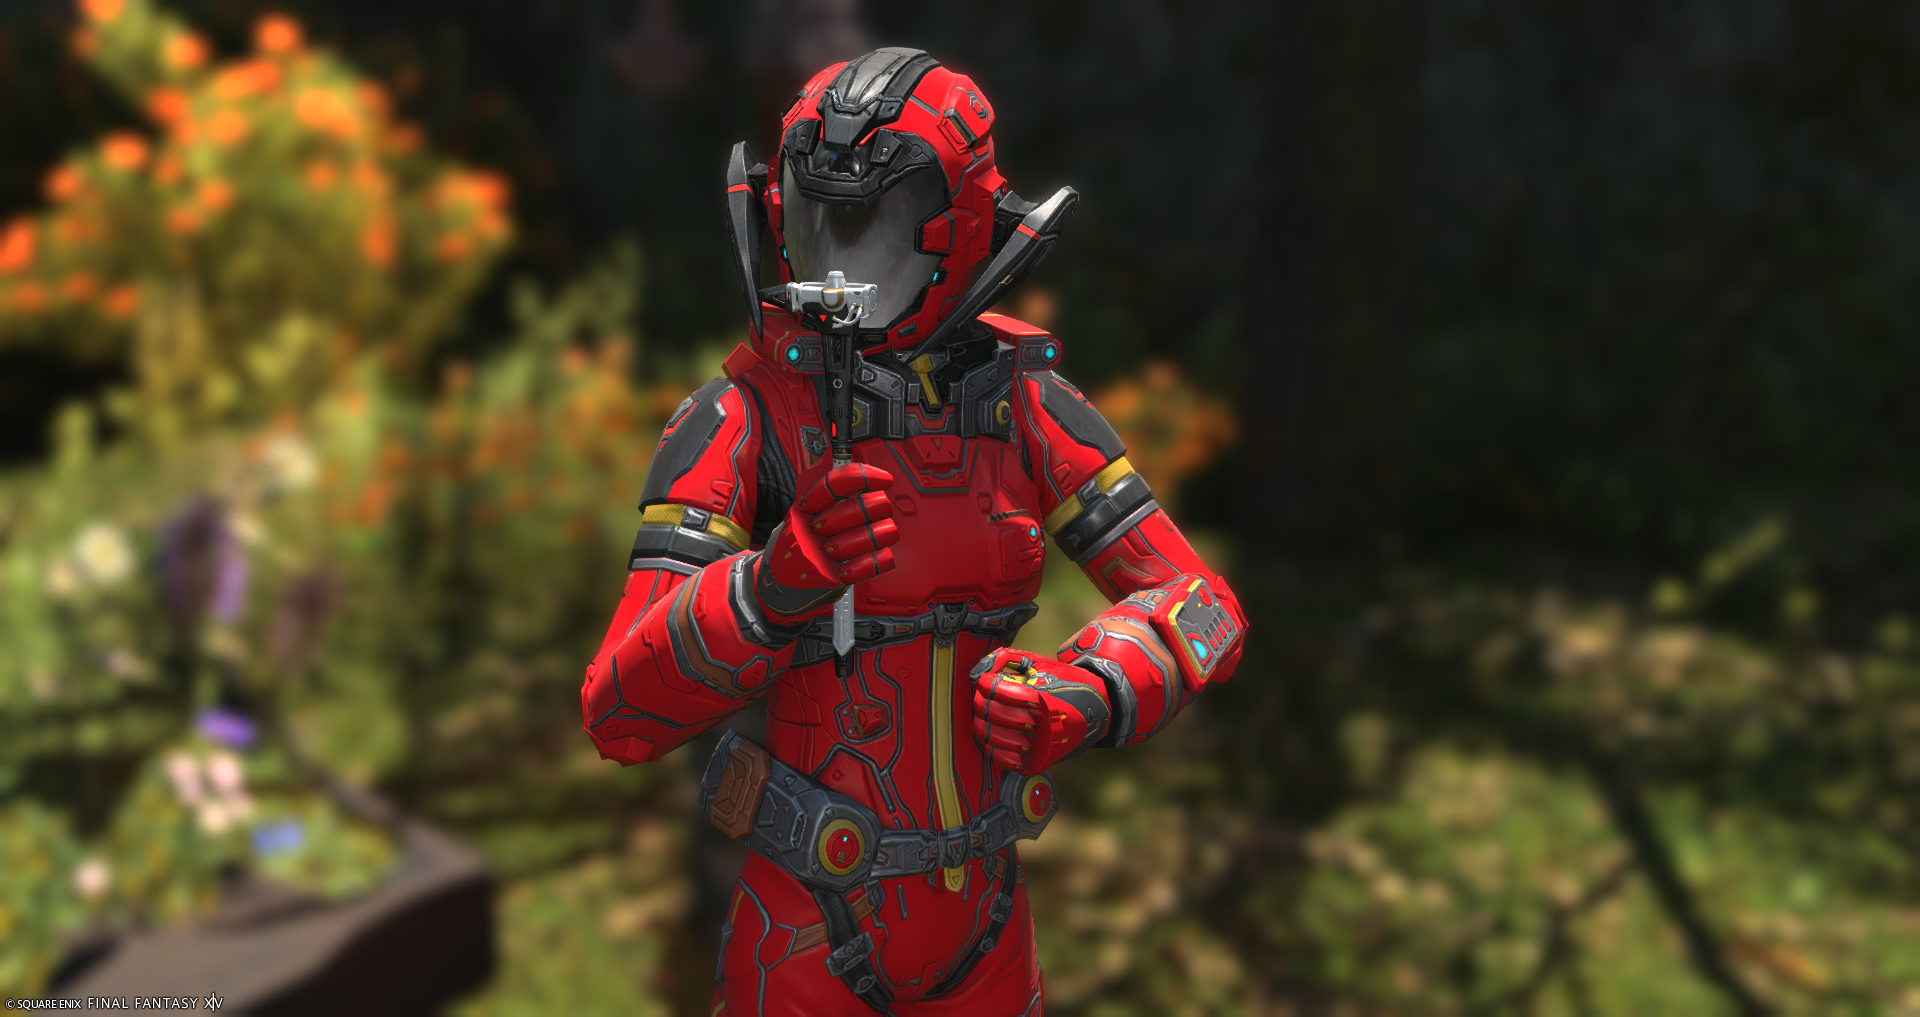
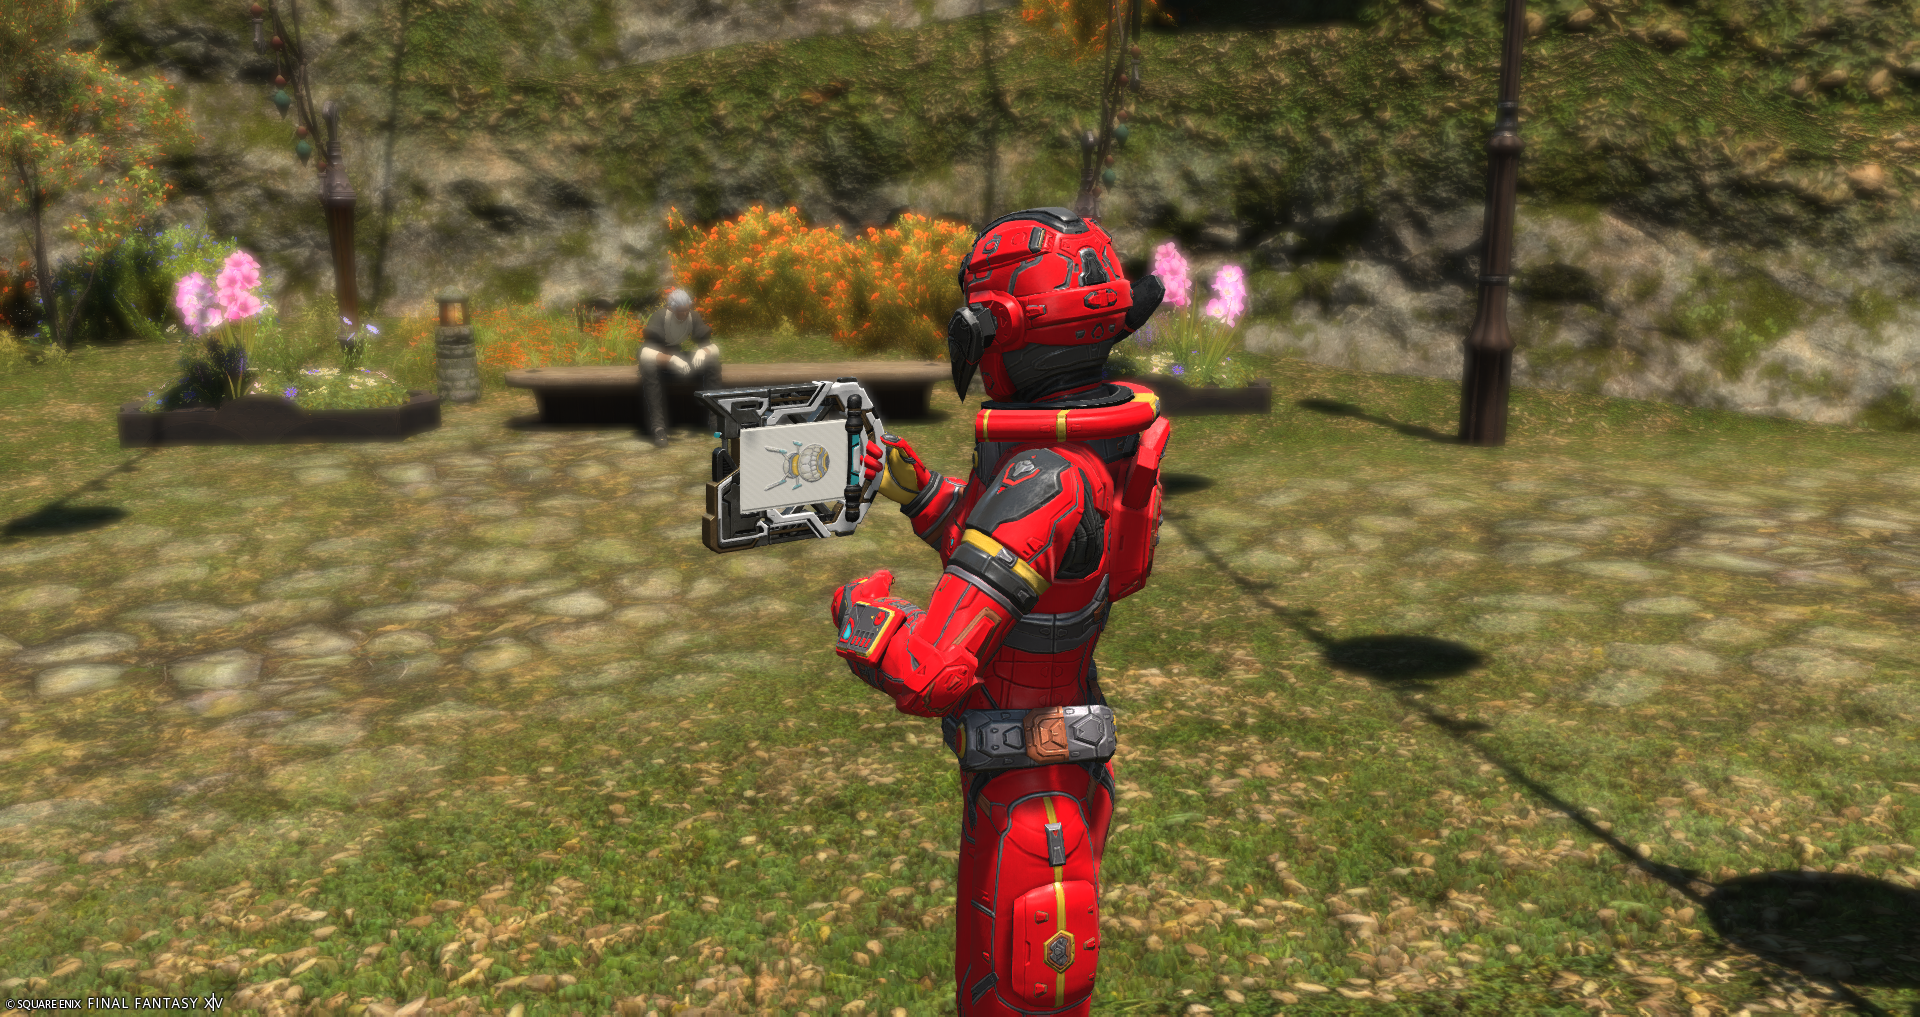
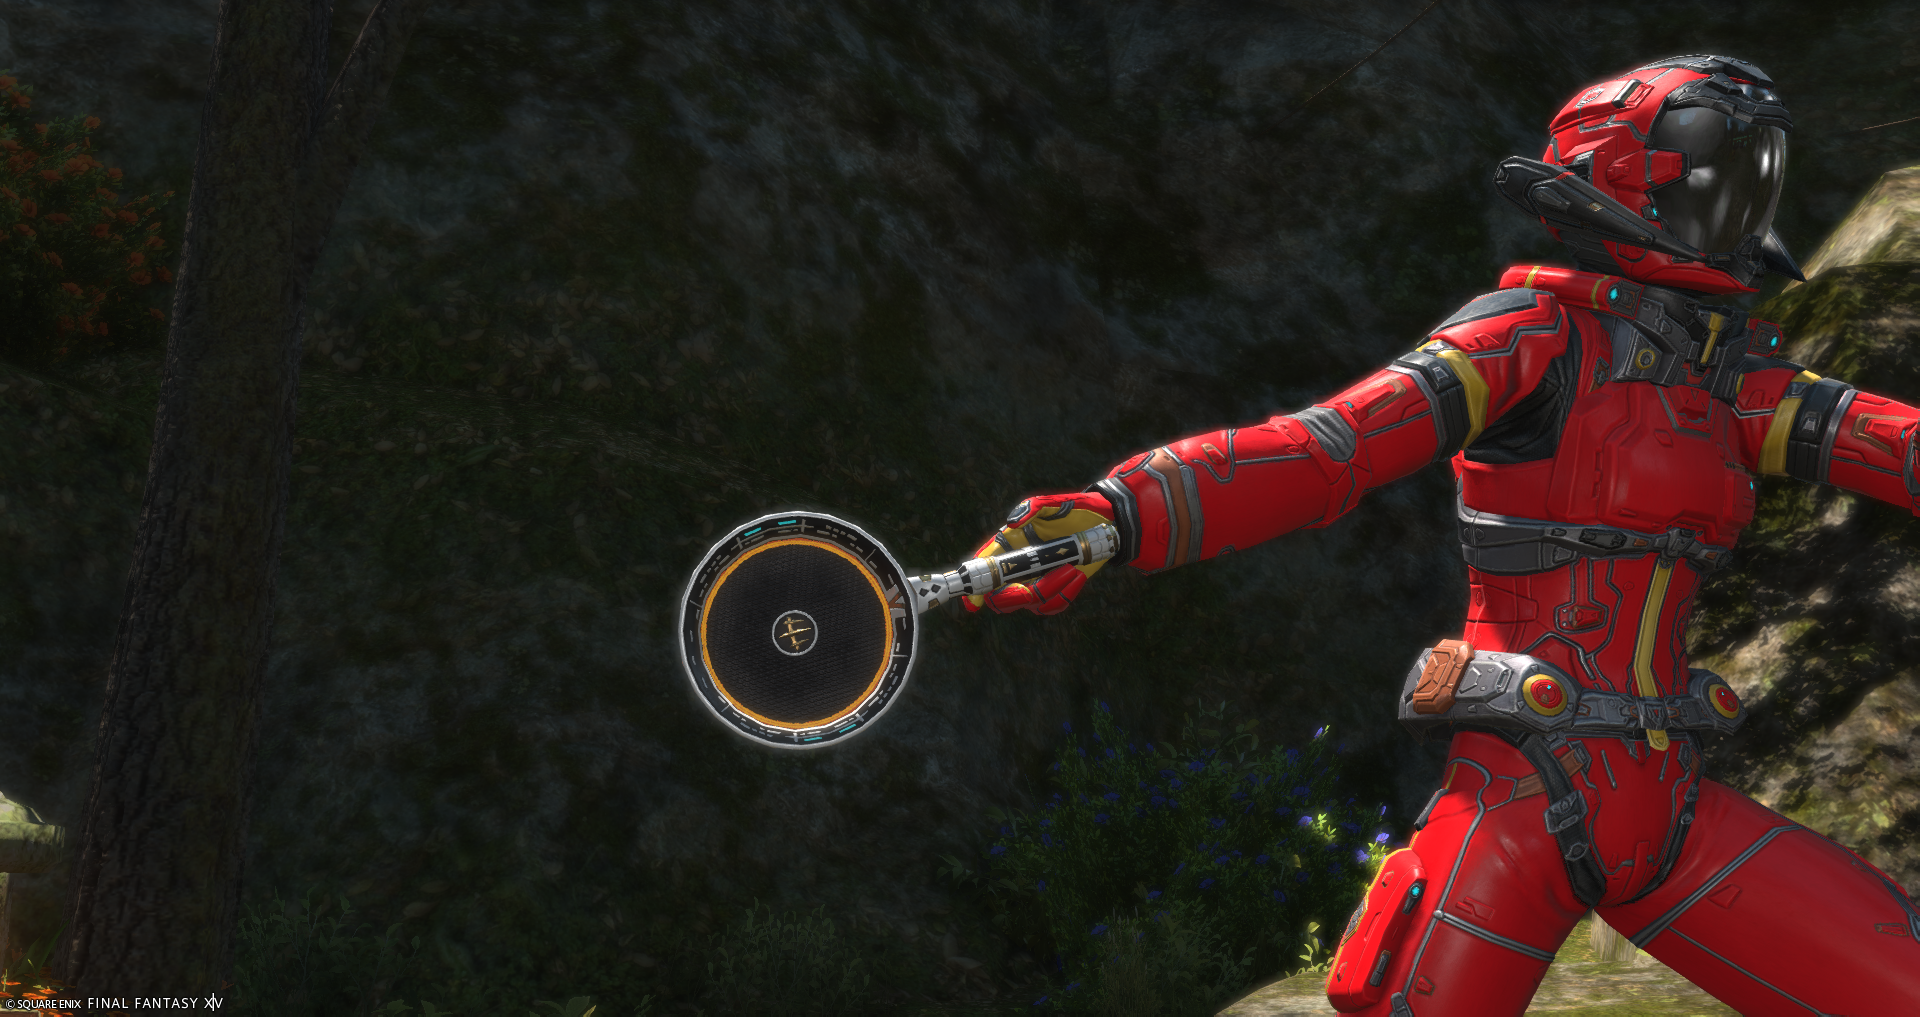
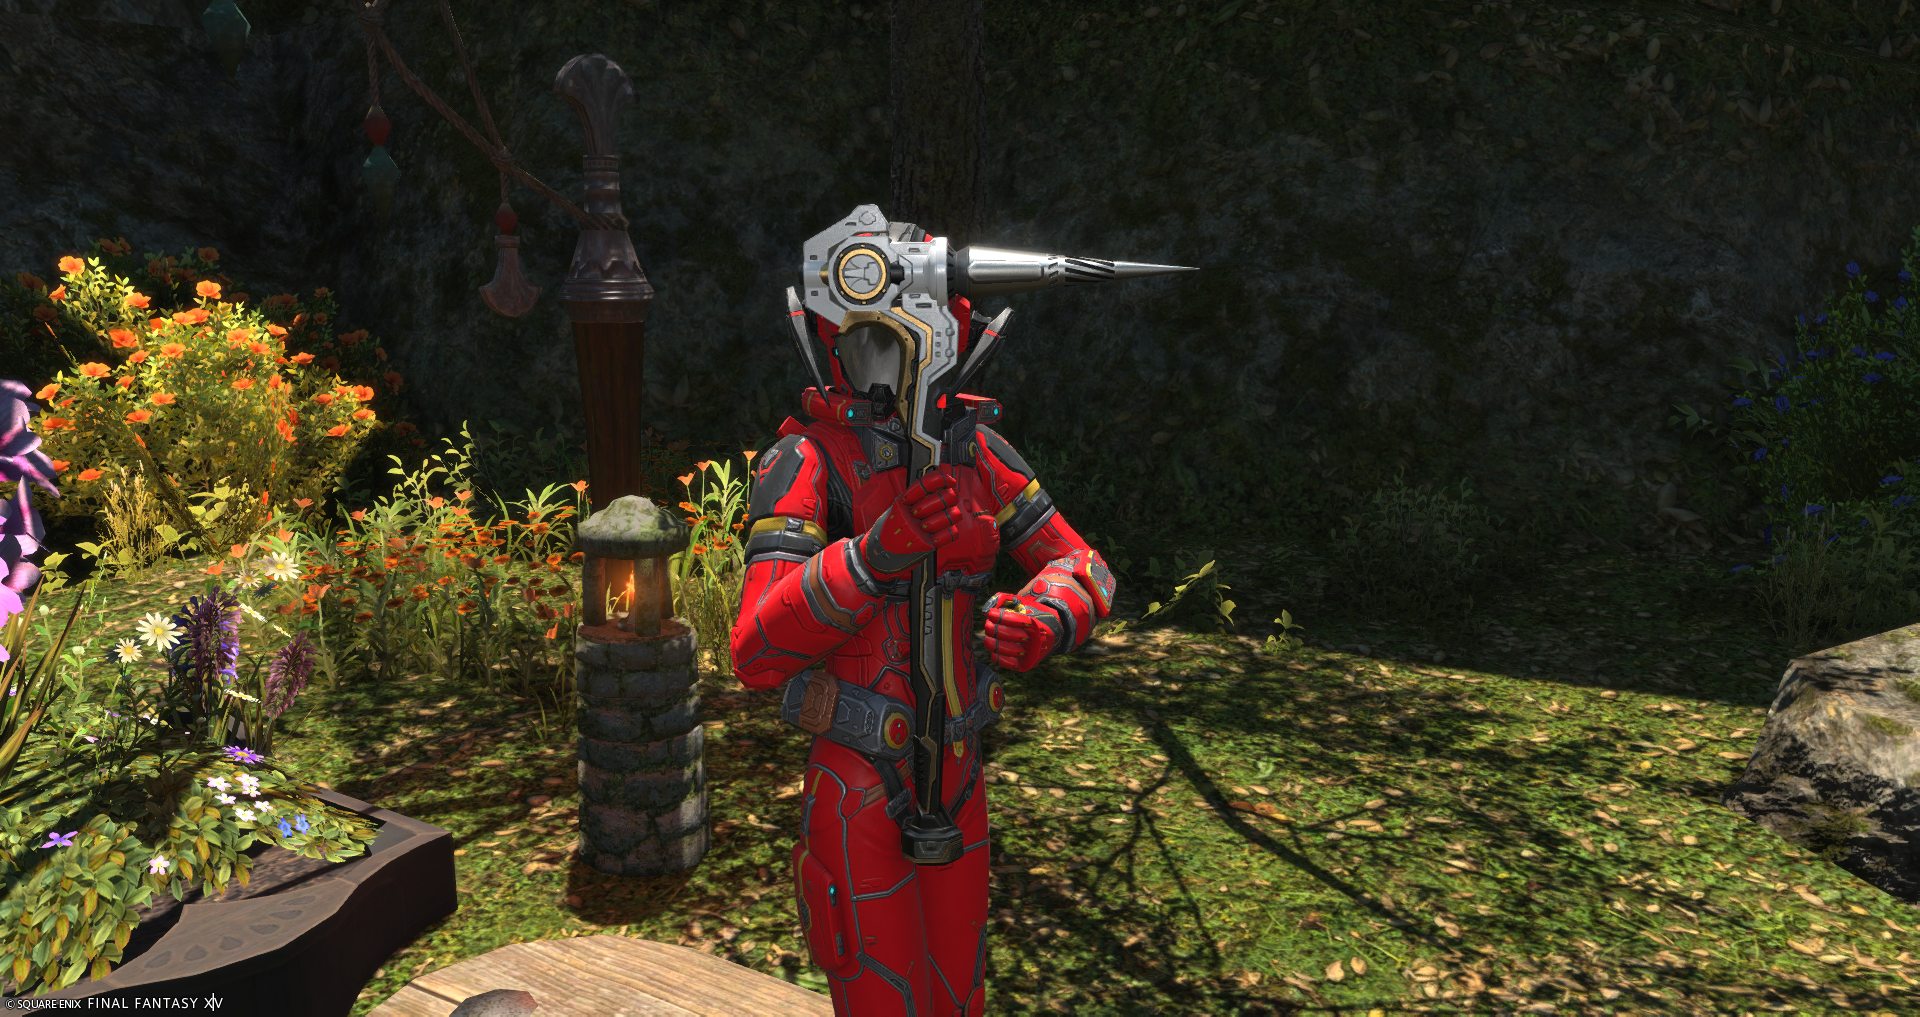
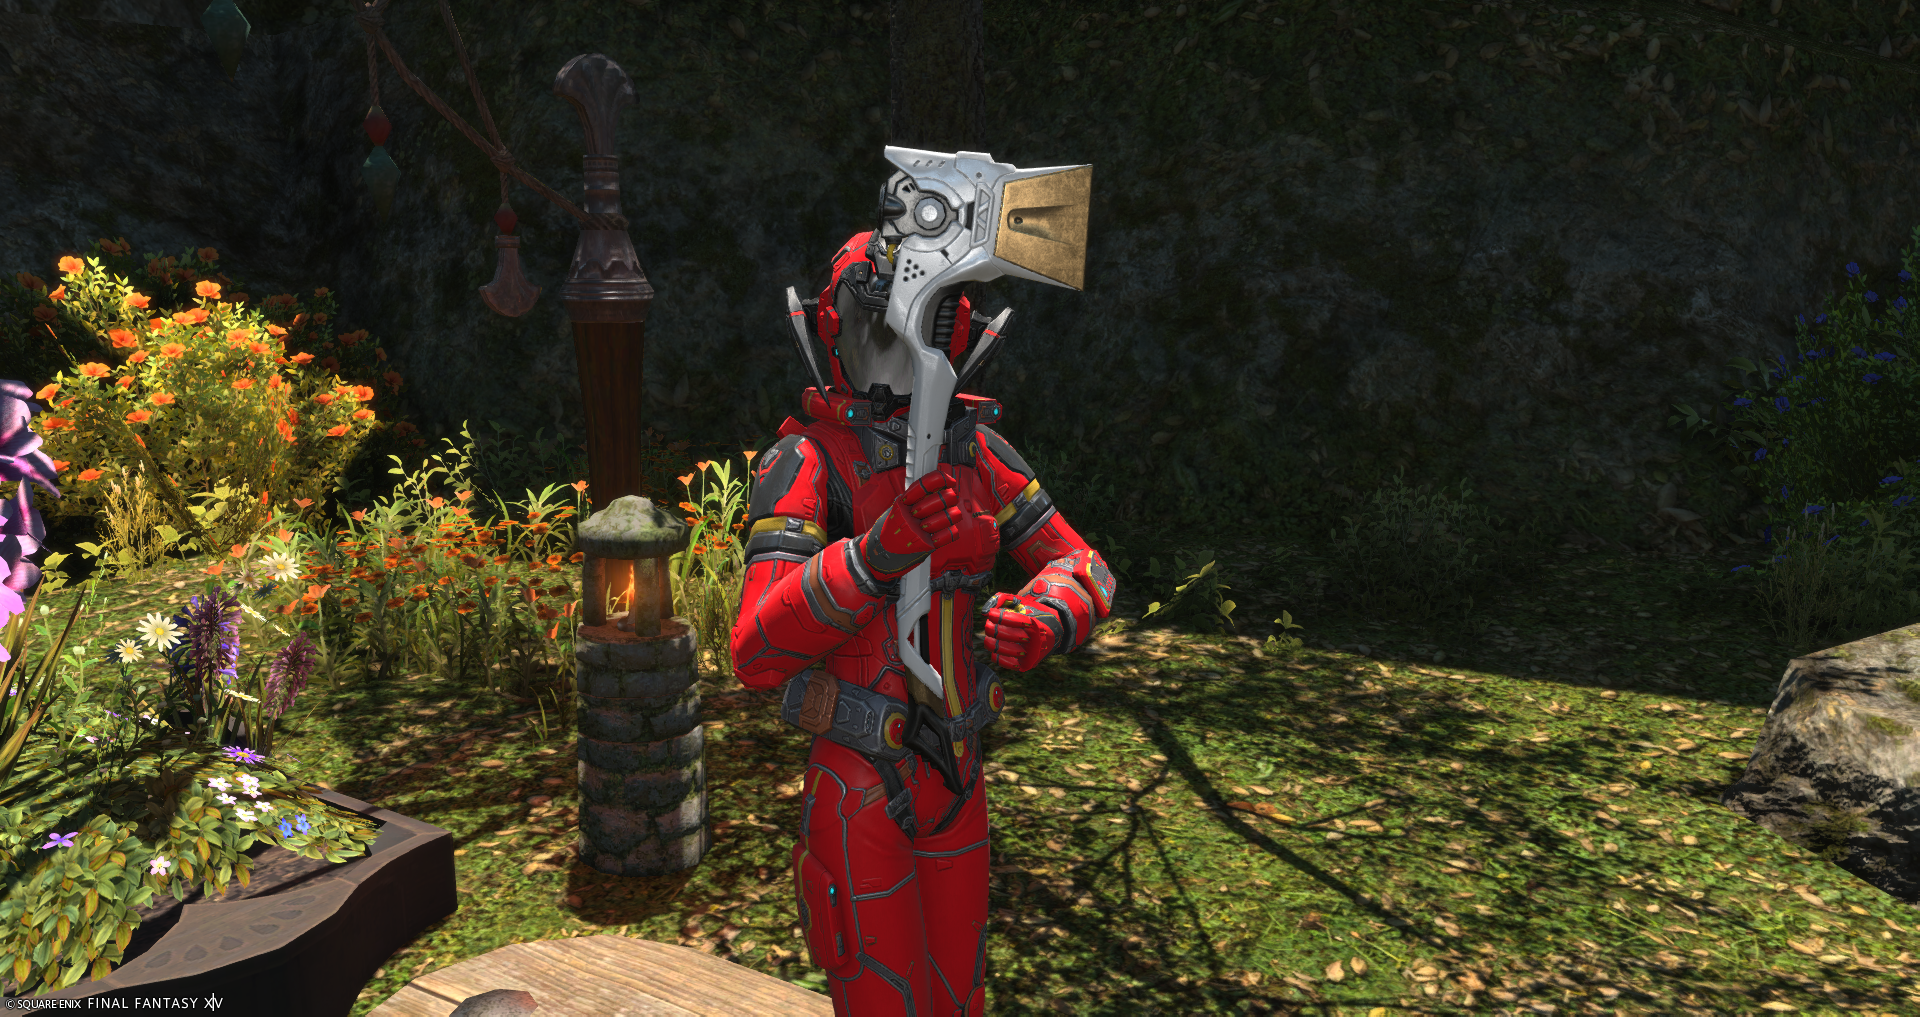
Gallery of All Cosmic Tools for Crafting and Gathering
Featured below is a gallery of the first and third stages of the Cosmic Tools which offer unique styles for this relic.
Cosmic Saw
Cosmic Cross-pein Hammer
Cosmic Raising Hammer
Cosmic Mallet
Cosmic Round Knife

Cosmic Needle
Cosmic Alembic

Cosmic Frypan
Cosmic Pickaxe
Cosmic Hatchet
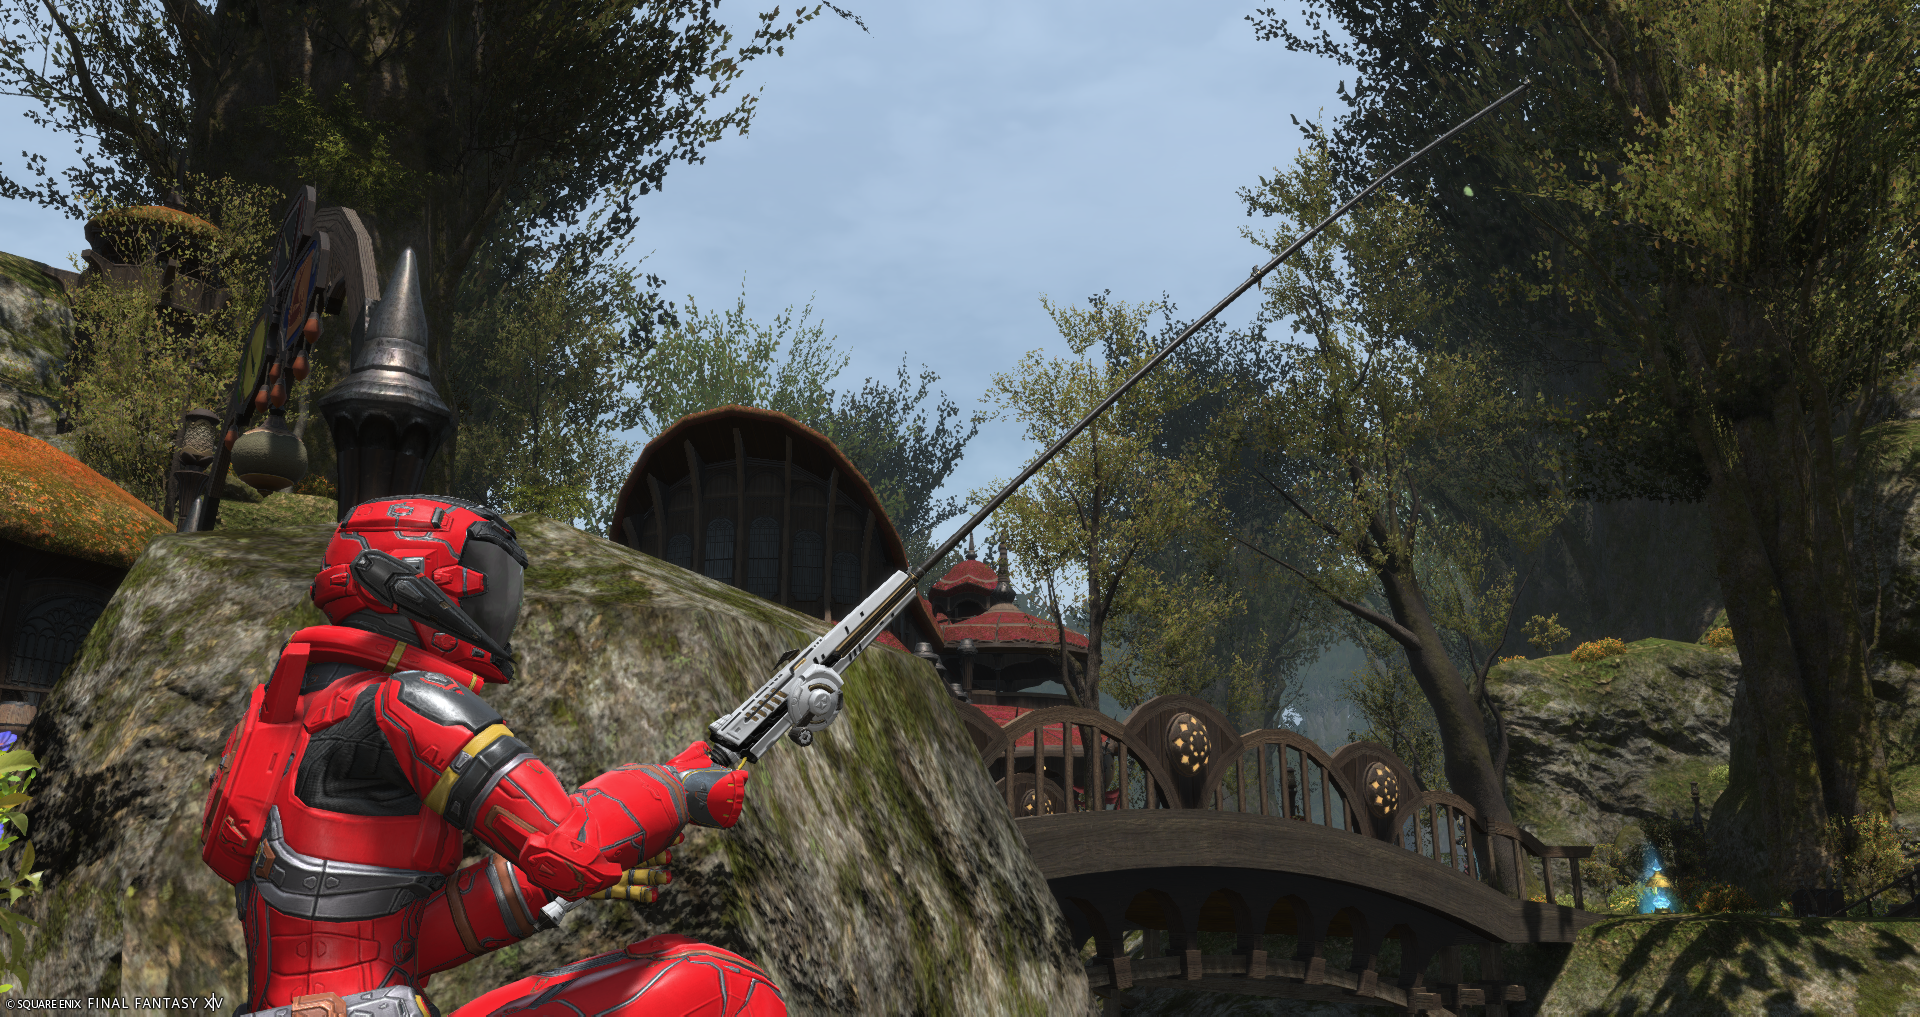
Cosmic Fishing Rod
Cosmic Saw

Cosmic Cross-pein Hammer

Cosmic Raising Hammer

Cosmic Mallet

Cosmic Round Knife

Cosmic Needle

Cosmic Alembic

Cosmic Frypan

Cosmic Pickaxe

Cosmic Hatchet

Cosmic Fishing Rod

Saw of Stars

Cross-pein Hammer of Stars

Raising Hammer of Stars

Mallet of Stars

Round Knife of Stars

Needle of Stars

Alembic of Stars

Frypan of Stars

Pickaxe of Stars

Hatchet of stars

Fishing Rod of Stars

How to Gain Data to Upgrade your Cosmic Tools
Upgrading your Cosmic Tools is simple, simply obtain Data which comes in multiple (numbered) types. Data comes from Stellar Missions and completing them will grant you progress towards your current tool!
Every Mission inside the Cosmic Exploration has set data that it can grant you. But when you gain either a Gold or a Silver rating on the mission, you will gain a 5x or 4x multiplier to the respective rewards. Critical Missions do not give you any multipliers however.
A few tools exist to help you know what missions are efficient as well as knowing further information about the mission types. I would suggest checking out:
- Crafting Spreadsheet with data, macros and relative efficiency
- Gathering Spreadsheet for Breakpoints and Score efficiency
- Fishing Spreadsheet with Hole Data
Ultimately however, simply picking missions with data you need will allow you to make progress fast. The harder missions/expert crafts often give more data but may not be something you can macro so what’s best can depend on your personal preference.
What Planet is Best to Farm Cosmic Tools?
Generally speaking, the most recent planet Auxesia is the best planet to grind for your relic, granting data at lower classes of missions and often a higher overall total of data. No progress needs to be made on earlier planets and you can skip straight to Auxesia after completing the quest chain.
That being said, if you did not partake in the 3 planets before Auxesia, there are rewards you may want to grind out on those old planets such as glamour, mounts and minions.
Data Requirements for Each Level
Each upgrade of your Cosmic Tool requires you to gain a lot of data of varying types. Starting with rank I data and then progressing into II, III and so on. As you progress multiple data types are also required. You do not need the relic equipped while you farm data!
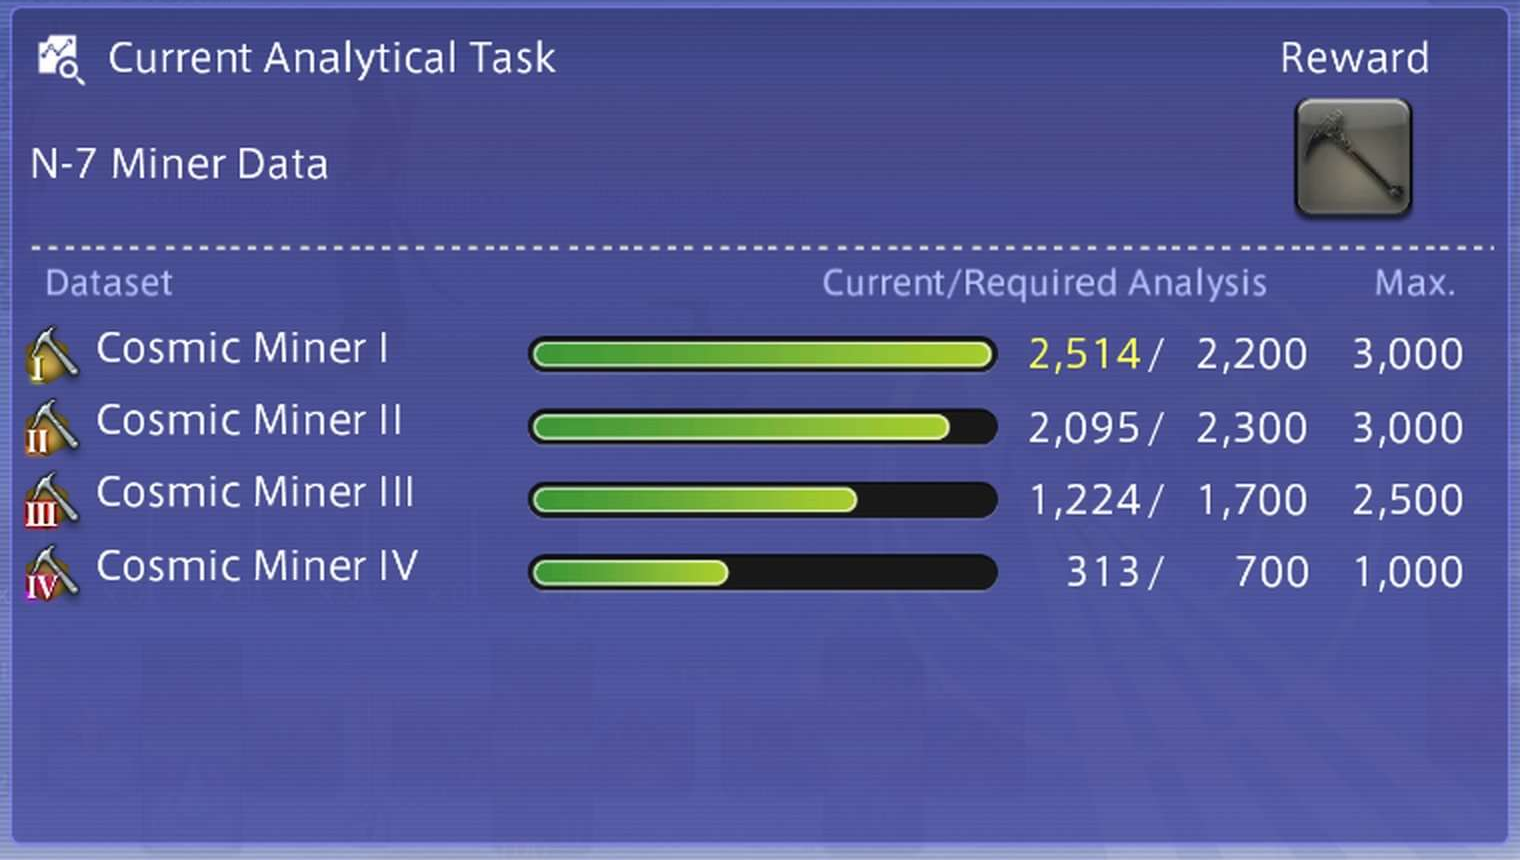
The great thing is though, your current data (Analysis) does not reset when you upgrade! Furthermore, the more relics you complete, the faster your data acquisition becomes.
Data Bonus for Completing Relics
As you complete more relics, you begin to gain a buff that makes the next relics much easier to obtain. This starts at +50% and ends at 150%. This is indicated by new text appearing in your Cosmic Research menu.

| Relic Tools | Increased Data Acquisition |
|---|---|
| 1-2 | +50% |
| 3-4 | +100% |
| 5-11 | +150% |
This means that you want to always finish a Tool Analysis stage for one
class before moving onto another so that you can gain the Increased Data Acquisition buff.
There are multiple "stages" of Tool Analysis with ![]() Novice,
Novice,
![]() Intermediate,
Intermediate,
![]() Advanced and
Advanced and
![]() Expert.
Expert.
You cannot 'lose' the buff if you upgrade a tool to further stages so feel free to either get each class to Novie > the Intermediate and so on, or do one tool to Expert at a time. Either works and takes the same amount of time.
Unlocking and Upgrading the Tool as a Low Level Player
If you are a player who is either new to the game or simply new to Crafting and Gathering. This relic starts at level 10 alongside you and can be upgraded further as you continue leveling.
If you are leveling you do not need to worry about being optimal with regards to progressing the relic. Faster leveling involves you NQ'ing the crafts to hit bronze tier and spamming missions faster over aiming for gold to get more data.
Upgrading Your Cosmic Tool
Listed below is each stage of the Cosmic Tool and the Data requirements for that stage. With the addition of Oizys, the grind has become much simpler. Several data types are now available in lower classes and their overall values have been increased, alongside less missions meaning less annoyance with picking a specific mission.
Two-Table Layout
| Tool | v0.2 | v0.3 | v0.4 | v0.5 | v0.6 | v0.7 | v0.8 | Cosmic | v1.1 | v1.2 | v1.3 | v1.4 | Stellar |
| Type I | 200 | 500 | 700 | 1000 | 1300 | 1700 | 2200 | 2800 | 3000 | 3450 | 3900 | 4300 | 4700 |
| Type II | 300 | 800 | 1200 | 1700 | 2300 | 2900 | 3000 | 3400 | 3800 | 4300 | 4700 | ||
| Type III | 500 | 1100 | 1700 | 2300 | 3000 | 3250 | 3650 | 4150 | 4700 | ||||
| Type IV | 700 | 1500 | 2000 | 2250 | 2650 | 3200 | 4000 | ||||||
| Type V | 100 | 400 | 900 | 1500 | |||||||||
| Type VI | |||||||||||||
| Type VII | |||||||||||||
| Tool | v1.1 | v1.2 | Hyper | v1.1 | v1.2 | Star |
| Type I | 5500 | 6300 | 7100 | 7900 | 8700 | 9500 |
| Type II | 5500 | 6300 | 7100 | 7900 | 8700 | 9500 |
| Type III | 5500 | 6300 | 7100 | 7900 | 8700 | 9500 |
| Type IV | 4300 | 5500 | 7100 | 7900 | 8700 | 9500 |
| Type V | 1800 | 2550 | 3150 | 3950 | 4750 | 5600 |
| Type VI | 600 | 1600 | 1900 | 2300 | 2700 | |
| Type VII | 600 | 1600 | ||||
For details on the Stellar Missions available and all their rewards. The consolegameswiki provides a detailed list of Stellar Missions for example Auxesia Miner.
General Mission Advice
Listed below is some general Mission Recommendations for Class A Cosmic Missions that cover all data types needed. That being said, the best missions for you specifically will change depending on what data you require. You should also not farm the more difficult/slower missions if they take longer giving you less data overall, so no EX+'s unless your confident you can reliably clear them quickly.
Mission farming can be summarised as:
- Novice: Class D/C Missions
- Intermediate: Class C/B Missions
- Advanced: Class B/A Missions
- Expert: Class A Missions
Crafting:
For Crafting, we recommend the first 3 missions present in the mission log on each craft. Each gives data VII but with the first mission giving I/II, the second giving III/IV and the third giving V/VI allowing you to very easily have an even distribution.
| Data I/II | Data III/IV | Data V/VI | |
|---|---|---|---|
| Carpenter | Additional Enhanced Rope | Reinforced Construction Material Replication | Alchemical Compound Development |
| Blacksmith | Improved Alloy Ingot Resupply | Aether Resistance Treatment (Platinum) | Advanced Forestry Equipment |
| Armorer | Improved Alloy Ingot Resupply | Aether Resistance Treatment (Platinum) | Advanced Forestry Equipment |
| Goldsmith | Improved Alloy Ingot Resupply | Aether Resistance Treatment (Platinum) | Advanced Forestry Equipment |
| Leatherworker | Additional Enhanced Rope | Reinforced Construction Material Replication | Alchemical Compound Development |
| Weaver | Additional Enhanced Rope | Reinforced Construction Material Replication | Alchemical Compound Development |
| Alchemist | Mineral Resource Development | Long-lasting Coolant | Loporrit Enrichment Research |
| Culinarian | Mineral Resource Development | Long-lasting Coolant | Loporrit Enrichment Research |
Miner/Botanist:
Mining and Botany can work the exact same way with each mission giving data VII and then there being 3 missions that provide the remaining 6 pieces of data. Unlike crafting, these are not the first 3 missions in the log as these missions instead give more points but focus more on collectables/reduction.
That being said, even if you do other missions all of the Class A missions are in the same location making distance not a problem. Opting to do missions at a lower class is another perfectly valid option but will require travel time.
| Data I/IV | Data II/V | Data III/VI | |
|---|---|---|---|
| Miner | Conductive Ore procurement | Multi-purpose Reductions | Precious Metal Reductions |
| Botanist | Conductive Fiber procurement | Multi-purpose Reductions | Resource Reductions for Research |
Fishing:
Unlike Miner and Botanist, Fisher will require more travel to reach different missions. They do also get the benefit of having missions in lower classes that give a large amount of points. Because there’s a much wider variety in options, i suggest the Fishing Spreadsheet with Hole Data so that you can view more information about each mission. That being said my recommendations otherwise are:
- (D) Timberpond Specimen Survey - Data I/II/III
- (C) Valuable Southern-central Specimens - Data I/II/IV
- (A) Aquatic Mechanism Distribution Survey - Data III/VI/VII
- (A) Aquatic Mechanism Operational Survey - Data V/VI/VII
Changelog
- 10 Jun. 2026: 7.51 Updates.
- 27 Jan. 2026: Guide updated for 7.41.
- 28 Apr. 2025: Guide updated for 7.31.
- 28 Apr. 2025: Guide added.
More FFXIV Content

This guide has been written by I'nanghal Shikhu (Discord - Shikhu). He is a Crafting & Gathering theorycrafter, mentor for The Balance and also a guide maker for Teamcraft alongside Icy Veins. He also managed to obtain 10 top 12's on the leaderboard during the Ishgard Restoration rankings.
- New Framer’s Kit With Return Of Breaking Brick Mountains
- Last Chance For THE PRIMALS x Download Festival T-Shirt!
- Team DN Claims #WorldFirst in FFXIV’s Dancing Mad!
- FFXIV Players Blown Away By Store Updates!
- Support #WorldFirst in FFXIV Dancing Mad Ultimate — Now Available!
- Calling FFXIV Fishers To Catch The Rainbow For Charity!
- Last Chance To Enter FFXIV x Jollibee Sweepstakes!
- The Senor Otters Make Their Grand Debut in FFXIV