Splendorous Tools Stage Five Guide for FFXIV
Splendorous tools fith upgrade transforms these tools into Vrandtic tools increasing their item level to i635 with a new model. This guide will explain how best to upgrade your relics with rotations and gathering advice.
Vrandtic Relic Crafting and Gathering Tools in FFXIV
To continue after stage 4 you need to begin with a small quest from Godbert in the Crystarium (X: 10.5, Y: 7.7) called Dance Like Mowen is Watching . Once that quest is completed, you can continue with Chora-Zoi with the quest A Tool for the Ages.
As with the previous stages, by speaking to Quinnana in The Crystarium(X: 10.4, Y: 7.8) you will be able to exchange your collectables for Inspirational Components. Gathering classes also continue to have the ability to use Aetherial Reduction on their collectables to gain more items than by simply exchanging them. Fishers now have 2 fish in their fishing holes which can be reduced to components.
Crafters however, now need to complete Expert Crafts to obtain their Inspirational Components.
Expert crafting is a much more difficult form of crafting that requires adjusting
to new conditions available in these crafts. You also can not use ![]() Trained Eye
on these crafts.
Trained Eye
on these crafts.
Vrandtic Upgrades for Crafters
Crafting classes are required to craft collectables to exchange for Inspirational components. Due to these being expert crafts, the amount of components needed is not guaranteed.
| 1 Component | 2 Components | 3 Components | |
|---|---|---|---|
| Collectability Ratings | 750 - 1124 | 1125 - 1499 | 1500+ |
| Expert Crafts Required | 60 | 30 | 20 |
Each craft uses a material purchased with White Scrips which can be found in the Other tab on the Scrip Exchange while speaking to Quinnana. It will cost you 70 scrips for every craft meaning 1400 - 4200 white scrips per class.
Click here for a crafting list i created for these tools.
Crafting Macros for Vrandtic Tools
Much like previous stages, I would advise getting to level 100 first. This makes the current and final step much easier due to having higher stats and therefore more reliable macros. Remember that your stats will be lower when using the tool, which needs to be equipped while crafting.
This first macro is designed around lower stat values at level 100. This uses
HQ ![]() Rroneek Steak and no potion to hit Tier 2. Lower melds can not
current hit Tier 3 reliably so instead this rotation opts for faster macros
instead. Stat requirements are: 4320/4259/560 + HQ Rroneek.
Rroneek Steak and no potion to hit Tier 2. Lower melds can not
current hit Tier 3 reliably so instead this rotation opts for faster macros
instead. Stat requirements are: 4320/4259/560 + HQ Rroneek.
This second macro is designed around higher stat values and can
easily hit Tier 3. If your stats are even higher, you may be able to save a
few steps overall. Stat requirements are: 4626/4403/626+ HQ ![]() Rroneek Steak and HQ
Rroneek Steak and HQ ![]() Cunning Craftsman's Tisane.
Cunning Craftsman's Tisane.
Vrandtic Relics for Miner/Botanist
Gathering classes will need to gather two materials, collectables that you reduce or exchange for Inspirational components as well as Inspirational Clusters to be handed in at the end of the quest.
220 of both of these items are needed, with collectables giving one or three depending on the collectability rating of 570 for 1 and 1000 for 3.
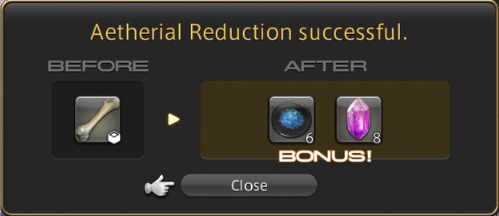
However, when you use Aetherial Reduction on a collectable at 1000 rating, you have a roughly 10% chance to obtain a bonus of 6 instead. This means it is always better to reduce your collectables both to save inventory and to get additional items.
| Class | Collectable 220(When Reduced) | Hidden Item 220 |
|---|---|---|
| Mining | ||
| Botany |
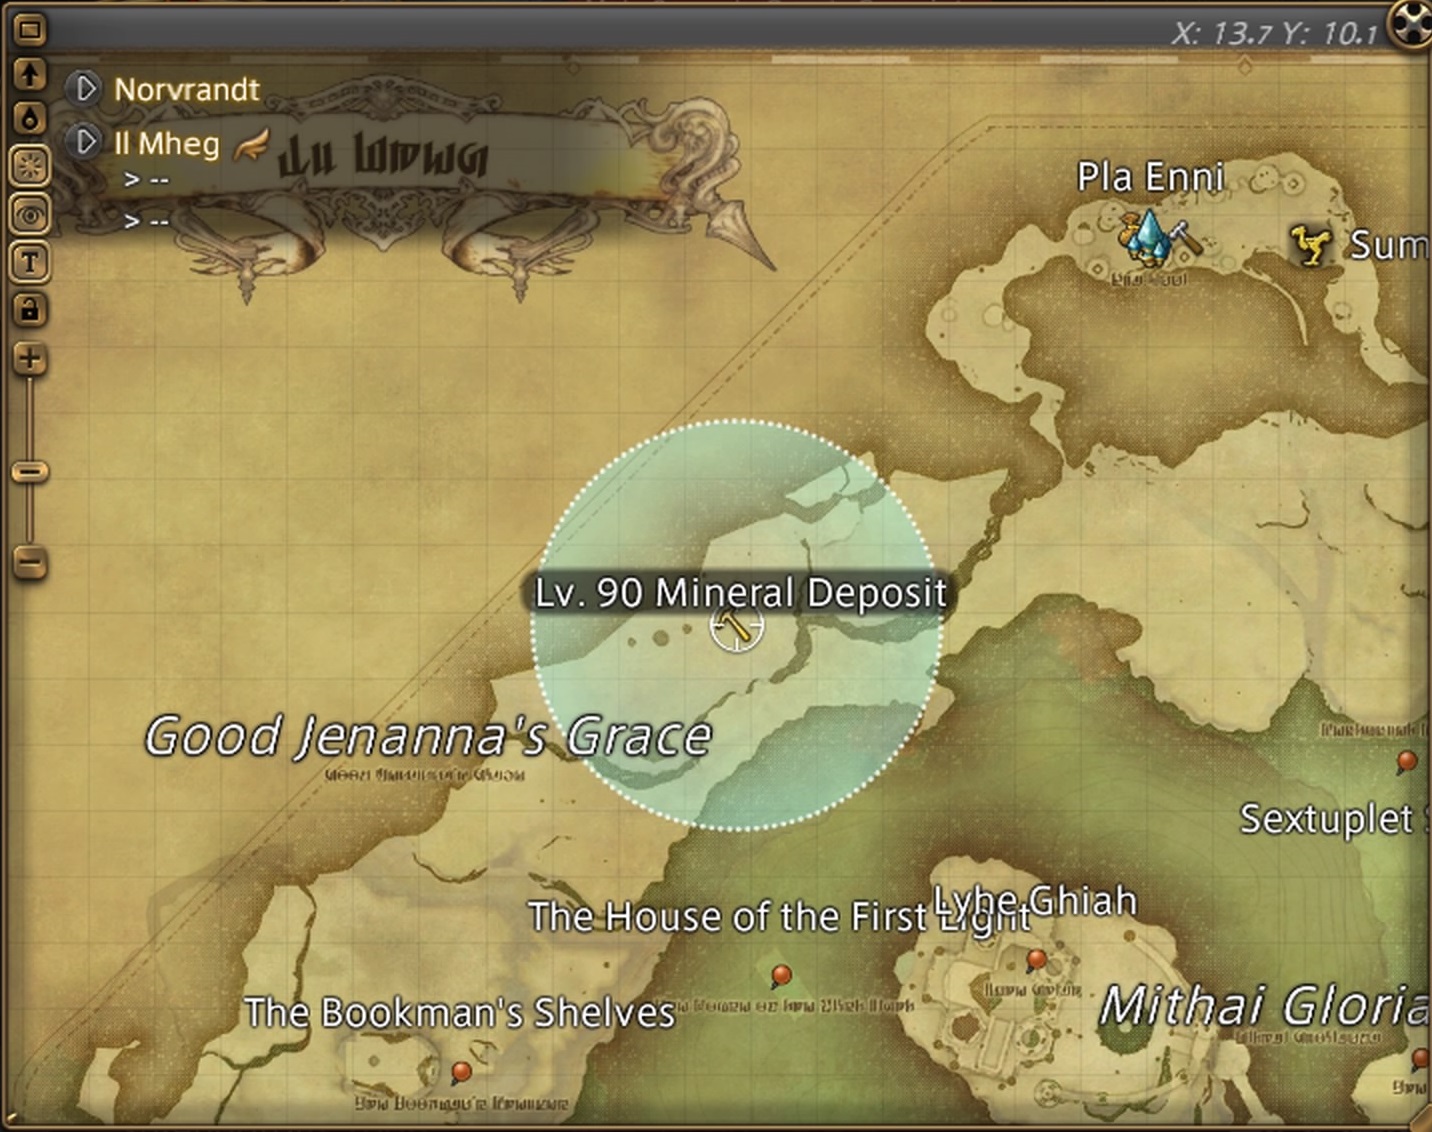
Mining materials can be found in Il Mheg (X:13.7, Y:10).
Botany materials can be found in The Rak'tika Greatwood (X:15.7, Y:35.2).

Breakpoints for Gathering Nodes
These nodes introduce more node bonuses and skill breakpoints you may want to consider when planning your food. Do not forget you need to consider these numbers after you have your relic equipped. These are:
- 30-50% Boon Bonus - 3650-3900 Perception
- +1 Integrity - 920GP
- 50 - 150 Collectability increase - 3610 - 4045 Gathering
- Collectable Skills Cap - 4033 Gathering.
- Collectable Skill Proc Chance Cap - 4245 Gathering and Perception.
- Scrutiny Cap - 4033 Gathering and Perception.
- 60% Boon cap - 6368 Perception
Advice for Gathering Nodes
Do not forget, reduction is more optimal for these items as you have a chance at a bonus. While you are waiting on GP, you can ignore the node and move on to the next node to spawn clusters faster and search for the collectability increase or integrity node bonus. Both of which are great for your yield.
This step introduces a new node bonus, offering 50-150 collectability for each hit. The exact increase depends on your gathering but makes it easy for skills to give over half of your required collectability!
The most important thing is Cordial use. ![]() Hi-Cordial is the
most efficient Cordial, and using it on cooldown will increase your yield
drastically.
Hi-Cordial is the
most efficient Cordial, and using it on cooldown will increase your yield
drastically.
Aim for the crystals when possible, because they are not always guaranteed to appear, but do not spend your GP on them. Skills that increase Crystal/Cluster yield do not work on these items.
Check out our gathering collectables guide for collectable rotations.
Vrandtic Crystalline Relics for Fishers
Fishing classes will be tasked with obtaining 170 ![]() Inspirational Fisher's Component
for this stage from two different fish. The first fish, Deepwood Shadow, offering
one or two components and the second fish,
Inspirational Fisher's Component
for this stage from two different fish. The first fish, Deepwood Shadow, offering
one or two components and the second fish, ![]() Ronkan Bullion, offering three or four components. Both exist
in the same hole.
Ronkan Bullion, offering three or four components. Both exist
in the same hole.
These fish can be found in The Rak'tika Greatwood - Mjrl's Tears (X: 26, Y:37).
| Fish | Collectability for T1 | T1 Rewards | Collectability for T2 | T2 Rewards |
|---|---|---|---|---|
| Deepwood Shadow | 501 - 1176 | 1 Component | 1177+ | 2 Components |
| 501 - 1176 | 3 Components | 1177+ | 4 Components |
The bait for these fish is ![]() Select Bait Ball which can be
purchased from Quinnana.
Select Bait Ball which can be
purchased from Quinnana.
Fishing Advice for Deepwood Shadow and Ronkan Bullion
These fish can both easily be caught using the exact same macro and method with
![]() Ronkan Bullion being a mooch from
Ronkan Bullion being a mooch from ![]() Golding when it appears.
Golding when it appears.
You want to use ![]() Patience II with
Patience II with ![]() Precision Hookset
on every '!' bite within the first 6 seconds of your cast to catch and then mooch
Precision Hookset
on every '!' bite within the first 6 seconds of your cast to catch and then mooch ![]() Golding.
Use
Golding.
Use ![]() Powerful Hookset on '!!' bites until around 9.5 seconds after you cast.
Powerful Hookset on '!!' bites until around 9.5 seconds after you cast.
The following macro makes it easy to catch Deepwood Shadow, it is exactly the same as other previous stages:
/ac "cast" <wait.5>
/e 5 <wait.1>
/e 6 <wait.1>
/e 7 <wait.1>
/e 8 <wait.1>
/e 9 <wait.1>
/e 10
/ac "Powerful Hookset"
/micon "Cast"
You will want to keep an eye out for any '!' bites to then ![]() Mooch
any
Mooch
any ![]() Golding into
Golding into ![]() Ronkan Bullion
Ronkan Bullion
Changelog
- 14 Sep. 2024: Updated for Dawntrail to add improved expert macros as well as 60% boon breakpoint.
- 31 Oct. 2023: Guide Added.

This guide has been written by I'nanghal Shikhu (Discord - Shikhu). He is a Crafting & Gathering theorycrafter, mentor for The Balance and also a guide maker for Teamcraft alongside Icy Veins. He also managed to obtain 10 top 12's on the leaderboard during the Ishgard Restoration rankings.
- New Framer’s Kit With Return Of Breaking Brick Mountains
- Last Chance For THE PRIMALS x Download Festival T-Shirt!
- Team DN Claims #WorldFirst in FFXIV’s Dancing Mad!
- FFXIV Players Blown Away By Store Updates!
- Support #WorldFirst in FFXIV Dancing Mad Ultimate — Now Available!
- Calling FFXIV Fishers To Catch The Rainbow For Charity!
- Last Chance To Enter FFXIV x Jollibee Sweepstakes!
- The Senor Otters Make Their Grand Debut in FFXIV