Halatali Dungeon Guide and Loot List
Welcome to our guide to Halatali, Final Fantasy XIV's level 20 dungeon. This guide aims to prepare players so they will know what to expect, with simple mechanic instructions and notes on how to progress through the dungeon.
Halatali Overview
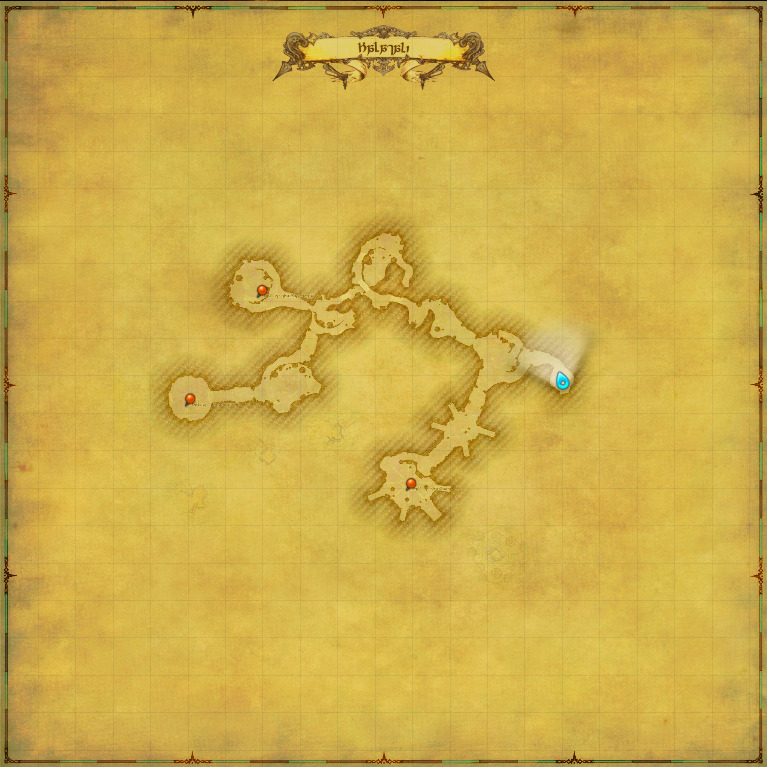
Originally a holy place for the first Lalafell arrived in Eorzea, the twisting labyrinth of natural caverns which wind through this massive mesa was transformed by the Gladiators' Guild into a series of training pits, animal pens, and holding cells to accomodate the ever-growing popularity of Ul'dah's Coliseum. After the Calamity, however, the location was abandoned- those remaining in the pens, left for dead. Not all of them, however, met that fate, and now the tunnels are rife with those who survived... as well as the tormented spirits of those who did not.

Dungeon Information:
- Minimum level required: 20
- Party size: 4
- Prerequisite quest: "Hallo Halatali"
- Entrance: Eastern Thanalan (x14, y30)
Dungeon Mechanics
There is only one mechanic players are forced to deal with as they traverse this odd beast containment dungeon, and that is the Chain Winches, there being five of them. All of them are located between the first and second boss fights, and are required to be pulled, in any order, to proceed in the dungeon. When pulled, they will either spawn a chest or mobs. If a Gas Bomb is summoned, it will explode on its own - just walk away from it so you are not caught in its blast radius.
There is a "secret mob" you can find here called the Pit Peiste, which can be triggered by getting too close to the chest before the third boss. It is completely optional, so feel free to ignore it.
Firemane
This will be one of the first times you are put up against a
boss that does damage solely with a cast bar. This is important,
specifically for this boss (and others in the dungeon beyond this)
because it may be your first time seeing a "silenceable castbar".
When Firemane is casting Fire, notice how the castbar
itself glows and flashes. That means crowd control such as
![]() Interject or
Interject or ![]() Head Graze will stop the
attack from happening and temporarily halt the damage from
the boss. It is not too useful currently, but it is a good habit to
get into for later content in the game.
Head Graze will stop the
attack from happening and temporarily halt the damage from
the boss. It is not too useful currently, but it is a good habit to
get into for later content in the game.
At 66% and 33%, Damantus will spawn from torches around the edge of the arena and slowly begin drifting towards the giant fire pit in the middle of the room. If allowed to reach the middle, they will explode, damaging everyone in the party for minimal damage with an attack called Scorched Earth. The last fire orb that spawns will be called Noxius, which are slightly larger in size. If allowed to explode, they do about 3x as much damage as their smaller variants. It is possible to kill the boss quick enough to ignore these mechanics, just keep in mind as a healer you may wish to heal the party a bit if they are a on the low side for damage.
Thunderclap Guivre
This next boss has an odd arena. You will notice there is a giant pond in the middle of it. At specific HP thresholds (80% and 40%), the Guivre will walk back to the middle and glow a bright purple. When this happens, he will summon Lightning Sprites and periodically spit AoEs at random players with an attack called Electrify. Once all of the Lightning Sprites have been killed, the Guivre will walk back over to the group using auto attacks and every so often casting Levinshower, another attack that can be interrupted with a silence.
Tangata
Tangata will almost immediately go invuln once the fight starts, dropping a large fire puddle and summoning Fire Sprites. In order to damage him, you will need to kill three waves of the Fire Sprites. While this is happening, more Damantus orbs will spawn and begin traveling towards Tangata. If allowed to reach him they will explode in the same fashion they did in the first fight against the Firemane. Again, these can be ignored if you choose to do so, but it may require more active healing. This invuln phase will repeat itself at 70% as well, handled the same way.
Changelog
- 25 Apr. 2022: Guide added.
More FFXIV Content

Hana tends to split their gaming time between FFXIV and Genshin Impact. In FFXIV, they have been playing since the relaunch of A Realm Reborn, but finally made the jump from WoW Heroic to FFXIV Savage Raiding in Shadowbringers, with a focus on playing Caster Jobs. In Genshin Impact they focus on Abyss and exploration content with Main DPS Characters being Yoimiya, Raiden Shogun, and Klee. You can find them occasionally streaming raid or playing games on Twitch.
- EP8 Now Available — Listen to These Dawntrail Tunes ASAP
- FFXIV Players Can Now Grab Berlin Fan Fest Merch Before It Sells Out
- FFXIV Players: Here’s Every Major Drop Before Evercold Hits
- Evangelion Alliance Raid Announced for FFXIV Evercold in 2027
- FFXIV Launching on Switch 2 But Leaving PS4 — Here’s What You Need to Know
- FFXIV Patch 7.5 Just Kicked Off Dawntrail’s Final Chapter
- Yoshi-P Fanfest Q&A: Glamour Plates, Job Design, and Favorite Scion
- Get Ready ASAP for Kefka’s Ultimate Raid in Patch 7.51