Kil'jaeden Encounter Guide: Strategy, Abilities, Loot
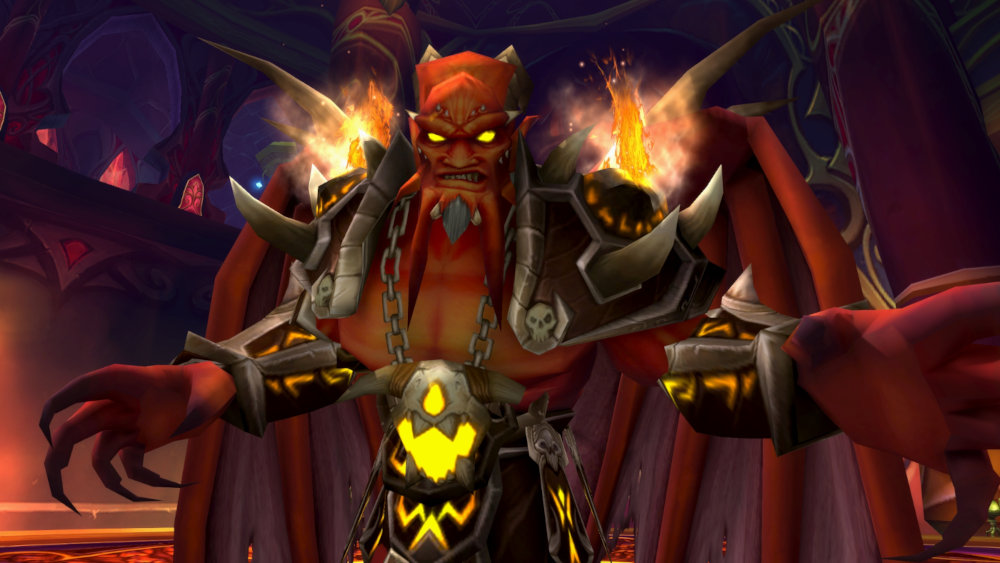
Kil'jaeden is the sixth and final boss you will encounter in Sunwell Plateau
on the Isle of Quel'Danas.
Kil'jaeden is one of the most iconic villains in all of Warcraft and will provide
your raid with a unique challenge. Defeating this powerful Eredar lord will provide
your raid with some of the best loot in the game including the legendary bow
![]() Thori'dal, the Stars' Fury. Check out our in-depth guide below
to prepare as much as possible for your encounter with Kil'jaeden.
Thori'dal, the Stars' Fury. Check out our in-depth guide below
to prepare as much as possible for your encounter with Kil'jaeden.
Overview
Kil'jaeden is the sixth and final boss of the Sunwell Plateau raid instance. While often not considered to be the most challenging encounter it is a very long one that will require you to be aware of the bosses mechanics or risk causing complications for the rest of your raid if not a wipe. Check out the mechanics listed below so you will know how to properly handle these bosses.
Role-Specific Tips for Kil'jaeden
Healer Tips
Position in a way that will allow you to take full advantage of the Power of the Blue Flight's
![]() Breath: Revitalize ability as this is a long fight and will require
a lot of Mana. Make sure the entire room has healing coverage as many members
of your raid may be spread.
Breath: Revitalize ability as this is a long fight and will require
a lot of Mana. Make sure the entire room has healing coverage as many members
of your raid may be spread.
Tank Tips
Make sure the Hand of the Deceivers in the first phase are spread
to avoid them reaching 20% at the same time. Make sure ![]() Sinister Reflections
are picked up as quickly as possible. They are immune to crowd-controlling abilities
so it is crucial they are tanked.
Sinister Reflections
are picked up as quickly as possible. They are immune to crowd-controlling abilities
so it is crucial they are tanked.
DPS Tips
![]() Sinister Reflections need to be dealt with until the burn at the
very end of the boss. If your Warlocks are unable
to handle them consider assigning an additional ranged DPS or two to help
kill them as they can quickly become overwhelming. Position in a way to take
full advantage of the Power of the Blue Flight's
Sinister Reflections need to be dealt with until the burn at the
very end of the boss. If your Warlocks are unable
to handle them consider assigning an additional ranged DPS or two to help
kill them as they can quickly become overwhelming. Position in a way to take
full advantage of the Power of the Blue Flight's ![]() Breath: Haste
ability.
Breath: Haste
ability.
Kil'jaeden Abilities
Kil'jaeden is a unique encounter that makes use of vehicles, specifically the Power of the Blue Flight which has four unique spells all are important to defeating Kil'jaeden. These vehicles will be able to be used at key points in the fight by clicking on the dragon Orbs located in the corners of the room. Kalecgos activates one orb near the start of the third phase, one at the start of the fourth phase, and the final two remaining orbs when you enter the fifth and final phase.
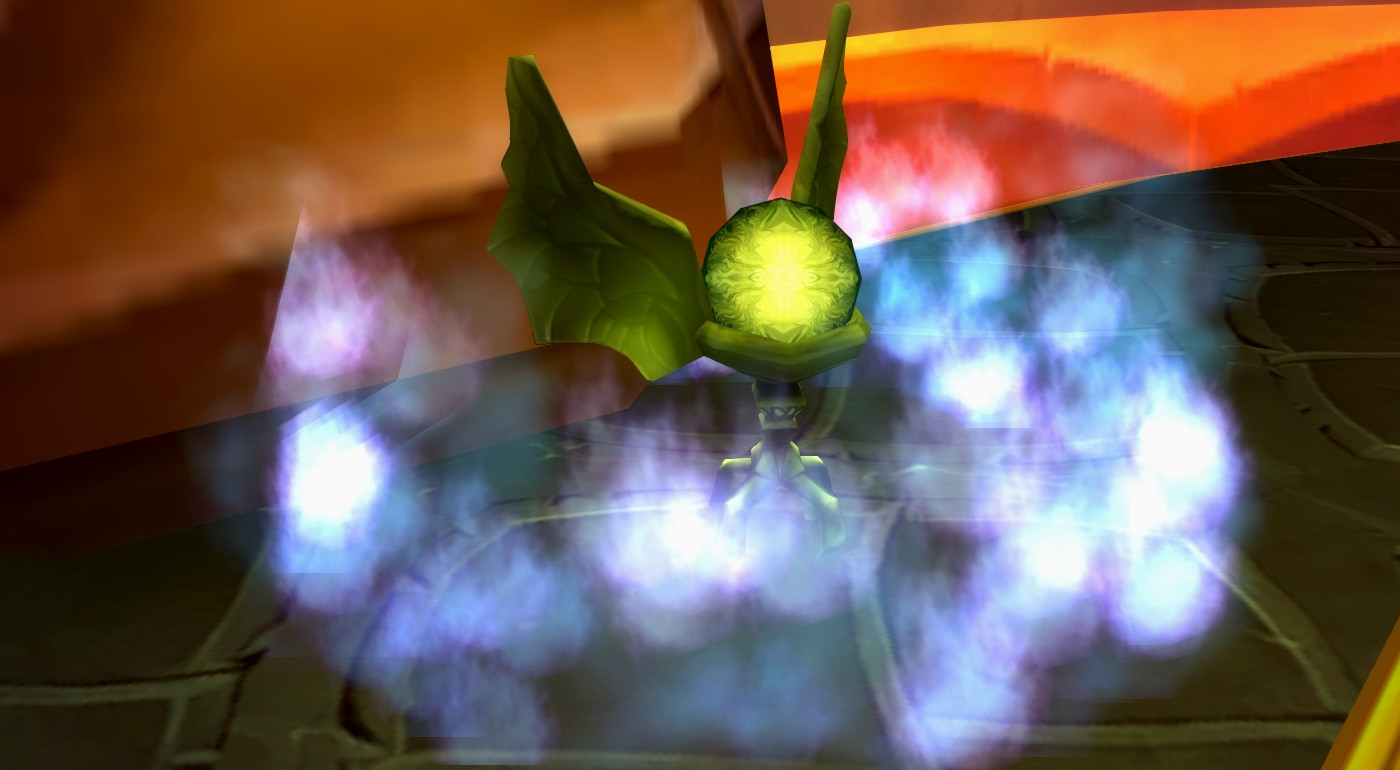
Power of the Blue Flight
 Blink — teleports the dragon 20 yards forward.
 Breath: Revitalize — regenerates 450 mana every two seconds
to all players in a cone in front of the dragon when cast. This lasts for 10 seconds
and will total to 2250 health and mana.
Breath: Revitalize — regenerates 450 mana every two seconds
to all players in a cone in front of the dragon when cast. This lasts for 10 seconds
and will total to 2250 health and mana. Breath: Haste — increases the attack, cast, and movement
speed of all players in a cone in front of the dragon when cast.
Breath: Haste — increases the attack, cast, and movement
speed of all players in a cone in front of the dragon when cast. Shield of the Blue — Reduces damage taken by all players inside
by 95% for 5 seconds but drains 10% of the Dragons health every second so this
ability can only be cast twice per Dragon.
Shield of the Blue — Reduces damage taken by all players inside
by 95% for 5 seconds but drains 10% of the Dragons health every second so this
ability can only be cast twice per Dragon.
Phase 1 — Hands of the Deceiver
 Shadow Bolt Volley — deals a large amount of Shadow damage
to all players within 30 yards and applies a debuff that increases Shadow Damage
taken for 7 seconds.
Shadow Bolt Volley — deals a large amount of Shadow damage
to all players within 30 yards and applies a debuff that increases Shadow Damage
taken for 7 seconds. Felfire Portal — a portal will open that lasts 20 seconds and
periodically spawns Volatile Felfire Fiends. The Volatile Felfire Fiends
have a low amount of health but must be killed quickly. They fixate on random players
and upon reaching their target will cast
Felfire Portal — a portal will open that lasts 20 seconds and
periodically spawns Volatile Felfire Fiends. The Volatile Felfire Fiends
have a low amount of health but must be killed quickly. They fixate on random players
and upon reaching their target will cast  Felfire Fission which cause
them to explode and deal massive Fire damage to their target and anyone within 10 yards.
Felfire Fission which cause
them to explode and deal massive Fire damage to their target and anyone within 10 yards. Shadow Infusion — at 20% health the Hand of the Deceivers
become immune to silences and stuns.
Shadow Infusion — at 20% health the Hand of the Deceivers
become immune to silences and stuns.
Phase 2 — 100%-85%
 Soul Flay — deals a large amount of Shadow damage to Kil'jaeden's
primary aggro target over 3 seconds and slows them.
Soul Flay — deals a large amount of Shadow damage to Kil'jaeden's
primary aggro target over 3 seconds and slows them. Legion Lightning — deals a considerable amount of Shadow
damage to five players, chaining from the first and doing reduced damage to
each subsequent bounce of the chain. This also drains 1,500 Mana from each
person hit.
Legion Lightning — deals a considerable amount of Shadow
damage to five players, chaining from the first and doing reduced damage to
each subsequent bounce of the chain. This also drains 1,500 Mana from each
person hit. Fire Bloom — applies a debuff that deals a considerable amount
of Fire damage every 2 seconds to 5 random players. Anyone within 10 yards of
those with the debuff will also take Fire damage. This debuff lasts 20 seconds.
Fire Bloom — applies a debuff that deals a considerable amount
of Fire damage every 2 seconds to 5 random players. Anyone within 10 yards of
those with the debuff will also take Fire damage. This debuff lasts 20 seconds.- Shield Orb — a shadowy orb will spawn and will slowly rotate
around the room casting Shadow Bolt at random players within 45 yards
of them. Each phase transition Kil'jaeden will start spawning an additional Orb.
Phase 3 — 85%-55%
- Sinister Reflection — targets a random player and will spawn
four shadowy reflections of that player. Reflections melee and cast random abilities
from the class of the player they spawned from. They are immune to crowd-controlling
effects and must be tanked and killed quickly.
 Shadow Spike — Launches a shadowy missile at a random player,
after a few seconds it will land and deal massive Shadow damage and reduce
healing taken by 50% for 10 seconds to players within 8 yards of its impact point.
Shadow Spike — Launches a shadowy missile at a random player,
after a few seconds it will land and deal massive Shadow damage and reduce
healing taken by 50% for 10 seconds to players within 8 yards of its impact point. Flame Dart — deals a moderate amount of Fire damage
to all players near the area and slows the affected players by 50% for 15 seconds.
Flame Dart — deals a moderate amount of Fire damage
to all players near the area and slows the affected players by 50% for 15 seconds. Darkness of a Thousand Souls — Every 45 seconds Kil'jaeden
will channel massive Shadow damage for eight seconds to all players.
Darkness of a Thousand Souls — Every 45 seconds Kil'jaeden
will channel massive Shadow damage for eight seconds to all players.
Phase 4 — 55%-25%
- Kil'jaeden will continue to cast all his abilities from the prior phases.
 Armageddon — A giant patch of fire will spawn under a random
player, after 8 seconds a meteor will fall in that spot doing massive Fire damage
to all players within 10 yards.
Armageddon — A giant patch of fire will spawn under a random
player, after 8 seconds a meteor will fall in that spot doing massive Fire damage
to all players within 10 yards.
Phase 5 — 25%-0%
- Kil'jaeden stops casting Shield Orb and Shadow Spike
during this phase.
- Kil'jaeden will cast Darkness of a Thousand Souls every 25 seconds.
- Armageddon affects more of the room during the final phase.
Strategy for Kil'jaeden
Pulling the Boss
Kil'jaeden is dormant during the very first phase of the boss and will remain stationary when activated after the first phase, so positioning the boss is not an issue. During the first phase each of the Hand of the Deceivers needs its own tank and should be separated as soon as possible. These mobs are able to be silenced/stunned and need to be single-targeted down.
Phase 1
The Hand of the Deceivers should be spread away from each other and
need to be killed one by one, not cleaved. Assign a kill target and burn them
down as quickly as possible while interrupting/stunning them as much as possible
to stop their ![]() Shadow Bolt Volley casts. At 20% the Hand of the
Deceivers are no longer able to be interrupted or stunned so make sure only one is below
20% at any given time. Stay away from
Shadow Bolt Volley casts. At 20% the Hand of the
Deceivers are no longer able to be interrupted or stunned so make sure only one is below
20% at any given time. Stay away from ![]() Felfire Portals and kill the
Volatile Felfire Fiends as quickly as possible.
Felfire Portals and kill the
Volatile Felfire Fiends as quickly as possible.
Phase 2
A sturdy tank should pick up Kil'jaeden.
Feral Tank Druids
are especially strong for him as he does not melee and only casts
![]() Soul Flay on his primary aggro target. The raid must spread evenly
throughout the room to minimize the damage caused by
Soul Flay on his primary aggro target. The raid must spread evenly
throughout the room to minimize the damage caused by ![]() Fire Bloom.
Shield Orbs are the highest priority during this phase and need to
be killed as quickly as possible.
Fire Bloom.
Shield Orbs are the highest priority during this phase and need to
be killed as quickly as possible.
Phase 3
During this phase the main focus of the raid should be on killing the various
adds that spawn. Shield Orbs are still the highest priority and you
should have specific players assigned to dealing with the ![]() Sinister Reflections.
Warlocks are especially strong for this as they can
spam their
Sinister Reflections.
Warlocks are especially strong for this as they can
spam their ![]() Seed of Corruption ability and deal damage to all the
Sinister Reflections and the boss. The raid must stay aware of
Seed of Corruption ability and deal damage to all the
Sinister Reflections and the boss. The raid must stay aware of ![]() Shadow Spike
cast and avoid the impact area. Two players with high mobility should be assigned
to using the Orbs to take control of the Power of the Blue Flight, though
during this phase only one player will be able to. Utilize the
Shadow Spike
cast and avoid the impact area. Two players with high mobility should be assigned
to using the Orbs to take control of the Power of the Blue Flight, though
during this phase only one player will be able to. Utilize the
![]() Breath: Haste and
Breath: Haste and ![]() Breath: Revitalize
abilities as best as you can without taking unnecessary damage from
Breath: Revitalize
abilities as best as you can without taking unnecessary damage from ![]() Fire Bloom.
The raid should be in roughly the same section of the room as you will need to
stack at a single location to use
Fire Bloom.
The raid should be in roughly the same section of the room as you will need to
stack at a single location to use ![]() Shield of the Blue to survive
Shield of the Blue to survive
![]() Darkness of a Thousand Souls.
Darkness of a Thousand Souls.
Phase 4
Continue the same strategy going forward as Kil'jaeden continues to cast
his previous abilities during this phase. The only major change is to account for
the part of the room that is consumed by ![]() Armageddon and possibly reassign
a stack point to deal with
Armageddon and possibly reassign
a stack point to deal with ![]() Darkness of a Thousand Souls. You must force
Kil'jaeden below 25% before his third cast of
Darkness of a Thousand Souls. You must force
Kil'jaeden below 25% before his third cast of ![]() Darkness of a Thousand Souls
because your first and only Power of the Blue Flight can only cast
Darkness of a Thousand Souls
because your first and only Power of the Blue Flight can only cast
![]() Shield of the Blue twice.
Shield of the Blue twice.
Phase 5
Adds no longer take priority during this phase and you should be focused on
burning down Kil'jaeden. If there are low adds from previous phase feel free to
finish them off but otherwise the ![]() Sinister Reflections should be
tanked and ignored while you are focusing all DPS on the boss. Continue to stack
for
Sinister Reflections should be
tanked and ignored while you are focusing all DPS on the boss. Continue to stack
for ![]() Darkness of a Thousand Souls and remember to utilize
Darkness of a Thousand Souls and remember to utilize ![]() Breath: Haste
and
Breath: Haste
and ![]() Breath: Revitalize while the raid is stacked, avoid fire on the ground,
remain spread, and finish off the boss!
Breath: Revitalize while the raid is stacked, avoid fire on the ground,
remain spread, and finish off the boss!
Kil'jaeden Loot
| Item | Item Type | Slot |
|---|---|---|
| Weapon | Bow | |
| Weapon | Staff | |
| Weapon | Sword | |
| Weapon | Dagger | |
| Weapon | Bow | |
| Weapon | Mace | |
| Weapon | Fist | |
| Helmet | ||
| Helmet | ||
| Leather | Helmet | |
| Cloth | Helmet | |
| Plate | Helmet | |
| Cloth | Helmet | |
| Leather | Helmet | |
| Plate | Helmet | |
| Plate | Gloves | |
| Cloth | Gloves | |
| Cloth | Gloves | |
| Gloves | ||
| Accessory | Cloak | |
| Accessory | Cloak |
Other Sunwell Plateau Guides
If you were looking for a full guide for the Sunwell Plateau raid, or would like to know what specializations the loot from Kil'jaeden should be prioritized to, see the links below.
Changelog
- 03 May 2022: Page added.
This guide has been written by Sellin, a former top 10 US raider and current season and several time Gladiator, long time WoW Player and passionate about all things Warcraft and Theorycrafting. You can follow him on Twitter and watch him on Twitch.
- UI Updates: Burning Crusade Classic Hotfixes, July 17th
- The Best Camelot Theory Yet Connects Classic+ to WoW’s Original Design
- Classic Era’s New UI Could Break Nameplate and Raid Frame Addons
- Icy Veins is Looking for Dedicated WoW Classic Writers
- WoW Classic+ Leak Claims Deadmines, Death Knights, and Karazhan Are Coming
- WoW Classic on a Phone?! This Player Shows It Actually Works
- Blizzard Confirms No Fresh Season of Discovery Servers, Fueling Classic+ Rumors
- XP Blocker Moves: Season of Discovery Hotfixes, June 25th