M'uru Encounter Guide: Strategy, Abilities, Loot
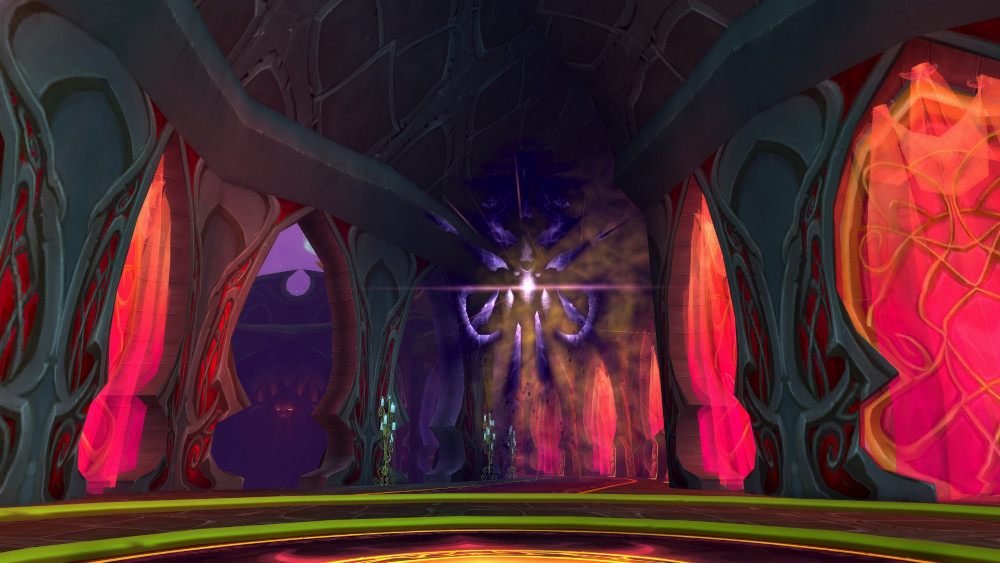
M'uru is the fifth boss you will encounter in Sunwell Plateau on the Isle of Quel'Danas. This encounter is known as one of the most difficult for its time and will challenge your entire raid to maximize its output while targeting and prioritizing a plethora of different mobs. Check out our in-depth guide below to prepare as much as possible for your encounter with M'uru.
Overview
M'uru is the fifth boss you will encounter in the Sunwell Plateau raid instance. This fight will require a great amount of coordination from every member of your raid but will put a huge emphasis on your healers and ranged DPS. This encounter includes two bosses but in two completely separate phases of the fight from each other. Check out the mechanics listed below so you will know how to properly handle these bosses.
Role-Specific Tips for Eredar Twins
Healer Tips
Have a timer to track ![]() Darkness and make sure your
Priests of any spec are ready to cast
Darkness and make sure your
Priests of any spec are ready to cast
![]() Mass Dispel. Be aware of who the adds that spawn on this
fight are targeting and be ready to spot heal them as needed.
Mass Dispel. Be aware of who the adds that spawn on this
fight are targeting and be ready to spot heal them as needed.
DPS Tips
Make sure you have cooldowns ready for when M'uru transitions to Entropius as the second phase is considerably more dangerous than the first, so the faster you are able to get out of it the more likely you are to kill the boss. Always prioritize the various adds throughout the fight once threat is established.
Tank Tips
Be prepared to tank small adds, lots of them. Any way you can orient your build toward AOE and tanking multiple mobs should be your priority.
M'uru Abilities
M'uru
 Negative Energy — beams of shadow will hit random players
dealing a moderate amount of Shadow damage to those targeted.
Negative Energy — beams of shadow will hit random players
dealing a moderate amount of Shadow damage to those targeted. Darkness — Spawns a massive void zone beneath M'uru, it will
inflict massive Shadow damage to anyone inside the void zone but also spawn 8
Dark Fiends. The Dark Fiends are not able to be killed but rather
dispelled; dispelling the
Darkness — Spawns a massive void zone beneath M'uru, it will
inflict massive Shadow damage to anyone inside the void zone but also spawn 8
Dark Fiends. The Dark Fiends are not able to be killed but rather
dispelled; dispelling the  Dark Fiend buff they have will
instantly kill them. These Dark Fiends will, meanwhile, fixate on players
and if they reach their target they will explode for massive Shadow damage on
everyone near their target.
Dark Fiend buff they have will
instantly kill them. These Dark Fiends will, meanwhile, fixate on players
and if they reach their target they will explode for massive Shadow damage on
everyone near their target. Summon Void Sentinel — a large Void Sentinel, this
mob must be tanked away from the group and killed quickly as it will deal massive
Shadow damage to the highest threat target with
Summon Void Sentinel — a large Void Sentinel, this
mob must be tanked away from the group and killed quickly as it will deal massive
Shadow damage to the highest threat target with  Void Blast, which also reduces
the target's attack speed by 35%, along with
Void Blast, which also reduces
the target's attack speed by 35%, along with  Shadow Pulse which will pulse
a considerable amount of Shadow damage to anyone within 10 yards of the Sentinel.
Upon death the Void Sentinel will spawn 8 smaller Void Spawns which will
attempt to cast
Shadow Pulse which will pulse
a considerable amount of Shadow damage to anyone within 10 yards of the Sentinel.
Upon death the Void Sentinel will spawn 8 smaller Void Spawns which will
attempt to cast  Shadow Bolt Volley and must be killed quickly.
- Shadowsword Berserker — Berserkers will spawn every 60 seconds and must be tanked and killed; they swing for massive Physical damage.
- Shadowsword Fury Mage — Fury Mages spawn at the same time as
Shadowsword Berserkers and must also be dealt with quickly. The Fury Mage
has two abilities to consider:
 Fel Fireball, which deals a moderate amount
of Fire damage to its primary threat target, and
Fel Fireball, which deals a moderate amount
of Fire damage to its primary threat target, and  Spell Fury which will buff
itself with 50% increased damage dealt but roots itself in place.
Spell Fury which will buff
itself with 50% increased damage dealt but roots itself in place.
Entropius
- Negative Energy — behaves similarly to M'uru's
Negative Energy ability except Entropius' will jump to two
additional players after its initial hit and the frequency of this ability will
increase every 12 seconds.
 Darkness — acts identically to M'uru's
Darkness except it is placed under a random player instead of
the boss itself.
Darkness — acts identically to M'uru's
Darkness except it is placed under a random player instead of
the boss itself.- Singularity — will spawn a large black hole that will slowly
rotate around the room knocking back anyone who gets within 7 yards of it and dealing
a small amount of Shadow damage.
Strategy for M'uru
Pulling the Boss
M'uru is entirely stationary and cannot be moved. M'uru does not need to be
tanked as there is no melee attack — it will just cast
![]() Negative Energy at players randomly. The raid should spread
throughout the room except for the section of the room that is assigned for
where the Void Sentinel will be tanked and killed and avoiding the
center of the room where M'uru is located to avoid unnecessary damage from
Negative Energy at players randomly. The raid should spread
throughout the room except for the section of the room that is assigned for
where the Void Sentinel will be tanked and killed and avoiding the
center of the room where M'uru is located to avoid unnecessary damage from
![]() Darkness. One tank and a few healers should be assigned to the
entrance and the exit of the room to pick up the Shadowsword Berserkers
and the Shadowsword Fury Mages.
Darkness. One tank and a few healers should be assigned to the
entrance and the exit of the room to pick up the Shadowsword Berserkers
and the Shadowsword Fury Mages.
Phase 1
The first phase of this boss is the M'uru phase where adds are the most important part. The list of priority you should be killing the adds in is as follows:
Try to assign melee DPS to focus on killing the Shadowsword Berserkers
and Shadowsword Fury Mages if you are able to keep up with killing the
Void Sentinel in time to avoid taking unnecessary damage from
![]() Shadow Pulse. When Void Sentinels spawn they must be quickly picked up
by a tank, ideally a
Protection Paladin,
and placed against the wall somewhere in the room where it is away from the group
and hitting the minimal amount of people with
Shadow Pulse. When Void Sentinels spawn they must be quickly picked up
by a tank, ideally a
Protection Paladin,
and placed against the wall somewhere in the room where it is away from the group
and hitting the minimal amount of people with ![]() Shadow Pulse. When
killed the Void Spawn must also be picked up and dealt with as
quickly as possible. Once dealt with, the Shadowsword Berserkers and Fury Mages
need to be killed before finally being able to DPS the boss itself. When
Shadow Pulse. When
killed the Void Spawn must also be picked up and dealt with as
quickly as possible. Once dealt with, the Shadowsword Berserkers and Fury Mages
need to be killed before finally being able to DPS the boss itself. When
![]() Darkness is cast a Priest must
be ready to cast
Darkness is cast a Priest must
be ready to cast ![]() Mass Dispel; dispelling the Dark Fiends'
buff will instantly kill them. Ensure a few players are ready as backups to dispel
any Dark Fiends that resist the Mass Dispel. You must repeat this cycle of adds
and then boss until M'uru reaches 1 HP, then Phase 2 will begin.
Mass Dispel; dispelling the Dark Fiends'
buff will instantly kill them. Ensure a few players are ready as backups to dispel
any Dark Fiends that resist the Mass Dispel. You must repeat this cycle of adds
and then boss until M'uru reaches 1 HP, then Phase 2 will begin.
The second phase of this boss is the Entropius phase. Adds will stop spawning
in this phase but you must kill all remaining adds as quickly as possible before
moving to burning down Entropius. This phase is largely a DPS/HPS check. A random
player will be targeted with ![]() Darkness so make sure to take
advantage of the entire room to minimize the chance that multiple people will be
hit by the void zone, but the importance of
Darkness so make sure to take
advantage of the entire room to minimize the chance that multiple people will be
hit by the void zone, but the importance of ![]() Mass Dispelling the
Dark Fiends is even greater. Avoid the orbs spawned by
Mass Dispelling the
Dark Fiends is even greater. Avoid the orbs spawned by
![]() Singularity and burn the boss down as quickly as possible.
Singularity and burn the boss down as quickly as possible.
M'uru Loot
| Item | Item Type | Slot |
|---|---|---|
| Accessory | Ring | |
| Accessory | Ring | |
| Accessory | Ring | |
| Accessory | Trinket | |
| Accessory | Trinket | |
| Accessory | Trinket | |
| Accessory | Trinket | |
| Accessory | Shield | |
| Weapon | Sword | |
| Plate | Gloves | |
| Leather | Gloves | |
| Accessory | Ring | |
| Accessory | Ring | |
| Cloth | Chest | |
| Cloth | Chest | |
| Leather | Chest | |
| Leather | Chest | |
| Chest | ||
| Chest | ||
| Plate | Chest | |
| Plate | Chest |
Other Sunwell Plateau Guides
If you were looking for a full guide for the Sunwell Plateau raid, or would like to know what specializations the loot from M'uru should be prioritized to, see the links below.
Changelog
- 03 May 2022: Page added.