Cutter's Cry Dungeon Guide and Loot List
Welcome to our guide to Cutter's Cry, Final Fantasy XIV's level 38 dungeon. This guide aims to prepare players so they will know what to expect, with simple mechanic instructions and notes on how to progress through the dungeon.
Overview
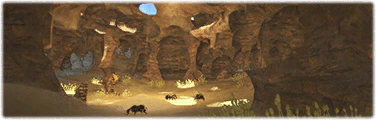
Near an old mountain path once used by Sixth Astral Era woodcutters as a detour through the more perilous stretches of northern Thanalan, lies a cave sought out only by the ignorant or the foolish. Upon first glance, the shade of its maw might appear inviting to one who seeks to escape the punishing rays of the midday sun. However, any good woodcutter knows to keep his distance, for it is said all who enter, never return - the cries of the damned echoing up from the depths the only testament to their folly. Heed this dire warning, and you may live. Ignore it, and soon it shall be your screams that add to the cacophony.
Information
- Minimum level required: 38
- Party size: 4
- Prerequisite quest: "Dishonor Before Death"
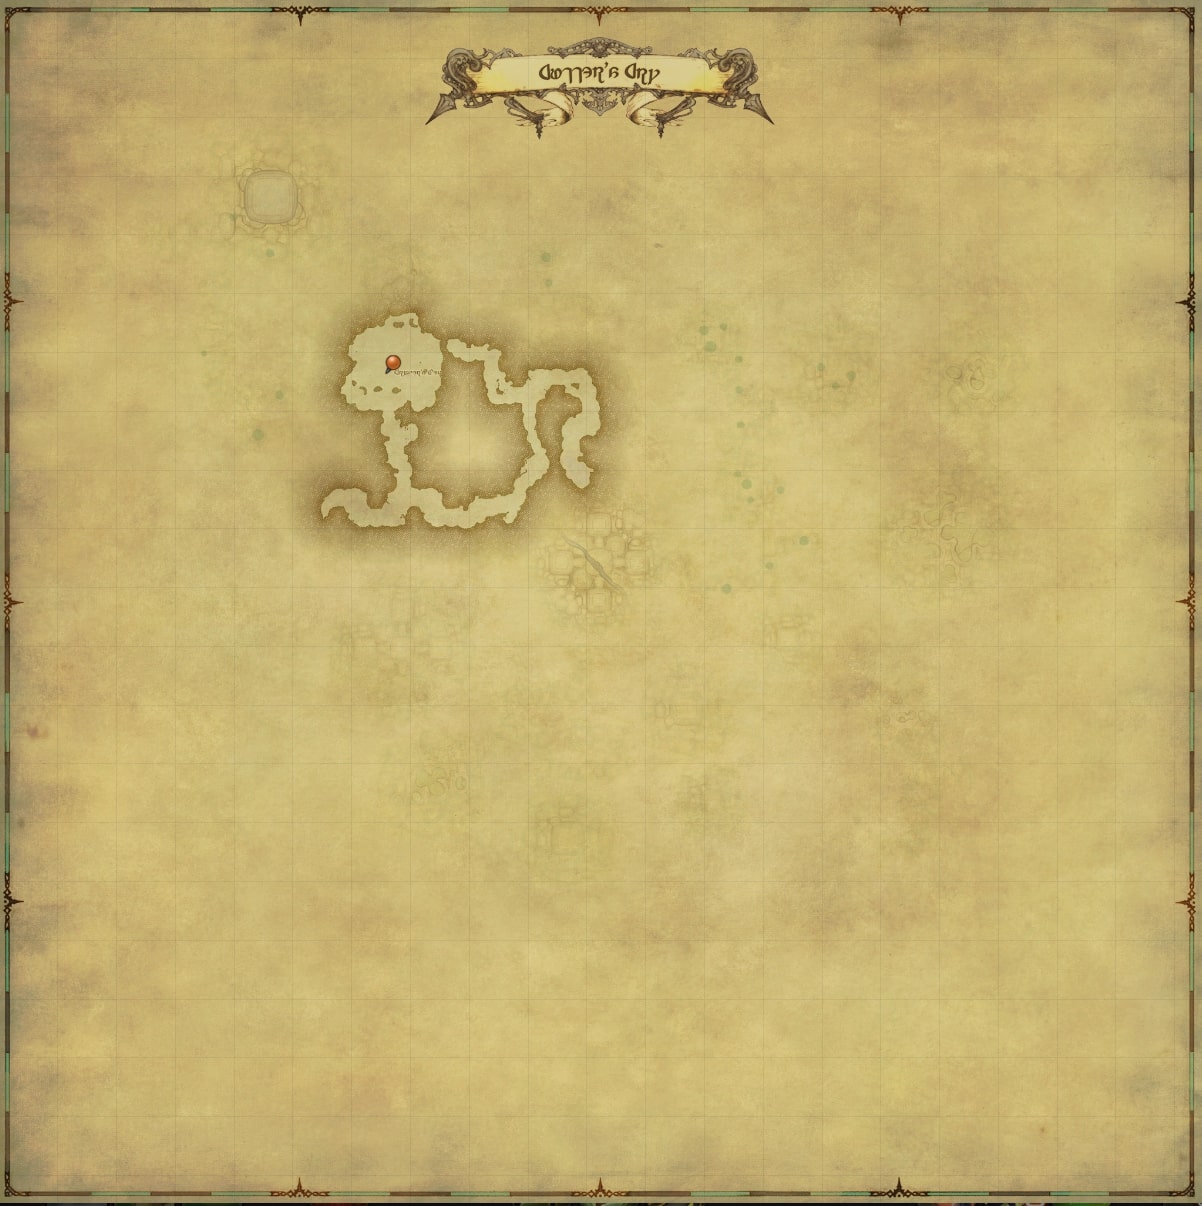
- Entrance: Central Thanalan (x15, y14)
This dungeon is optional and will not be unlocked through natural MSQ progression!
Dungeon Guide
A mechanic you will need to keep an eye on throughout the dungeon are sand circles that are on the ground. Do not step on these as that will inflict damage to your character.
In the entrance, you will need to clear out the two waves of monsters. Afterwards, the Shifting Sands will appear. Interact with this to enter the next room. The next room uses the same mechanic to bar your path.
Myrmidon Princess
The boss will cast:
- Mandible Bite: A telegraphed conal AoE targeted at the tank, move out to dodge.
- Silence: An interruptable cast that inflicts silence on a player, preventing the use of spells.
This can be cleansed with
 Esuna.
After a while, the boss will summon a Myrmidon Marshal to attack the party, then cast Haste on it to increase the attack and casting speed of the add. The Myrmidon Marshal will eventually cast Formic Pheromones, granting a heal over time effect, Rehabilitation, to the boss while the add is still alive.
Note: Due to the low health pool of the boss, it is advised to just ignore the add and focus damage on the boss.Interact with the Shifting Sands to progress to the next area.
In both areas of The Wet Sands, the Shifting Sands are located in the opposite end of the room from
where the players spawn. While you're more than welcome to kill all the mobs between the start of each map and the
exit portal, most players will opt not to since mobs do not provide experience gains any longer. Feel free to
![]() Sprint from one portal to the next, completely ignoring all enemies until the next boss.
Sprint from one portal to the next, completely ignoring all enemies until the next boss.
Optional: In the first chamber, treasure coffer 1 can be found to the player's left on the west side. Similarly, in the second chamber, tresure coffer 2 can be found to the left / west up a ramp.
Giant Tunnel Worm
The main gimmick of this boss, is that they will bury under the sand on occasion. While underground, bursts of sand that damage players will denote where the boss is. The second time the boss goes under, they will pull the party towards the middle of the arena. While underground, do your best to avoid damage by avoiding the boss' sand bursts.
While above the sand, boss will cast:
- Sandstone: A medium damage cleave on the tank. Keep the boss facing away from players.
- Sand Cyclone: Damages and inflicts Sludge on a random player. This is a DoT that can be cleansed
with Esuna.
Interact with the Shifting Sands to progress to the next area.
Optional: Off the main path, you can find treasure coffers 3 and 4.
Chimera
The two major skills, The Ram's Voice and The Dragon's Voice are floor AoEs that are not telegraphed. Players will need to pay close attention to the cast bar of the boss to determine their positioning. What you need to remember is:
- The Ram's Voice: Be away from the boss.
- The Dragon's Voice: Be near the boss.
Aside from the voice mechanic, the boss will cast:
- The Lion's Breath: Cleave targeting the tank. Keep boss facing away from the party.
- The Dragons's/Ram's Breath: Telegraphed conal attack. Move away to avoid.
- The Ram's Keeper: Telegraphed AoE targeting a random player. Move out to avoid. The AoE will leave an ice puddle that inflicts damage to those who stay in it.
- Cacophony: Target marker appears on a random player. An orb will spawn that will follow the target. When the orb stops, it will perform a point blank AoE, then despawn. Players will want to move away from the party while avoiding the orb to prevent collateral damage.
Loot
This is a table of all unique dungeon drops. Aside from this table, the dungeon also contains Aetherial versions of Level 38 crafted combat accessories.
Changelog
- 13 Jul. 2023: Guide added.
More FFXIV Content

Hana tends to split their gaming time between FFXIV and Genshin Impact. In FFXIV, they have been playing since the relaunch of A Realm Reborn, but finally made the jump from WoW Heroic to FFXIV Savage Raiding in Shadowbringers, with a focus on playing Caster Jobs. In Genshin Impact they focus on Abyss and exploration content with Main DPS Characters being Yoimiya, Raiden Shogun, and Klee. You can find them occasionally streaming raid or playing games on Twitch.
- New Framer’s Kit With Return Of Breaking Brick Mountains
- Last Chance For THE PRIMALS x Download Festival T-Shirt!
- Team DN Claims #WorldFirst in FFXIV’s Dancing Mad!
- FFXIV Players Blown Away By Store Updates!
- Support #WorldFirst in FFXIV Dancing Mad Ultimate — Now Available!
- Calling FFXIV Fishers To Catch The Rainbow For Charity!
- Last Chance To Enter FFXIV x Jollibee Sweepstakes!
- The Senor Otters Make Their Grand Debut in FFXIV