Dire Maul is split into three wings, with all of them being recommended for players above Level 55. The West wing is one of the easier wings, assuming you are prepared for the dungeon and have a diverse group setup. Clearing the wing should take around an hour.
The West wing of Dire Maul is known to be haunted, with the spirits of the Highborne who once lived there drifting around the grounds. While they dead may walk the ruins, nature has also risen up, with treants protecting the outer portion of the dungeon, keeping any at bay who may wish to venture deeper, searching for the legendary demon Immol'thar; for thousands of years, he has been imprisoned, his energy being used to feed the immortality of the Shen'dralar and their leader.
Phase 4 Season of Discovery Loot in Dire Maul West
With Phase 4 of Season of Discovery, new loot has been added into Dire Maul West to help players prepare for raiding. Below you can find a full list of all of the new loot and each boss they drop from.
Tendris Warpwood
| Item |
|---|
Magister Kalendris
| Item |
|---|
Tsu'zee
| Item |
|---|
Prince Tortheldrin
| Item |
|---|
Lord Hel'nurath
| Item |
|---|
Dire Maul West Entrance Location
Dire Maul is located in the centre of Feralas, in between Feathermoon Stronghold and Camp Mojache, the two closest Alliance and Horde camps respectively.
Simply head to the road that runs between the two and, once you reach the centre, head along the northern road.
To access the final section of the West wing of the dungeon, you will first
need to have obtained the ![]() Crescent Key, which is found in the
East wing of the dungeon.
Alternatively, you can bring a Rogue to pick the lock.
Crescent Key, which is found in the
East wing of the dungeon.
Alternatively, you can bring a Rogue to pick the lock.
Dire Maul West Quests
Before setting foot in Dire Maul, we strongly advise you to get all the dungeon quests related to it. To make this process easier, we have written a separate guide.
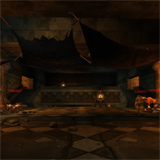
Layout of Dire Maul West
The most important thing to remember with Dire Maul West and its layout is the pylons that are located around the instance. In total, there are 5 pylons, all of which have to be cleared of the surrounding enemies. If these pylons are not cleared, Immol'thar will not be killable.
There are 3 pylons located in the areas before heading towards Immol'thar, as well as 2 more located directly in his room.
To proceed through the dungeon, you should clear the first area and disable the pylon, before moving on to the side buildings that overlook Tendris Warpwood. Here, you will find the other 2 pylons, as well as 3 of the bosses.
Once these have been cleared, take the tunnel behind where you killed Tendris and you will end up in Immol'thar's room. Disable the 2 pylons and kill him. If you have a Warlock that has the necessary items, you can summon Lord Hel'nurath here.
Head back to where you entered the room and, to the north, there will be another tunnel. Proceed through it to find the final boss, Prince Tortheldrin.
Notable Trash in Dire Maul West
The West wing of Dire Maul features a number of stealthed patrols that can wreak havoc on your group if you do not keep an eye out for them. Pull slowly and ensure that you have cleared a space to fight, rather than simply charging forward.
If you do have CC available, you should use it when possible.
Bosses in Dire Maul West
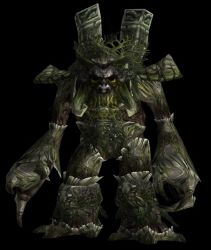
Tendris Warpwood
-
 Entangle
 Grasping Vines
 Trample
 Uppercut
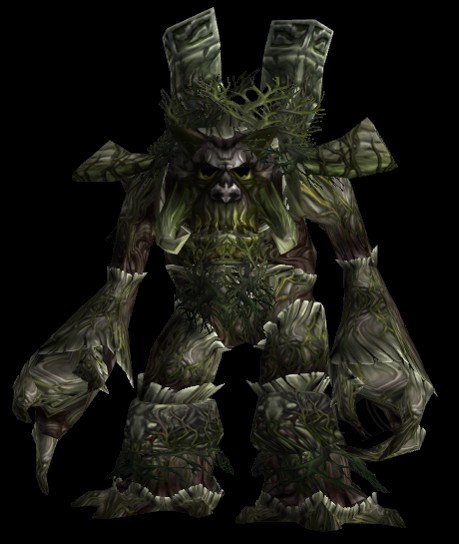
Tendris Warpwood is a Level 60 elite Elemental and is the first boss of the dungeon.
There are no tactics worth mentioning on this boss specifically, but your party should clear the surrounding area before engaging him. If you do not, any remaining Treant trash mobs will join the fight once you pull him.
Loot from Tendris Warpwood
| Item | Required Level | Slot |
|---|---|---|
| 56 | Shield | |
| 56 | Weapon | |
| 57 | Legs | |
| 56 | Waist |
Magister Kalendris
-

 Dominate Mind
 Mind Blast
 Mind Flay
 Shadow Word: Pain
 Shadowform

Magister Kalendris is a Level 59 elite Undead and is the second boss of the dungeon.
This boss is fairly straight forward, with little to do other than dispel his
![]() Shadow Word: Pain when possible. You should save an interrupt for his
Shadow Word: Pain when possible. You should save an interrupt for his
![]() Dominate Mind spell, but you can just burn him down and ignore this
normally.
Dominate Mind spell, but you can just burn him down and ignore this
normally.
Loot from Magister Kalendris
| Item | Required Level | Slot |
|---|---|---|
| 56 | Cloak | |
| 56 | Wrists | |
| N/A | Recipe (Tailoring) | |
| 56 | Neck | |
| 57 | Shoulders | |
| 56 | Trinket |
Tsu'zee (Rare)
-

 Backstab
 Blind
Blind Gouge
Gouge Sinister Strike
Tsu'zee is a Level 59 rare elite Undead that spawns near Magister Kalendris and is normally found accompanied by 2 adds. If she is not present in your run, you will see a normal trash pack in her place in the corner, near the ramp to the upper levels.
There is not much that you can do to help when fighting this boss, beyond ensuring
that you be careful if the healer is targeted by her ![]() Blind.
Blind.
Loot from Tsu'zee
| Item | Required Level | Slot |
|---|---|---|
| 55 | Ring | |
| 55 | Legs | |
| 55 | Hands |
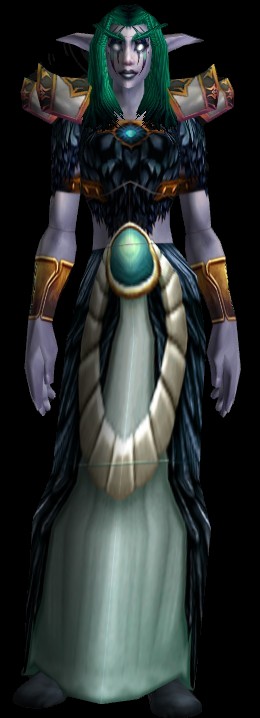
Illyanna Ravenoak and Ferra
-
 Aimed Shot
 Concussive Shot
 Immolation Trap
 Volley

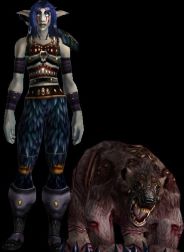
Illyanna Ravenoak is a Level 60 elite Undead and is the third boss of the instance.
Illyanna is a very easy fight, with no mechanics worth mentioning. Simply kill the boss as soon as possible, followed by her pet, Ferra.
Loot from Illyanna Ravenoak
| Item | Required Level | Slot |
|---|---|---|
| N/A | Off-hand ("Love is in the Air"-only) | |
| 56 | Hands | |
| 56 | Weapon | |
| 56 | Gloves | |
| 56 | Legs |
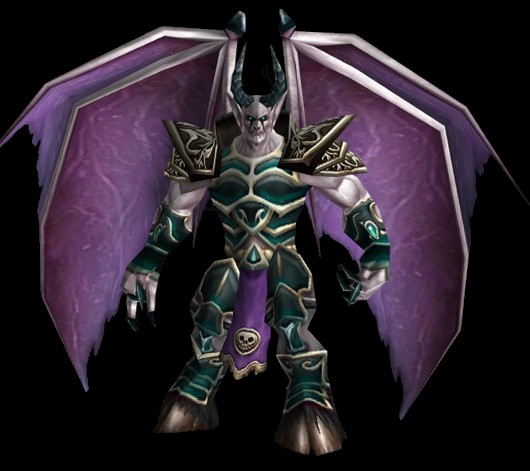
Immol'thar
-
 Enrage
 Eye of Immol'thar
 Infected Bite
 Portal of Immol'thar
- Trample
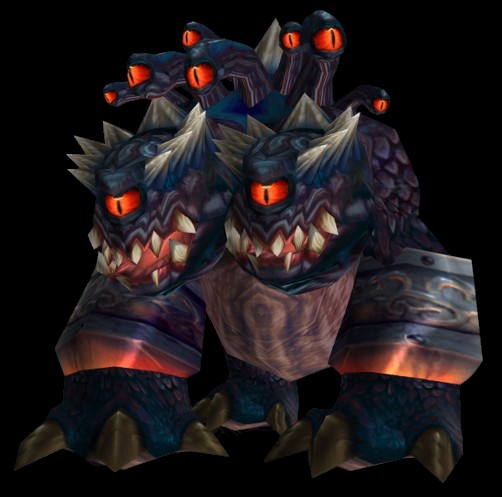
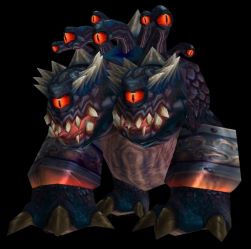
Immol'thar is a Level 61 elite Demon and is the fourth boss of the instance.
This boss can very extremely difficult if you do not have any ranged DPS in your group. Immol'thar will summon Eyes of Immol'thar around the room, which will channel a stacking debuff on a player that increases their casting and attack times, as well as decreasing their movement speed. These need to be killed before the debuff stacks too high.
He will also teleport a random player above the arena and drop them, causing
them to take falling damage. You can try to avoid this as a Mage, for example,
with ![]() Slow Fall or
Slow Fall or ![]() Blink, but you can also just let your healer
heal you up.
Blink, but you can also just let your healer
heal you up.
Loot from Immol'thar
| Item | Required Level | Slot |
|---|---|---|
| 57 | Shoulders | |
| 57 | Weapon | |
| 57 | Cloak | |
| 57 | Wrists | |
| 57 | Neck | |
| 57 | Waist | |
| 57 | Boots | |
| 57 | Hands | |
| 57 | Chest | |
| 57 | Trinket |
Lord Hel'nurath (Requires a Warlock)
-
 Cripple
- Knock Away
 Shadow Bolt Volley
- Shadow Word: Pain
 Sleep
Sleep Veil of Shadow
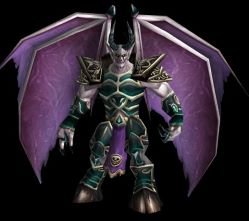
Lord Hel'nurath is a Level 62 elite Demon that can only be summoned
when a Warlock has the ![]() J'eevee's Jar,
J'eevee's Jar, ![]() Black Lodestone, and
Black Lodestone, and
![]() Xorothian Glyphs from their epic mount questline. You will summon him
in the same spot Immol'thar died.
Xorothian Glyphs from their epic mount questline. You will summon him
in the same spot Immol'thar died.
The boss itself is fairly easy, but before fighting him, your party will have
to clear multiple waves of demon trash mobs. These mainly consist of Imps, which
are very easy to kill, with a few harder elite mobs included. A Warlock's
![]() Banish can be very useful here.
Banish can be very useful here.
The final item, ![]() Xorothian Glyphs, will summon a horse which, once
it reaches 50%, will spawn the boss. The boss is very easy and should just be
focused down.
Xorothian Glyphs, will summon a horse which, once
it reaches 50%, will spawn the boss. The boss is very easy and should just be
focused down.
Loot from Hel'nurath
| Item | Required Level | Slot |
|---|---|---|
| 57 | Shoulders | |
| 57 | Shield | |
| 57 | Wrists | |
| 57 | Gun |
Prince Tortheldrin
-
 Arcane Blast
 Counterspell
- Summon
 Thrash
 Whirlwind
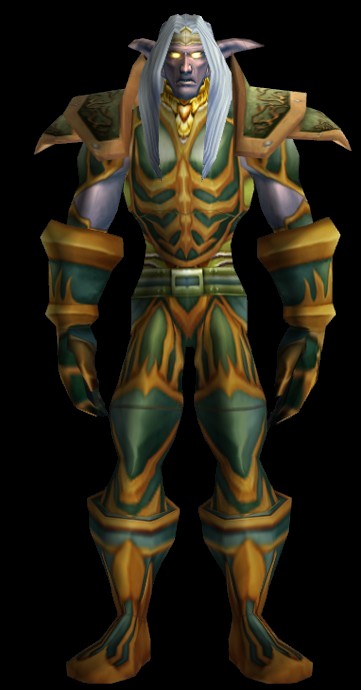
Prince Tortheldrin is a Level 61 elite Humanoid and the final boss of the dungeon.
The only mechanic worth mentioning on this boss is ![]() Arcane Blast. When
this is cast, the DPS should stop attacking until the tank can regain aggro, since
it resets all aggro tables when cast.
Arcane Blast. When
this is cast, the DPS should stop attacking until the tank can regain aggro, since
it resets all aggro tables when cast.
You can avoid the knockback effect by tanking him against the wall, but this is not necessary, it simply makes it easier to regain aggro.
Loot from Prince Tortheldrin
| Item | Required Level | Slot |
|---|---|---|
| 57 | Wrists | |
| 57 | Chest | |
| 57 | Weapon | |
| 57 | Legs | |
| 57 | Ring | |
| 57 | Cloak | |
| 57 | Weapon | |
| 57 | Legs | |
| 57 | Crossbow | |
| 57 | Weapon |
Recommended Classes for Dire Maul West
For this dungeon, we would always recommend bringing at least 1 Rogue, regardless
of the rest of your group setup. They are extremely valuable to have in the group,
due to the vast number of enemies they can crowd-control. They can also allow
you to enter the final part of the instance without the ![]() Crescent Key.
Crescent Key.
Warlocks are also very useful to have, not only for their abilities, but because they can summon an extra boss after killing Immol'thar, Lord Hel'nurath.
Hunters can be extremely useful when trying to protect your party members, as
their ![]() Flare can be used to detect patrols.
Flare can be used to detect patrols.
Changelog
- 18 Nov. 2024: Page updated for Classic Anniversary.
- 09 Jul. 2024: Added section for new loot in Phase 4 of Season of Discovery.
- 05 Apr. 2024: Added boss pictures and abilities.
- 15 Oct. 2019: Page added.