Stratholme Live Dungeon Guide
Stratholme is a single dungeon that is often split by players into 2 wings: the Live and Undead wings. Stratholme Live is recommended for players between Level 55 and 60.
Stratholme was one of the most populous cities of the human kingdoms, but it fell at the hands of the dreadlords and Prince Arthas, whose mind was slowly descending into madness as he began his journey of becoming the Lich King. The Live side of the dungeon has now been taken over by the Scarlet Crusade in their never-ending battle to destroy all remnants of the Scourge on Azeroth.
You can read more about the dungeon in our Stratholme hub guide.
Phase 4 Season of Discovery Loot in DUNGEON NAME
With Phase 4 of Season of Discovery, new loot has been added into DUNGEON NAME to help players prepare for raiding. Below you can find a full list of all of the new loot and each boss they drop from.
Hearthsinger Forresten
| Item |
|---|
Postmaster Malown
| Item |
|---|
Timmy the Cruel
| Item |
|---|
Cannon Master Willey
| Item |
|---|
Balnazzar
| Item |
|---|
Stratholme Live Entrance Location
To enter the Live wing of Stratholme, you can do so via the main entrance of Stratholme, which can be found in the northwest of the Eastern Plaguelands.
The Scarlet Key
In order to unlock the Scarlet Bastion area in the Live wing, players will need
to have ![]() The Scarlet Key, which you can read more about in our
Scarlet Monastery.
The Scarlet Key, which you can read more about in our
Scarlet Monastery.
Stratholme Live Quests
Before setting foot in either of the Stratholme wings, we strongly advise you to get all the dungeon quests related to it. To make this process easier, we have written a separate guide.
Layout of Stratholme Live
When you enter the dungeon, there are two "sides" to the dungeon. You will start in the main area of the city, which is mainly inhabited by ghosts and undead mobs, and encompasses the eastern section of this wing.
The western section of this wing is the Scarlet side, which almost entirely has mobs from the Scarlet Crusade faction.
Head down the main path from the entrance and turn left into a small alcove with a mailbox. Here, you will find the quest target Fras Siabi. If nobody in your group needs to kill him for the quest, you can simply follow the path north instead.
After you have moved through the gate, there will be 2 paths, one to the east and one to the west.
To the east, you will find The Unforgiven, an optional boss, as well as potential rare spawns, and to the west you will find the rest of the dungeon.
If you want to skip The Unforgiven, head west and you will encounter Timmy the Cruel.
From here, head into the Scarlet Crusade's base and past Malor the Zealous until you reach a hallway with 2 exits. The first exist will lead towards Cannon Master Willey and the Crimson Hammersmith, while the second will lead to Archivist Galford and the final boss of the dungeon.
Notable Trash in Stratholme Live
There are a 2 rare mobs in the Live wing of the dungeon.
Skul
-

 Arcane Bolt
 Frost Shock
 Frostbolt
Skul is a Level 58 Undead rare elite that has multiple spawn locations in the main city area.
There are no mechanics worth mentioning on this boss.
Loot from Skul
| Item | Level Requirement | Slot |
|---|---|---|
| 54 | Chest | |
| 52 | Wand | |
| 54 | Hands |
Hearthsinger Forresten
-

 Enchanting Lullaby
 Multi-Shot
Hearthsinger Forresten is a Level 57 Undead rare elite that has multiple spawn locations in the main city area.
The only ability worth mentioning here is ![]() Enchanting Lullaby, which
will put a player to sleep for 10 seconds. Just be wary of this if your healer is
put to sleep.
Enchanting Lullaby, which
will put a player to sleep for 10 seconds. Just be wary of this if your healer is
put to sleep.
Loot from Hearthsinger Forresten
| Item | Level Requirement | Slot |
|---|---|---|
| 54 | Boots | |
| 53 | Trinket | |
| 53 | Waist | |
| 53 | Chest | |
| 53 | Legs |
Bosses in Stratholme Live
New Bosses for Phase 5
Phase 5 brings with it 2 new bosses for Stratholme Live, Jarien and Sothos.
In order to face them, you will need a ![]() Brazier of Beckoning, which you
will either receive as part of the Dungeon Tier 0.5 questline, or after completing
the questline (if you do not receive the quest for Jarien and Sothos).
Brazier of Beckoning, which you
will either receive as part of the Dungeon Tier 0.5 questline, or after completing
the questline (if you do not receive the quest for Jarien and Sothos).
The fight is extremely easy and requires nothing more than a group to kill them. You can find them in Balnazzar's room, where you will need to use the Brazier to summon them.
Loot from Jarien and Sothos
These two bosses will drop their loot in a cache that spawns after they have been defeated, and they share the same loot table.
| Item | Level Requirement | Slot |
|---|---|---|
| 58 | Neck | |
| 57 | Ring | |
| 58 | Chest | |
| 58 | Legs | |
| 58 | Off-Hand |
Bosses Without Loot
Stratholme Live has a number of bosses that only exist for quest purposes and otherwise have no loot.
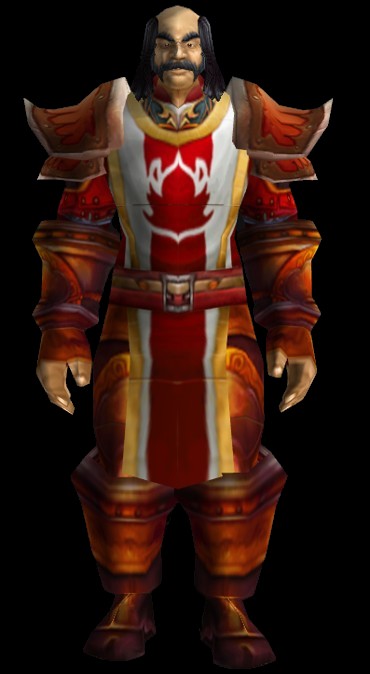
Fras Siabi
Fras Siabi is a Level 61 Undead elite optional boss who must be summoned by clicking on the tobacco box that can be located by turning left at the first fork and then heading into the alcove to the south.
Simply spread out when fighting this boss and clear the area before clicking the mailbox.
He will drop ![]() Siabi's Premium Tobacco for a quest, but otherwise has
no loot.
Siabi's Premium Tobacco for a quest, but otherwise has
no loot.
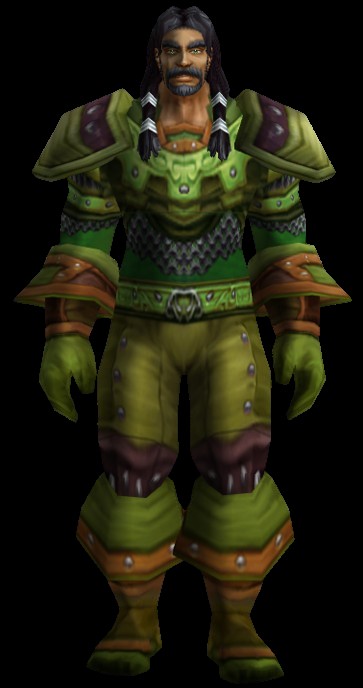
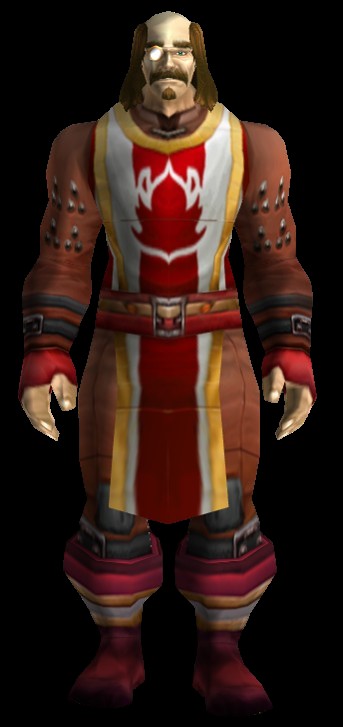
Malor the Zealous
Malor the Zealous is a Level 60 elite Humanoid optional boss that only has to be killed if you are on the quest The Medallion of Faith. He is found on the way through the early parts of the Scarlet area and the medallion is found in a chest behind him.
The only mechanic to be aware of is his heal, but this should cause no issues at all.
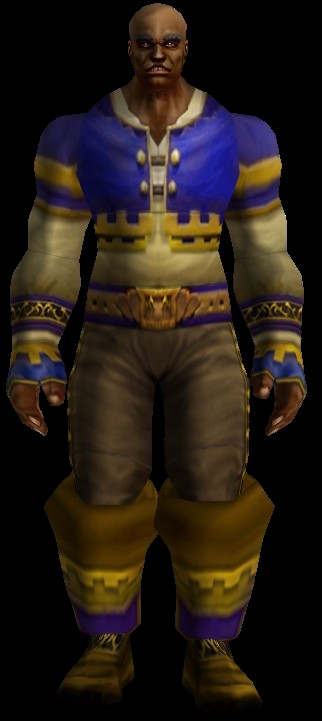
Crimson Hammersmith
The Crimson Hammersmith is a Level 60 elite Humanoid optional boss and can be summoned by clicking on the Blacksmithing plans that are found on the floor on the way to Cannon Master Willey.
This boss has no mechanics whatsoever and his only notable loot is for players
that have the Blacksmithing profession, as he drops
![]() Bottom Half of Advanced Armorsmithing: Volume II. This will allow players to
learn to create
Bottom Half of Advanced Armorsmithing: Volume II. This will allow players to
learn to create ![]() Enchanted Thorium Leggings.
Enchanted Thorium Leggings.
The Unforgiven
-

 Frost Nova

The Unforgiven is a Level 57 Undead elite optional boss that spawns in the northern gateway of the main city area. As soon as you enter this gateway, the boss will attack you with some minor adds, but it has no mechanics worth mentioning. Simply kill the adds and then the boss.
Loot from The Unforgiven
| Item | Level Requirement | Slot |
|---|---|---|
| 52 | Head | |
| 52 | Weapon | |
| 52 | Wrist | |
| 52 | Shoulder | |
| 54 | Hands |
Postmaster Malown
-

 Backhand
 Curse of Tongues
 Curse of Weakness
 Fear
Fear
Postmaster Malown is a Level 60 Undead elite and is an optional boss that players will have to summon by going through the postboxes of the instance.
In order to do so, you will need to kill the Stratholme Couriers that roam the main city area and loot the postbox keys that they drop.
Use these keys to open the postboxes until you have opened 3, at which point Malown will spawn. He has a few abilities, but none of them are worth mentioning as they not particularly problematic.
Loot from Postmaster Malown
| Item | Level Requirement | Slot |
|---|---|---|
| 56 | Weapon | |
| 56 | Head | |
| 56 | Ring | |
| 56 | Boots | |
| 56 | Legs | |
| 56 | Chest |
Timmy the Cruel
-

 Enrage
 Ravenous Claw
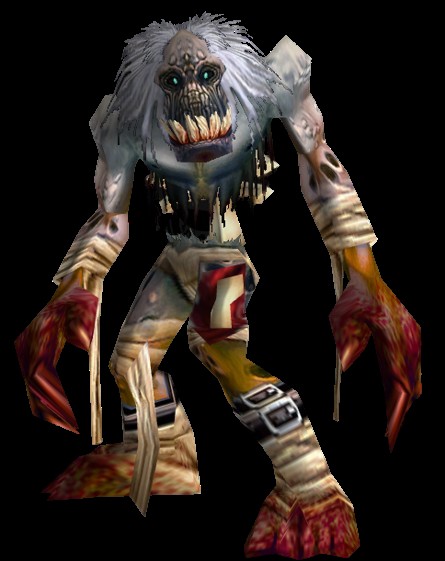
Timmy the Cruel is a Level 58 Undead rare elite boss, but is not actually a rare spawn. He is always present in the dungeon.
Clear the courtyard up to the door to the Scarlet building, but do not open it. Timmy will come up behind you and you can kill him. He has no abilities worth mentioning.
Loot from Timmy the Cruel
| Item | Level Requirement | Slot |
|---|---|---|
| 54 | Waist | |
| 54 | Hands | |
| 56 | Weapon | |
| 54 | Feet | |
| 54 | Wrist |
Cannon Master Willey
-
 Knock Away
 Summon Crimson Rifleman
Cannon Master Willey is a Level 60 humanoid elite boss and, during the course of his fight, will spawn a number of adds. Simply AoE the adds down or use the cannon balls and cannons to kill them.
There are no other mechanics worth mentioning on this boss.
Loot from Cannon Master Willey
| Item | Level Requirement | Slot |
|---|---|---|
| 56 | Waist | |
| 56 | Trinket | |
| 56 | Neck | |
| 56 | Head | |
| 56 | Shoulder | |
| 56 | Feet | |
| 56 | Projectile | |
| N/A | Blacksmithing Plans | |
| 56 | Weapon | |
| 55 | Shoulder | |
| 56 | Weapon | |
| 56 | Gun |
Archivist Galford
-

 Burning Winds
 Fire Nova
Archivist Galford is a Level 60 Humanoid elite boss found in a room opposite the final boss' room.
The only mechanic worth mentioning here is the ![]() Burning Winds, which
will deal a large amount of damage to his target and stun them. Your healer just
needs to be aware of this debuff and be ready to heal through it.
Burning Winds, which
will deal a large amount of damage to his target and stun them. Your healer just
needs to be aware of this debuff and be ready to heal through it.
Loot from Archivist Galford
| Item | Level Requirement | Slot |
|---|---|---|
| 56 | Back | |
| 56 | Feet | |
| 54 | Hands | |
| 56 | Waist | |
| 56 | Off-hand |
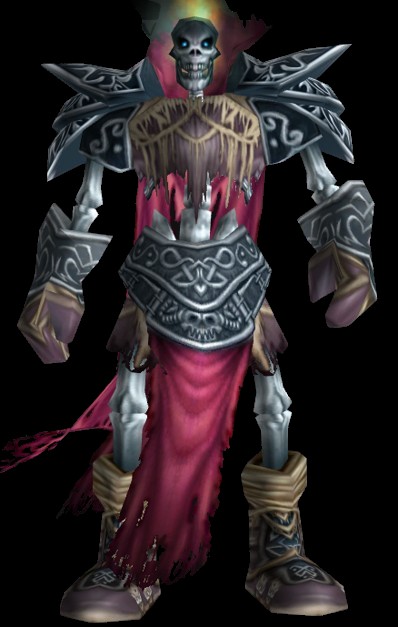
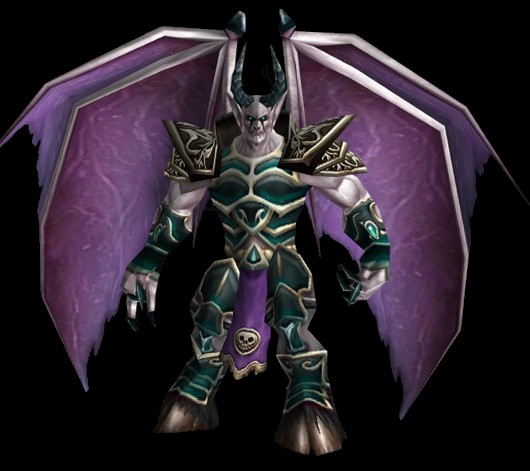
Grand Crusader Dathrohan and Balnazzar
- Grand Crusader Dathrohan
 Crusader Strike
 Crusader's Hammer
 Holy Strike

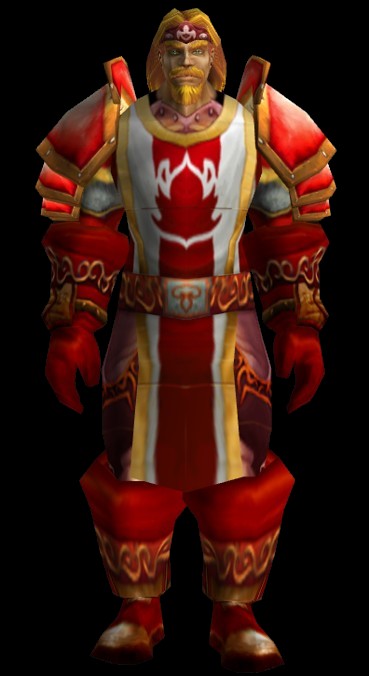
Grand Crusader Dathrohan is a Level 62 Humanoid elite boss and is one of the two final bosses of this section of the dungeon. Acting as the leader of the Scarlet Crusade, Grand Crusader Dathrohan will use Paladin-like abilities.
The fight against Grand Crusader Dathrohan is easy, with very little to worry about until he reaches 50% HP and reveals his true form, transforming into Balnazzar.
- Balnazzar
 Domination
- Mind Blast
 Psychic Scream
 Shadow Shock
 Sleep
Sleep
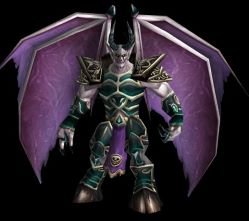
Any ranged players and your healer will need to try and stay as far away from
the boss as possible to avoid ![]() Psychic Scream. Other than this, there is
very little to the fight beyond trying to CC any player targeted by
Psychic Scream. Other than this, there is
very little to the fight beyond trying to CC any player targeted by ![]() Domination.
Mages are very useful on this fight, as they can sheep the
target.
Domination.
Mages are very useful on this fight, as they can sheep the
target.
Loot from Grand Crusader Dathrohan and Balnazzar
| Item | Level Requirement | Slot |
|---|---|---|
| 58 | Head | |
| 58 | Weapon | |
| 58 | Feet | |
| 58 | Weapon | |
| 58 | Head | |
| 58 | Weapon | |
| 54 | Feet | |
| 58 | Shoulder | |
| 58 | Neck | |
| 58 | Shoulder | |
| 58 | Off-hand | |
| N/A | Tailoring Recipe |
Recommended Classes for Stratholme Live
The Live side of Stratholme has a variety of undead and humanoid mobs, so a healthy mix of CC for each mob type will help your group greatly.
Priests are a great choice for your healer, not only
because of their solid output, but their ![]() Shackle Undead is extremely
useful to CC enemies without any chance of them pulling more enemies.
Shackle Undead is extremely
useful to CC enemies without any chance of them pulling more enemies.
A Rogue or Mage can also help your group a great deal with their CC for humanoid enemies.
Changelog
- 18 Nov. 2024: Page updated for Classic Anniversary.
- 09 Jul. 2024: Added section for new loot in Phase 4 of Season of Discovery.
- 05 Apr. 2024: Added boss pictures and abilities.
- 24 Jul. 2020: Added new bosses for Phase 5.
- 30 Oct. 2019: Guide added.
This guide has been written by Abide, TBC veteran for nearly a decade. Abide is a Warrior tank and multi-class expert currently playing on Faerlina as Horde. You can find him in the the Icy Veins Discord. You can also see him live on Twitch.
- Burning Crusade Classic Phase 2 Now Live: Here’s What to Expect
- Did Blizzard Just Quietly Invite Creators to Play WoW Classic’s Next Chapter?
- WoW Weekly Returns: Patch 12.0.5, Twitch Drops & Classic Updates
- WoW BCC Anniversary Edition: Overlords of Outland – Everything Coming May 14
- Battleground Honor Significantly Increased
- Limited-Time Mount Alert: Get the Voidfeather Dragonhawk for TBC Classic Servers Now!
- Could WoW Be Added to Xbox Game Pass Ultimate?
- MoP Classic Escalation PTR Update Details New Content