
Ragefire Chasm is the first Horde 5-man dungeon that players will encounter. The recommended level to run this dungeon is between 13 and 16, while the minimum to enter is Level 10. You will want to set aside 45 minutes to an hour to complete this dungeon.
The dungeon is home to the hostile Troggs and the followers of the Burning Blade who have begun to explore the area. In this guide, we will cover what group composition is best, loot that will drop from bosses, quests, and strategies for each boss.
Ragefire Chasm Entrance Location
The portal leading to the dungeon is located within the Cleft Of Shadow, next to Neeru Fireblade's tent in the city of Orgrimmar. While the dungeon's entrance is easy to reach for Horde players, Alliance players will have a harder time and should refer to the images below.
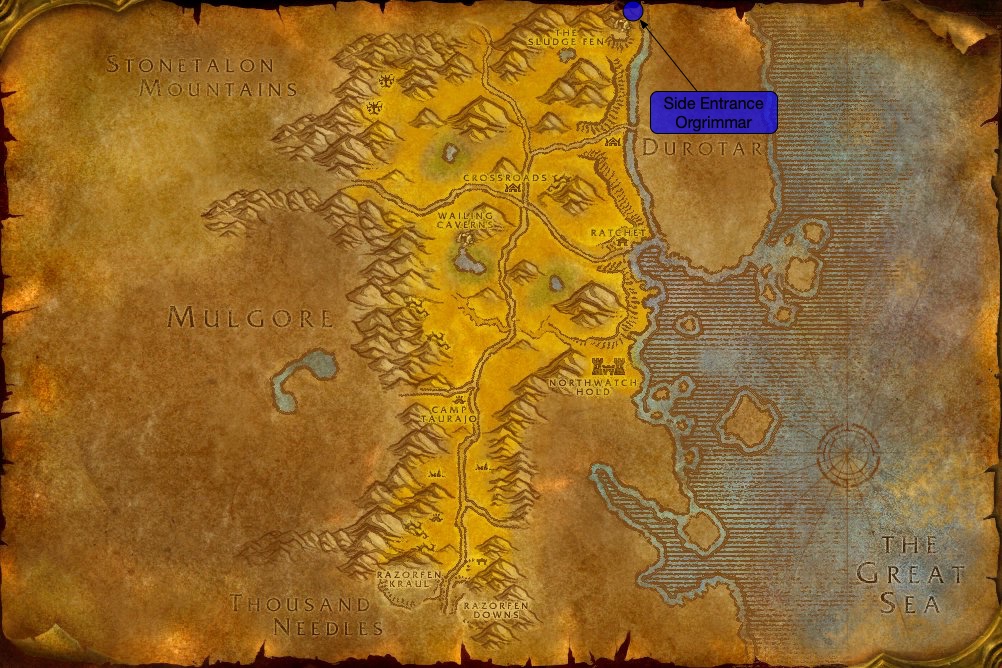
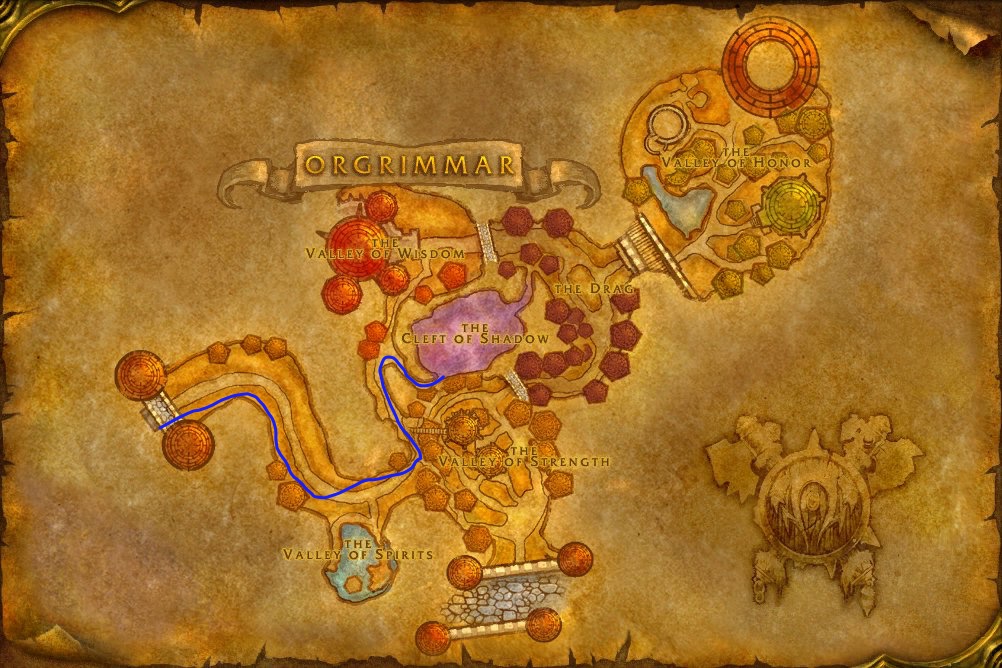
Alliance players need to take the side entrance to Orgrimmar, shown on one of the images above. You enter Orgrimmar by crossing a bridge from the Barrens over the Southfury river. Once in Orgrimmar, you need to walk/run along the edges of the path to avoid aggroing guards. Once inside Orgrimmar, take the first path to the left, which will lead you to the western entrance of the Cleft of Shadow. You can refer to this video, for a more visual guidance.
Ragefire Chasm Quests
Before setting foot in Ragefire Chasm, we strongly advise you to get all the dungeon quests related to it. To make this process easier, we have written a separate guide.
Layout of Ragefire Chasm
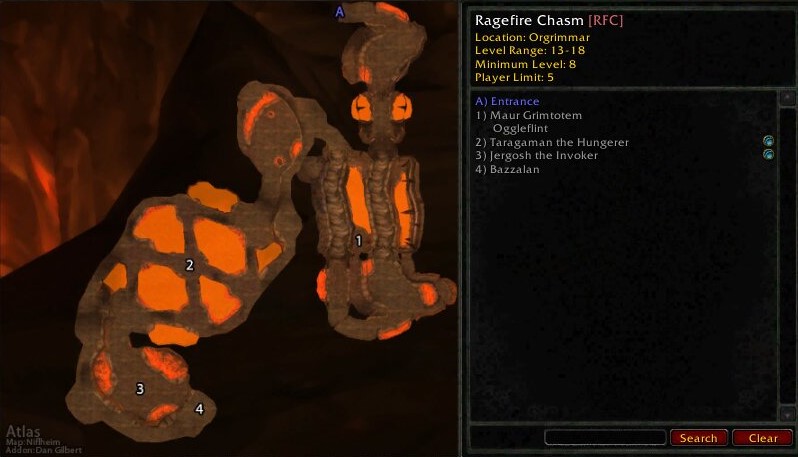
The layout of the dungeon is linear with each boss following the previous one.
Bosses in Ragefire Chasm
Oggleflint
-

 Cleave
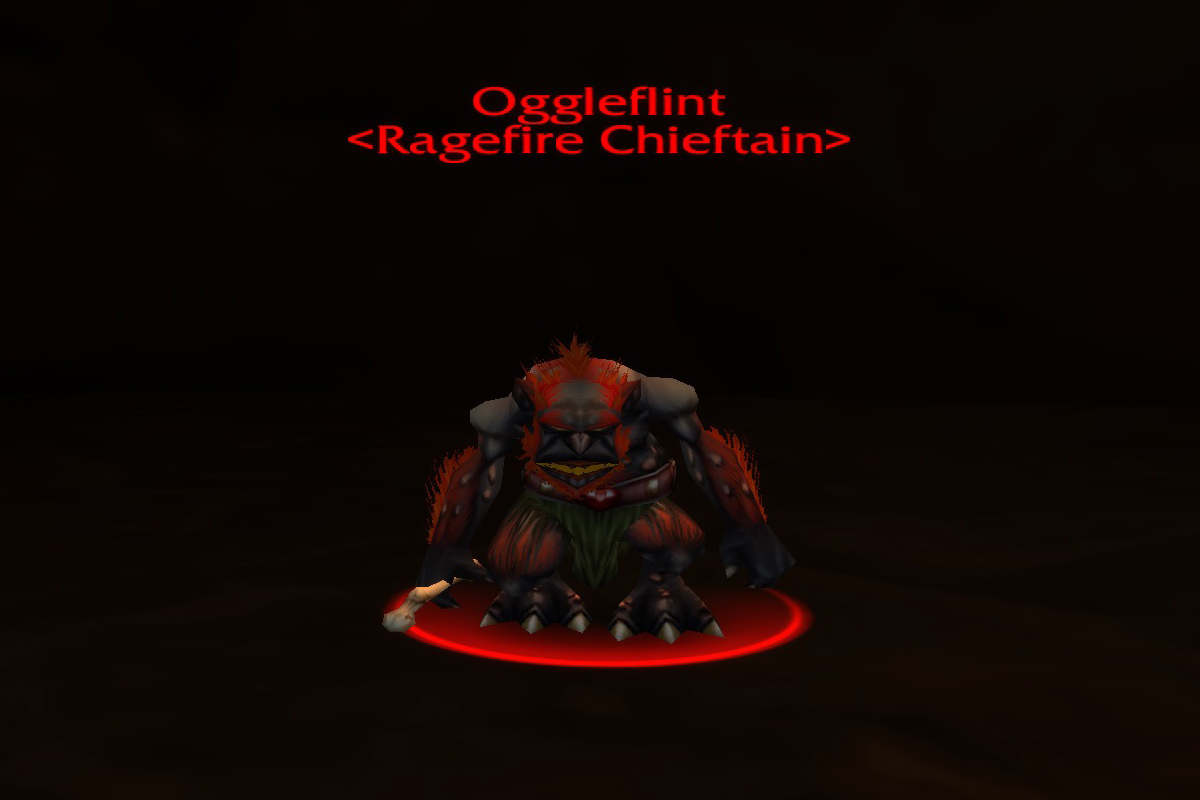
Oggleflint will be the first boss you encounter. Oggleflint is a Level 16 elite Trogg that is located to the right of the large Trogg room. The strategy for Oggleflint is pretty simple and easy if the mechanics are followed. Oggleflint has 2 Troggs in his room, so you will need to make sure to Crowd Control (CC) at least one of the Troggs before attempting to engage Oggleflint.
At the start of the fight, allow the tank to pick up the other Trogg
and face Oggleflint away from group to avoid ![]() Cleave. DPS will need to be
focused on burning down the first Trogg before switching to attack Oggleflint.
After Oggleflint has fallen, remember to burn down the CC-ed Trogg before
continuing the dungeon.
Cleave. DPS will need to be
focused on burning down the first Trogg before switching to attack Oggleflint.
After Oggleflint has fallen, remember to burn down the CC-ed Trogg before
continuing the dungeon.
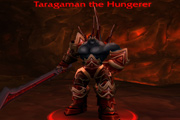
Taragaman the Hungerer
-
 Fire Nova
 Uppercut
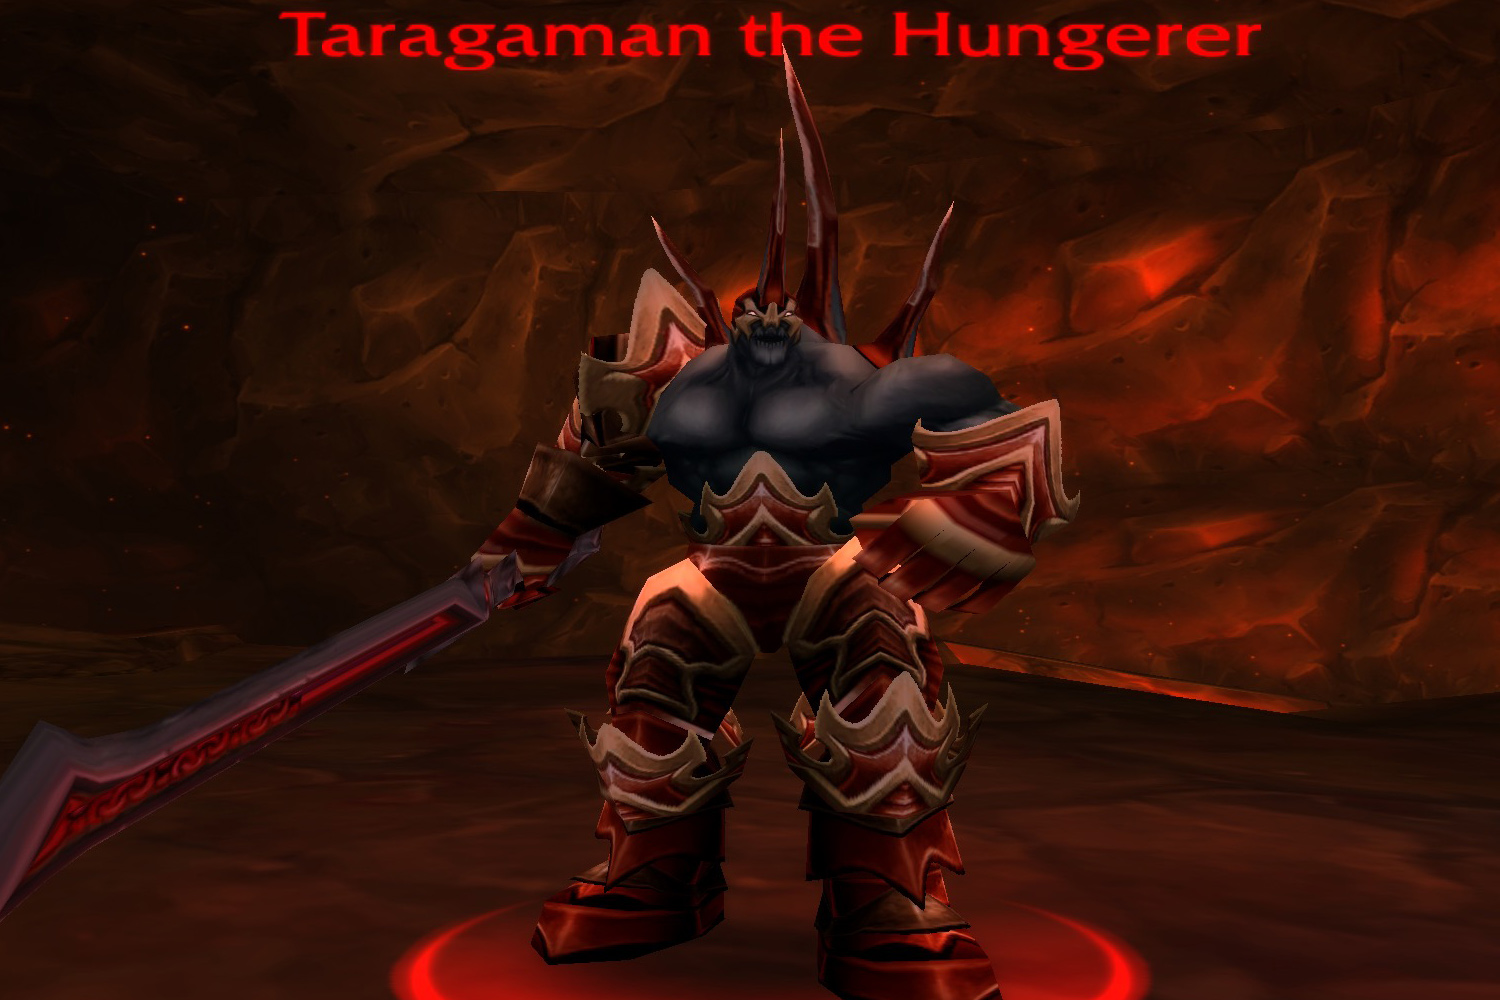
Taragaman the Hungerer is the second boss of the instance. Taragaman is a Level 16 elite demon that can be found in the center of the second to last room. The area that holds this particular boss is made of bridges that interlace with each other over a large pool of lava. Before beginning the encounter, it is advised to clear the trash mobs that are not only in the 4 corners of the room, but also those that patrol the area. After clearing all the trash, you can begin to make your way to the center of the room.
When starting the fight, make sure that your tank pulls him away from the
edges of the area so that his knockback, ![]() Uppercut, does not knock the
tank or ranged off of the platform. Taragaman also has an AoE spell,
Uppercut, does not knock the
tank or ranged off of the platform. Taragaman also has an AoE spell, ![]() Fire Nova,
so make sure that any ranged players are at max range to receive minimal damage.
This boss can be difficult for those who are new to the game and learning
how mechanics can work. If you have the quest pertaining to this boss, you will
be able to pick up the quest item once Taragaman has been defeated.
Fire Nova,
so make sure that any ranged players are at max range to receive minimal damage.
This boss can be difficult for those who are new to the game and learning
how mechanics can work. If you have the quest pertaining to this boss, you will
be able to pick up the quest item once Taragaman has been defeated.
Loot from Taragaman the Hungerer
| Item | Required Level | Slot |
|---|---|---|
| 13 | Cloth Wrist | |
| 13 | One-Hand Sword | |
| 13 | Cloak |
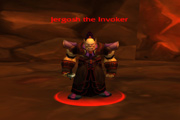
Jergosh the Invoker
-
 Curse of Weakness
 Immolate

Jergosh the Invoker is a Level 16 Orc Warlock that is located in the
final room of the instance. Like Oggleflint, Jergosh has two mobs that are with
him and one should be CC-ed while the other is burned down, before switching to
Jergosh. Jergosh will have two abilities, which are ![]() Immolate and
Immolate and
![]() Curse of Weakness. These two abilities can be a bit of an issue for tanks
wanting to generate threat and it will be an intense fight for healers. If
you are careful and work through the fight together, this boss should be another
easy encounter for you and your party.
Curse of Weakness. These two abilities can be a bit of an issue for tanks
wanting to generate threat and it will be an intense fight for healers. If
you are careful and work through the fight together, this boss should be another
easy encounter for you and your party.
Loot from Jergosh the Invoker
| Item | Required Level | Slot |
|---|---|---|
| 13 | Mail Wrist | |
| 13 | One-Hand Dagger | |
| 13 | Cloth Chest |
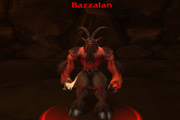
Bazzalan
-
 Deadly Poison
 Sinister Strike
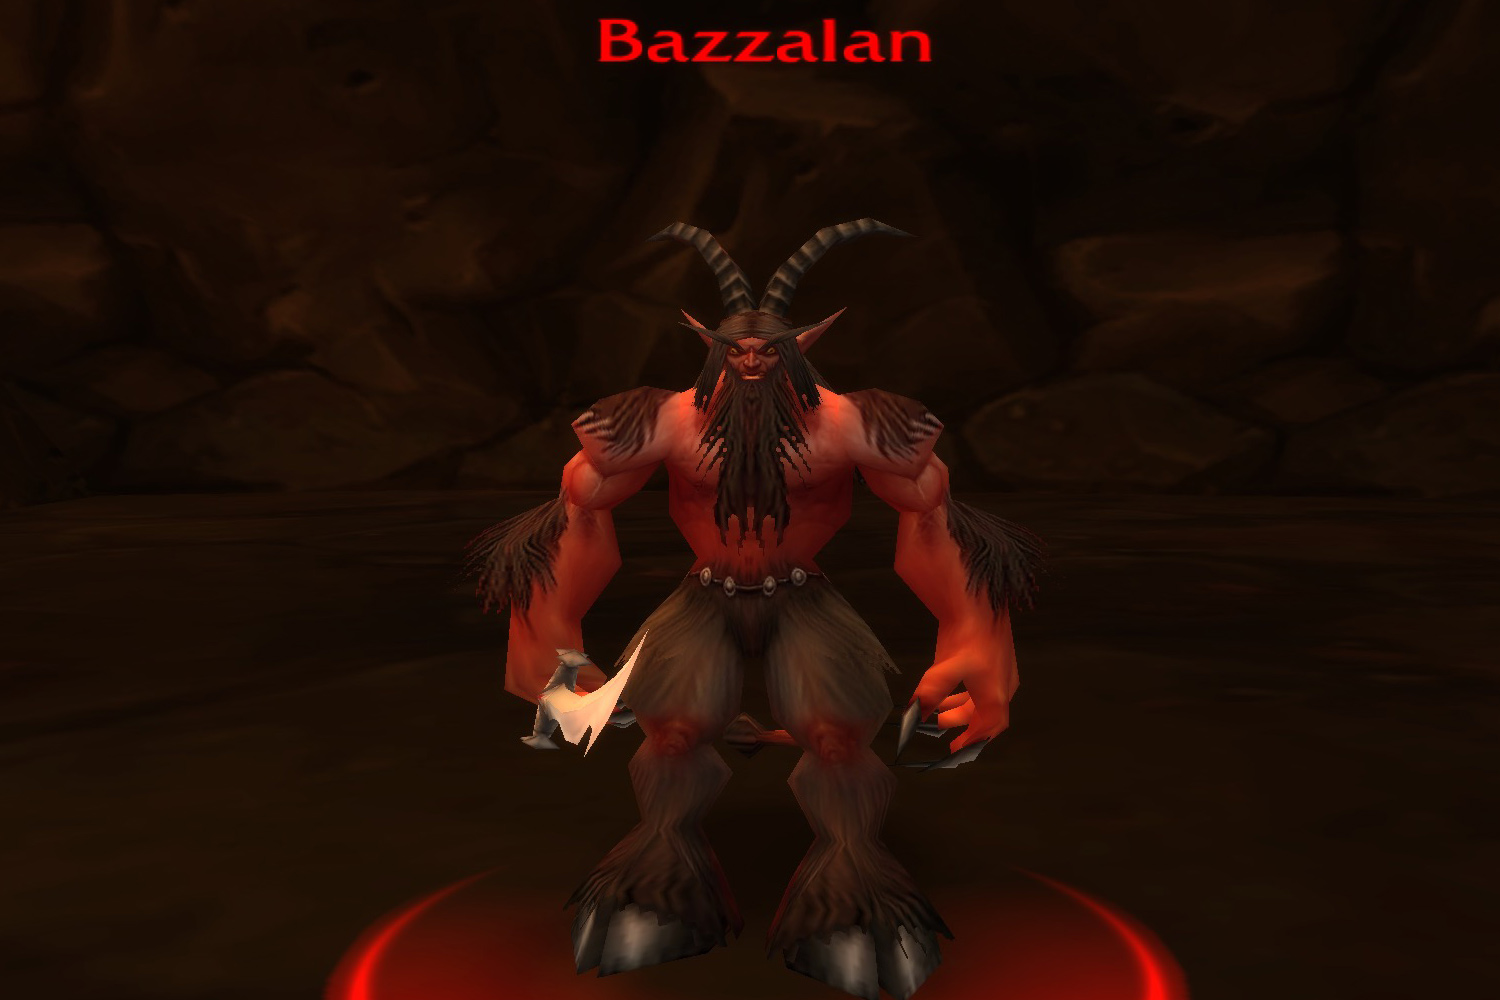
Bazzalan is the last boss encounter of the dungeon. Bazzalan is a
Level 16 elite Satyr located on the upper ramp near the end of the instance.
Bazzalan has two abilities, ![]() Sinister Strike and
Sinister Strike and ![]() Deadly Poison.
Just like the previous bosses, Bazzalan is surrounded by two
Searing Blade Cultists. The
Cultist on the left can be aggroed without engaging the boss or the other Cultist.
It is best to CC the Cultist on the right so that the party can focus on burning
down Bazzalan, as he deals a significant amount of single-target damage. If done
correctly, this boss should be an easy win for you.
Deadly Poison.
Just like the previous bosses, Bazzalan is surrounded by two
Searing Blade Cultists. The
Cultist on the left can be aggroed without engaging the boss or the other Cultist.
It is best to CC the Cultist on the right so that the party can focus on burning
down Bazzalan, as he deals a significant amount of single-target damage. If done
correctly, this boss should be an easy win for you.
Building a Group Composition
In this section, we will quickly go over what each role does and what we recommend for each role. If this is your first time playing through World of Warcraft, then please read on. If this is not your first dungeon and you have got a general grasp on how mechanics and structure work, then you can skip this section.
As a Tank, you will be pulling the mobs and bosses within the dungeon. It is very important that you allow the tank to build the initial aggro, so that they can keep the boss or the mobs away from the rest of the party. You will want to find a Warrior for this dungeon, as they are able to keep the threat off of your healer and can pull using minimal Rage.
For Healers, this role is self-explanatory and will not need a full explanation as to what they do. To complete this dungeon, we do recommend either a Druid or Priest healer, as they both can do the job at an above par level.
Crowd Control is about abilities and spells that
help to deal with multiple mob pulls. For example, if the Warrior were to try and
pull one mob, but accidentally pulls a group of three mobs, then we would want to
use a crowd control spell. Instead of fighting off all three mobs, which would increase
the damage done to your gear and your chances of dying, you can use a crowd
control spell, such as ![]() Polymorph or
Polymorph or ![]() Sap. For this
dungeon, we recommend having either a Rogue or Mage; if you can get yourself
both, that is even better.
Sap. For this
dungeon, we recommend having either a Rogue or Mage; if you can get yourself
both, that is even better.
Lastly, we will cover Damage Dealers. When questing outside of dungeons, killing monsters fast is what you are aiming for. It means you can complete your quests sooner and level up at a more rapid pace. This is true while doing dungeons as well. We recommend any ranged damage dealers, such as a Warlock, Mage, and Hunter. Once you have filled your three main roles, which is what we discussed above, make sure to find other damage dealers to fill the spots in your group.
Changelog
- 18 Nov. 2024: Page updated for Classic Anniversary.
- 05 Apr. 2024: Added boss pictures and abilities.
- 23 Sep. 2019: Removed quest loot and quests section, added link to Ragefire Chasm quests guide.
- 20 Jun. 2019: Page added.


