Wailing Caverns Dungeon Guide
Wailing Caverns is one of the earlier dungeons that both Alliance and Horde players will encounter, given its recommended level range of 17-23. Your group will be able to comfortably clear the instance within an hour.
The caverns are home to a group of druids, led by Naralex, who believed the incredible wildlife within was the key to restoring the Barrens' environment. He chose to use the Emerald Dream to attempt this feat, but soon found himself corrupted by nightmares and the once tranquil caves felt the corruption equally. Those inside quickly succumbed to the nightmares, with docile creatures turning into vicious beasts and the former acolytes of Naralex turning into the Druids of the Fang.
Wailing Caverns Entrance Location
The entrance to the Wailing Caverns instance is located in The Barrens, to the south-west of the Crossroads. Head to the northern side of the oasis and you will find a large rock formation that leads into a cave. Once inside, take a right at the first intersection, followed by a left, which will lead you to an area of shallow water.
Proceed straight ahead, following the curving tunnel until it opens up into a large cavern, with a pool of water and large plants. Follow the path to your right that leads down towards the dungeon entrance, which will be at the bottom of the path.
Wailing Caverns Quests
Before setting foot in the Wailing Caverns, we strongly advise you to get all the dungeon quests related to it. To make this process easier, we have written a separate guide.
Layout of Wailing Caverns
This dungeon can be very difficult to navigate, so it is advised to follow the route below:
- Follow the winding path from the entrance to the dungeon until you reach an open cavern with a river running through the middle.
- Look for the first boss, Lady Anacondra, who can spawn in any of the rings of torches located on the top part of the cavern.
- Once you have killed Anacondra, jump into the river and head to the west side of the instance, following the winding path through the dungeon until you reach Lord Cobrahn, the second boss.
- Once he is dead, jump off the cliff opposite the boss (use the small ledge to help your descent) and make your way back up the river to the east side of the dungeon.
- Along the way, you will find Kresh in the river, who you should kill, despite his neutral status.
- Continue moving east from the river through the caverns until you reach Lord Pythas, the next boss.
- After killing him, continue advancing in the same direction. You will eventually encounter Skum. You can skip this boss, but it is a very easy fight on the way to the next boss.
- Once Skum is dead or has been skipped, continue moving through the caverns until you reach Lord Serpentis and Verdan the Everliving, who are both located in the same room. Kill Serpentis first, followed by Verdan.
- Once Verdan is dead, you can use the shortcut located directly behind him to return to the river. Simply jump off the cliff into the water below and then proceed back to the starting cavern.
- Return to the entrance of the dungeon and speak to the Disciple of Naralex, who you will have to escort to the final boss, Mutanus the Devourer.
Notable Trash in Wailing Caverns
The most dangerous mobs throughout the dungeon's trash are the
Druid of the Fang. Make sure to interrupt their casts whenever possible
to prevent their healing (![]() Healing Touch). You should also ensure that
you either dispel
Healing Touch). You should also ensure that
you either dispel ![]() Druid's Slumber or use a Shaman's
Druid's Slumber or use a Shaman's ![]() Tremor Totem
(if you are Horde), otherwise your group may end up being overwhelmed.
Tremor Totem
(if you are Horde), otherwise your group may end up being overwhelmed.
The only rare elite in the dungeon is the Deviate Faerie Dragon, which can be found in numerous spots through the dungeon. It has no mechanics required to kill it.
Bosses in Wailing Caverns
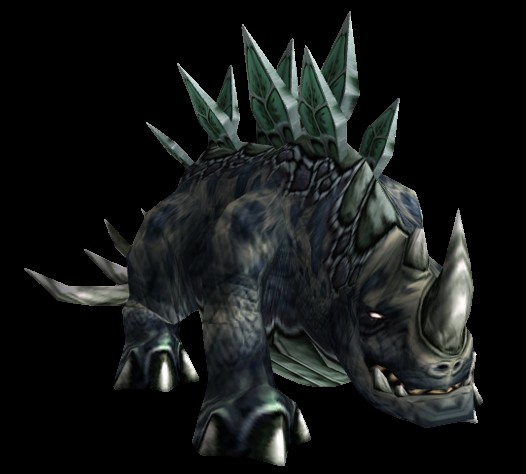
Kresh

Kresh is a neutral Level 20 elite beast, meaning he is optional and can be skipped. If you have no tank shield users, you should skip this boss.
Loot from Kresh
| Item | Required Level | Slot |
|---|---|---|
| 15 | Off Hand | |
| 15 | Off Hand |
Lady Anacondra
-

 Healing Touch
 Lightning Bolt
 Sleep
Sleep Thorns Aura

Lady Anacondra is the first boss in the dungeon and is a Level 20 elite humanoid. She can spawn anywhere on the top level of the first cavern the players enter, as long as there is a circle of torches there.
Clear the trash around the boss before pulling her, since there are numerous
raptors located in her vicinity. Other than this, the only other real mechanic
in the fight is her ![]() Sleep. This should be dispelled whenever
possible or removed by a Shaman's
Sleep. This should be dispelled whenever
possible or removed by a Shaman's ![]() Tremor Totem.
Tremor Totem.
Loot from Lady Anacondra
| Item | Required Level | Slot |
|---|---|---|
| 18 | Shoulder | |
| N/A | Bag | |
| 16 | Waist |
Lord Cobrahn
-

 Cobrahn Serpent Form
- Druid's Slumber
- Healing Touch
- Lightning Bolt

Lord Cobrahn is the second boss of the instance and is a Level 20 elite humanoid.
Loot from Lord Cobrahn
| Item | Required Level | Slot |
|---|---|---|
| 17 | Chest | |
| 19 | Waist | |
| 18 | Legs |
Lord Pythas
-
 Healing Touch
- Lightning Bolt
- Sleep
 Thunderclap

Lord Pythas is the third boss of the instance and is a Level 21 elite humanoid.
Make sure to interrupt the boss' casts of ![]() Healing Touch and avoid
his
Healing Touch and avoid
his ![]() Thunderclap if you are ranged.
Thunderclap if you are ranged.
Loot from Lord Pythas
| Item | Required Level | Slot |
|---|---|---|
| 18 | Chest | |
| 19 | Weapon |
Skum
-

 Chained Bolt
Skum is a Level 21 elite beast and, like Kresh, is another skippable boss.
The boss casts ![]() Chained Bolt, which deals very minor AoE damage to
players, but it can be mostly ignored and healed through.
Chained Bolt, which deals very minor AoE damage to
players, but it can be mostly ignored and healed through.
Loot from Skum
| Item | Required Level | Slot |
|---|---|---|
| 17 | Weapon | |
| 17 | Back |
Lord Serpentis
-
 Healing Touch
- Lightning Bolt
- Sleep

Lord Serpentis is the fourth boss of the instance and the final member of the leaders of the Fang. He is a Level 21 elite humanoid.
The only real mechanic in this fight is his ![]() Sleep, which should be
dispelled whenever possible or removed by a Shaman's
Sleep, which should be
dispelled whenever possible or removed by a Shaman's ![]() Tremor Totem.
Tremor Totem.
Loot from Lord Serpentis
| Item | Required Level | Slot |
|---|---|---|
| 18 | Feet | |
| 18 | Hands | |
| 18 | Feet | |
| 19 | Weapon |
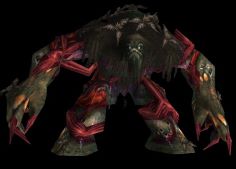
Verdan the Everliving
-
 Grasping Vines
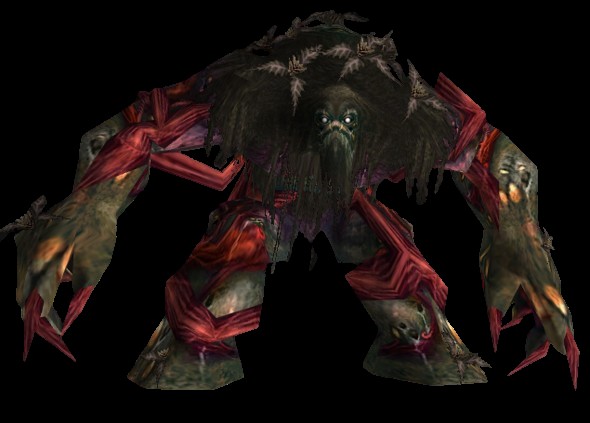
Verdan the Everliving is the fifth boss of the instance and is much harder than the previous bosses. He is a Level 21 elite elemental.
The boss has a very large health pool, meaning your DPS will need to be able to kill him before your healer runs out of Mana. This will be far more challenging than on previous bosses, as Verdan deals far more damage than the Fang's leaders.
The main danger of this boss is his melee hits, which will deal very heavy amounts of damage even to Warriors that are tanking with shields equipped. Verdan will also cast a stomp that deals damage in an area around him and roots players hit by it. Ranged players should stay out of melee range to avoid this.
Loot from Verdan the Everliving
| Item | Required Level | Slot |
|---|---|---|
| 18 | Back | |
| 20 | Off Hand | |
| 20 | Weapon |
Mutanus the Devourer
-
 Naralex's Nightmare
 Terrify
- Thundercrack

Mutanus the Devourer is the final boss of the instance and will be engaged while trying to wake Naralex up. He is a Level 22 elite Murloc.
Players will need to kill the waves of adds that spawn in order to force Mutanus to spawn.
Players that are put to sleep with ![]() Naralex's Nightmare will need to
be attacked to break the CC. Ranged players should stay away from the boss to
avoid damage from
Naralex's Nightmare will need to
be attacked to break the CC. Ranged players should stay away from the boss to
avoid damage from ![]() Thundercrack.
Thundercrack.
Loot from Mutanus the Devourer
| Item | Required Level | Slot |
|---|---|---|
| 21 | Ring | |
| 22 | Shoulder | |
| 23 | Chest |
Recommended Classes for Wailing Caverns
Given the high number of humanoid mobs throughout this dungeon, Rogues and
Mages are great choices as DPS, since their CC (![]() Sap and
Sap and
![]() Polymorph, respectively) can be used frequently here. Druids can also
use
Polymorph, respectively) can be used frequently here. Druids can also
use ![]() Hibernate on the beasts in the dungeon.
Hibernate on the beasts in the dungeon.
Given the large amount of CC used by the trash and bosses in this dungeons,
Shamans are a great pick for Horde groups, since their ![]() Tremor Totem
will be used constantly.
Tremor Totem
will be used constantly.
Warriors are a great pick for tanking this dungeon, assuming they are using a shield, since there are multiple mobs that hit extremely hard later into the dungeon.
Priests are a great choice for this dungeon, as they are the only class out of the healers that can dispel the huge number of sleep effects throughout the instance at Level 18.
Changelog
- 18 Nov. 2024: Page updated for Classic Anniversary.
- 05 Apr. 2024: Added boss pictures and abilities.
- 09 Oct. 2019: Moved quests to Wailing Caverns quest page.
- 16 Aug. 2019: Added notable quest loot.
- 14 Aug. 2019: Guide added.
Classic Leveling Guides
Classic Dungeon Guides
This guide has been written by Abide, TBC veteran for nearly a decade. Abide is a Warrior tank and multi-class expert currently playing on Faerlina as Horde. You can find him in the the Icy Veins Discord. You can also see him live on Twitch.
- Burning Crusade Classic Phase 2 Now Live: Here’s What to Expect
- Did Blizzard Just Quietly Invite Creators to Play WoW Classic’s Next Chapter?
- WoW Weekly Returns: Patch 12.0.5, Twitch Drops & Classic Updates
- WoW BCC Anniversary Edition: Overlords of Outland – Everything Coming May 14
- Battleground Honor Significantly Increased
- Limited-Time Mount Alert: Get the Voidfeather Dragonhawk for TBC Classic Servers Now!
- Could WoW Be Added to Xbox Game Pass Ultimate?
- MoP Classic Escalation PTR Update Details New Content