Atal'Dazar Dungeon Guide: Location, Boss Strategies, Trash, and Loot
Welcome to our guide to the Atal'Dazar dungeon in Season 3 of the Dragonflight World of Warcraft expansion. This guide will cover everything you need to know about the dungeon, including how to get to it, its layout, the trash and boss mechanics within, and its loot.
Short Introduction
This guide will focus on an extensive overview of the dungeon, providing vital information to increase your chance of completing the key. We will cover all 4 boss fights supported by the most notable trash enemies in the dungeon and their important abilities. If you would like to learn about the rest of the dungeons in Mythic+, please see our overviews linked below.
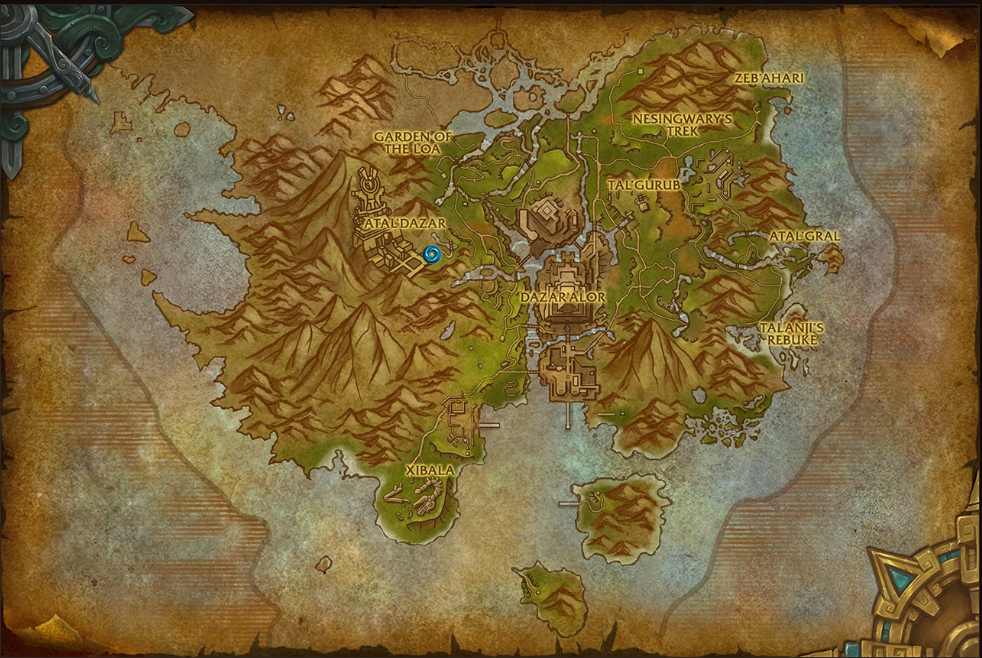
Getting into Atal'Dazar
Atal'Dazar is a max-level dungeon in Zuldazar, Zandalar.
The dungeon is available in both ![]() Mythic and Mythic+ mode.
Mythic and Mythic+ mode.
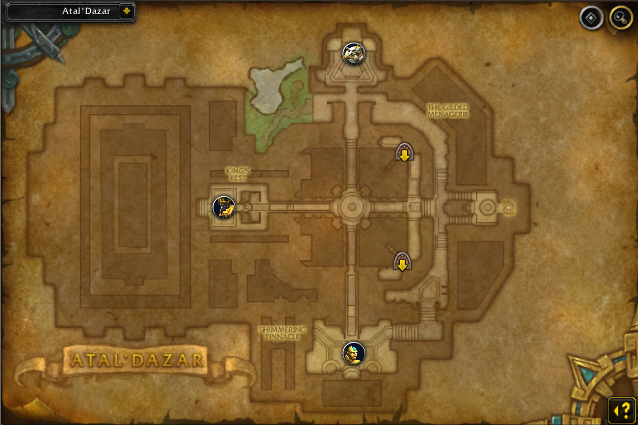
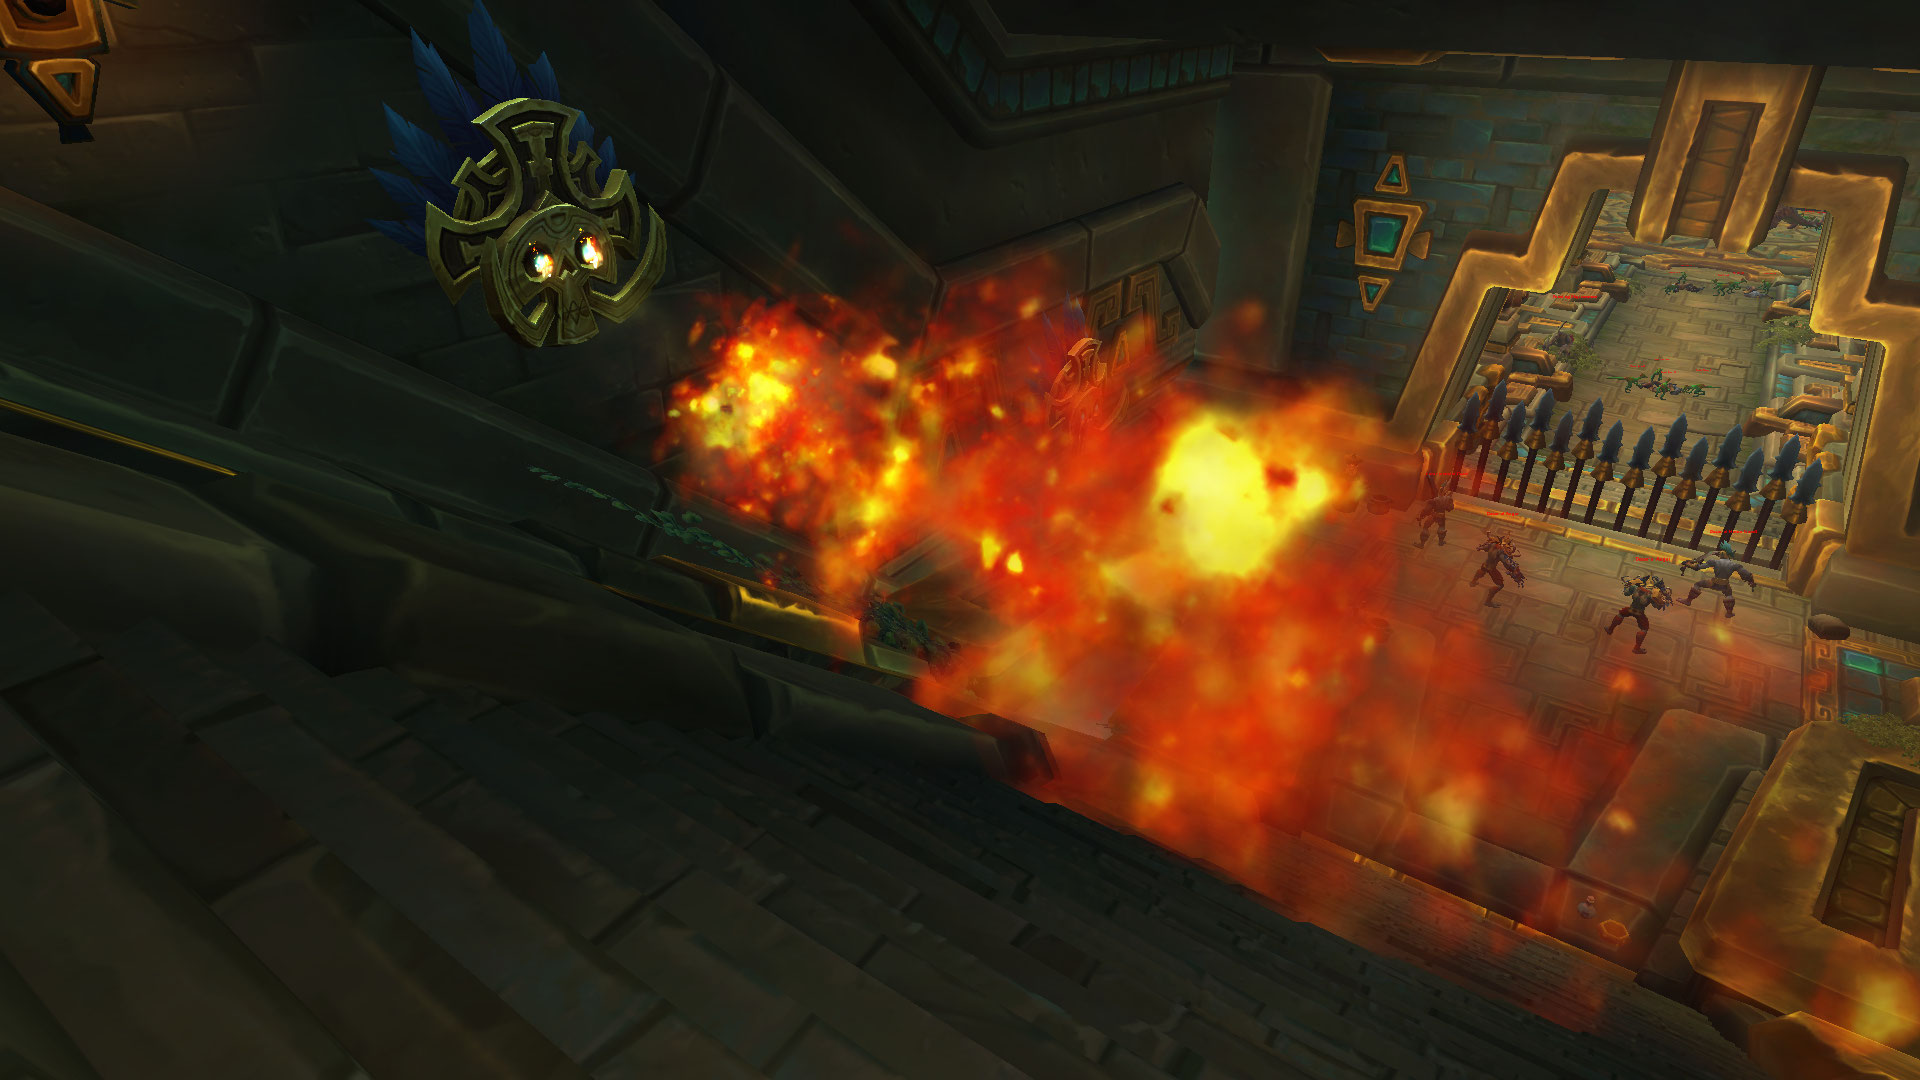
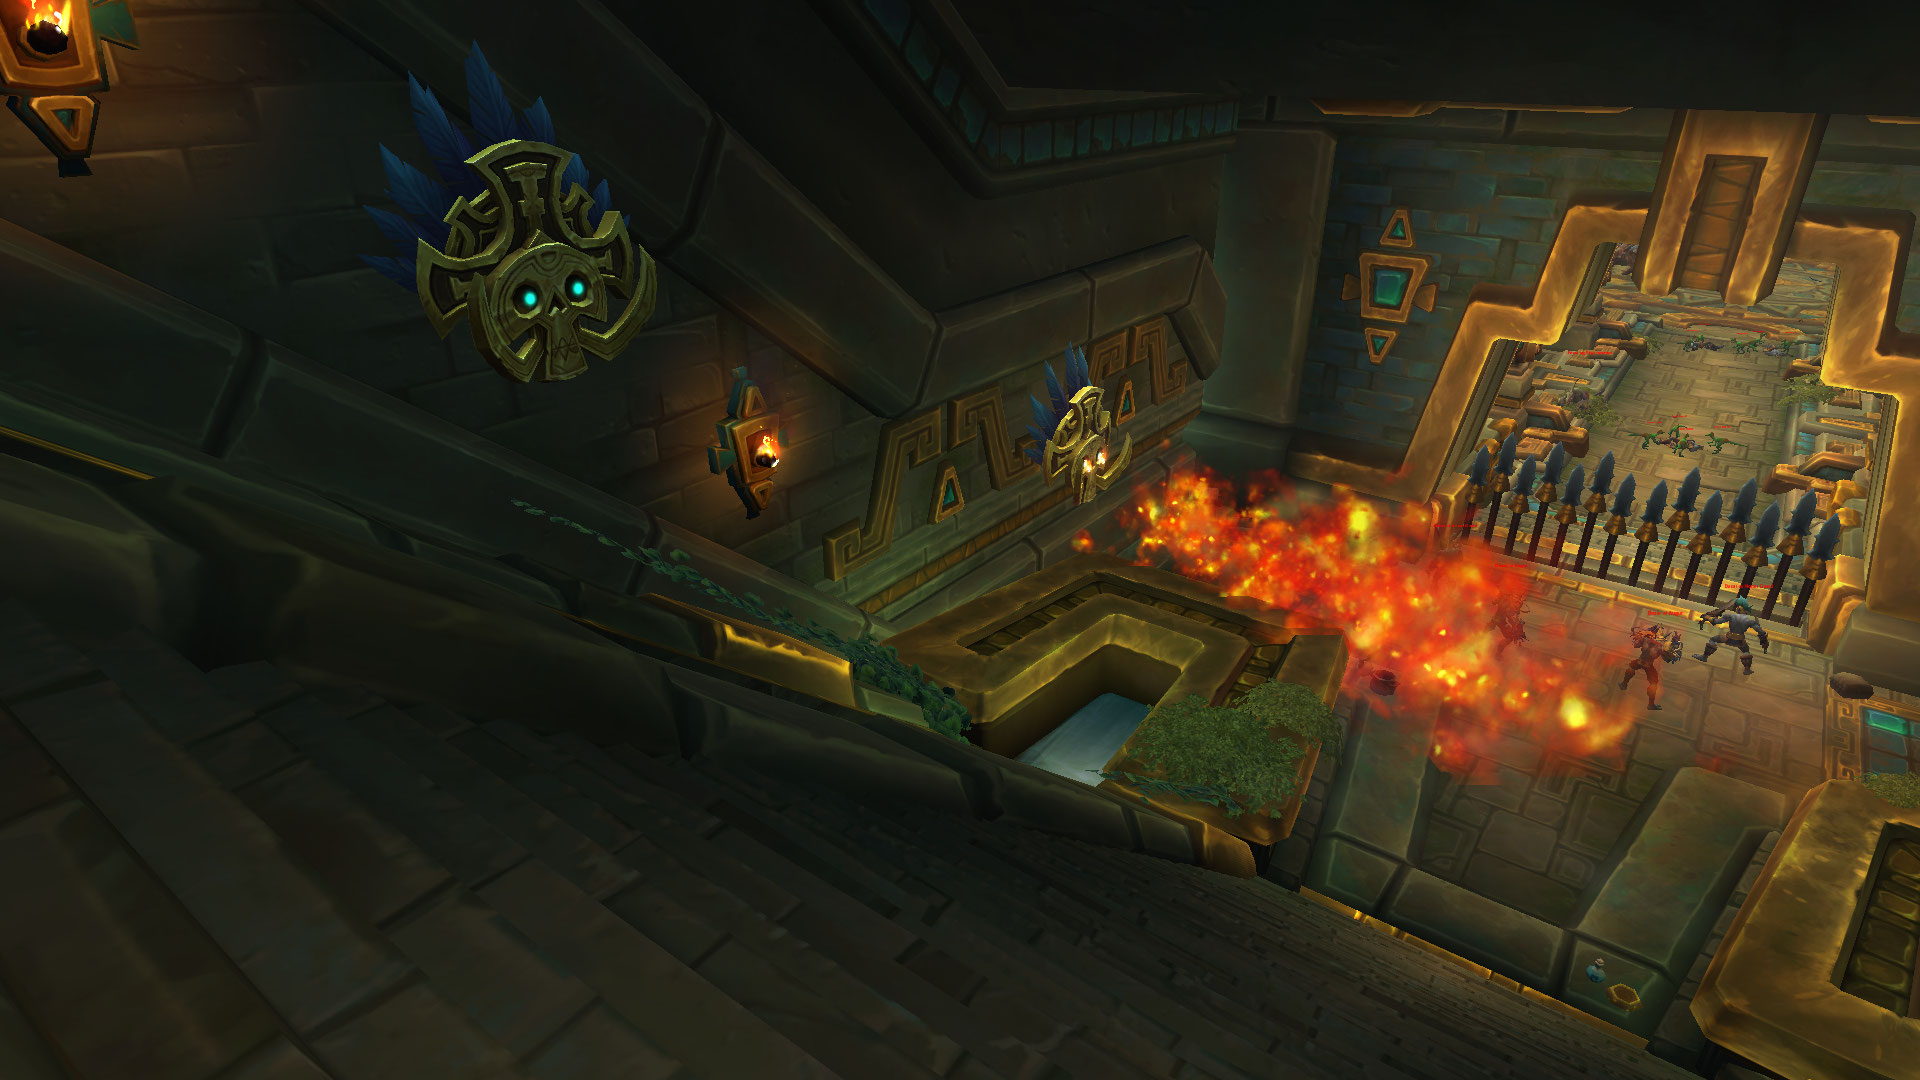
Atal'Dazar Layout
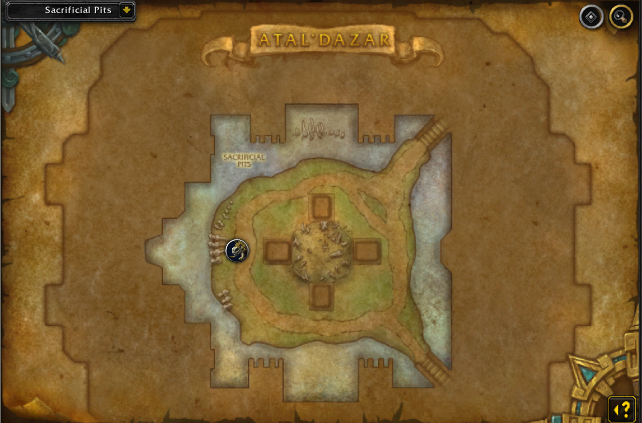
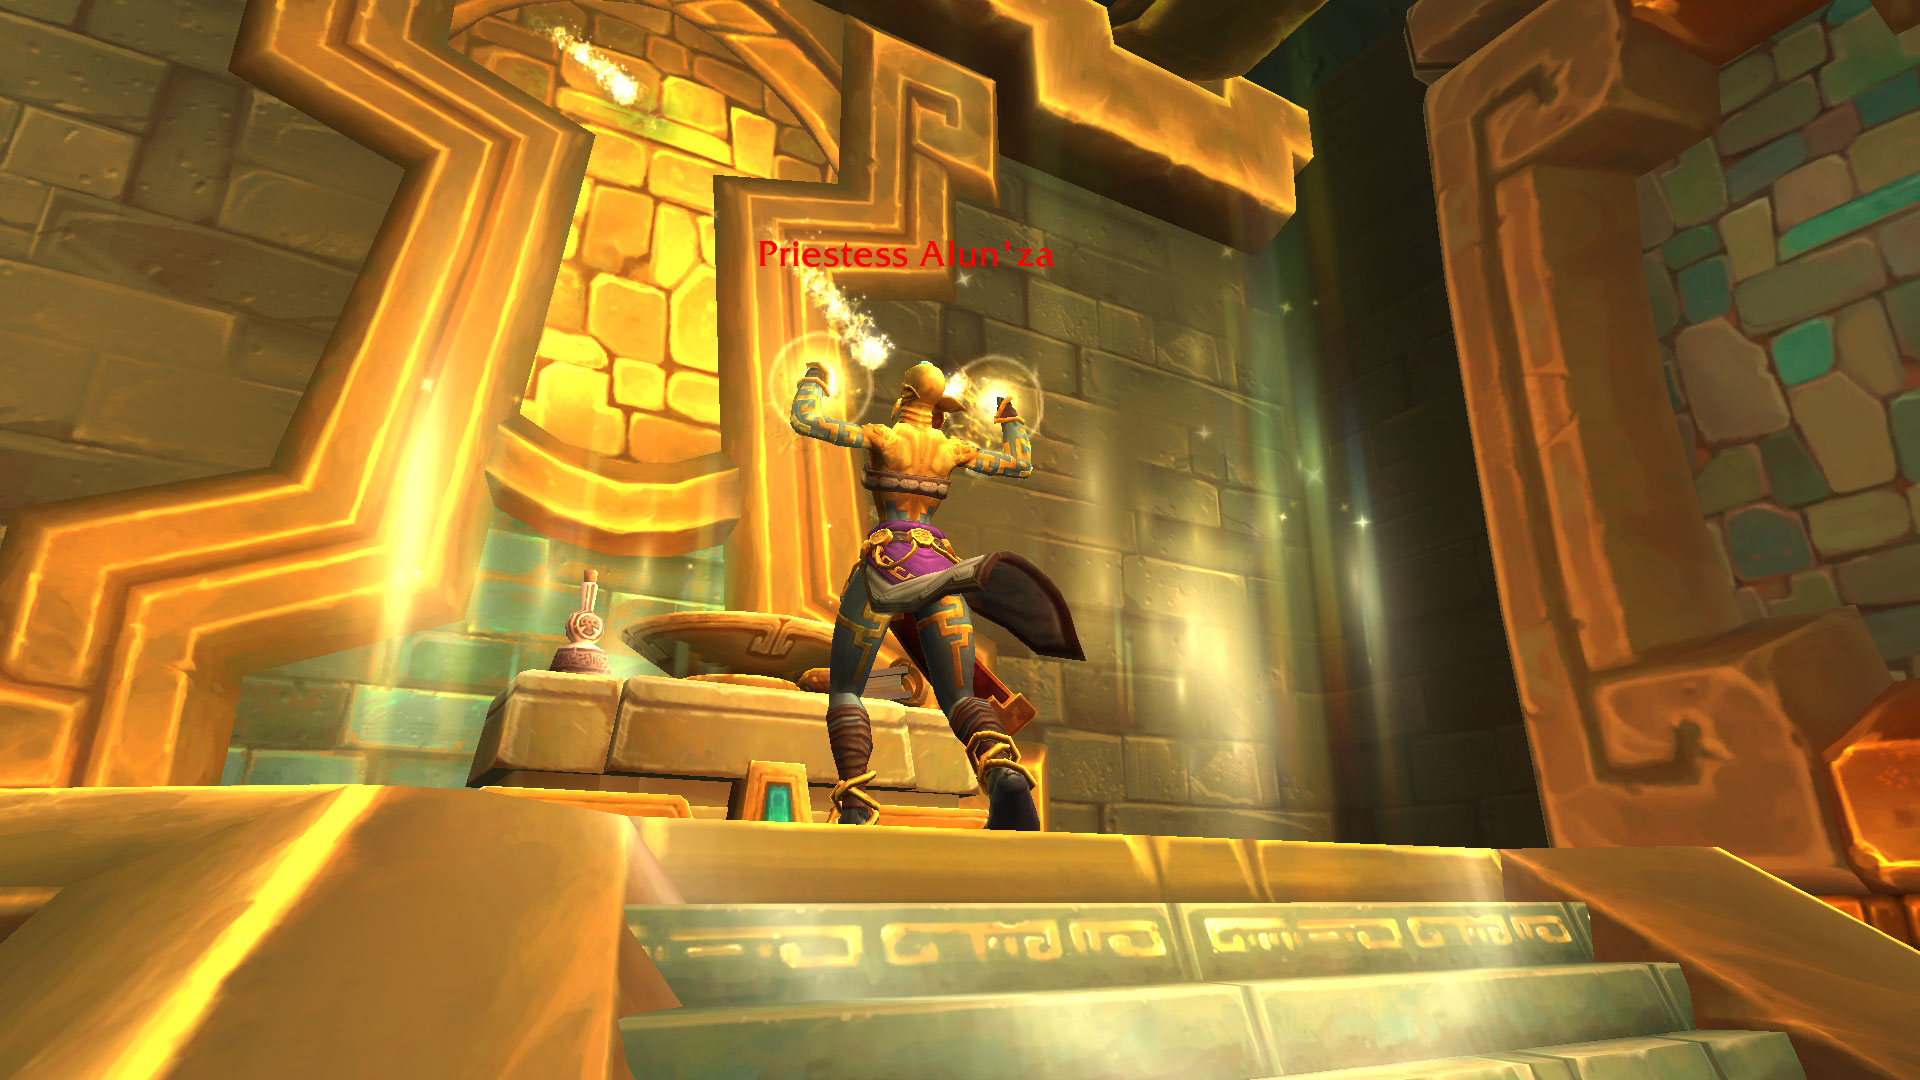
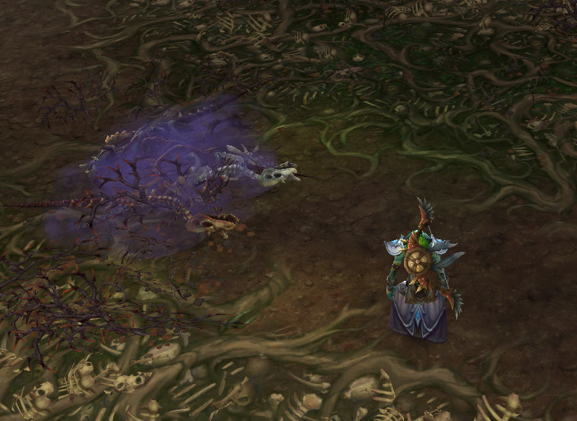
Priestess Alun'za
Notable Trash Before Priestess Alun'za
- Beware of Dazar'ai Juggernauts as they will cast
 Merciless Assault
on any players outside of melee range. It is best if you have a designated player
to "bait" the charge and avoid it by moving swiftly. At last, use Enrage
effect dispels on
Merciless Assault
on any players outside of melee range. It is best if you have a designated player
to "bait" the charge and avoid it by moving swiftly. At last, use Enrage
effect dispels on  Fanatic's Rage.
 - Important mob: Dazar'ai Confessor is the one you want to always
focus on to prevent them from casting
 Mending Word to any nearby
enemies. In addition to that, they will also cast
Mending Word to any nearby
enemies. In addition to that, they will also cast  Bwonsamdi's Mantle,
causing all enemies within the zone to be immune to crowd control and stop it at all
costs.
Bwonsamdi's Mantle,
causing all enemies within the zone to be immune to crowd control and stop it at all
costs. - Dezar'ai Honor Guard will be a non-boss-enemy your tank must pay attention
to due to its
 Fervent Strike.
 - Interrupt Dazar'ai Augur's
 Wildfire. In addition, if there are
any Dazar'ai Juggernauts within the pack, they will cast
Wildfire. In addition, if there are
any Dazar'ai Juggernauts within the pack, they will cast  Fiery Enchant,
as this is an extremely dangerous cast, make sure to stop it.
Fiery Enchant,
as this is an extremely dangerous cast, make sure to stop it. - If you happen to engage Dazar'ai Colossus, make sure they are the first
ones to die due to its
 Soulforged Construct passive. I don't recommend
anyone ever to engage this mob, but if you do, use defensives on
Soulforged Construct passive. I don't recommend
anyone ever to engage this mob, but if you do, use defensives on  Soulburn
cast and make sure to kill him first!
Soulburn
cast and make sure to kill him first! - When fighting Gilded Priestess, enter any nearby
 Tainted Blood
ground pool to make her take damage from
Tainted Blood
ground pool to make her take damage from  Transfusion cast. If you don't
have the debuff, she will heal instead.
Transfusion cast. If you don't
have the debuff, she will heal instead.
Priestess Alun'za Boss Guide
Priestess Alun'za is a relatively simple fight in which you will have to
play around ![]() Transfusion +
Transfusion + ![]() Tainted Blood once the
boss reaches 100 maana. In addition to all of that, your tank must
pay attention to
Tainted Blood once the
boss reaches 100 maana. In addition to all of that, your tank must
pay attention to ![]() Gilded Claws (it can be purged), and your healer
must dispel
Gilded Claws (it can be purged), and your healer
must dispel ![]() Molten Gold as quickly as they can. At last, you can either
choose to crowd-control the incoming Spirit of Gold spawns or kill them; just make sure they don't reach any
Molten Gold as quickly as they can. At last, you can either
choose to crowd-control the incoming Spirit of Gold spawns or kill them; just make sure they don't reach any ![]() Tainted Blood circles,
else you won't be able to take advantage of
Tainted Blood circles,
else you won't be able to take advantage of ![]() Transfusion damaging
the boss to its full extend. More information down below:
Transfusion damaging
the boss to its full extend. More information down below:
All Roles
- Use defensive cooldowns once you soak the Tainted Blood.
Ideally, you would like to be pre-assigned or at least pre-move before the
Transfusion cast has begun to avoid confusion.
- Use Purge effects for the
 Gilded Claws buff.
 - Use crowd-control effects for Spirit of Gold or alternatively focus it down.
- Dodge the incoming
 Corrupted Gold spheres.
Tank
- Watch out for Gilded Claws buff, if there is no Purge in your
group (Mage's
 Spellsteal also works), consider using
your major cooldowns.
Spellsteal also works), consider using
your major cooldowns. - If your group chooses to damage the Spirit of Gold instead of using crowd-control effects, get closer to the add to enable cleaving on both targets.
Healer
- Dispel
 Molten Gold as quickly as you can.
 - Be prepared to use your healing cooldowns during Transfusion
channel.
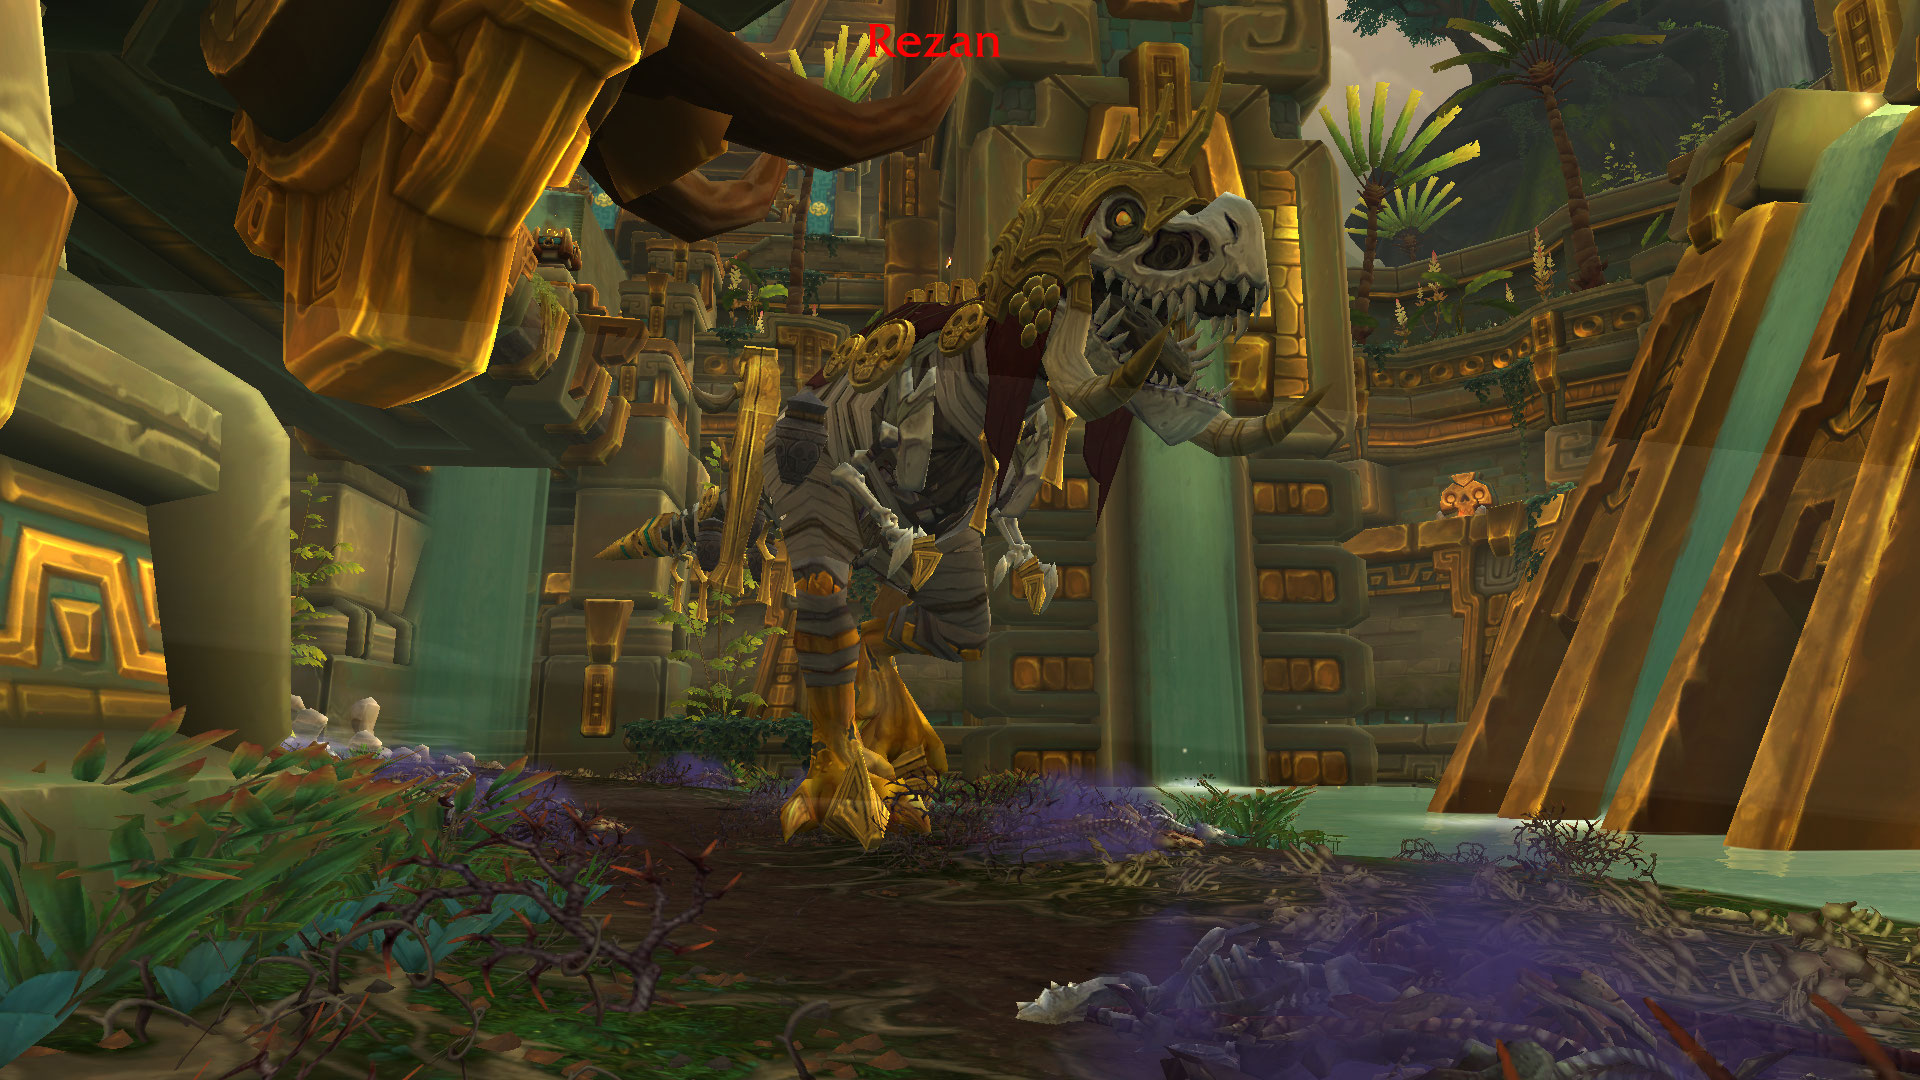
Rezan
Notable Trash Before Rezan
First, beware of the ![]() Tiki Blaze leading to Rezan as the
higher the key, the higher the likelihood of them being lethal.
Tiki Blaze leading to Rezan as the
higher the key, the higher the likelihood of them being lethal.
Regardless of which path you choose, you will have to play around Ancient Switch, making sure you use the leverage to open the gates and continue forward. The path will be otherwise locked.
- Toxic Saurids will occasionally cast
 Leaping Thrash leaping
on a random member of your party and damaging them. This is a good place
to prematurely use defensive cooldowns, especially if you are in low health.
Leaping Thrash leaping
on a random member of your party and damaging them. This is a good place
to prematurely use defensive cooldowns, especially if you are in low health. - Interrupt Feasting Skyscreamer's
 Terrifying Screech to
prevent your party from being feared.
Terrifying Screech to
prevent your party from being feared. - Interrupt Dinomancer Kish'o's
 Dino Might (if you miss the
interrupt you can always Purge it). In addition to that, they will
continuously cast
Dino Might (if you miss the
interrupt you can always Purge it). In addition to that, they will
continuously cast  Quickshot on your tank and
  Deadly Aim
on a random player from your party. This mob is the priority target to kill.
Deadly Aim
on a random player from your party. This mob is the priority target to kill. - In addition to Dinomancer Kish'o, you will fight alongside
Monzumi and T'lonja. Monzumi will cast
 Wild Thrash
dealing high physical damage to everyone within 8 yards (out-range the cast /
get out of melee), while T'lonja will target a random player with
Wild Thrash
dealing high physical damage to everyone within 8 yards (out-range the cast /
get out of melee), while T'lonja will target a random player with
 Frenzied Charge (make sure nobody gets in the path of the charge to
avoid multiple people from getting damaged and stunned).
Frenzied Charge (make sure nobody gets in the path of the charge to
avoid multiple people from getting damaged and stunned).
Rezan Boss Guide
When engaging Rezan, there is one thing you have to keep in mind:
do not step on any nearby ![]() Pile of Bones to avoid triggering the
Pile of Bones to avoid triggering the
![]() Ancient Dry Bones cast, which will then spawn a Reanimated Raptor.
Although they only do melee attacks, they will be still tough to handle
by your tank. Speaking about your tank, they need to pay close attention to the
Ancient Dry Bones cast, which will then spawn a Reanimated Raptor.
Although they only do melee attacks, they will be still tough to handle
by your tank. Speaking about your tank, they need to pay close attention to the
![]() Serrated Teeth
Serrated Teeth ![]() Bleed effect as it hits extremely hard the
higher the keys go. To add to the fight, the whole group can either choose
to line of sight the
Bleed effect as it hits extremely hard the
higher the keys go. To add to the fight, the whole group can either choose
to line of sight the ![]() Terrifying Visage on one of the pillars
or use immunity to prevent them from being Feared (you can also dispel it
in case you can't make the line of sight in time). At last, if any member
gets
Terrifying Visage on one of the pillars
or use immunity to prevent them from being Feared (you can also dispel it
in case you can't make the line of sight in time). At last, if any member
gets ![]() Pursuit, do make sure to run away from the boss to prevent him
from
Pursuit, do make sure to run away from the boss to prevent him
from ![]() Devour you. Just be mindful to not let Rezan walk on any
nearby
Devour you. Just be mindful to not let Rezan walk on any
nearby ![]() Pile of Bones to avoid the Reanimated Raptor spawn!
Pile of Bones to avoid the Reanimated Raptor spawn!
All Roles
- Avoid stepping on any
 Pile of Bones.
 - If you get
 Pursuit, run away from the boss to prevent him from
Devour you.
Pursuit, run away from the boss to prevent him from
Devour you. - Line of sight the
 Terrifying Visage cast.
Tank
- Use your major defensive cooldowns during the
 Serrated Teeth
 Bleed effect.
Healer
- Spot-heal your tank during Serrated Teeth
Bleed effect.
- Dispel any fear effects from the Terrifying Visage if your
members can't make it to the line of sight pillar.
Vol'kaal
Notable Trash Before Vol'kaal
- Interrupt Zanchuli Witch-Doctor's
 Venom Blast and stop
It
Venom Blast and stop
It  Unstable Hex crowd-control effect. Alternatively, you can
 Curse dispel the Unstable Hex.
 - When you engage Reanimated Honor Guard, make sure to
kill the Reanimation Totem first or else it will heal the
mob for 5% of their max HP every second. They will also
continuously damage the whole party with
 Rotting Decay, hence
why you want to kill it as quickly as you can. At last, the mob
will cast
Rotting Decay, hence
why you want to kill it as quickly as you can. At last, the mob
will cast  Rending Maul Bleed effect on your
tank.
Rending Maul Bleed effect on your
tank. - Use disturb effects to stop Shieldbearer of Zul's
 Bulwark of Juju. Your tank must pay attention to
  Shield Bash
as not only will it deal damage but will also interrupt you.
Shield Bash
as not only will it deal damage but will also interrupt you. - Shadowblade Stalker is another non-boss-enemy that will
primarily endanger the life of your tank through its
 Venomfang Strike
 Poison combined with
  Venom-Tipped Blade.
Vol'kaal Boss Guide
Vol'kaal is a 2 phase boss encounter, starting with ![]() Reanimation Totem
(Phase 1) and once defeat the Vol'kaal fight himself (Phase 2).
During Phase 1, your goal is to kill all 3
Reanimation Totem
(Phase 1) and once defeat the Vol'kaal fight himself (Phase 2).
During Phase 1, your goal is to kill all 3 ![]() Reanimation Totems
simultaneously since they will cast
Reanimation Totems
simultaneously since they will cast ![]() Reanimate once destroyed. In addition
to that, DON'T focus on the boss during this phase, since he is getting
Reanimate once destroyed. In addition
to that, DON'T focus on the boss during this phase, since he is getting
![]() Bad Voodoo healing out of the
Bad Voodoo healing out of the ![]() Reanimation Totems. Throughout
all phases, the boss will use
Reanimation Totems. Throughout
all phases, the boss will use ![]() Toxic Leap on a random person, cast its
Toxic Leap on a random person, cast its
![]() Noxious Stench (which must be interrupted), which will follow up
with
Noxious Stench (which must be interrupted), which will follow up
with ![]() Disease effect -
Disease effect - ![]() Lingering Nausea. The longer the
Lingering Nausea. The longer the
![]() Noxious Stench channel goes through, the more stacks of
Noxious Stench channel goes through, the more stacks of ![]() Lingering Nausea
you will have, hence why you want to interrupt it quickly. At last, make sure to
avoid staying in any ground
Lingering Nausea
you will have, hence why you want to interrupt it quickly. At last, make sure to
avoid staying in any ground ![]() Toxic Pools and be aware that the boss will damage
itself with
Toxic Pools and be aware that the boss will damage
itself with ![]() Rapid Decay until he is dead. More info down below:
Rapid Decay until he is dead. More info down below:

All Roles
- Kill all 3
 Reanimation Totems simultaneously to avoid triggering
 Reanimate.
 - Avoid getting hit by
 Toxic Leap.
 - Interrupt
 Noxious Stench.
 - Use defensive cooldowns if you have multiple stacks of the
 Lingering Nausea
 Disease effect.
Tank
- During Phase 2 move the boss at a moderate rate to allow your melee
players to continuously DPS without endangering their lives with any nearby
 Toxic Pools.
Healer
- Use major healing cooldowns if multiple stacks of Lingering Nausea
debuff go through. Always be considerate when the cast comes, as it will deal
a great amount of damage.
Yazma
Notable Trash Before Yazma
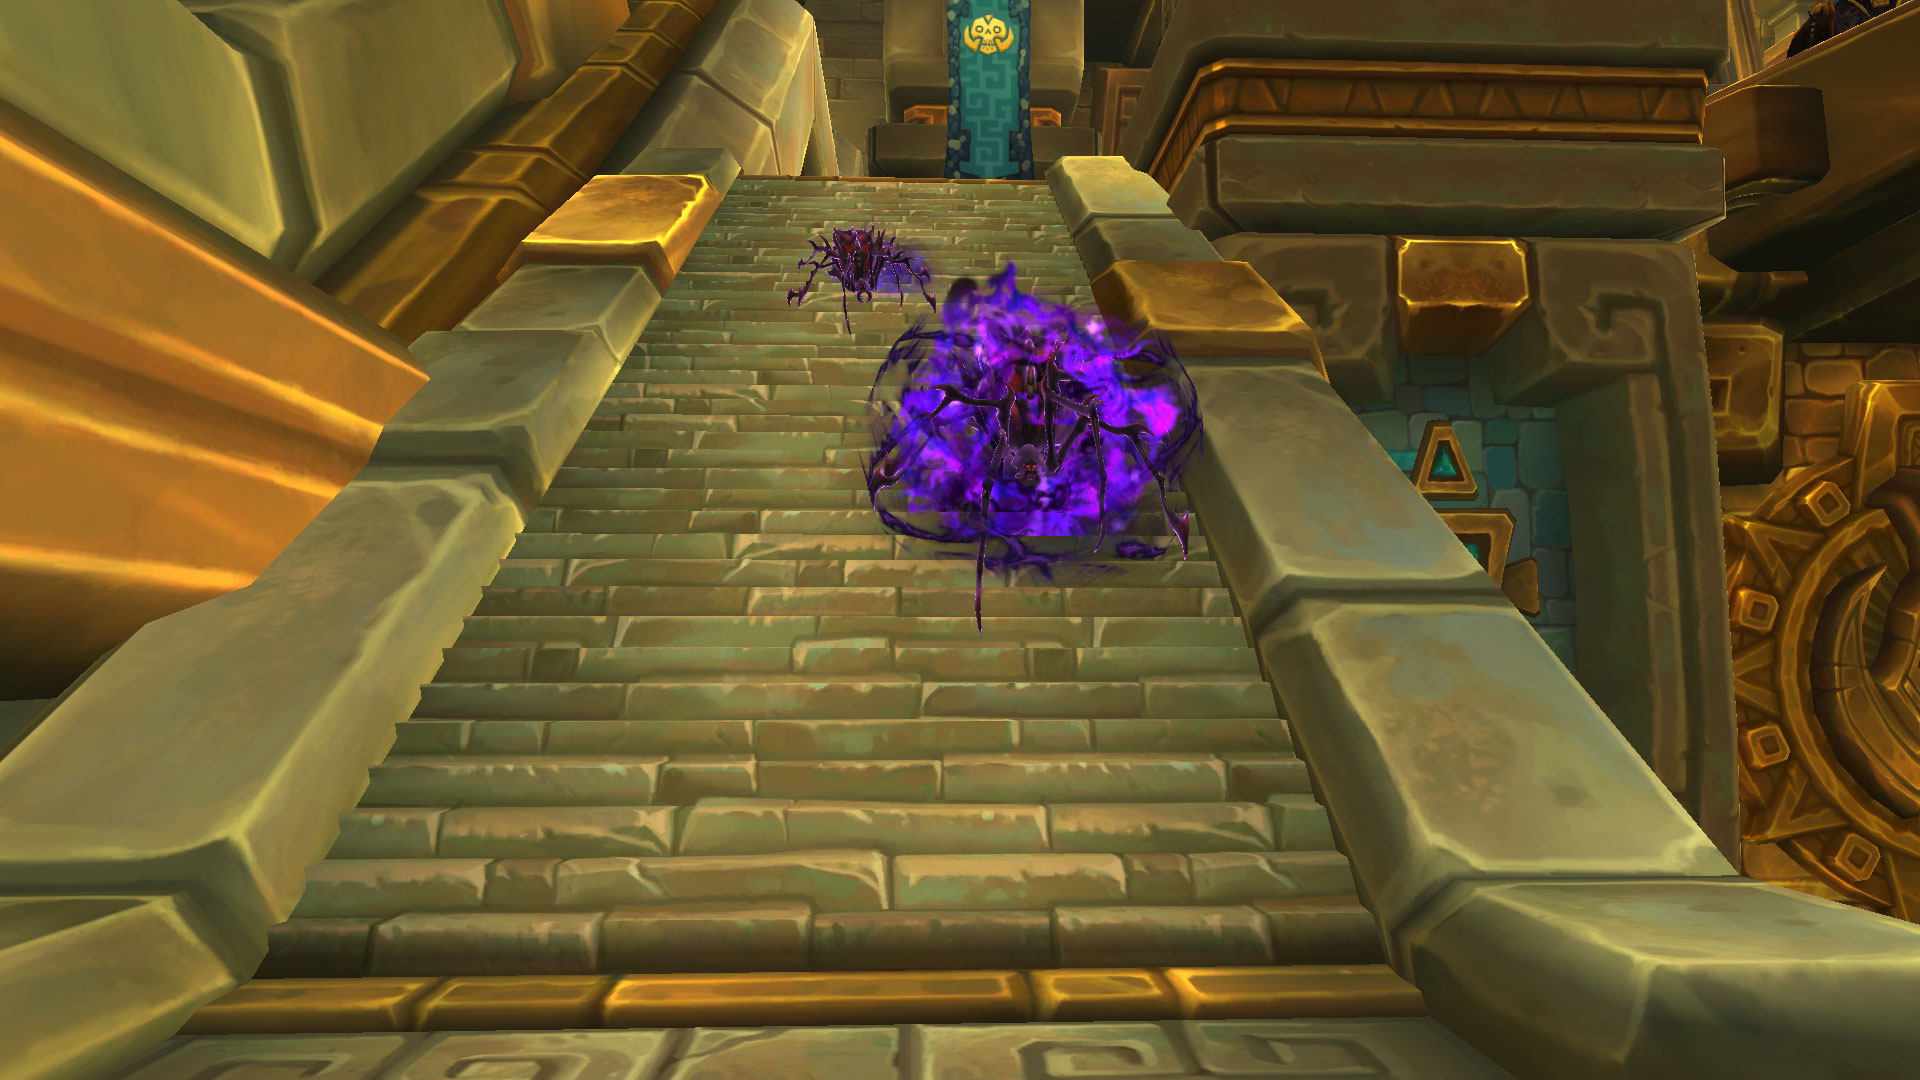
There are no more unique enemies within this area, but do keep in mind that you must defeat all 3 previous bosses to encounter the last boss of the dungeon Yazma. At the final stretch, you will find a wall of spiders that you must maneuver through in order to get to the boss. The higher the key level you play, the more likely they will become lethal upon contact, so watch out!
Yazma Boss Guide
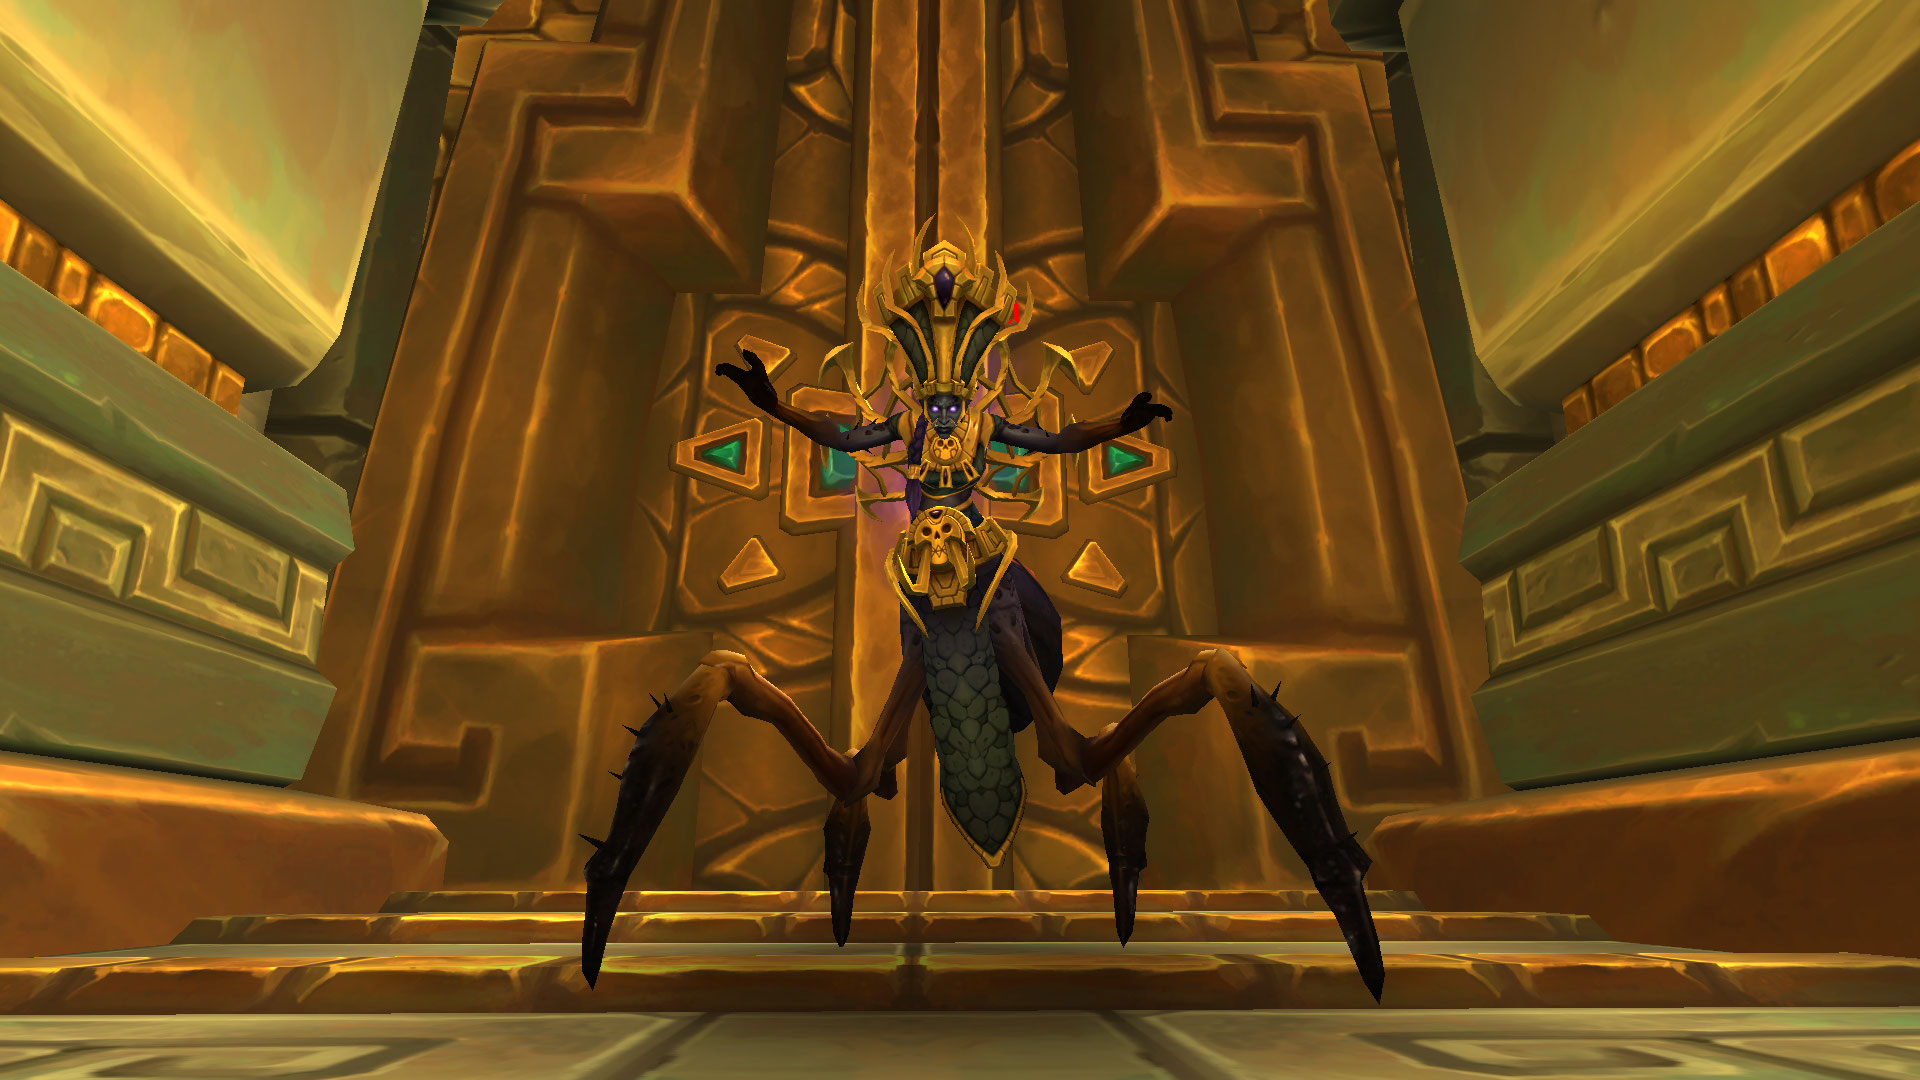
Yazma is the last boss of the dungeon and likely the hardest, she will have
an energy bar you must pay attention to, and once it's full - it will trigger ![]() Soulrend
spawning 4
Soulrend
spawning 4 ![]() Soulspawns. The main goal is to never let them reach the boss
, which will then avoid triggering
Soulspawns. The main goal is to never let them reach the boss
, which will then avoid triggering ![]() Soulfeast - a stackable mass damage-over-time effect.
Here is a good place to use any form of crowd-control effects and nuke them quickly; just be mindful of
Soulfeast - a stackable mass damage-over-time effect.
Here is a good place to use any form of crowd-control effects and nuke them quickly; just be mindful of ![]() Soul Link and be sure to be in stable health! In addition,
throughout the whole encounter, Yazma will be spawning
Soul Link and be sure to be in stable health! In addition,
throughout the whole encounter, Yazma will be spawning ![]() Echoes of Shadra
under every player, hence why it is extremely important to avoid having any contract
with them as they will do a follow-damage to you
Echoes of Shadra
under every player, hence why it is extremely important to avoid having any contract
with them as they will do a follow-damage to you ![]() Shadowy Remains
(do keep in mind that on the higher-end keys, this will be lethal). At last,
always interrupt
Shadowy Remains
(do keep in mind that on the higher-end keys, this will be lethal). At last,
always interrupt ![]() Wracking Pain, and if you are a tank player, use defensive
cooldowns during the
Wracking Pain, and if you are a tank player, use defensive
cooldowns during the ![]() Skewer tank-buster! More information down below:
Skewer tank-buster! More information down below:
All Roles
- Interrupt
 Wracking Pain at all costs.
 - Avoid any nearby
 Shadowy Remains. The best way to play them
is to always be close to each other for better management.
Shadowy Remains. The best way to play them
is to always be close to each other for better management. - Focus and kill all the
 Soulspawns. Do your best to always
place them close to each other and behind the boss.
Soulspawns. Do your best to always
place them close to each other and behind the boss. - Use defensive cooldowns on the
 Soulrend cast.
Tank
- Beware of the Skewer tank buster ability.
- Be ready to move the boss if there are any nearby Soulspawns
to avoid triggering
 Soulfeast.
Healer
- Top-up your party members every time before the Soulrend cast.
- Use your major healing cooldowns if Soulfeast is triggered
Atal'Dazar Loot Table
Priestess Alun'za
| Type | Item | Stats |
|---|---|---|
| Wand | Haste/Crit | |
| Off-Hand | Haste/CriT | |
| Mail Wrist | Mastery/Crit | |
| Leather Waist | Haste/Vers | |
| Plate Boots | Crit/Mastery | |
| Trinket | Agi |
Vol'kaal
| Type | Item | Stats |
|---|---|---|
| 1H Mace | Haste/Vers | |
| Back | Haste/Mastery | |
| Cloth Wrist | Haste/Crit | |
| Plate Hands | Mastery/Haste | |
| Leather Legs | Crit/Mastery | |
| Trinket | Int |
Rezan
| Type | Item | Stats |
|---|---|---|
| Fist Weapon | Haste/Mastery | |
| Bow | Mastery/Crit | |
| Shield | Mastery/Haste | |
| Leather Wrist | Vers/Crit | |
| Mail Legs | Vers/Crit | |
| Cloth Boots | Mastery/Crit | |
| Ring | Vers/Haste | |
| Trinket | Str |
Yazma
| Type | Item | Stats |
|---|---|---|
| Dagger | Vers/Haste | |
| Mail Head | Mastery/Crit | |
| Cloth Head | Crit/Vers | |
| Plate Head | Mastery/Vers | |
| Cloth Chest | Crit/Vers | |
| Leather Chest | Mastery/Vers | |
| Plate Wrist | Crit/Vers | |
| Mail Boots | Crit/Haste | |
| Trinket | Int |
Atal'Dazar Achievements
There are 7 total achievements to obtain in Atal'Dazar:
| Achievement | Criteria |
|---|---|
| Defeat Yazma in Atal'Dazar. | |
| Defeat Yazma in Atal'Dazar on
|
|
| Defeat Yazma in Atal'Dazar on
|
|
| Complete Atal'Dazar at |
|
| Defeat Yazma while all four Shadowflame Scones
are lit in Atal'Dazar on |
|
| Defeat all four bosses with at least one party member under
the effects of |
Changelog
- 19 Mar. 2024: No further changes required for 10.2.6 Patch.
- 15 Jan. 2024: No further changes required for 10.2.5 Patch.
- 06 Nov. 2023: Guide added.
This guide has been written by Petko, one of the top M+ players of all time. He has accomplished several Europe and World #1 Team and Solo Seasonal rankings with multiple specialization and classes throughout the seasons. Moreover, he competes in MDI and streams his runs live on Twitch and and share his personal opinion on YouTube and Twitter.
- Savage Ebony Turtle Mount in Patch 10.2.7
- Earthen Allied Race Dances and Customization Options
- Warband Members in Follower Dungeons?
- Dragonflight 10.2.6 and SoD Hotfixes, April 25th
- Affliction Warlock Changes in War Within Alpha: April 25th
- Windwalker Monk Changes in War Within Alpha: April 25th
- Fire Mage Changes in War Within Alpha: April 25th
- Earthen Allied Race Added to War Within Alpha + Official Preview