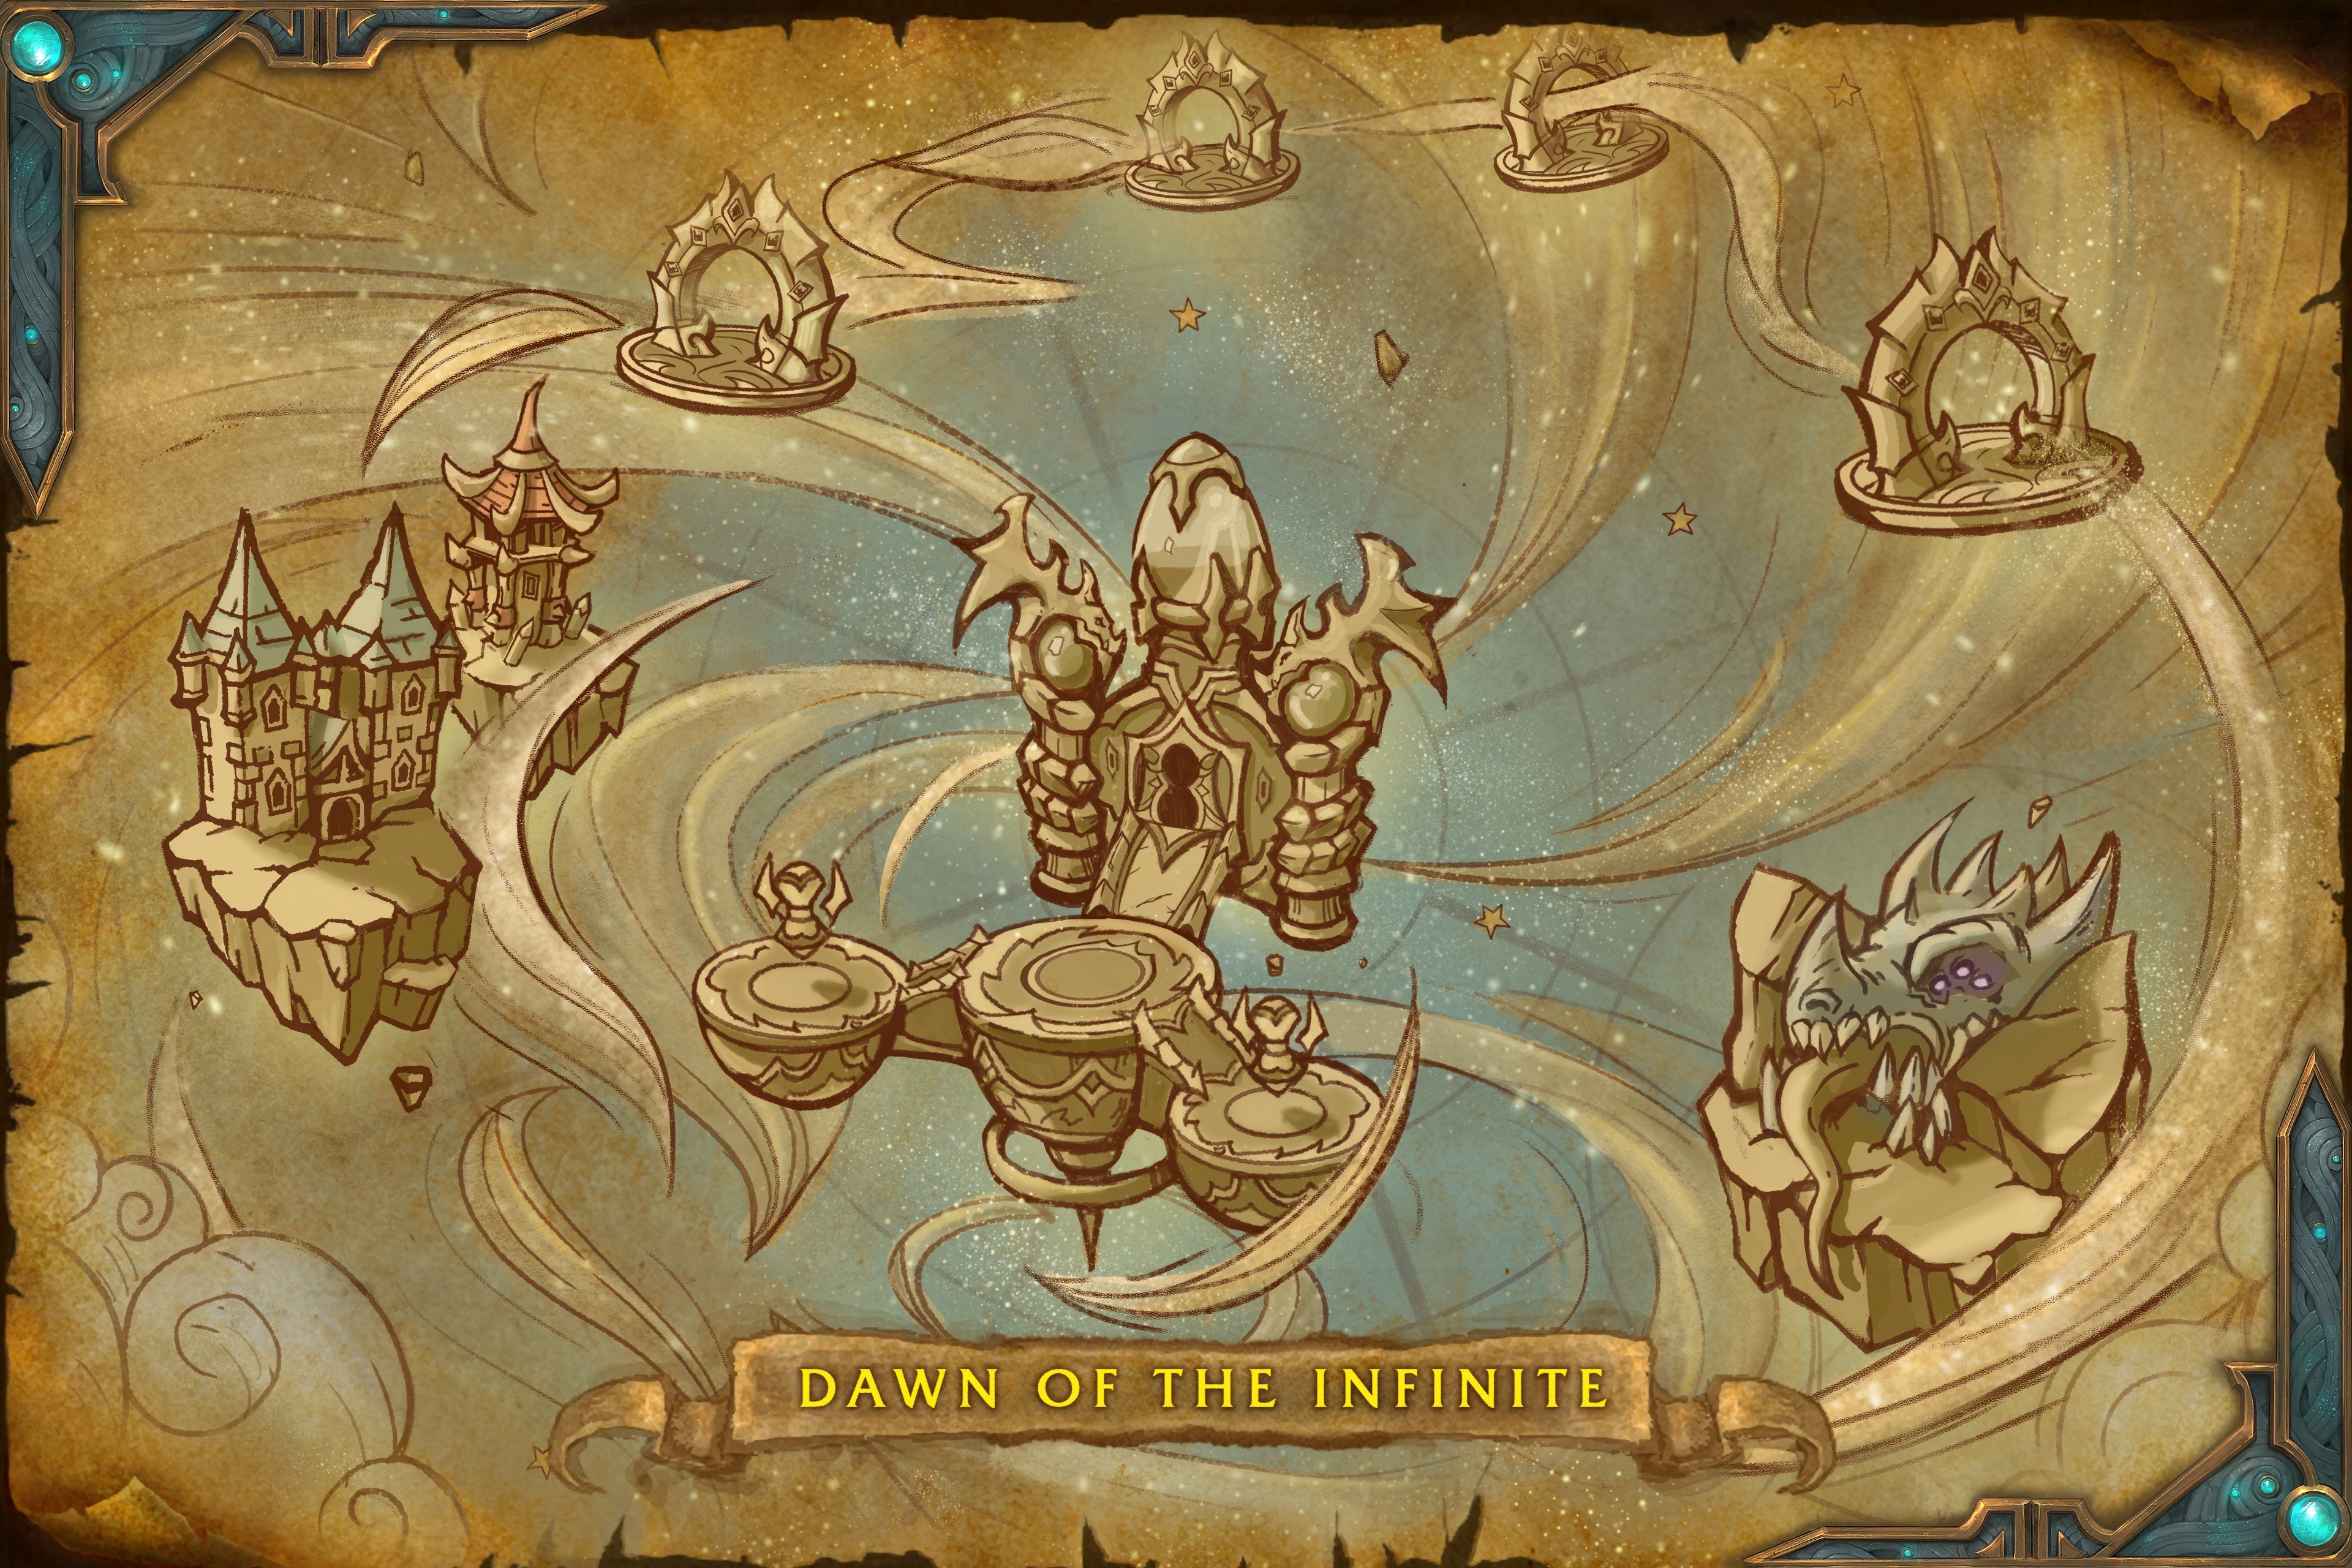
Dawn of the Infinite Megadungeon Guide: Location, Boss Strategies, Trash, and Loot
Welcome to our guide to the Dawn of the Infinite megadungeon in the Dragonflight World of Warcraft expansion. This guide will cover everything you need to know about the dungeon, including how to get to it, its layout, the trash and boss mechanics within, and its loot. This dungeon is new as of Patch 10.1.5 and can only be done on Mythic difficulty for the moment.
- 8. Crossroads of Fate and Iridikron the Stonescaled
- 9. Infinite Conflux and Tyr, the Infinite Keeper
- 10. Twisting Approach and Morchie
- 11. Immemorial Battlefield and Time-Lost Battlefield
- 12. Crossroads of Fate and Chrono-Lord-Deios
- 13. Dawn of the Infinite Loot Table
- 14. Dawn of the Infinite Achievements
Short Introduction
This guide will focus on an extensive overview of the dungeon, providing vital information to increase your chance of completing the key. We will cover all 8 boss fights supported by the most notable trash enemies in the dungeon and their important abilities. If you would like to learn about the rest of the dungeons in Mythic+, please see our overviews linked below.
Quantum Courser and Quantum Gear
If you are looking for more information on Quantum gear and ![]() Reins of the Quantum Courser,
dropping in the dungeon, please check out the dedicated pages linked below.
Reins of the Quantum Courser,
dropping in the dungeon, please check out the dedicated pages linked below.
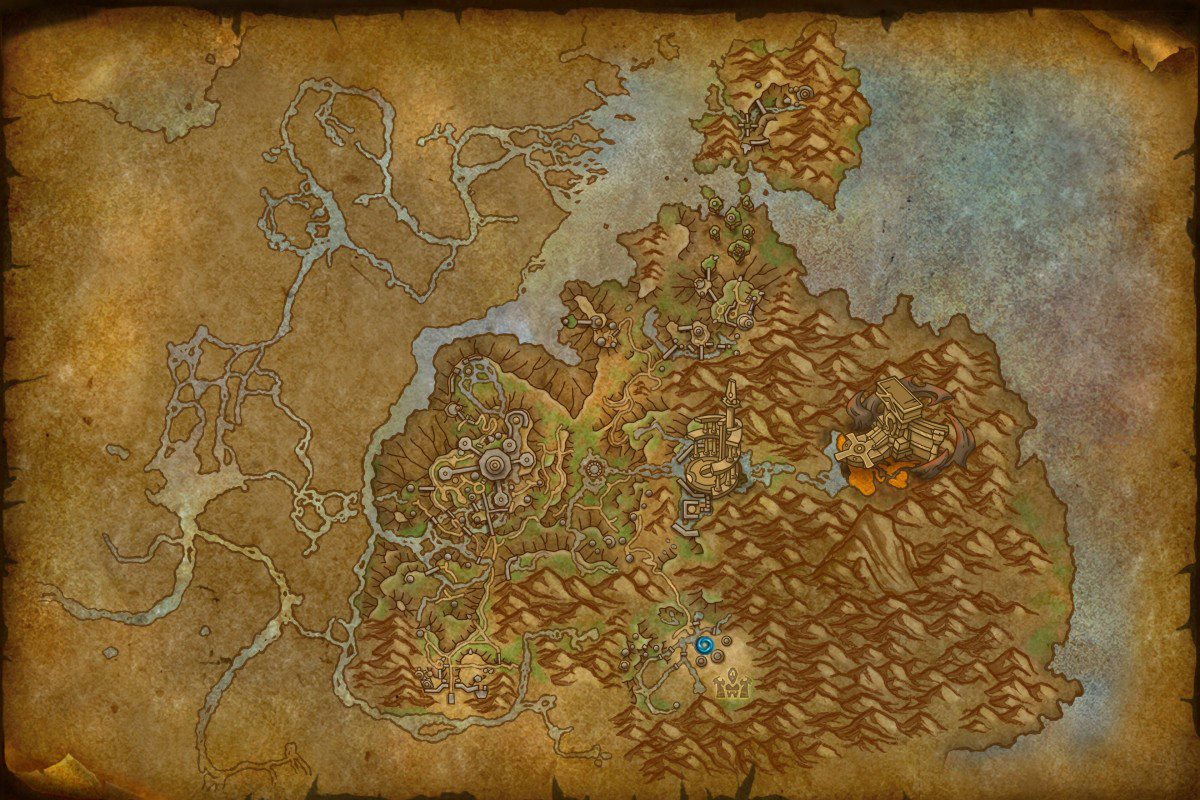
Getting into Dawn of the Infinite
Dawn of the Infinite is a max-level dungeon in Thaldraszus, Dragon Isles.
You can quickly go there by using your Dragonriding mount and flying towards
the southeast part of the zone near The Temporal Conflux
(see the minimap down below). The dungeon is available in both ![]() Mythic and
Mythic and
![]() Heroic mode.
Heroic mode.
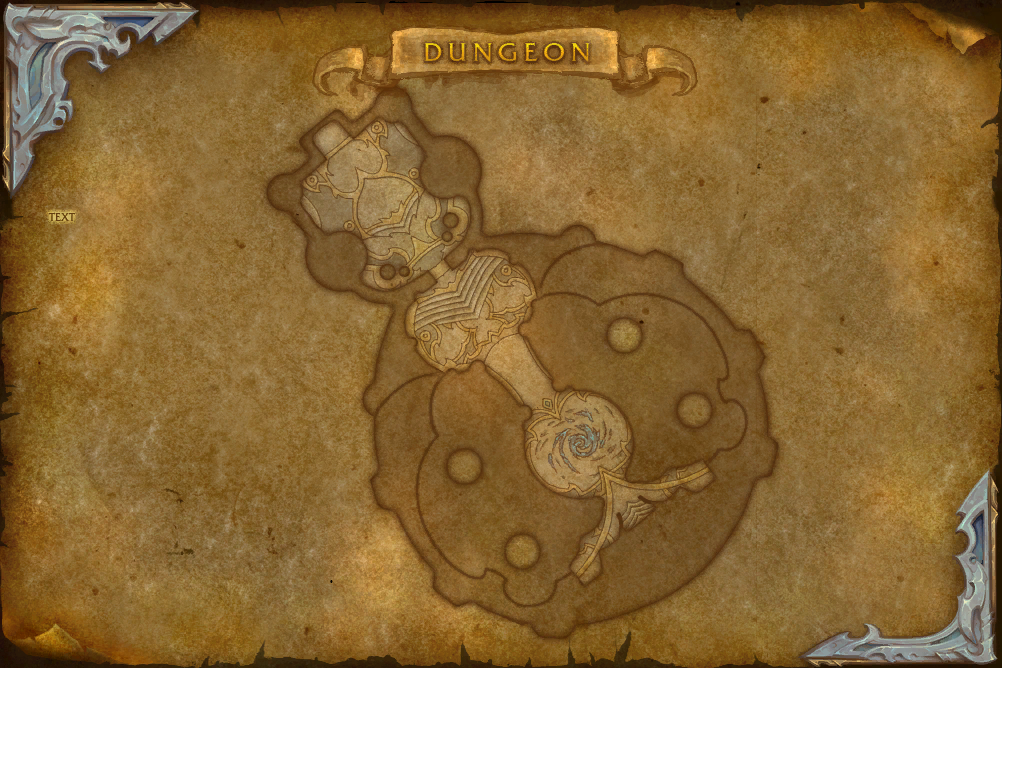
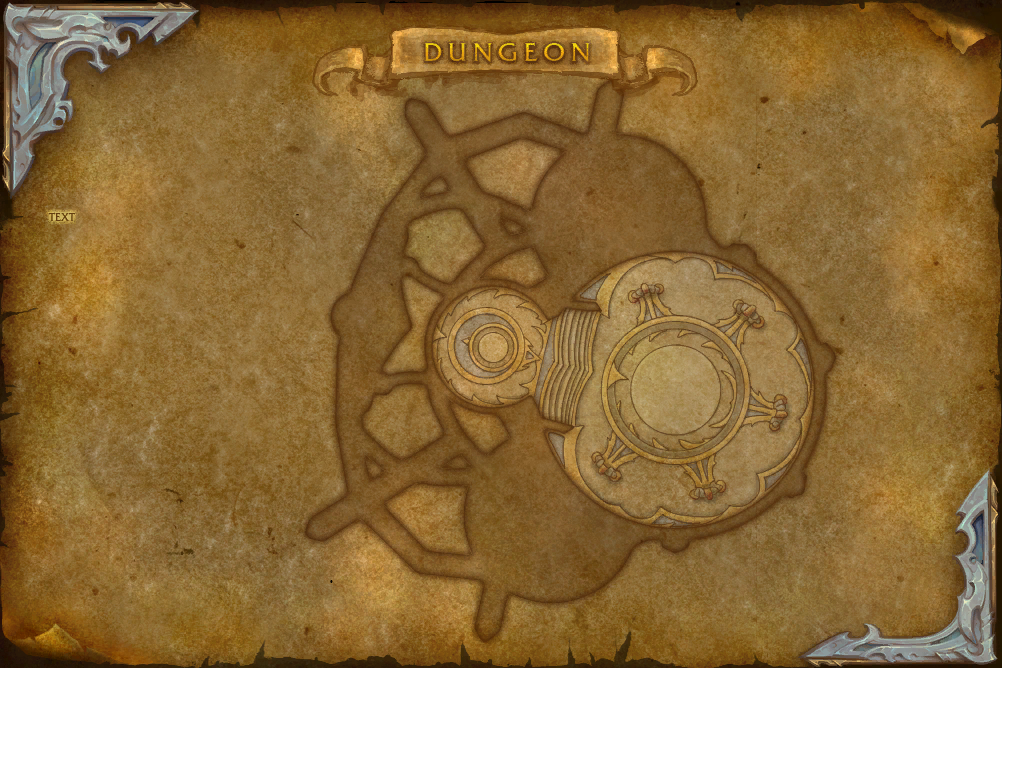
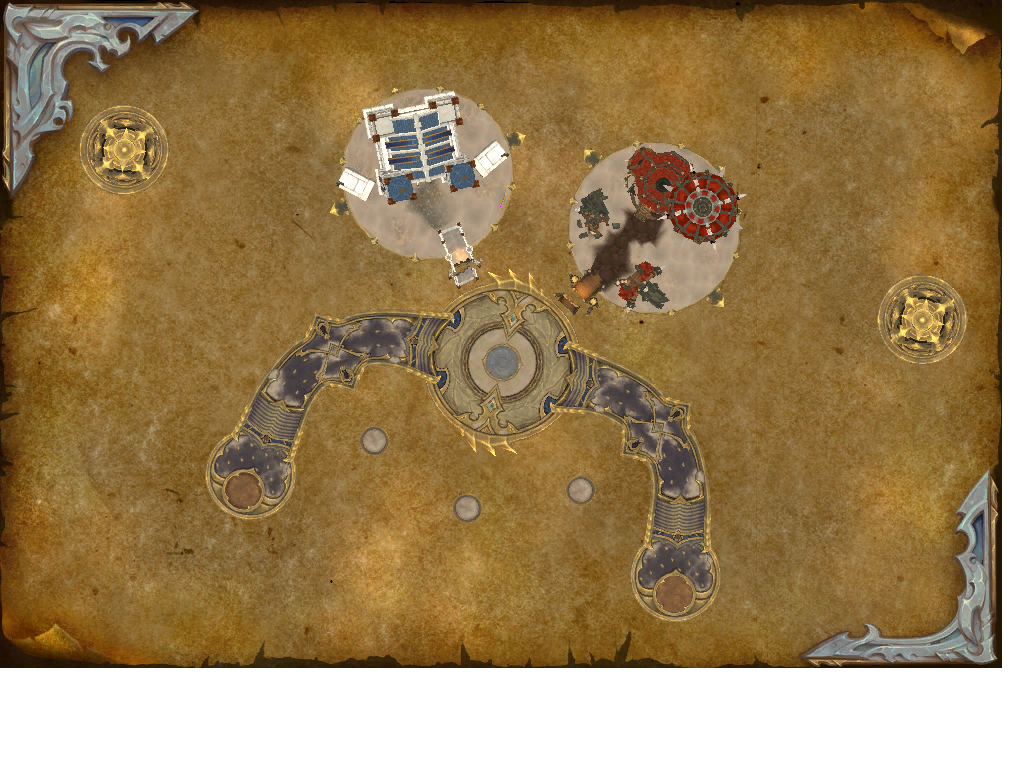
Dawn of the Infinite Layout
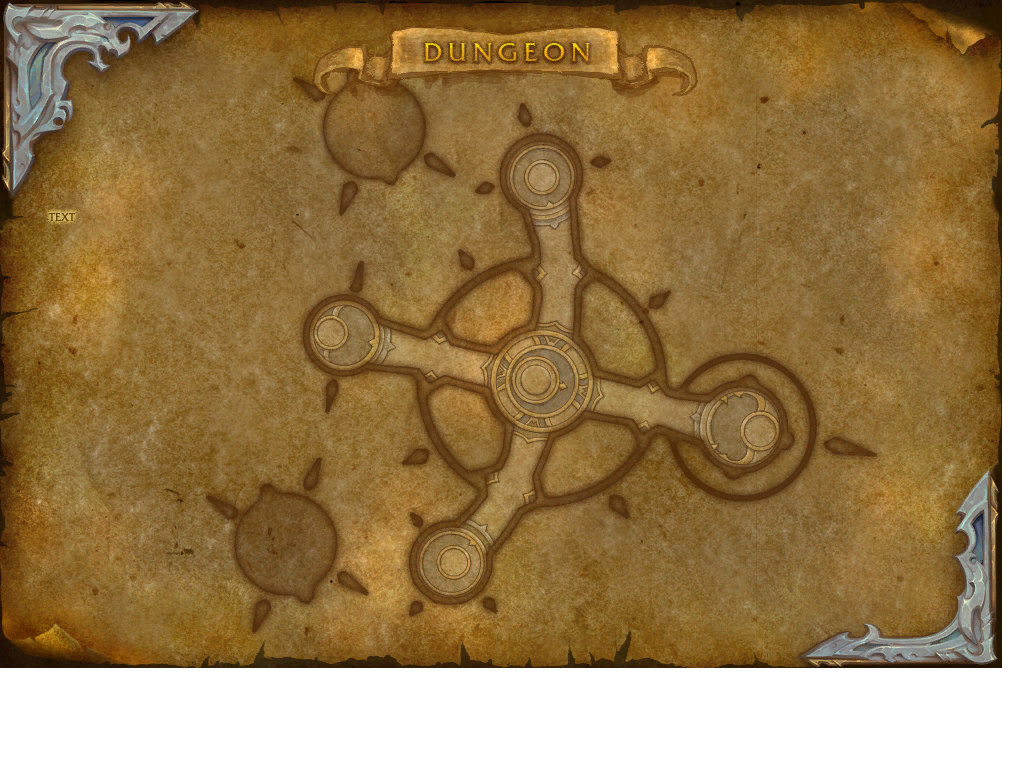
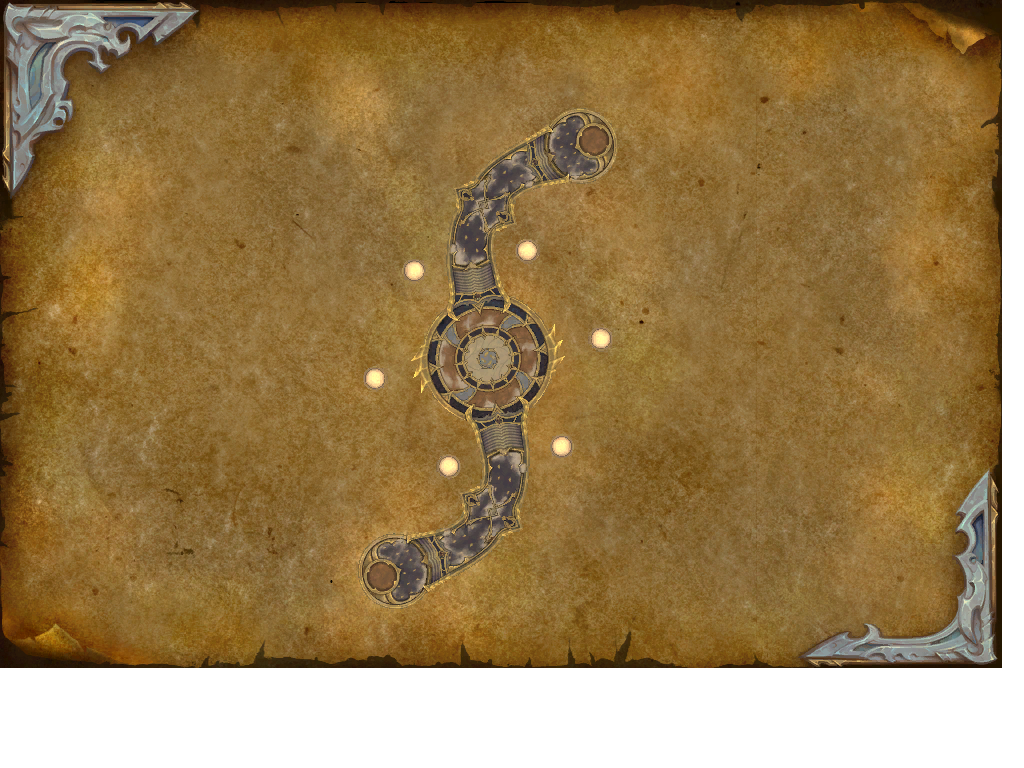
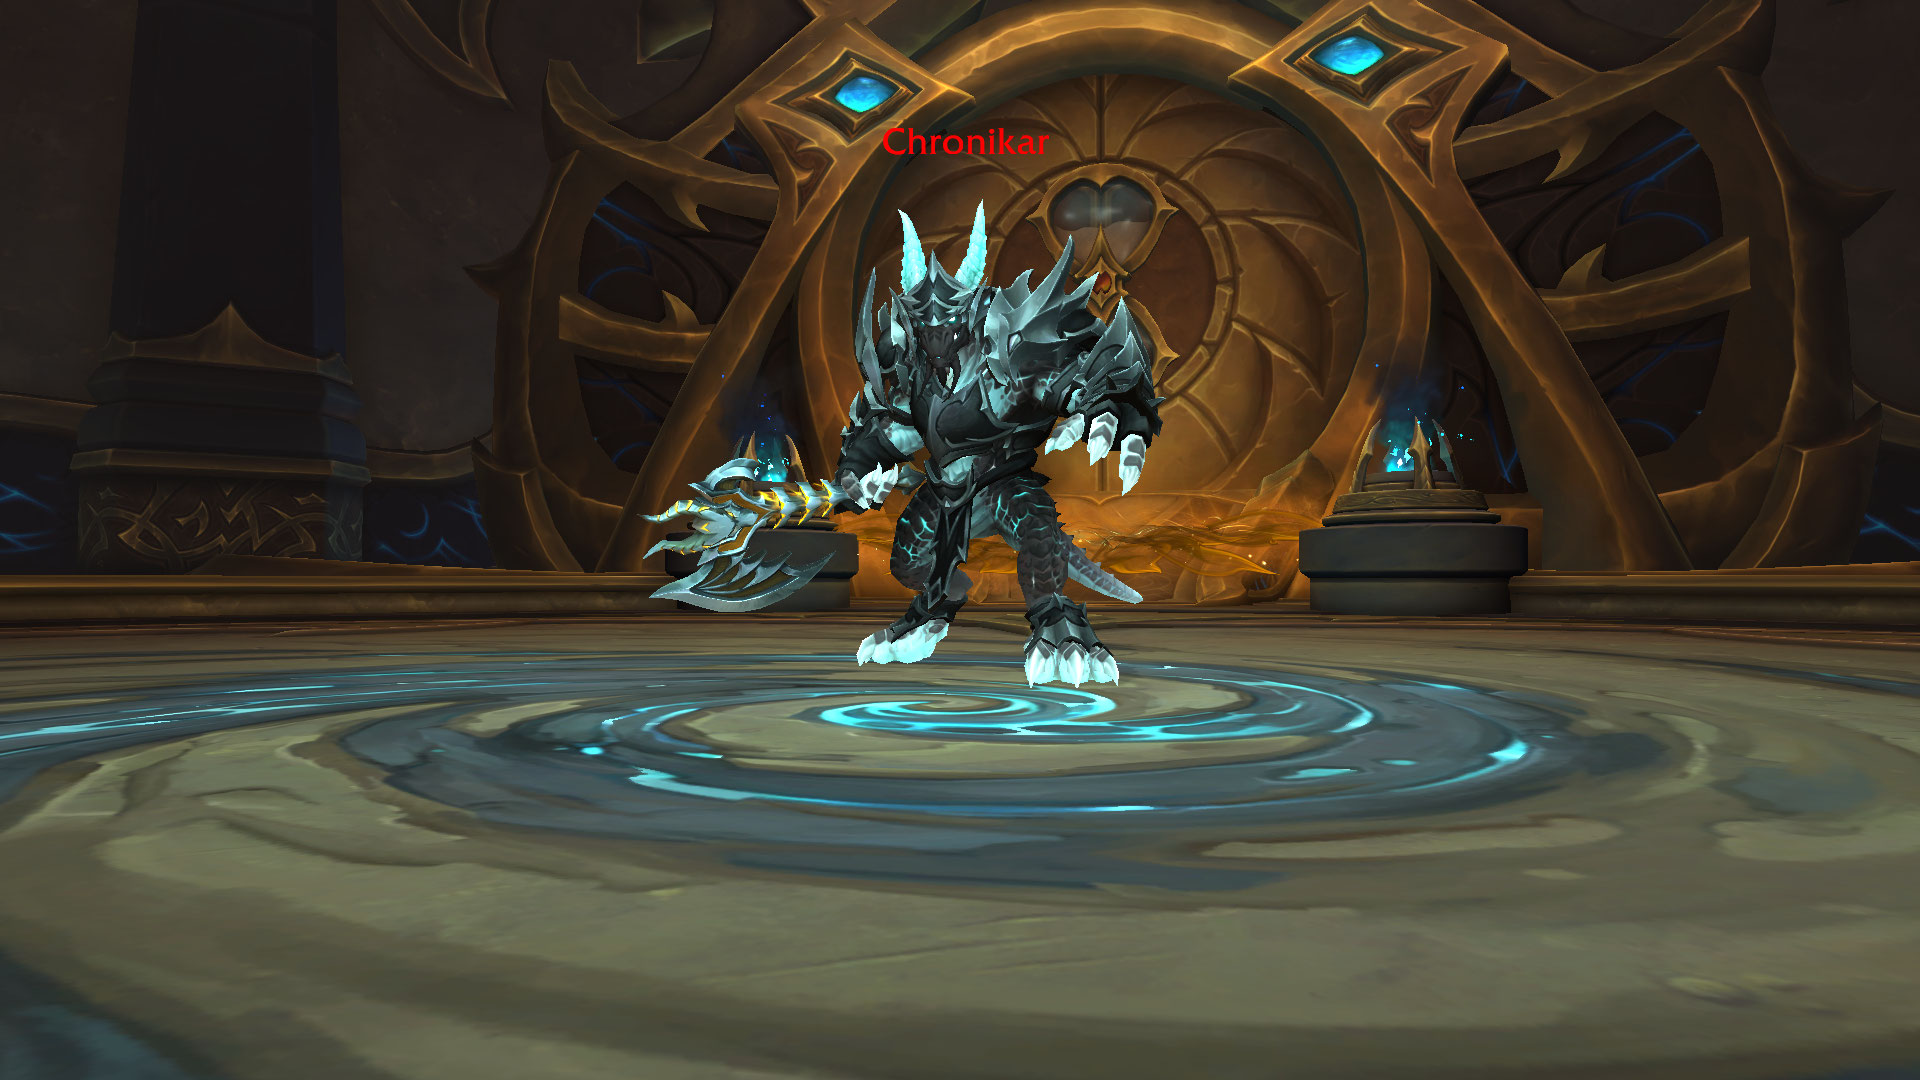
Sanctum of Chronology and Chronikar
Notable Trash Before Chronikar
- Interrupt Infinite Chronoweaver's
 Chronomelt channel
cast. The cast deals damage and reduces your Haste and Movement Speed by 50%.
Chronomelt channel
cast. The cast deals damage and reduces your Haste and Movement Speed by 50%. - Watch out for Infinite Timeslicer and its uninterruptible
 Temposlice channel cast. You can use disturbing effects to stop it.
 - Avoid getting hit by
 Timerip coming from Epoch Ripper.
They teleport on a random target.
Timerip coming from Epoch Ripper.
They teleport on a random target.
Chronikar Boss Guide
Chronikar is a straightforward boss fight with an enrage phase upon
reaching maximum energy. The most important boss ability is to watch out for
![]() Eon Shatter (at maximum energy) followed by
Eon Shatter (at maximum energy) followed by ![]() Eon Residue
soaks. More information down below:
Eon Residue
soaks. More information down below:
All Roles
- Once you get the
 Sand Stomp, place it near the end of the room
for a better
Sand Stomp, place it near the end of the room
for a better  Withering Sandpool management. And yes, avoid staying
in Withering Sandpool at all costs.
Withering Sandpool management. And yes, avoid staying
in Withering Sandpool at all costs. - Once Chronikar reaches 100 energy, it will cast
 Eon Shatter
on 2 random members, it is extremely important to dodge the initial
ground circle, followed by the incoming
Eon Shatter
on 2 random members, it is extremely important to dodge the initial
ground circle, followed by the incoming  Eon Fragments. After that,
immediately move back in to soak the
Eon Fragments. After that,
immediately move back in to soak the  Eon Residue before it transforms to
 Residue Blast (in which case, it becomes lethal to the whole party).
Tank
- Use your active mitigation before each
 Chronoshear cast to help your
healer overcome the
Chronoshear cast to help your
healer overcome the  Sheared Lifespan follow-up effect.
Healer
- Be ready to spot-heal your tank during the Chronoshear cast,
and be mindful of the follow-up - Sheared Lifespan effect.
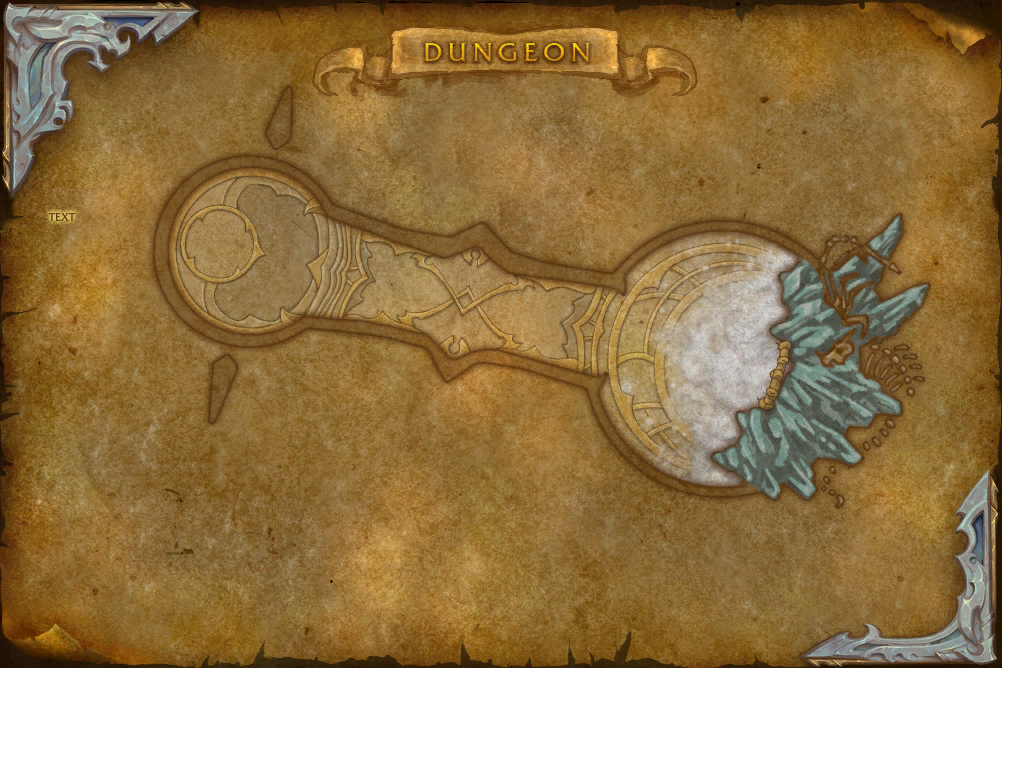
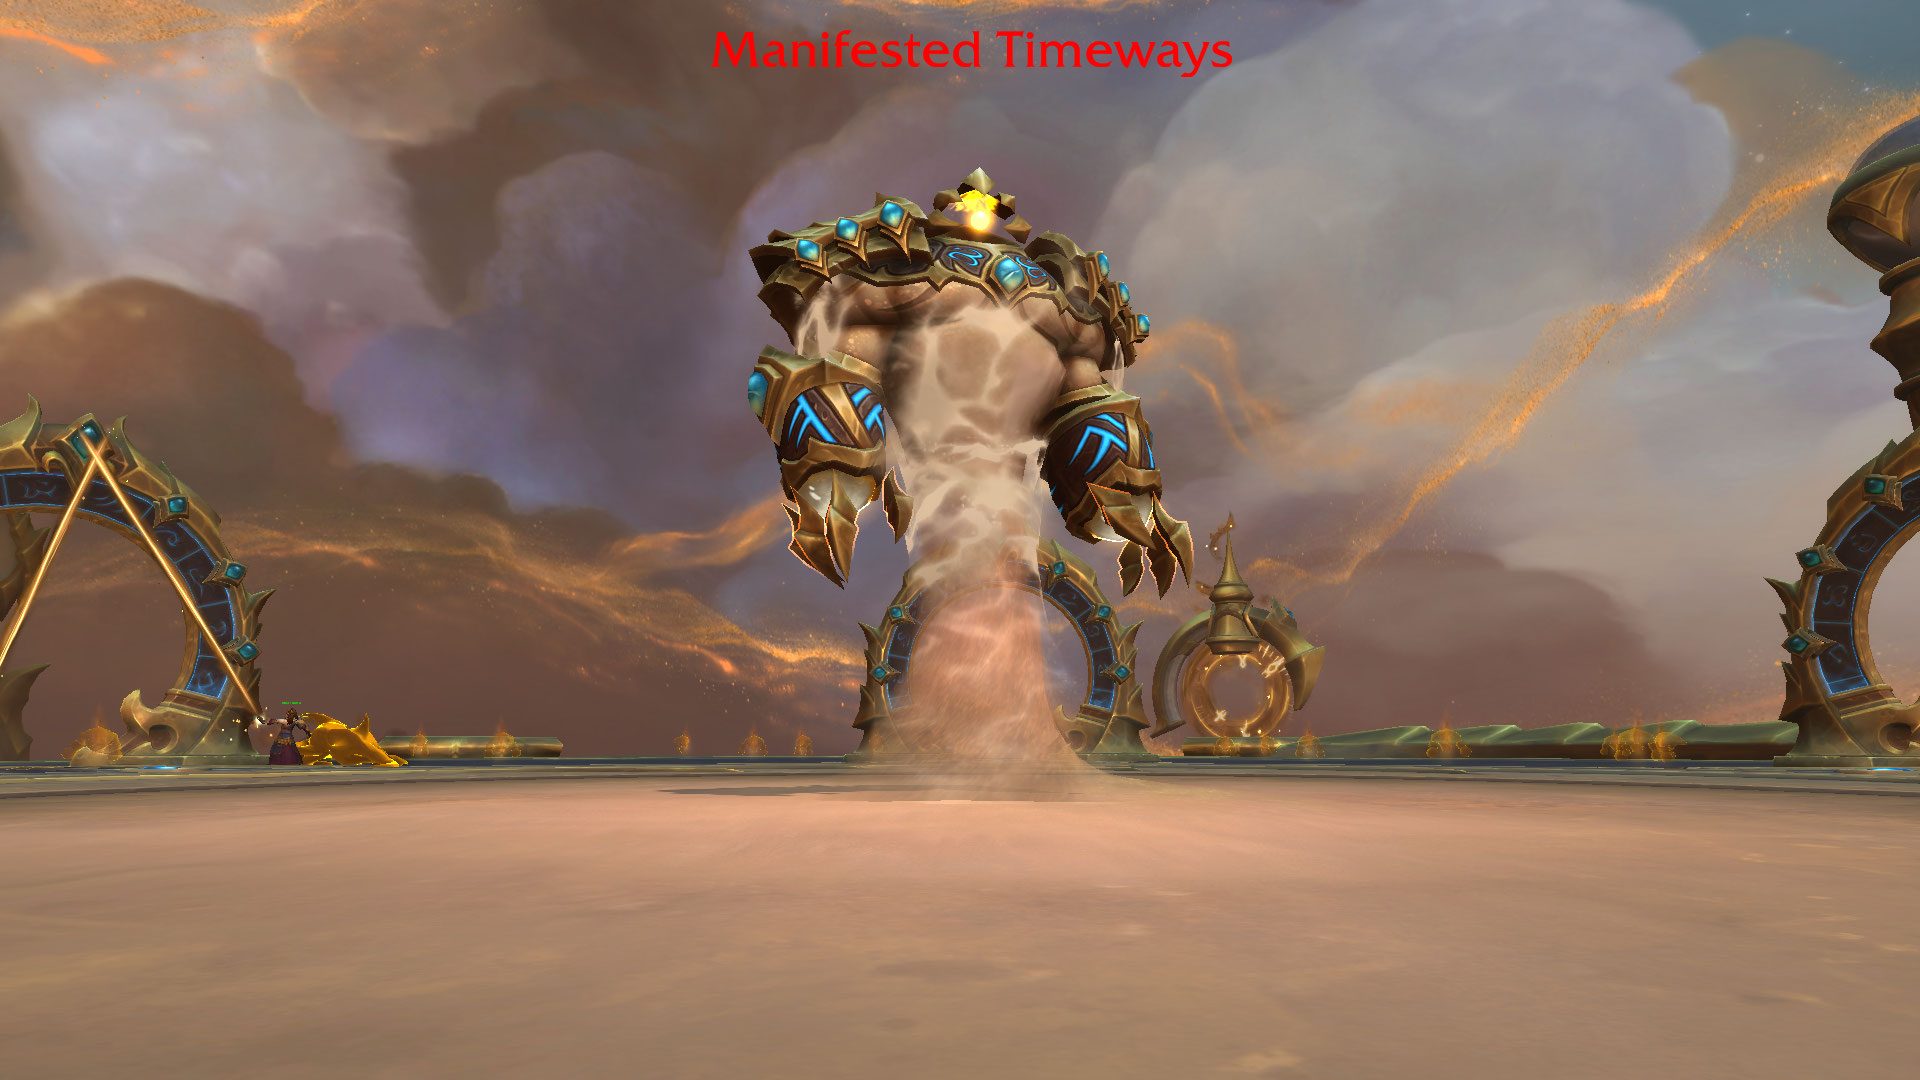
Millenia's Threshhold and Manifested Timeways
Notable Trash Before Manifested Timeways
- Healers must focus on dispelling Coalesced Time's
 Chronoburst
as it applies to debuff will go on a 2 random targets. In addition, your entire party
must interrupt
Chronoburst
as it applies to debuff will go on a 2 random targets. In addition, your entire party
must interrupt  Infinite Bolt Volley at all costs.
 - Tanks must watch out for Temporal Fusion's
 Triple Strike,
use your active mitigation if you are in a critical situation.
Triple Strike,
use your active mitigation if you are in a critical situation. - Interrupt Coalesced Moment's
 Infinite Bolt. In addition, your
Healer must watch out for the
Infinite Bolt. In addition, your
Healer must watch out for the  Tainted Sands debuff,
dispel it as quick as you can!
Tainted Sands debuff,
dispel it as quick as you can! - Interrupt Timestream Leech's
 Enervate. If the cast goes through,
your Healer can dispel it, make sure nobody is within 8 yards to prevent "cleave" damage.
Enervate. If the cast goes through,
your Healer can dispel it, make sure nobody is within 8 yards to prevent "cleave" damage. - Dispel the Timestream Anomaly's
 Bloom as quickly as you can; failing to do so will duplicate the spec and pass it onto an additional member
from your party. In addition, avoid being hit by the
Bloom as quickly as you can; failing to do so will duplicate the spec and pass it onto an additional member
from your party. In addition, avoid being hit by the  Untwist frontal,
it often targets the Tank.
Untwist frontal,
it often targets the Tank.
Manifested Timeways Boss Guide
Throughout the whole fight, Manifested Timeways will have ![]() Timeways Conflux
available, effectively transforming the surroundings of the boss area to a
4 equal "pizza" slices. 2 of them will have the
Timeways Conflux
available, effectively transforming the surroundings of the boss area to a
4 equal "pizza" slices. 2 of them will have the ![]() Decaying Time
debuff while the rest will contain
Decaying Time
debuff while the rest will contain ![]() Accelerating Time. Regardless of which
one you stay, you will take damage per second; if you have the mobility to maintain
your rotation while moving, you would prefer to stay within the
Accelerating Time. Regardless of which
one you stay, you will take damage per second; if you have the mobility to maintain
your rotation while moving, you would prefer to stay within the ![]() Decaying Time
slice as you take damage every 3 sec, compared to the
Decaying Time
slice as you take damage every 3 sec, compared to the ![]() Accelerating Time
slice, where you take damage every 1 sec. More information, down below:
Accelerating Time
slice, where you take damage every 1 sec. More information, down below:
All Roles
- Avoid being hit by the Fragments of Time cast, the projectiles
will be significantly slowed if you stay within the
 Decaying Time
"pizza" slice, making it easier to avoid them.
Decaying Time
"pizza" slice, making it easier to avoid them.
Tank
- Watch out for the Unwind cast, if you are in the Decaying Time
"pizza" slice, the follow-up wave will be significantly slower, and this way you
will have more time to prepare.
- Make sure you are present in melee at all times to prevent the boss from
casting
 Radiant and therefore wiping the entire party.
Healer
- The boss will apply
 Chrono-faded debuff to 2 random players,
dispel it as quickly as you see it. If you have Priest, ask for a
Chrono-faded debuff to 2 random players,
dispel it as quickly as you see it. If you have Priest, ask for a
 Mass Dispel. Remind your team that the DoT ticks much faster if they stay
within the
Mass Dispel. Remind your team that the DoT ticks much faster if they stay
within the  Accelerating Time "pizza" slice, so they should try their
best not to be in one.
Accelerating Time "pizza" slice, so they should try their
best not to be in one. - Upon dispelling Chrono-faded you will trigger a follow-up effect
called
 Chronofade. The Chronofade wave becomes a lot
easier to dodge if the Dispel happens within the Decaying Time
"pizza" slice, making it extraordinarily slow, and this way you can easily avoid it
without getting hit.
Chronofade. The Chronofade wave becomes a lot
easier to dodge if the Dispel happens within the Decaying Time
"pizza" slice, making it extraordinarily slow, and this way you can easily avoid it
without getting hit.
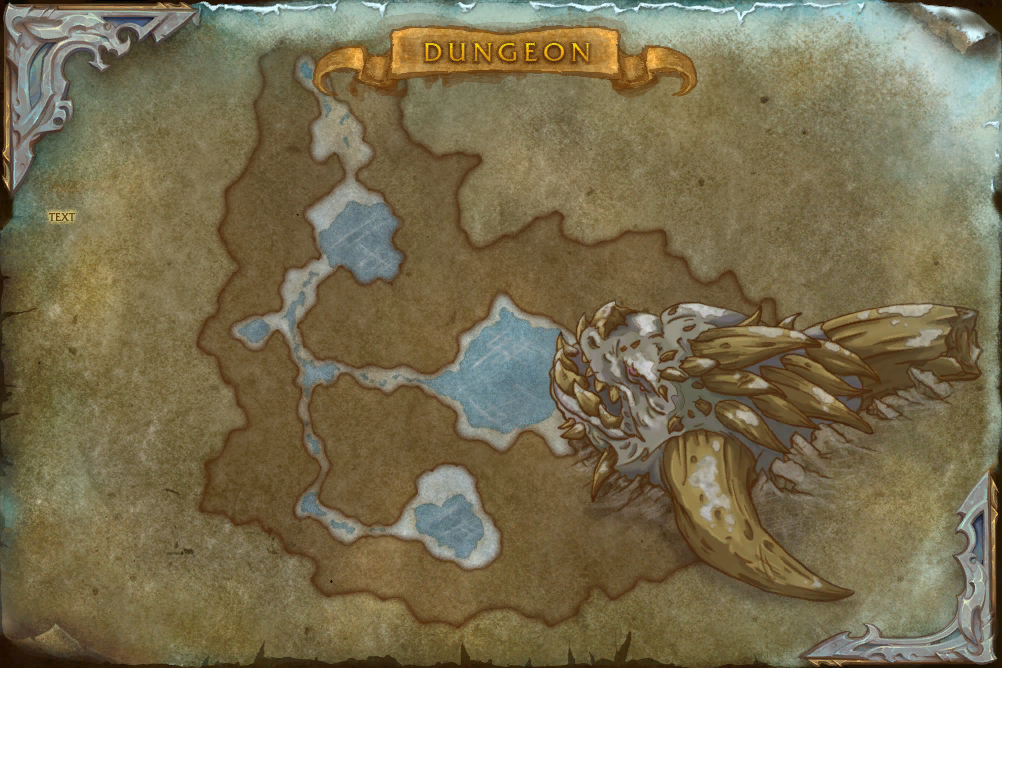
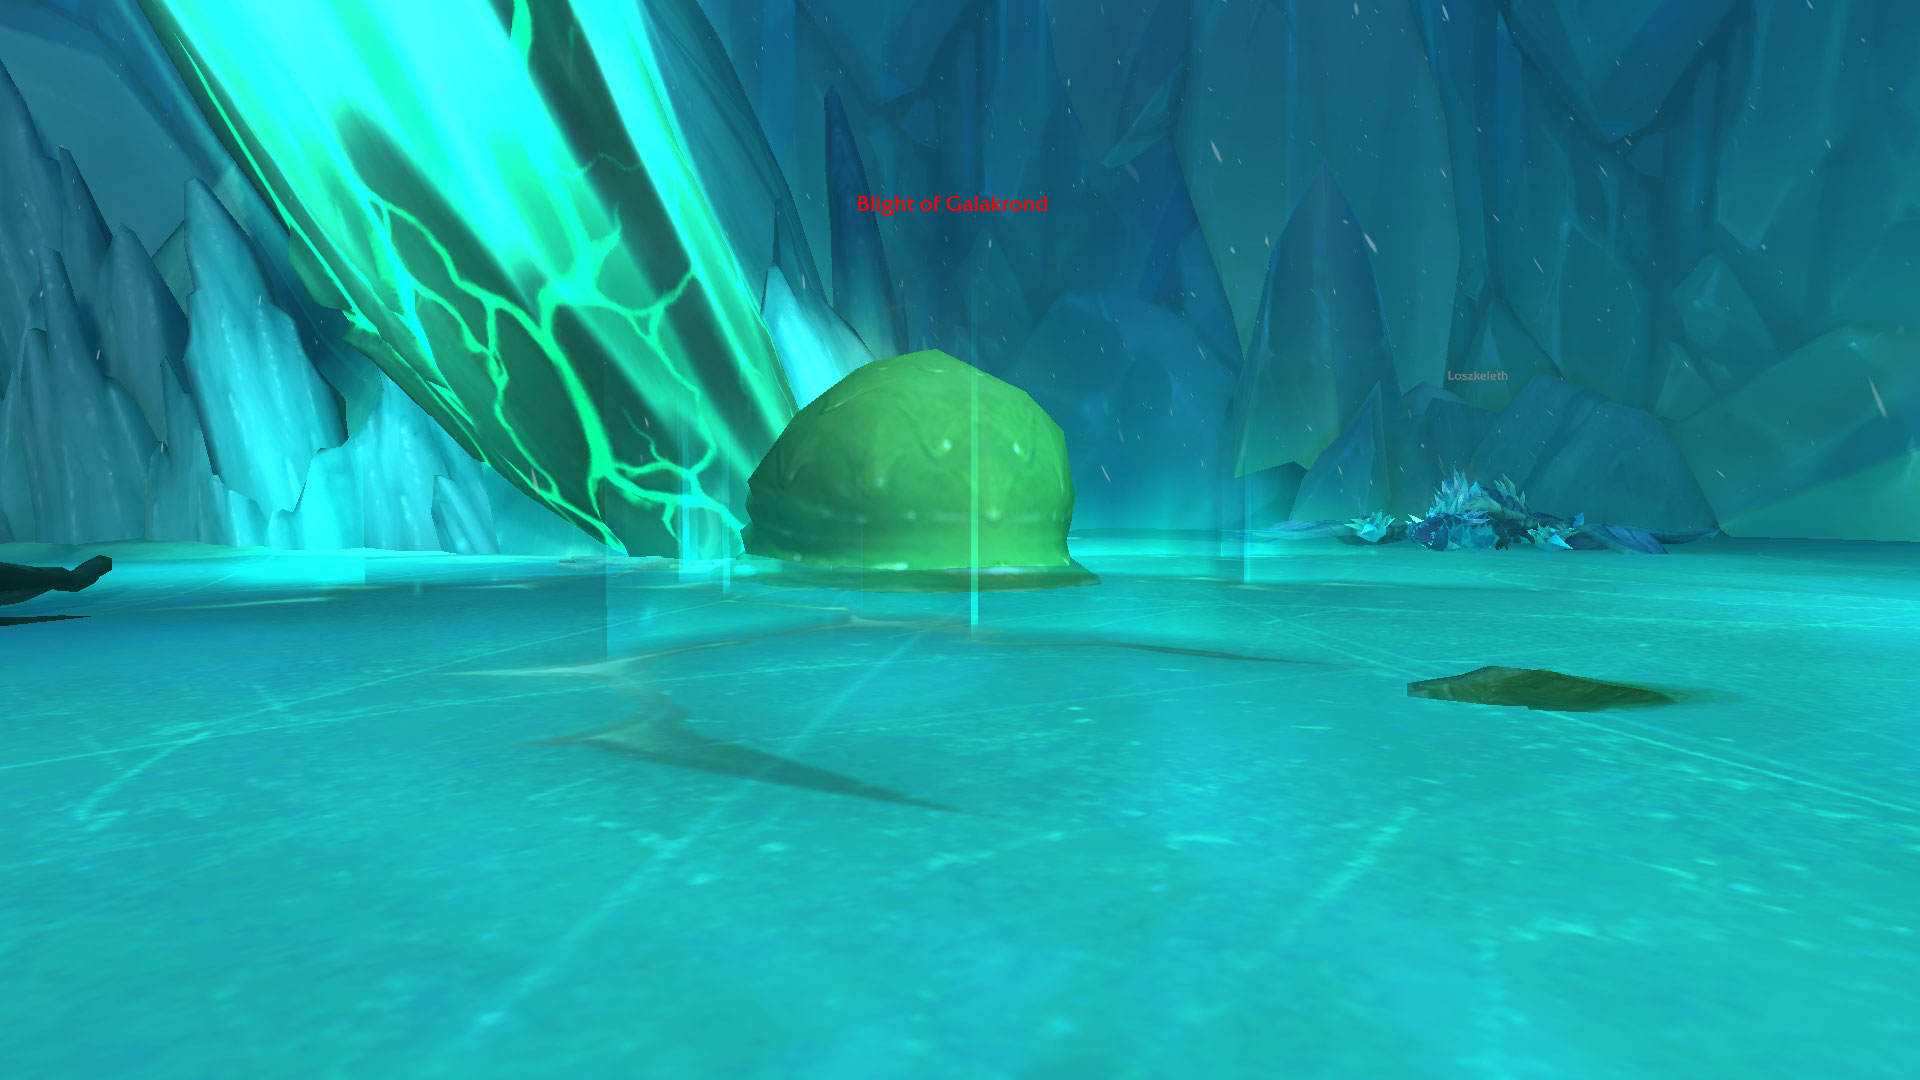
Crossroads of Fate and Blight of Galakrond
Notable Trash Before Blight of Galakrond
Once you defeat Manifested Timeways, you will pick up the Timeless Custodian towards the Locus of Eternity crossroad, from other onwards, there is only one exit and that is towards the Spoke of Endless Winter, where you will transition towards the Crossroads of Fate platform. Here is what you should know about all non-boss-enemies before facing Blight of Galakrond:
- Avoid Infinite Infiltrator's
 Timeless Curse ground-animation
and use defensives on the Infinite Fury cast. This is a good place
for your Healer to use their major healing cooldowns.
Timeless Curse ground-animation
and use defensives on the Infinite Fury cast. This is a good place
for your Healer to use their major healing cooldowns. - Beware of Blight Chunk, they are the easiest non-boss-enemy to deal
with but upon death, they will buff any nearby Risen creatures with
 Relentless Hunger.
 - Risen Dragon has a
 Necrotic Outburst aura, hence why we
don't recommend you to pull more than 2 of the same mob unless you have
major cooldowns available. Avoid the
Necrotic Outburst aura, hence why we
don't recommend you to pull more than 2 of the same mob unless you have
major cooldowns available. Avoid the  Blight Spew ground animation.
Blight of Galakrond Boss Guide
Blight of Galakrond is one of the few boss fights that are a 3 Phase Encounter. During Phase 1, you will face Blight of Galakrond up until 80%, Phase 2 you will fight with Ahnzon, up until 50%, after which the boss will transition into its final Phase 3, where you will battle with Loszkeleth and Dazhak. More information, down below:
All Roles
- Avoid sitting in the
 Blight Seep during Phase 1.
 - Dodge the incoming
 Corrosive Expulsion ground pools during Phase 1.
 - Once you get the
 Corrosion debuff (from the
  Corrosive Infusion cast),
it is best to transfer (by contact) it to your Tank as they are the
most durable target. The
Corrosive Infusion cast),
it is best to transfer (by contact) it to your Tank as they are the
most durable target. The  Blight Reclamation frontal will remove the
Corrosion debuff. You have 12 sec to do so before you get
Blight Reclamation frontal will remove the
Corrosion debuff. You have 12 sec to do so before you get
 Corrupted Mind debuff.
 - During Phase 2, Ahnzon will still cast Corrosion and
Blight Reclamation, you must clear it just like in Phase 1,
but this time you must also watch out for
 Necrotic Winds.
Avoid getting hit by the tornadoes, and use your defensive cooldowns.
Necrotic Winds.
Avoid getting hit by the tornadoes, and use your defensive cooldowns. - During Phase 3, 100% of the damage done against Loszkeleth
occur against Dazhak. You will also inherit the Corrosion and
Blight Reclamation spell sequence continuation from Phase 1.
- Destroy Loszkeleth's
 Necrofrost as quick as you can.
 - Avoid getting hit by Loszkeleth's
 Incinerating Blightbreath.
Tank
- During Phase 1, Blight of Galakrond will leave Blight Seep
lingering pools every time it moves, be aware of the boss position at all times
and be conservative with movement during this phase.
- Make sure to stay stationary during the Blight Reclamation frontal,
this way, you will make the clearing of the Corrosion debuff much easier
(simply walk in front of the frontal).
- Try to stack Loszkeleth and Dazhak together when possible to allow for a better cleave. You only have to taunt and actively use your mitigation against Loszkeleth as he is the one that melees you.
Healer
- Spotheal the target with Corrosion debuff to prevent them from dying.
- Use healing cooldowns during Necrotic Winds cast in Phase 2.
- During Phase 3 top-up players quickly to prevent them from dying to
the Dazhak's
 Noxious Ejection.
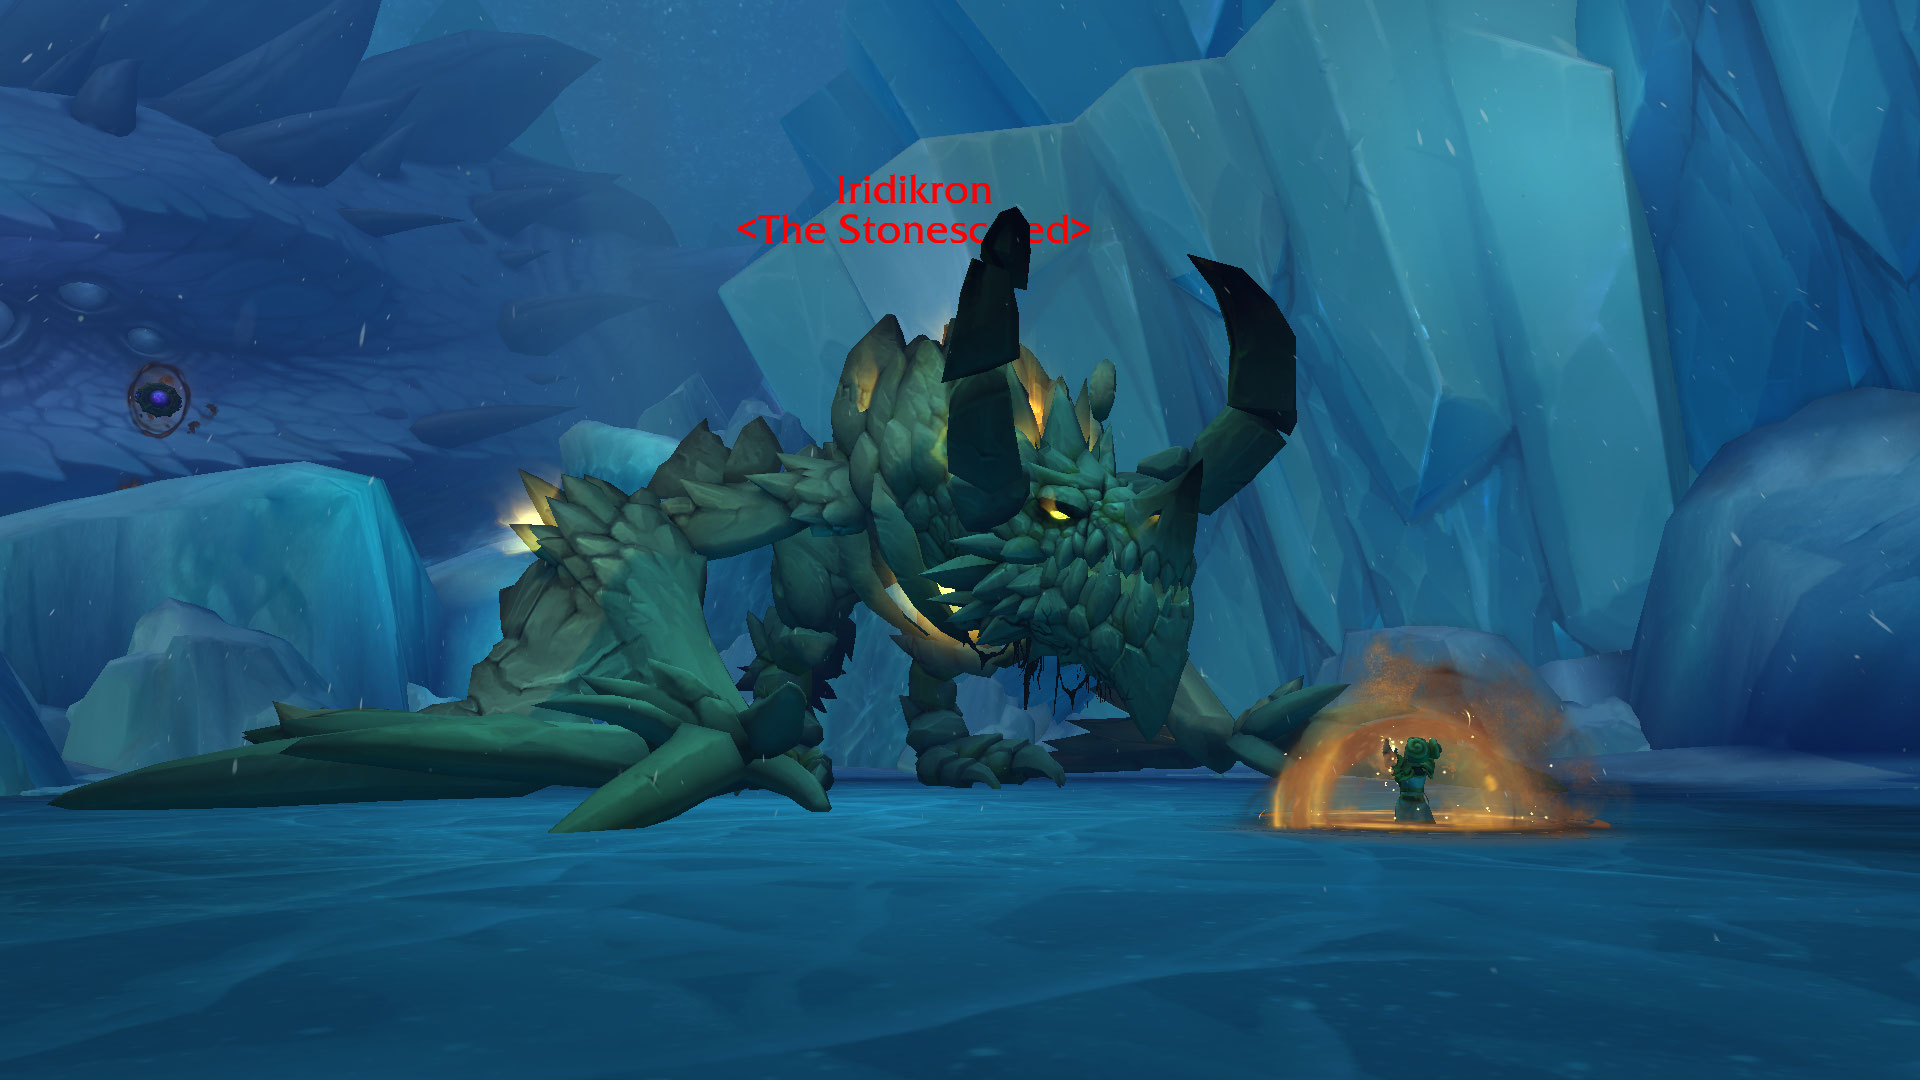
Crossroads of Fate and Iridikron the Stonescaled
Notable Trash Before Iridikron the Stonescaled
- Interrupt Iridikron's Creation's
 Stonebolt.
Iridikron the Stonescaled Boss Guide
One of the best fights ever created, Iridikron offers a fair share of challenges to any group looking for one. Your Healer must pay attention not only to your party's health but also must make sure that Chromie does not die. More information, down below:
All Roles
- If you get targeted by
 Extinction Blast, walk under Chromie's
 Timeline Protection to prevent you from dying. During this, you will make
hromie much more vulnerable due to
Timeline Protection to prevent you from dying. During this, you will make
hromie much more vulnerable due to  Exhausted.
 - During the
 Stonecracker Barrage, split your team into TWO,
all 4 members of your group should soak the bigger circle, while the Tank
solo soaks the smaller one. This is a good place to use your defensive cooldowns
to take less damage from the follow-up effect -
Stonecracker Barrage, split your team into TWO,
all 4 members of your group should soak the bigger circle, while the Tank
solo soaks the smaller one. This is a good place to use your defensive cooldowns
to take less damage from the follow-up effect -  Stonecrack. At the
end of the Stonecracker Barrage, Chromie will trigger
Stonecrack. At the
end of the Stonecracker Barrage, Chromie will trigger
 Timeline Acceleration, granting everyone 50% Haste for 25 sec.
 - During the
 Earthsurge, break the shield as quickly as you can
while dodging the incoming
Earthsurge, break the shield as quickly as you can
while dodging the incoming  Rending Earthspikes and staying away
from the ground ichors (
Rending Earthspikes and staying away
from the ground ichors ( Punctured Ground).
 - Avoid the
 Pulverizing Exhalation frontal while being within
close proximity (but don't stack on top of your teammates) of each other for a better
Pulverizing Exhalation frontal while being within
close proximity (but don't stack on top of your teammates) of each other for a better
 Pulverizing Creations spawn. In addition, interrupt Pulverizing Creations's
Stonebolt at all cost.
Pulverizing Creations spawn. In addition, interrupt Pulverizing Creations's
Stonebolt at all cost. - During
 Cataclysmic Obliteration, it is extremely important to
use all of your defensive cooldowns left and stack under Chromie's
Timeline Transcendence. If you live this, the boss dies, and you will
defeat the encounter.
Cataclysmic Obliteration, it is extremely important to
use all of your defensive cooldowns left and stack under Chromie's
Timeline Transcendence. If you live this, the boss dies, and you will
defeat the encounter.
Tank
- Watch out for
 Crushing Onslaught stacks, do your best to reset
them as often as you can.
Crushing Onslaught stacks, do your best to reset
them as often as you can. - Collect the aggro from the Pulverizing Exhalation as quickly as you can.
Healer
- Make sure to keep Chromie healthy at all times, if she dies, it will be
a sure group wipe. Chromie becomes especially vulnerable when she has Exhausted
debuff, at the end of each Timeline Protection.
- Be mindful of the number of stacks you will endure during Earthsurge,
consider using cooldowns when appropriate.
- Do your best to save all of your healing cooldowns for the Cataclysmic Obliteration channel.
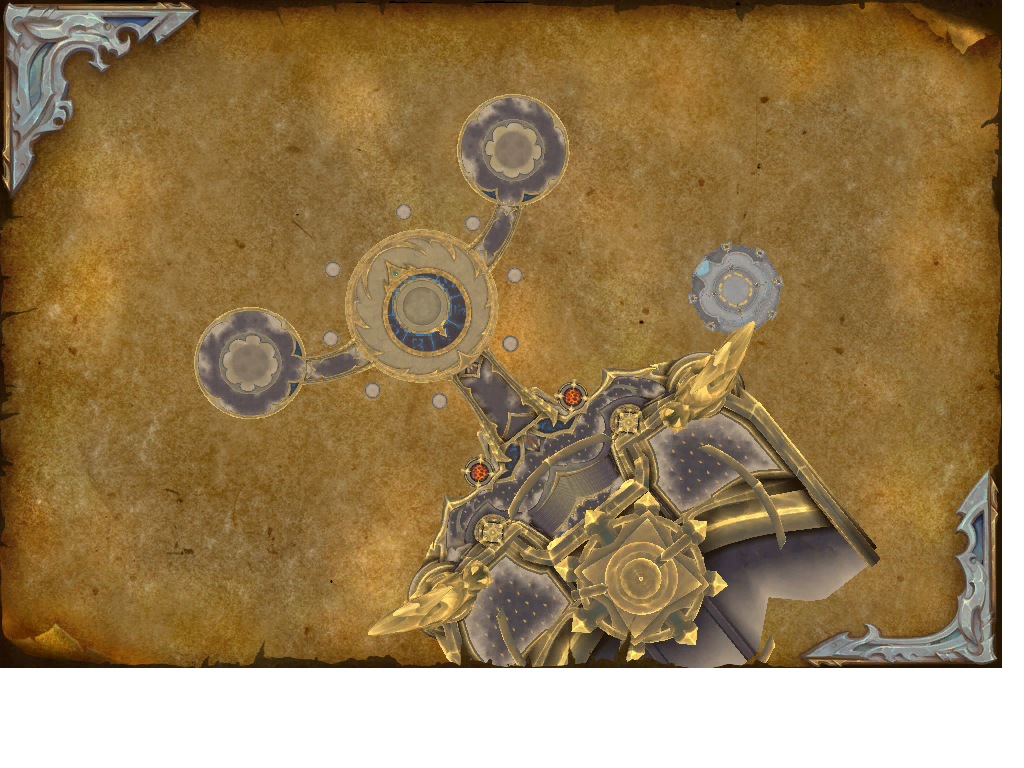
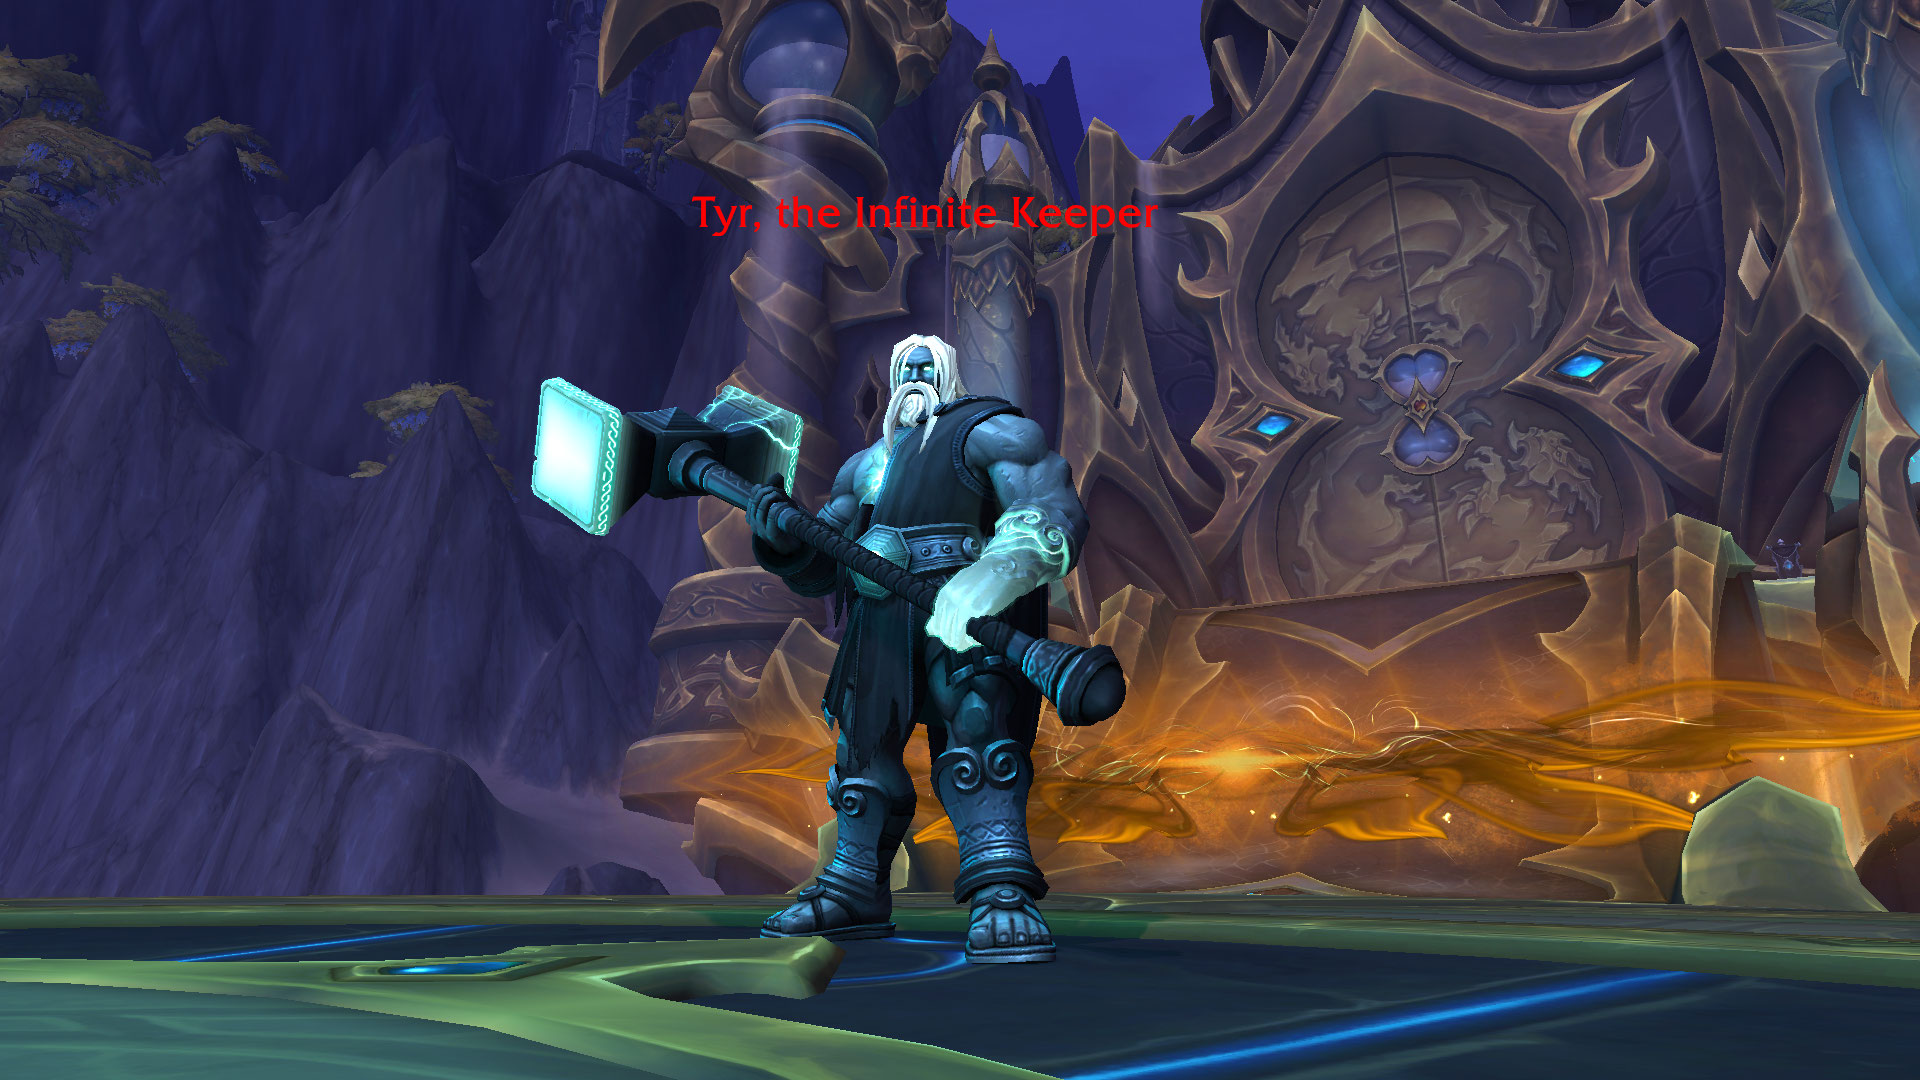
Infinite Conflux and Tyr, the Infinite Keeper
Notable Trash Before Tyr, the Infinite Keeper
- Watch out for Tyr's Vanguard's
 Rending Cleave as it will hit everyone
in front of the mob, applying a stackable
Rending Cleave as it will hit everyone
in front of the mob, applying a stackable  Bleed effect.
 - Interrupt Infinite Twilight Magus's
 Epoch Bolt and try your best to
Stun its Corroding Volley cast.
Epoch Bolt and try your best to
Stun its Corroding Volley cast. - Dodge the Valow, Timesworn Keeper's
 Temporal Strike ground animation.
In addition, your Tank must move Valow, Timesworn Keeper
away from his
Temporal Strike ground animation.
In addition, your Tank must move Valow, Timesworn Keeper
away from his  Titanic Bulwark "sphere". You can use that as a defensive cooldown
since it does reduce all incoming damage by 50%!
Titanic Bulwark "sphere". You can use that as a defensive cooldown
since it does reduce all incoming damage by 50%! - Lerai, Timesworn Maiden will cast unavoidable AoE damage -
 Ancient Radiance
and a boomerang-type of frontal called
Ancient Radiance
and a boomerang-type of frontal called  Orb of Contemplation (dodge it to avoid being stunned).
 - Interrupt Spurlok, Timesworn Sentinel's Binding Grasp as quickly
as you can to enable them to continue the fight. Keep in mind that the mob will be inside its
Shrouding Sandstorm, so you must enter the lingering ground pull to interrupt.
Tyr, the Infinite Keeper Boss Guide
All Roles
- Soak the incoming
 Dividing Strike and avoid staying in the following up
 Consecrated Ground lingering pool. If this ability fails to hit at least
2 players, the boss will gain
Consecrated Ground lingering pool. If this ability fails to hit at least
2 players, the boss will gain  Titanic Empowerment until the rest of the fight.
 - Avoid the
 Infinite Annihilation frontal cone and its following up
Consecrated Ground lingering pool.
Infinite Annihilation frontal cone and its following up
Consecrated Ground lingering pool. - Collect as many
 Temporal Essence as you can during the
  Siphon Oathstone channel cast.
Remember, for each Temporal Essence, you will gain a stack of Stolen Time
at a maximum of 5 stacks.
Siphon Oathstone channel cast.
Remember, for each Temporal Essence, you will gain a stack of Stolen Time
at a maximum of 5 stacks.
Tank
- Be careful of
 Titanic Blow, not only it will deal massive damage
to you, but it will knock you out (yes, even out of the platform if you are too close).
Avoid staying in the following up Consecrated Ground lingering pool.
Titanic Blow, not only it will deal massive damage
to you, but it will knock you out (yes, even out of the platform if you are too close).
Avoid staying in the following up Consecrated Ground lingering pool.
Healer
- Quickly dispel one of the
 Spark of Tyr while spot-healing the other debuff.
Any other form of dispel removes it, so in case you have a Mass Dispel,
ask for assistance. Just keep in mind that as soon as you dispel the debuff,
there will be group-wide splash damage.
Spark of Tyr while spot-healing the other debuff.
Any other form of dispel removes it, so in case you have a Mass Dispel,
ask for assistance. Just keep in mind that as soon as you dispel the debuff,
there will be group-wide splash damage. - Use your healing cooldowns during the
 Radiant Barrier shield.
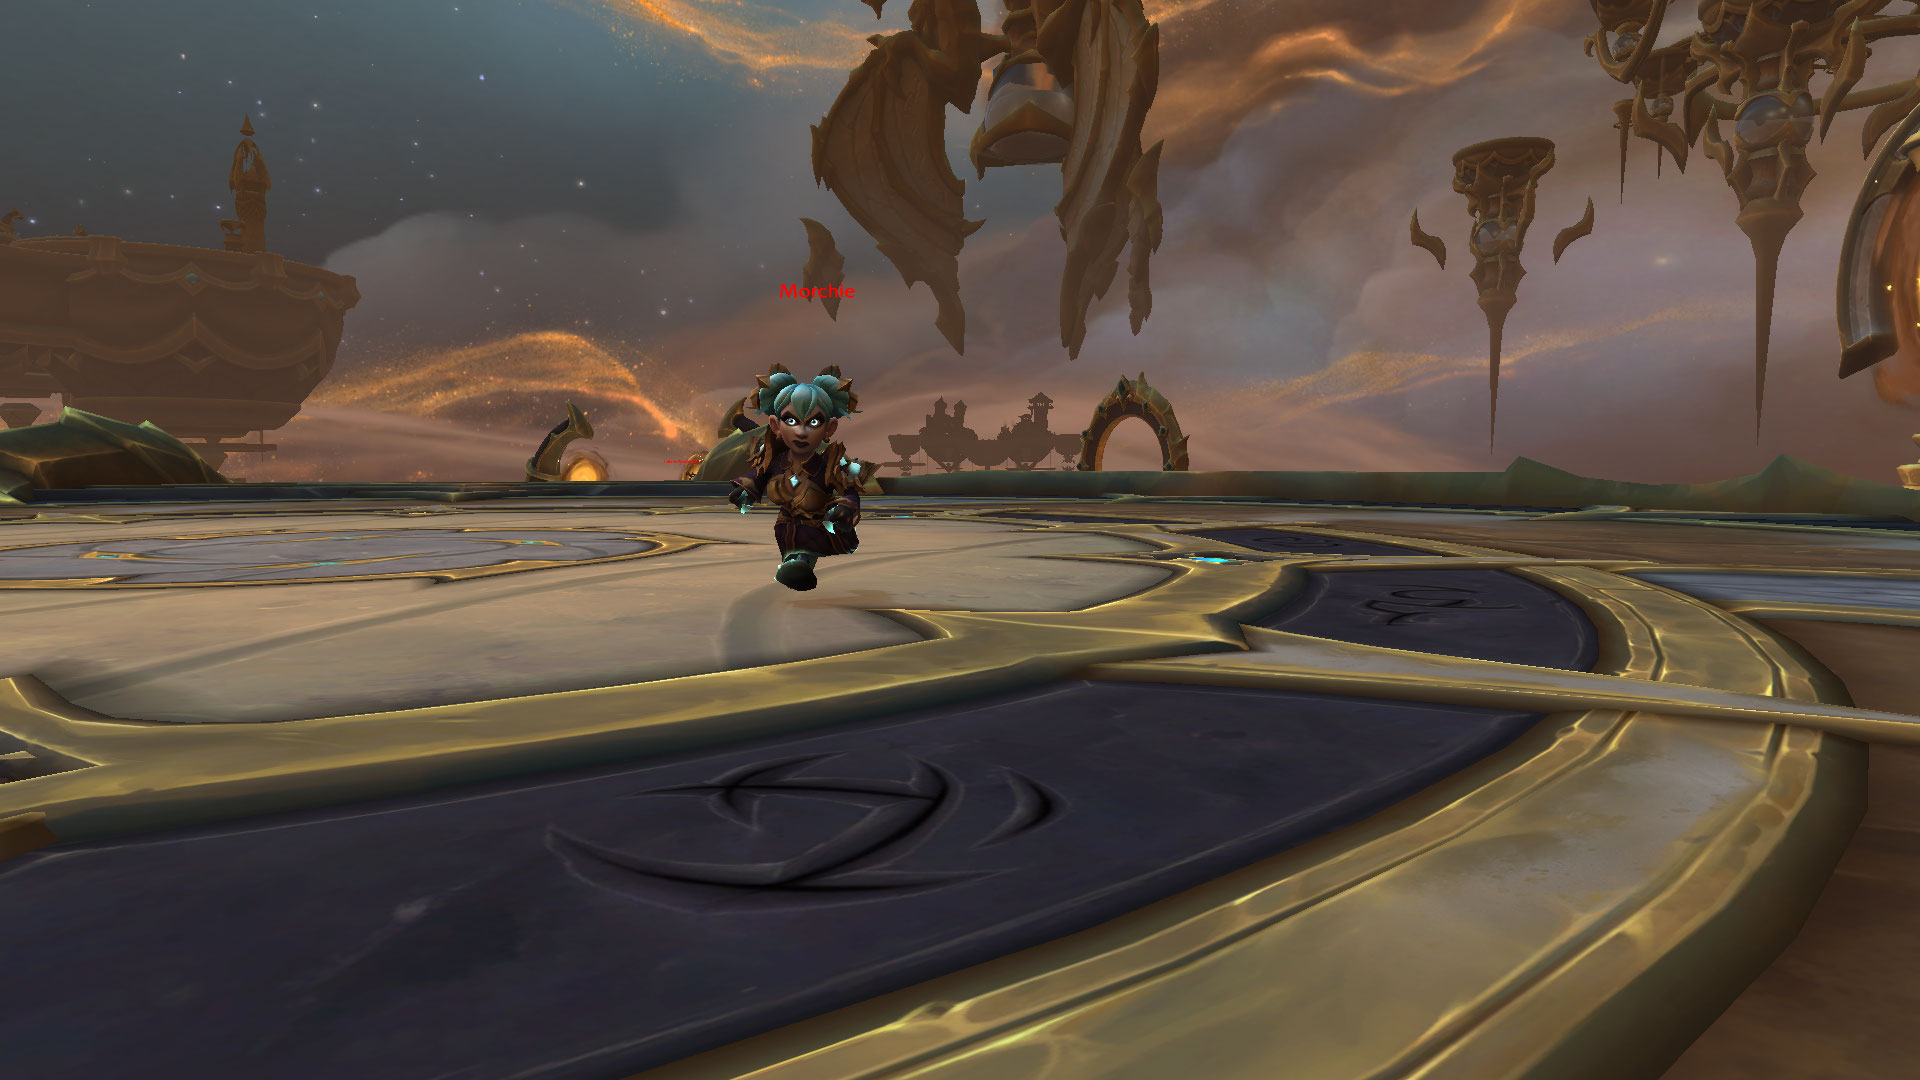
Twisting Approach and Morchie
Notable Trash Before Morchie
Before facing Morchie, you first must complete a unique event where a
dozen of Infinite Protector will be casting an Infinite Projectiles.
If you get hit by any, you will be sent towards your original position, so pay
attention and do it quickly. If you are the first one to pass the event, just to your left,
you will be able to create a ![]() Temporal Rift for your party to pass through!
Temporal Rift for your party to pass through!
That's not all, you must make your way towards the only active teleport by slaying Temporal Fusion and Temporal Deviation and letting their corpses pave the way by exploding. This is the only way to get one of the most fun bosses in this instance - Morchie.
- Avoid getting hit by Infinite Watchkeeper's Timeless Curse
ground animation and use defensive on the Infinite Fury cast. This is a
good place for your Healer to use major healing cooldowns.
- Interrupt Timeline Marauder's
 Displace Chronosequence and try
your best to stop (with Stun or any other effect) the deadly
Displace Chronosequence and try
your best to stop (with Stun or any other effect) the deadly
 Infinite Schism channel cast.
 - Watch out for Infinite Timebender, as not only he will spawn adds -
Time-Lost Wakethrasher and Time-Lost Tidehunter, but also buff them with
Millennium Aid cast. Interrupt all Dizzying Sands to
prevent you from being disorientated.
Morchie Boss Guide
All Roles
- Avoid the Sand Blast frontal.
- During the
 More Problems! transition, quickly find the correct
version of Morchie and avoid staying directly in front of her, this way you
can dodge the
More Problems! transition, quickly find the correct
version of Morchie and avoid staying directly in front of her, this way you
can dodge the  Dragon's Breath and prevent you from getting a
Sand Buffeted debuff.
Dragon's Breath and prevent you from getting a
Sand Buffeted debuff. - Avoid getting hit by the ground
 Time Traps. In case you get caught
by one of them, you will trigger follow-up effects - Time Stasis and
Temporal Backlash.
Time Traps. In case you get caught
by one of them, you will trigger follow-up effects - Time Stasis and
Temporal Backlash. - When Morchie casts
 Familiar Faces, kite the fixates through
Time Traps, this way they will be suspended until Morchie frees them.
Familiar Faces, kite the fixates through
Time Traps, this way they will be suspended until Morchie frees them.
Tank
- Help your team identify the right version of Morchie during the
More Problems! transition.
Healer
- If any of your team members get caught in a Time Traps, be quick to
dispel the Time Stasis and top the remaining of your party members
after the Temporal Backlash explosion.
Immemorial Battlefield and Time-Lost Battlefield
Notable Trash Before Time-Lost Battlefield
- Time-Lost Rocketeer does primarily tank damage through its
 Staticky Punch ability. It is easy to handle as long as you
interrupt
Staticky Punch ability. It is easy to handle as long as you
interrupt  Rocket Bolt Volley.
 - Dodge the Time-Lost Aerobot's
 Electro-Juiced Gigablast
frontal ability.
Electro-Juiced Gigablast
frontal ability. - Interrupt Pendule's
 Time Beam.
 - Avoid the Horde Destroyer's
 Volatile Mortar ground animation.
In addition, make sure to use crowd-control effects during the
Volatile Mortar ground animation.
In addition, make sure to use crowd-control effects during the  Deploy Goblin Sappers cast,
or else you might end up dying!
Deploy Goblin Sappers cast,
or else you might end up dying!
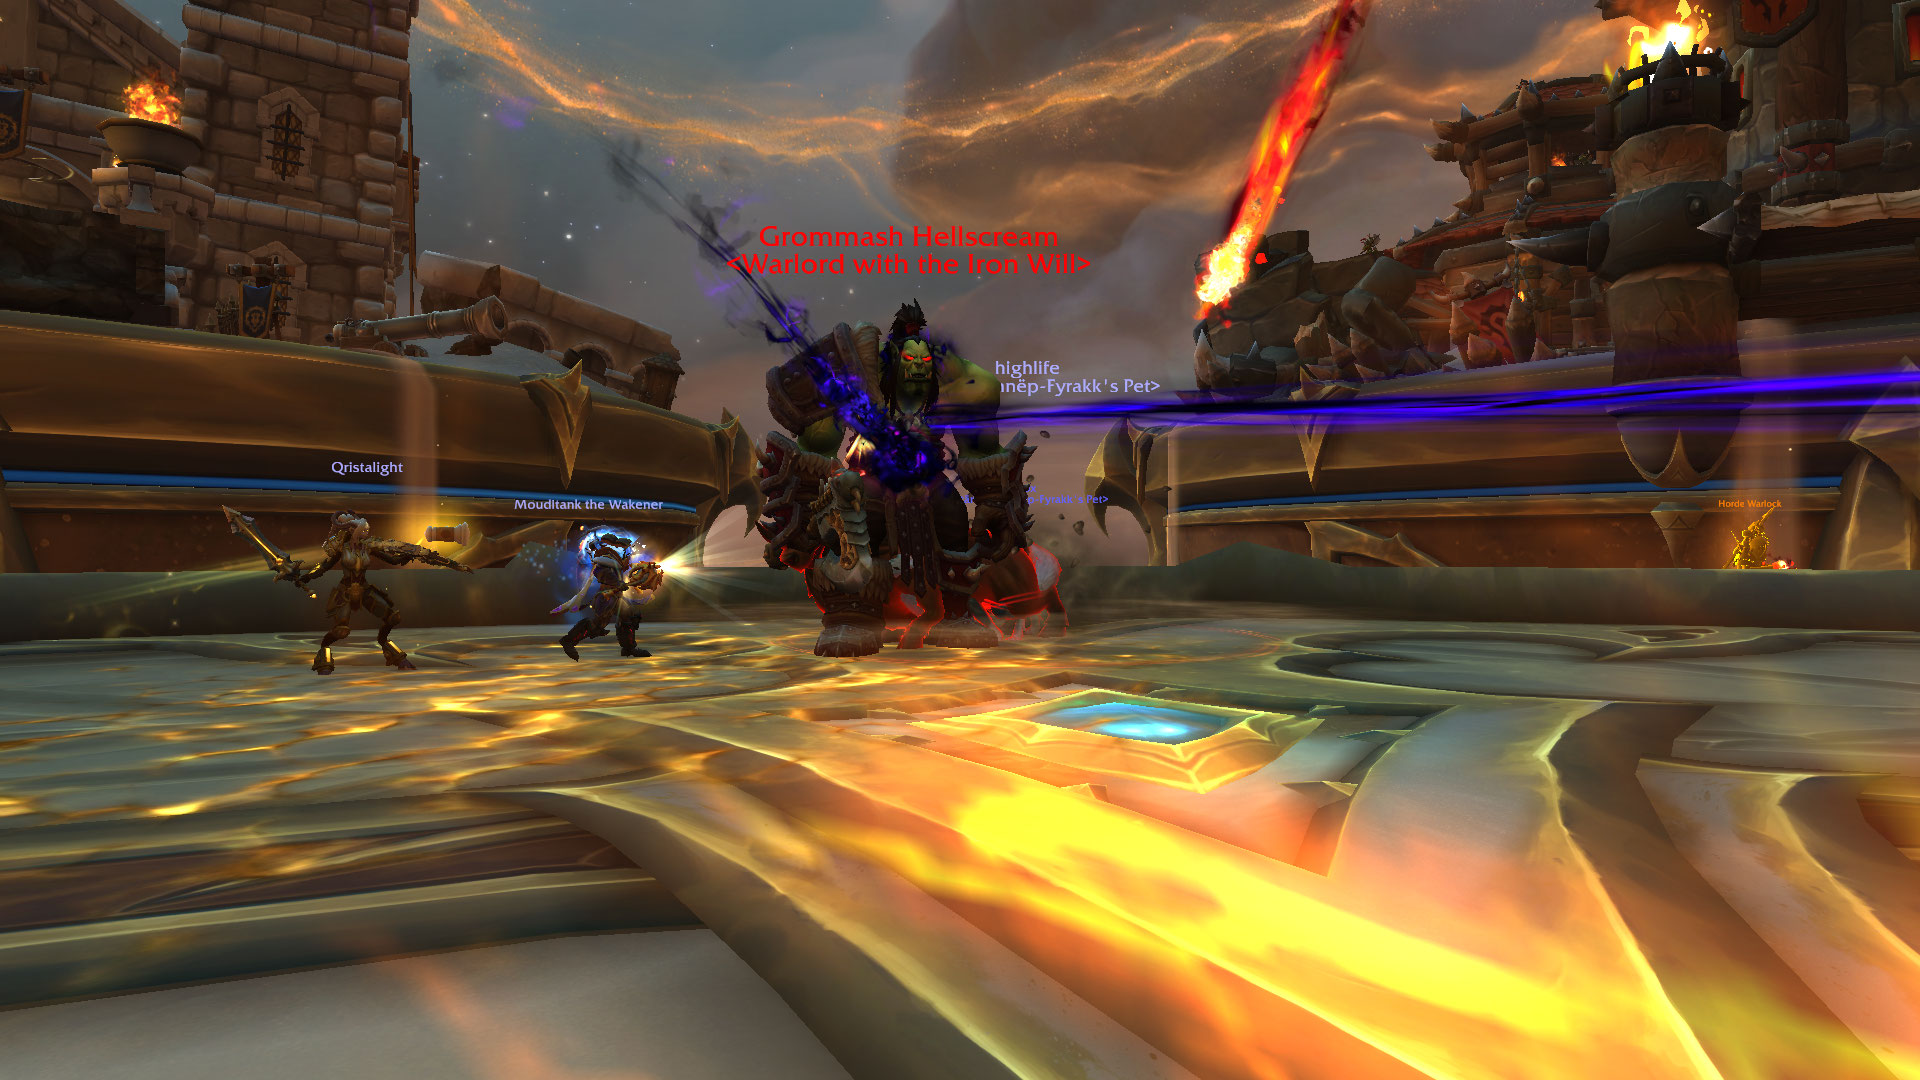
Time-Lost Battlefield Boss Guide
Time-Lost Battlefield boss encounter features a slight difference between Horde and Alliance players. Although some of the boss's spells and NPCs have different names, they will do identical jobs. Below you can find all differences:
- On behalf of all Horde, you will be facing Grommash Hellscream and its 3 allies - Horde Grunt, Horde Axe Thrower and Horde Warlock.
- On behalf of all Alliance, you will be facing Anduin Lothar and its 3 allies - Alliance Footman, Alliance Archer and Alliance Conjuror.
All Roles
- During the whole fight Grommash Hellscream OR Anduin Lothar will summon Horde Grunt, Horde Axe Thrower and Horde Warlock OR Alliance Footman, Alliance Archer and Alliance Conjuror, focus the boss while cleaving them.
- Avoid getting hit by
 Bladestorm.
 - Dodge the incoming
 Shockwave.
 - When
 FOR THE HORDE! /
  FOR THE ALLIANCE! is cast, the boss will
re-summon its 3 fallen allies, once again, make sure to cleave them all
together with the boss for maximum efficiency.
FOR THE ALLIANCE! is cast, the boss will
re-summon its 3 fallen allies, once again, make sure to cleave them all
together with the boss for maximum efficiency.
Tank
- Use your active mitigation on the
 Decapitate cast.
Healer
- You can dispel Horde Warlock's
 Immolate OR
Alliance Conjuror's
Immolate OR
Alliance Conjuror's  Fireball.
 - Be ready to top up your teammates during the
 War Cry cast.
Crossroads of Fate and Chrono-Lord-Deios
Notable Trash Before Chrono-Lord-Deio
- Avoid Infinite Slayer's
 Bronze Exhalation frontal cone ability
while side-stepping the Timeless Curse.
Bronze Exhalation frontal cone ability
while side-stepping the Timeless Curse.
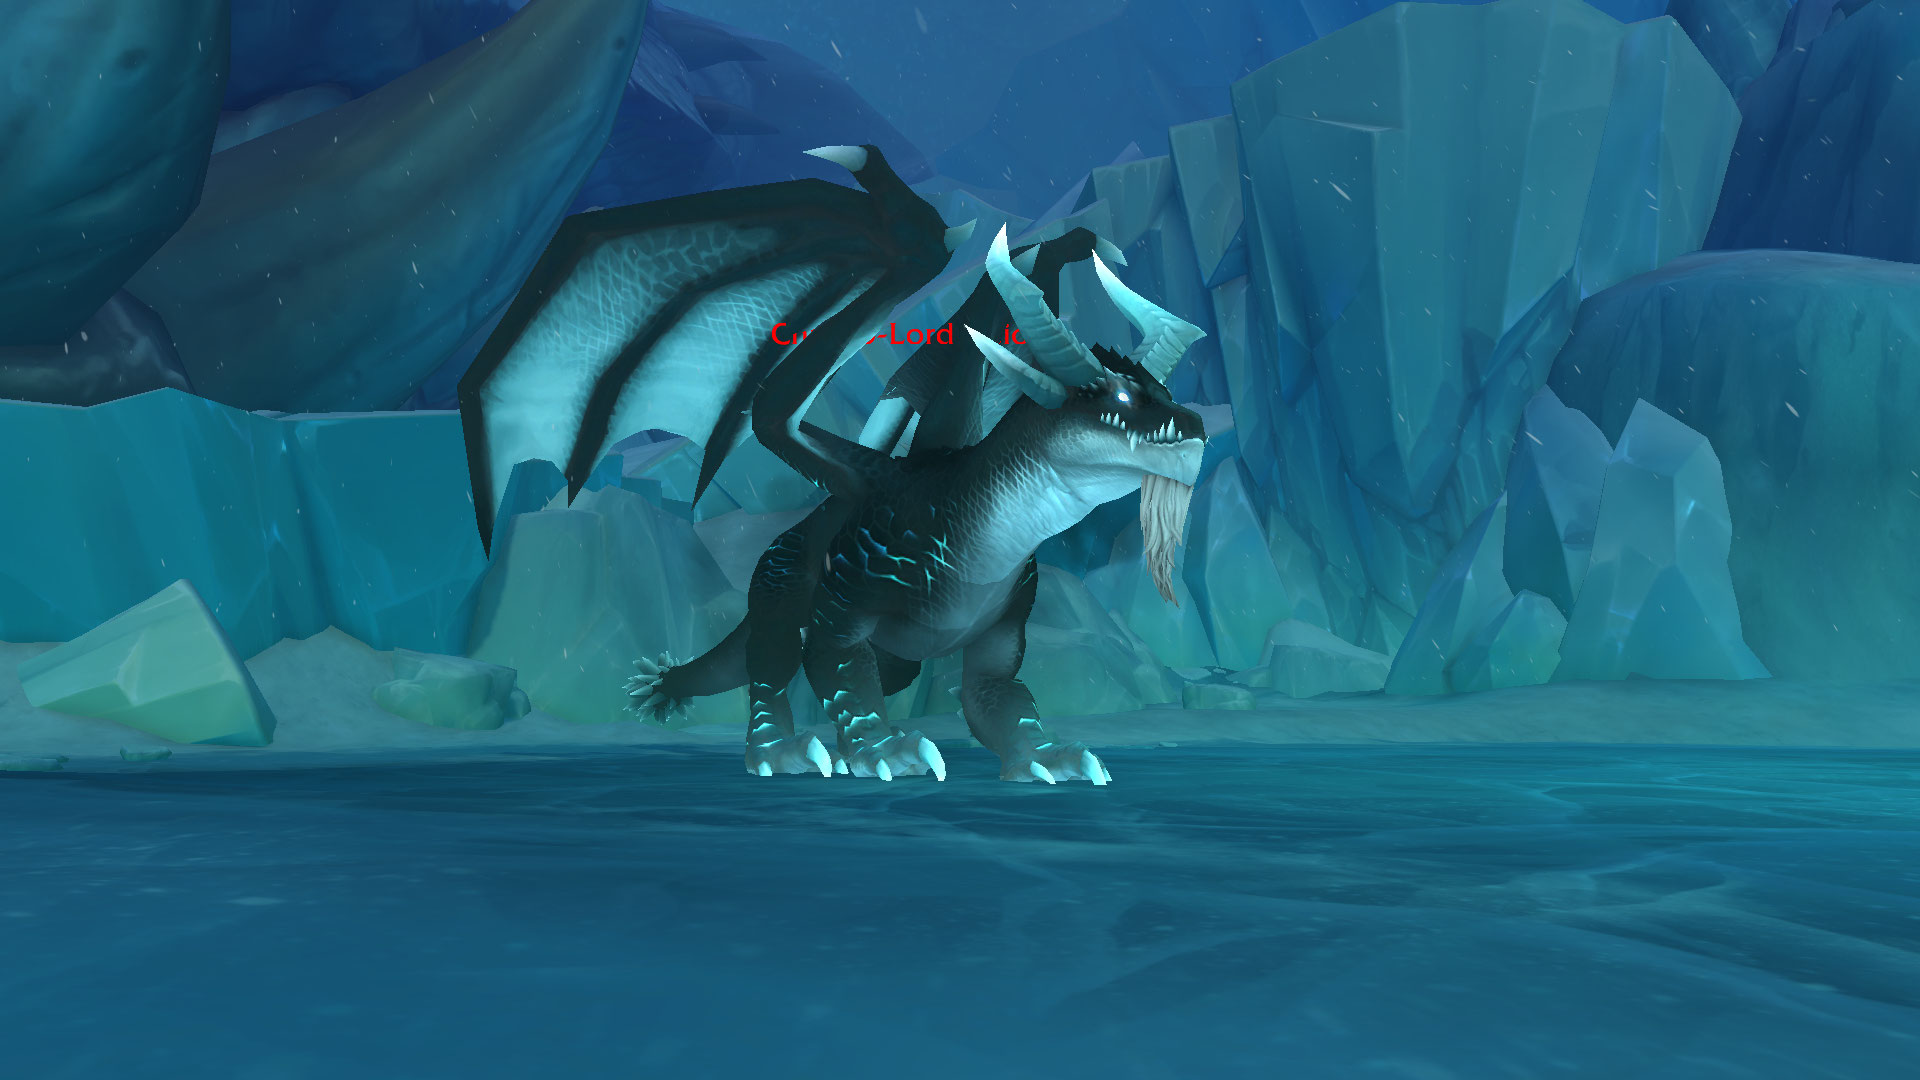
Chrono-Lord-Deios Boss Guide
Chrono-Lord Deios is the last boss encounter in the Dawn of the Infinite and a 2 Phase boss fight. During Stage 1: We are Infinite, you will have to deal with Infinite Keepers and downing the boss under 20%, after which, Stage 2: Lord of the Infinite will begin. More information, down below:
All Roles
- Once the boss casts Infinity Orb, make sure you have one person
soaking one of the ground puddles so you can stagger the 2nd explosion of the
follow-up effect -
 Infinity Nova.
 - During the Summon Infinite Keeper channel, everyone must swap and
nuke down each Infinite Keeper before they are able to swap reinforcements -
Time-Displaced Trooper. Keep in mind two things: first, each
Infinite Keeper will keep on casting Infinite Blast and
 Chronal Burn (you can dispel that) and, upon ,death will trigger
 Collapsing Time Rift, damaging Chrono-Lord Deios.
 - During Stage 2: Lord of the Infinite, make sure you avoid the ground
puddles coming from
 Infinite Corruption. They will also leave a
 Temporal Scar lingering ichors that are advised not to stay in.
 - When the boss reaches 10%, Nozdormu will be freed, granting you extra powers.
Tank
- Aim the Temporal Breath frontal away from your teammates.
- Drag the boss closer to each Infinite Keeper, so your party can easily cleave them together.
Healer
- Infinity Orb will repeat throughout the whole fight, so make sure
you have your cooldowns ready in case 2 of the debuffs go through simultaneously.
- If Infinite Keeper casts Chronal Burn, dispel it immediately.
Dawn of the Infinite Loot Table
Chronikar
| Type | Item | Stats |
|---|---|---|
| 1H Sword | Haste/Mastery | |
| Warglaives | Crit/Haste | |
| Cloth Chest | Haste/Mastery | |
| Plate Wrist | Vers/Mastery | |
| Mail Legs | Crit/Vers | |
| Leather Feet | Haste/Mastery |
Manifested Timeways
| Type | Item | Stats |
|---|---|---|
| 1H Mace | Int, Crit/Vers | |
| Dagger | Haste/Vers | |
| Mail Wrist | Haste/Crit | |
| Leather Hands | Mastery/Haste | |
| Cloth Waist | Haste/Vers | |
| Plate Waist | Crit/Haste | |
| Trinket | Agi/Str |
Blight of Galakrond
| Type | Item | Stats |
|---|---|---|
| 1H Axe | Mastery/Vers | |
| Off-Hand | Haste/Crit | |
| Mail Head | Crit/Vers | |
| Plate Shoulder | Haste/Vers | |
| Leather Chest | Crit/Mastery | |
| Cloth Boots | Vers/Crit |
Iridikron the Stonescaled
| Type | Item | Stats |
|---|---|---|
| Staff | Haste/Vers | |
| Plate Head | Haste/Mastery | |
| Cloth Shoulder | Haste/Mastery | |
| Mail Hands | Mastery/Crit | |
| Leather Legs | Haste/Crit | |
| Trinket | Agi/Str |
Tyr, the Infinite Keeper
| Type | Item | Stats |
|---|---|---|
| 2H Mace | Haste/Vers | |
| Cloth Head | Haste/Vers | |
| Leather Shoulder | Crit/Haste | |
| Mail Chest | Vers/Mastery | |
| Plate Boots | Vers/Crit | |
| Trinket | Int |
Morchie
| Type | Item | Stats |
|---|---|---|
| Dagger | Haste/Mastery | |
| Gun | Mastery/Haste | |
| Leather Wrist | Vers/Mastery | |
| Cloth Hands | Haste/Crit | |
| Mail Waist | Mastery/Haste | |
| Plate Legs | Haste/Vers | |
| Trinket | Int |
Time-Lost Battlefield
| Type | Item | Stats |
|---|---|---|
| 2h Axe | Mastery/Crit | |
| 1H Mace | Agi, Crit/Haste | |
| 1H Sword | Mastery/Crit | |
| Leather Head | Crit/Haste | |
| Plate Chest | Mastery/Haste | |
| Cloth Wrist | Crit/Mastery | |
| Mail Feet | Haste/Mastery |
Chrono-Lord Deios
| Type | Item | Stats |
|---|---|---|
| Polearm | Haste/Vers | |
| Off-Hand | Haste/Crit | |
| Mail Shoulder | Mastery/Vers | |
| Plate Hands | Crit/Vers | |
| Leather Waist | Haste/Crit | |
| Cloth Legs | Crit/Vers | |
| Trinket | Int/Agi/Str | |
| Mount |
Dawn of the Infinite Achievements
There are 8 total achievements to obtain in Dawn of the Infinite:
| Achievement | Criteria |
|---|---|
| Within a single run, defeat all bosses in Dawn of the Infinite
and restore the four time-lost artifacts without any player dying
on |
|
| Defeat all bosses in Dawn of the Infinite on
|
|
| Defeat Iridikron in Dawn of the Infinite. | |
| Defeat Chrono-Lord Deios in Dawn of the Infinite. | |
| Defeat Blight of Galakrond after allowing a lost slime
to hop on your back and then getting hit by |
|
| Defeat Chronikar after she shatters an Infused Hourglass
with |
|
| Defeat Manifested Timeways after activating 3 Chaotic Time
portals in Dawn of the Infinite on |
|
| Defeat Tyr, the Infinite Keeper, after closing 18 Time Rifts in
Dawn of the Infinite on |
Changelog
- 04 Sep. 2023: Heroic mode added in Patch 10.1.7.
- 06 Jul. 2023: Guide added.
This guide has been written by Petko, one of the top M+ players of all time. He has accomplished several Europe and World #1 Team and Solo Seasonal rankings with multiple specialization and classes throughout the seasons. Moreover, he competes in MDI and streams his runs live on Twitch and and share his personal opinion on YouTube and Twitter.
- Savage Ebony Turtle Mount in Patch 10.2.7
- Earthen Allied Race Dances and Customization Options
- Warband Members in Follower Dungeons?
- Dragonflight 10.2.6 and SoD Hotfixes, April 25th
- Affliction Warlock Changes in War Within Alpha: April 25th
- Windwalker Monk Changes in War Within Alpha: April 25th
- Fire Mage Changes in War Within Alpha: April 25th
- Earthen Allied Race Added to War Within Alpha + Official Preview