Blackrock Depths Upper City Dungeon Guide
Blackrock Depths is split into two sections, the Detention Block and Upper City. This guide will focus on the later section, Upper City. Blackrock Depths is most commonly referred to as BRD, can be found in Searing Gorge. The recommended level range to run Blackrock Depths: Upper City is 54-61.
In this guide, we will cover dungeon quests, the layout of the dungeon, tactics for each boss and loot that can be obtained inside the upper section of Blackrock Depths.
Phase 4 Season of Discovery Loot in Blackrock Depths Upper City
With Phase 4 of Season of Discovery, new loot has been added into Blackrock Depths Upper City to help players prepare for raiding. Below you can find a full list of all of the new loot and each boss they drop from.
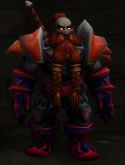
General Angerforge
| Item |
|---|
Golem Lord Argelmach
| Item |
|---|
Ambassador Flamelash
| Item |
|---|
The Seven
| Item |
|---|
Magmus
| Item |
|---|
Emperor Dagran Thaurissan
| Item |
|---|
Blackrock Depths Entrance Location
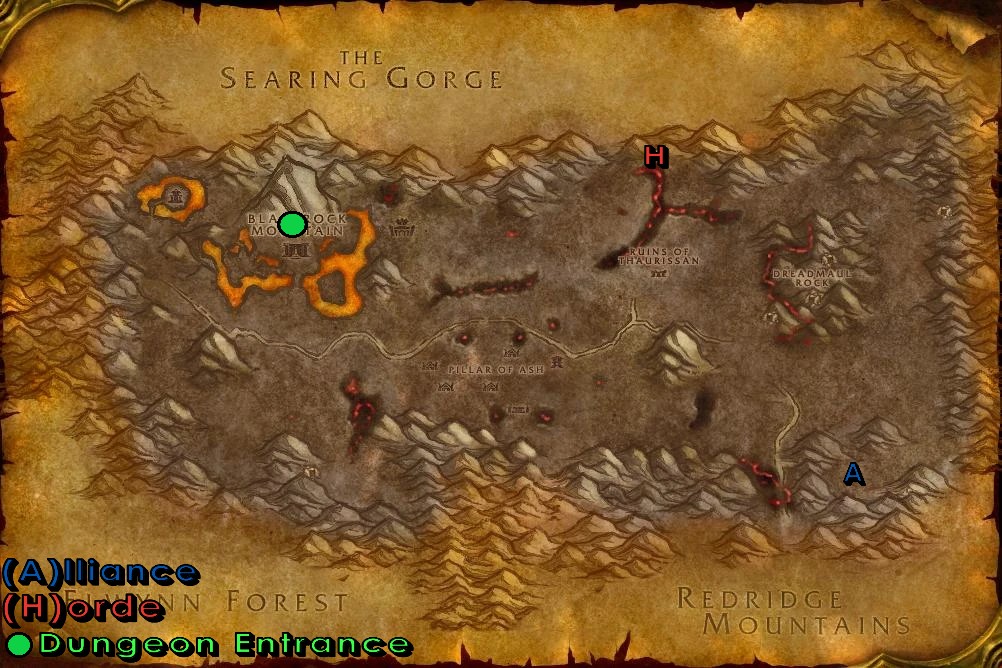
Blackrock Depths is located in the Blackrock Mountain, which can be accessed from either Searing Gorge or Burning Steppes. Head towards Blackrock Mountain and follow the pictures below to find the dungeon entrance.
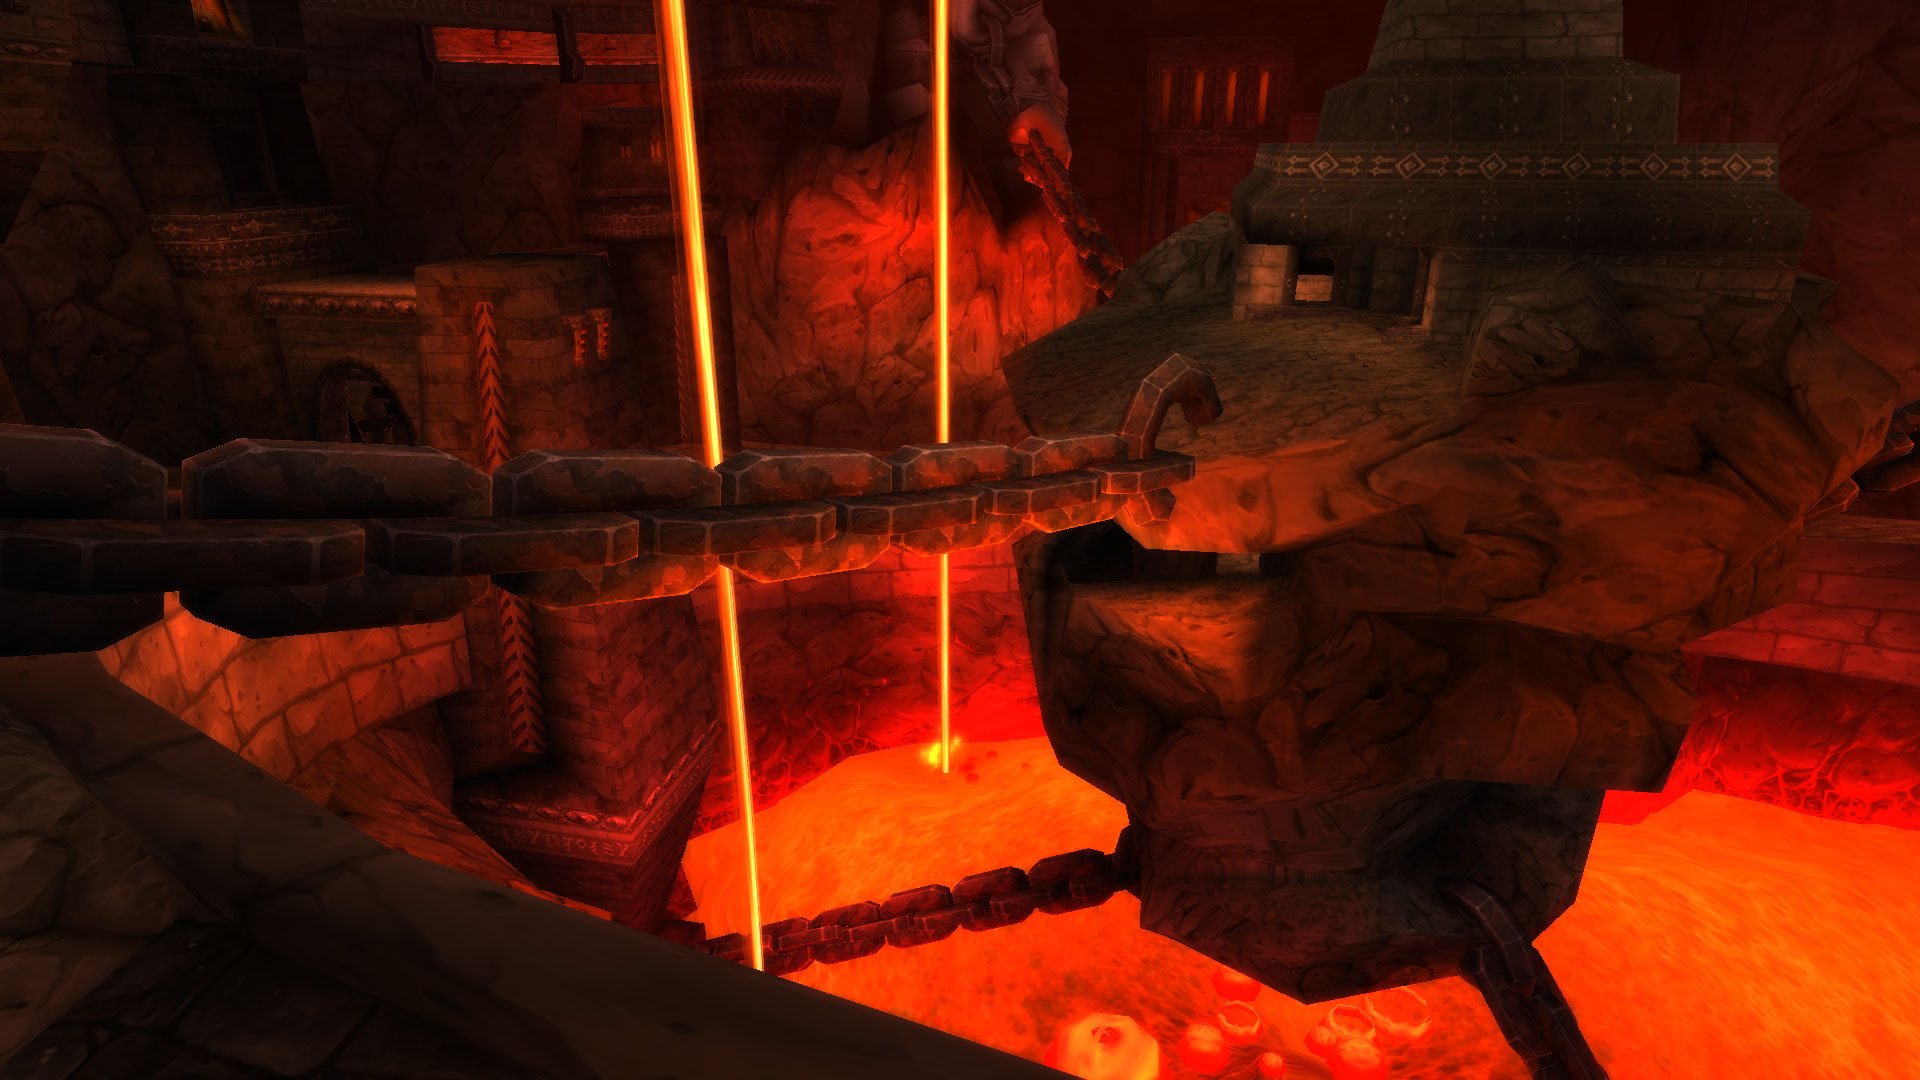
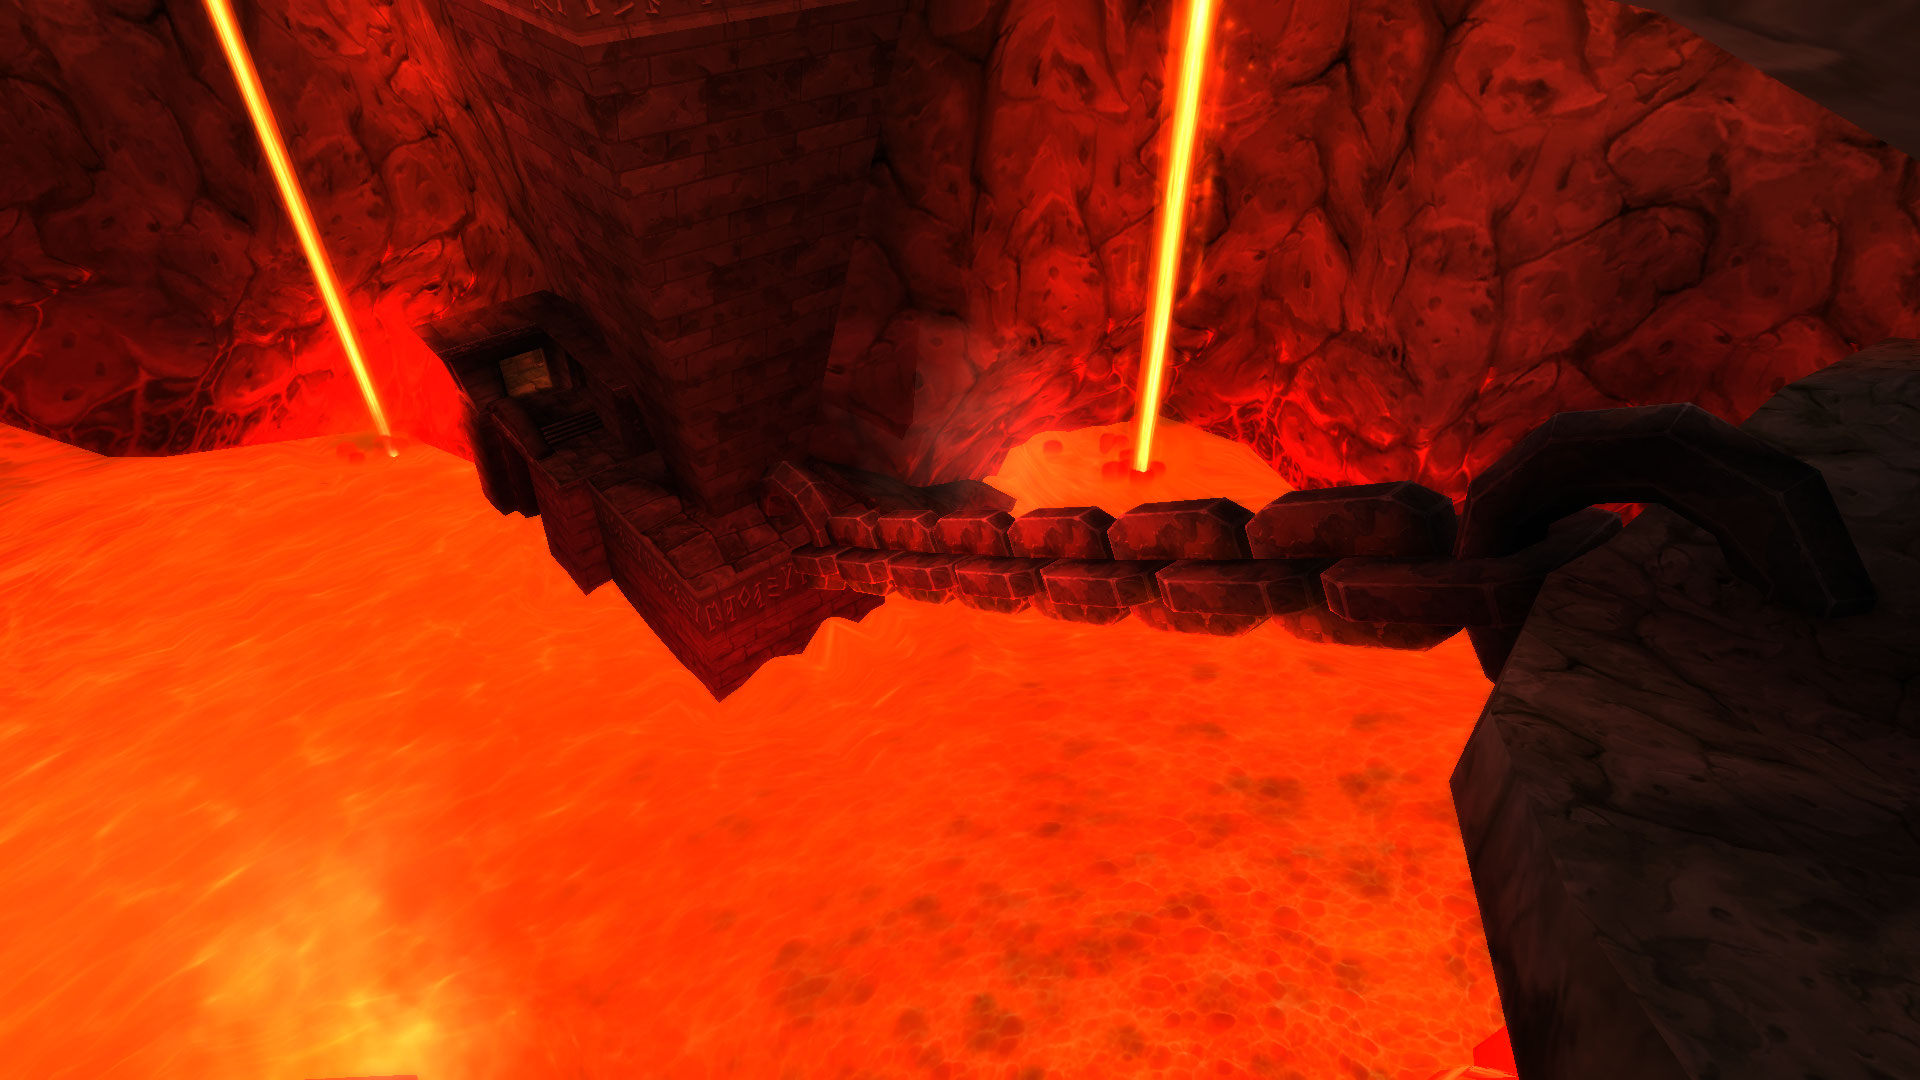
After entering the mountain, follow these two chains down until you enter the quarry mine.
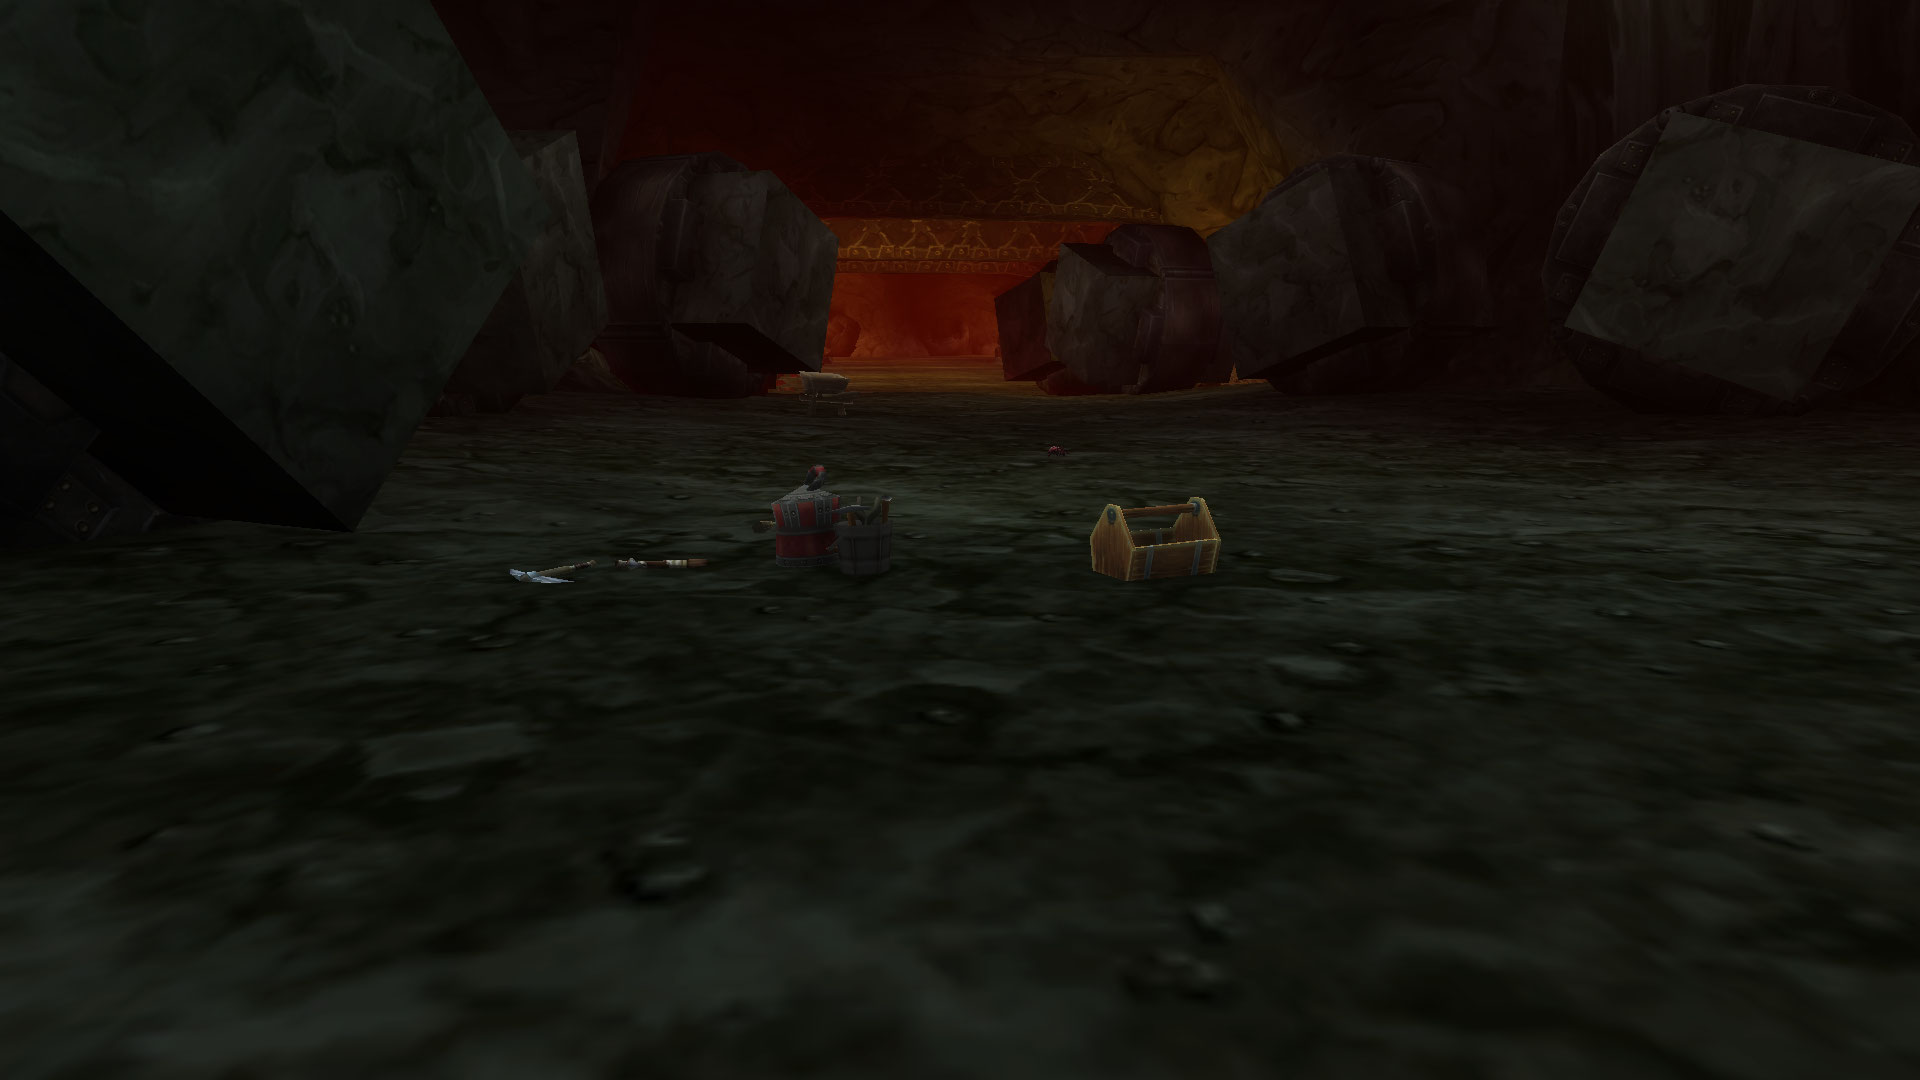
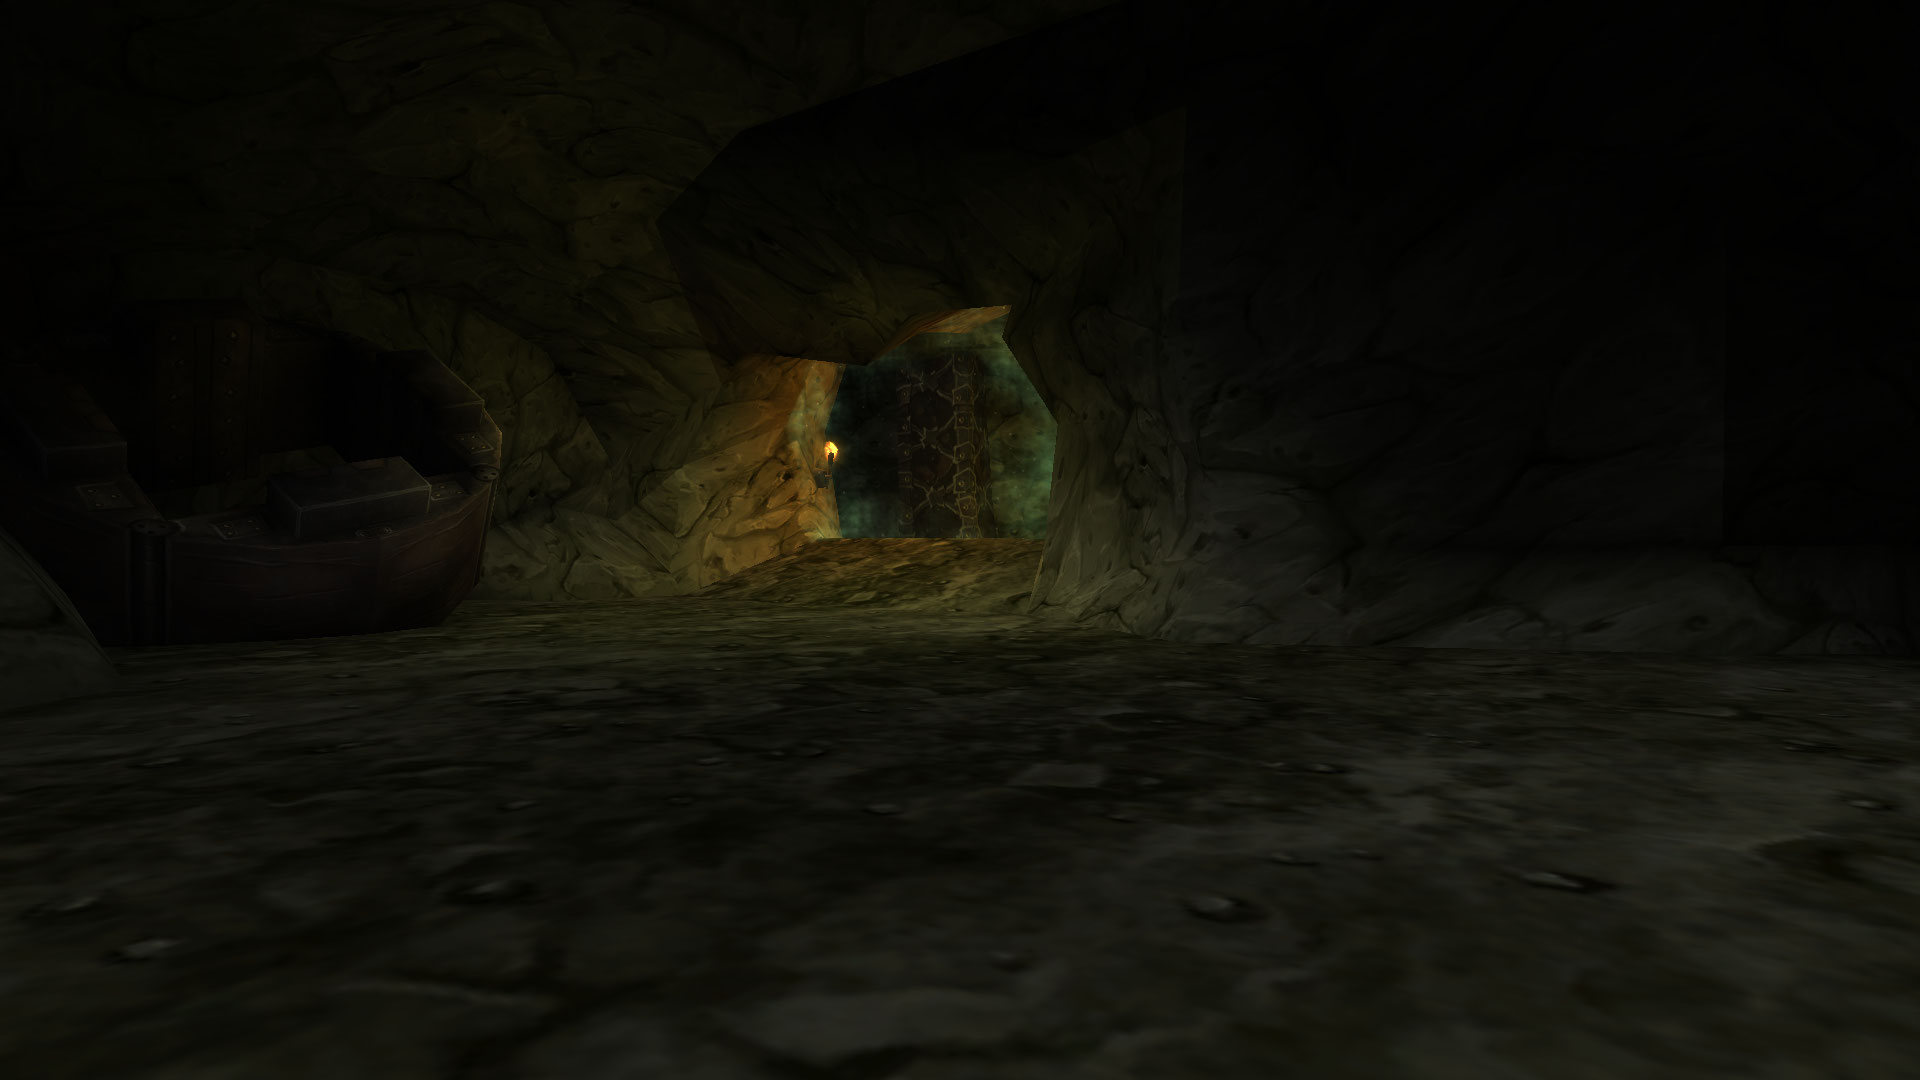
Run through all the way through the quarry mine till you reach the back, there you will find the entrance portal to Blackrock Depths.
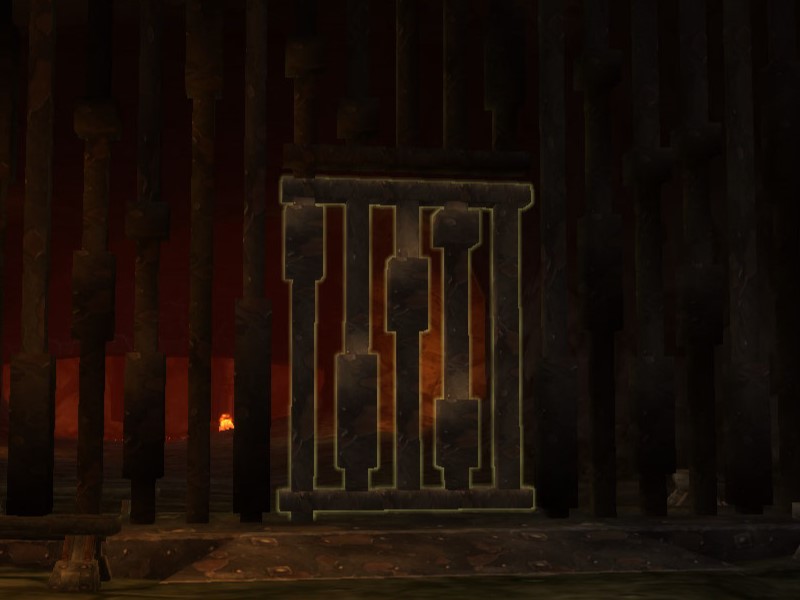
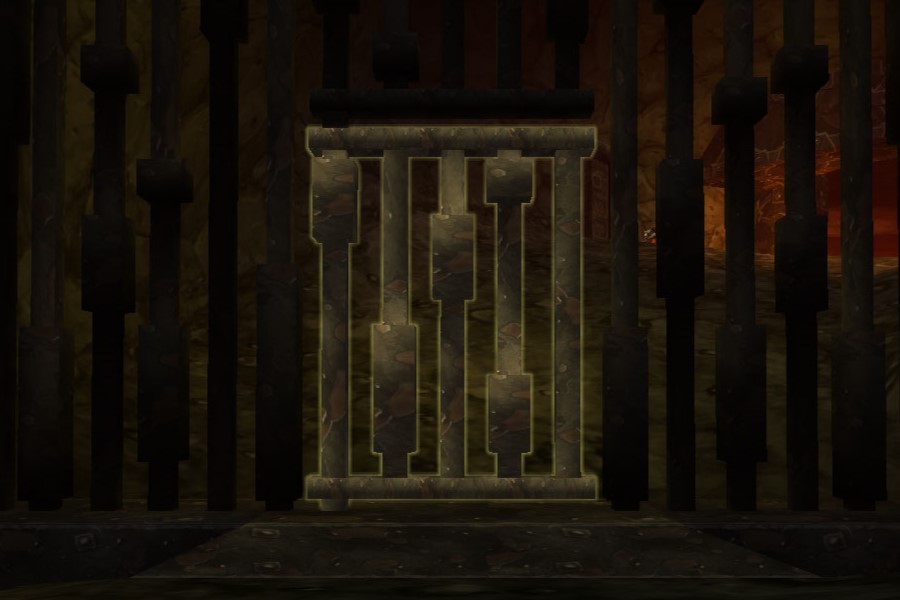
When inside the dungeon, travel through these 2 Shadowforge Gates to make your way towards the Upper City.
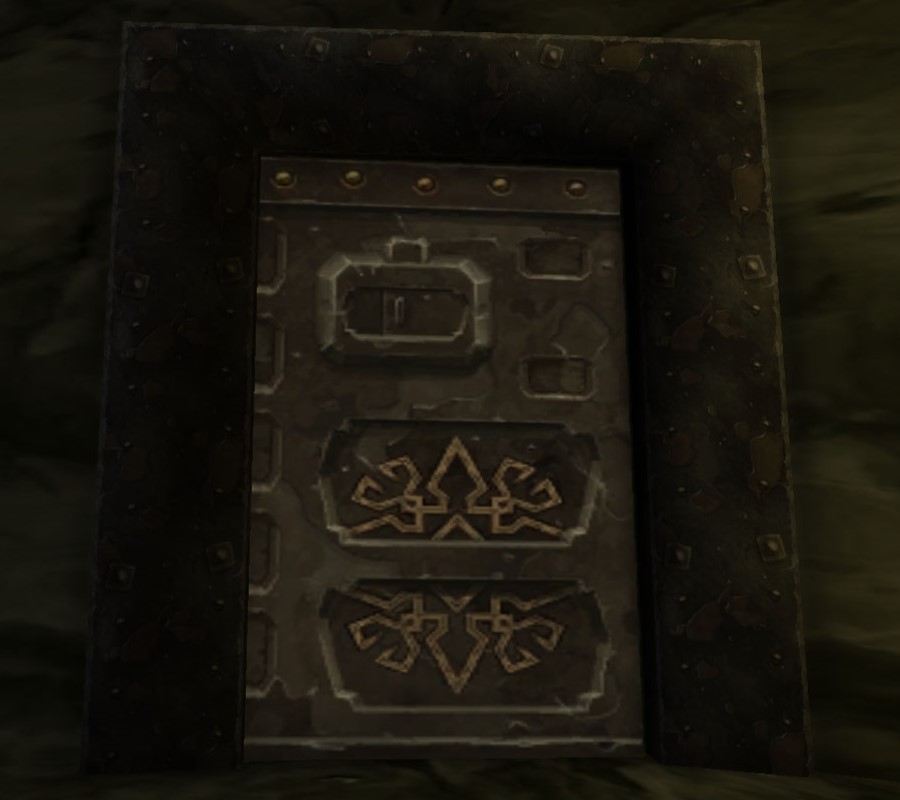

After getting past those two gates, head through the last door to the Eastern Garrison. Inside you can activate the Shadowforge Lock to travel across the bridge and reach the Upper City.
Blackrock Depths Quests
Before setting foot in BRD, we strongly advise you to get all the dungeon quests related to it. To make this process easier, we have written a separate guide.
Bosses in BRD Upper City
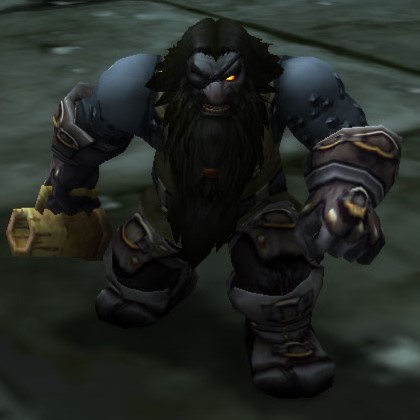
General Angerforge
-
 Enrage
 Flurry
 Sunder Armor

General Angerforge himself is fairly simple. The main threat of the fight comes from the adds he starts the fight with, and the adds he will periodically summon throughout the encounter. Quickly deal with the adds that he calls in as they have low health.
General Angerforge Loot
| Item | Required Level | Item Type |
|---|---|---|
| 51 | Two-Hand Axe | |
| 55 | Trinket | |
| 51 | Main-Hand Sword | |
| 53 | Mail Chest | |
| 53 | Leather Legs |
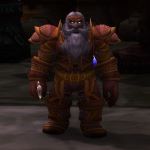
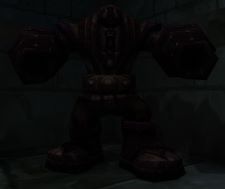
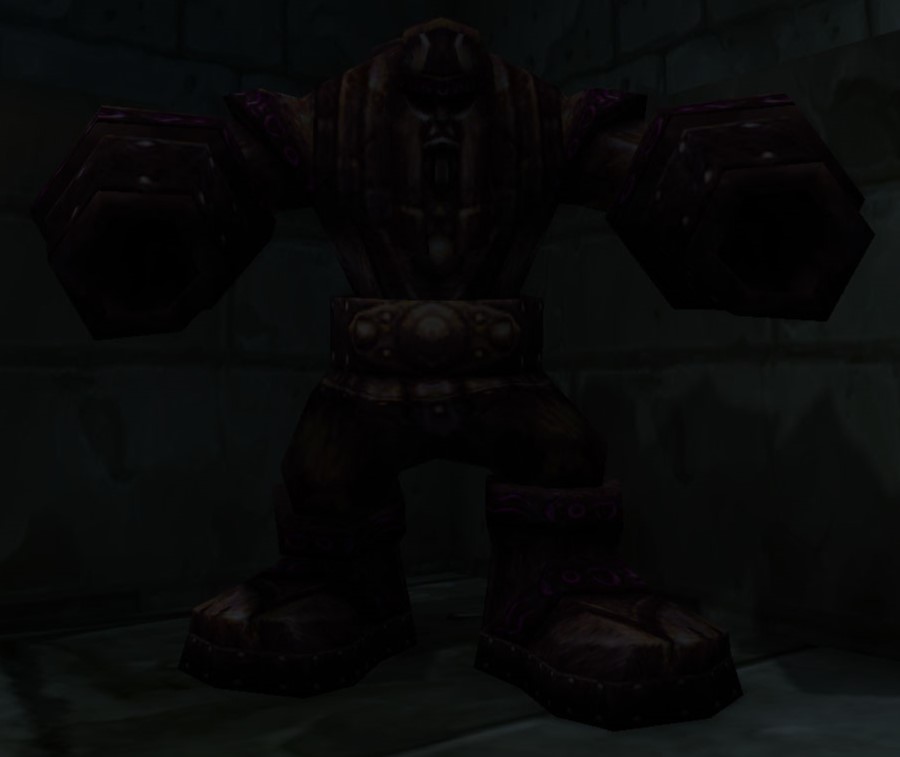
Golem Lord Argelmach
-
 Chain Lightning
 Lightning Shield
 Shock
Shock
Spread out to prevent the ![]() Chain Lightning from spreading to the
entire party and quickly deal with the Golems accompanying
Golem Lord Argelmach.
Chain Lightning from spreading to the
entire party and quickly deal with the Golems accompanying
Golem Lord Argelmach.
Golem Lord Argelmach Loot
| Item | Required Level | Item Type |
|---|---|---|
| 54 | Leather Legs | |
| 54 | Ring | |
| 54 | Cloth Boots | |
| 54 | Trinket |
The Grim Guzzler
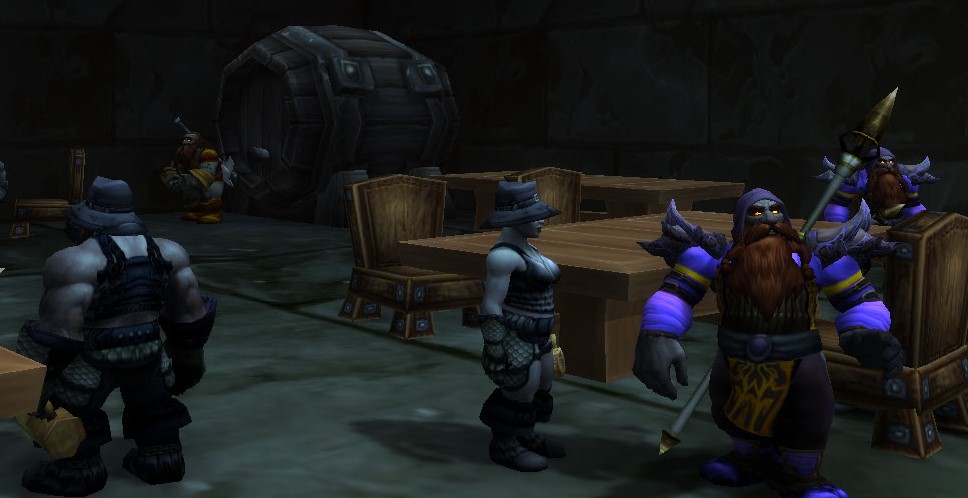
The Grim Guzzler is a bar inside of Blackrock Depths. It is filled with neutral bar patrons who will come to the defense of other bar patrons who are being attacked. It is also full of multiple mini-bosses that can be skipped, but your group might want to kill them for various quests.
Phalanx
-
 Fireball Volley
  Mighty Blow
 Thunderclap
Keep the party topped up to avoid any deaths to the
![]() Fireball Volley. Have your tank keep their back against a wall to
avoid being knocked-back by
Fireball Volley. Have your tank keep their back against a wall to
avoid being knocked-back by ![]() Mighty Blow.
Mighty Blow.
Phalanx Loot
| Item | Required Level | Item Type |
|---|---|---|
| 51 | One-Hand Fist | |
| 51 | Plate Hands | |
| 51 | Mail Shoulders | |
| 51 | Plate Helmet | |
| 50 | One-Hand Fist |
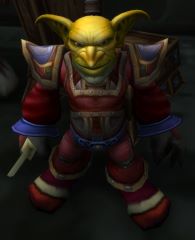
Ribbly Screwspigot
-
 Gouge
Gouge  Hamstring
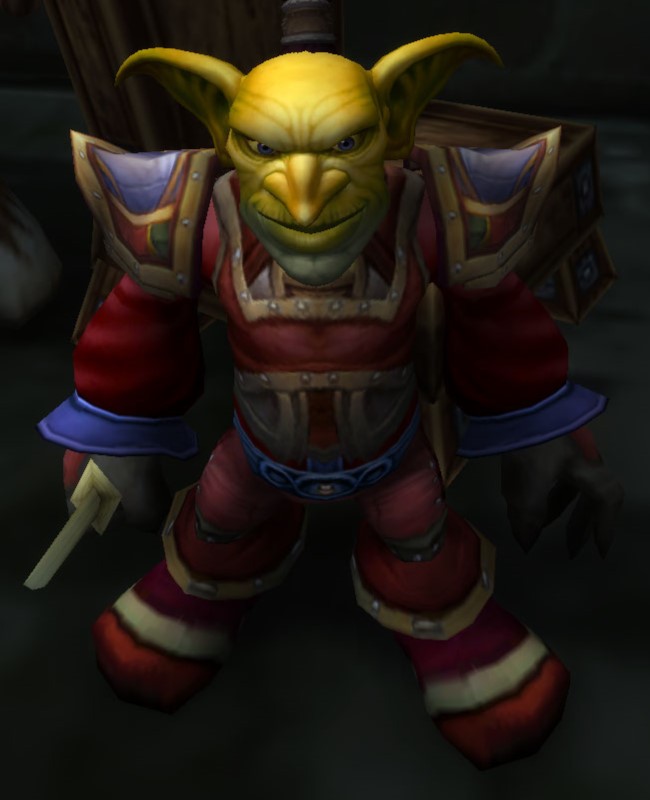
Ribbly Screwspigot himself is not a challenge; quickly deal with the adds he has defending him and he will fall shortly after.
Ribbly Screwspigot Loot
| Item | Required Level | Item Type |
|---|---|---|
| 50 | Ammo Pouch | |
| 50 | Arrow Quiver | |
| None | 16 Slot Bag | |
| 265 | Blacksmithing Pattern |
Hurley Blackbreath
-
 Drunken Rage
  Flame Breath
To summon this boss, you will need to smash all three of the storage room on the left as soon as you enter the Grim Guzzler. Deal with the adds that support Hurley Blackbreath first and he should prove to be no challenge afterwards.
Hurley Blackbreath Loot
| Item | Required Level | Item Type |
|---|---|---|
| 52 | Leather Boots | |
| 52 | Leather Boots | |
| 52 | Main-Hand Mace | |
| 52 | Leather Helmet |
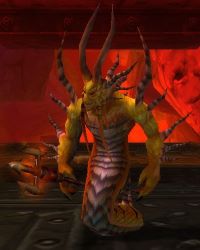
Ambassador Flamelash
-
 Burning Spirit

Ambassador Flamelash will rapidly spawn in low-health elementals
that quickly travel towards him. If they reach him, they will "merge" with him,
granting him a stack of ![]() Burning Spirit, increasing his damage
dealt by 30 per each stack. Kill the elementals quickly before they ever reach
the boss and this fight will be easy.
Burning Spirit, increasing his damage
dealt by 30 per each stack. Kill the elementals quickly before they ever reach
the boss and this fight will be easy.
Ambassador Flamelash Loot
| Item | Required Level | Item Type |
|---|---|---|
| 53 | Trinket | |
| 53 | Cloak | |
| 51 | Polearm | |
| 53 | Mail Gloves | |
| 54 | Cloth Helmets |
Chest of the Seven - Summoners' Tomb
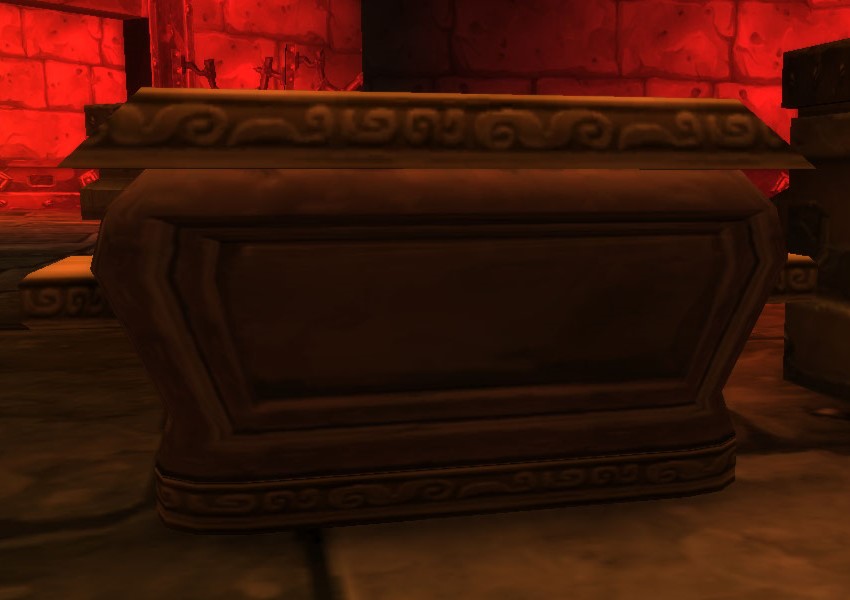
In this encounter, you will face off against seven dwarven spirits, one at a time. Individually, these spirits are not much of a challenge. Quickly defeat them before the next spirit spawns and this fight will not be difficult at all.
Defeat all 7 of these dwarven spirits to unlock the Chest of The Seven.
Chest of the Seven Loot
| Item | Required Level | Item Type |
|---|---|---|
| 52 | One-Hand Dagger | |
| 52 | Mail Chest | |
| 52 | Leather Helmet | |
| 52 | Cloth Legs | |
| 52 | Two-Hand Mace | |
| 52 | Plate Legs | |
| 52 | Main-Hand Mace | |
| 51 | Main-Hand Axe |
The Lyceum Gauntlet
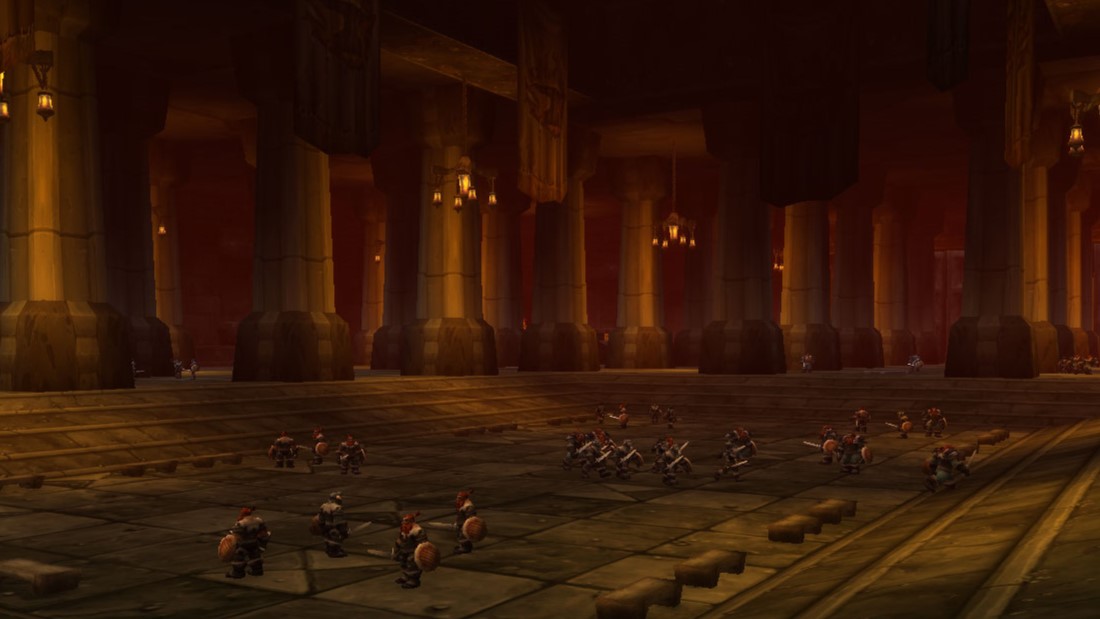
While this is not a boss fight, it is worth mentioning. You will need to
travel across the vast area and reach the other side. Keep an eye out for the
Shadowforge Flame Keepers patrolling the area as you need to loot them
for the ![]() Shadowforge Torches that they carry. You need two torches to
extinguish the braziers on the far side of the room to unlock the door to the
final chamber of the dungeon.
Shadowforge Torches that they carry. You need two torches to
extinguish the braziers on the far side of the room to unlock the door to the
final chamber of the dungeon.
Magmus
-

 Fiery Burst
  War Stomp
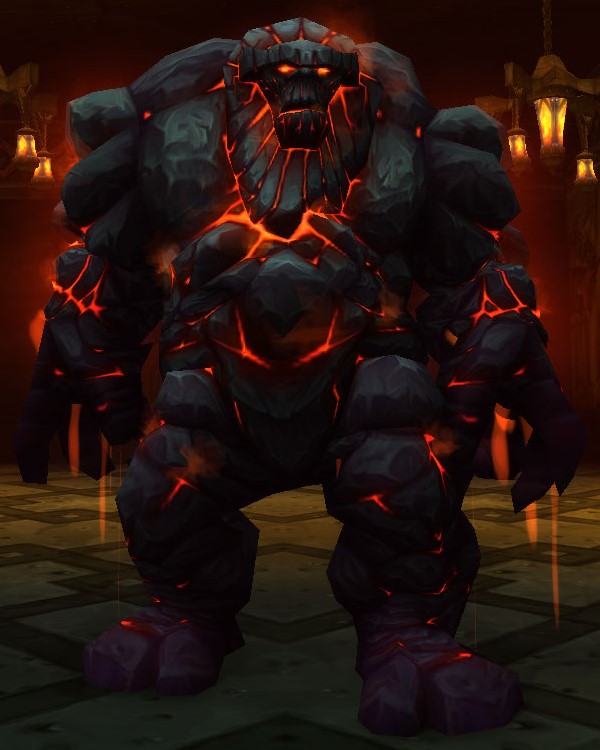
The main threat with this fight are the blasts of fire that frequently
heat up sections of the area. Make sure your group stands between the fires to
avoid taking this avoidable damage. Magmus himself hits fairly hard
and stuns nearby enemies with ![]() War Stomp. As long as you avoid the
fires in the area, this fight should not be too difficult.
War Stomp. As long as you avoid the
fires in the area, this fight should not be too difficult.
Magmus Loot
| Item | Required Level | Item Type |
|---|---|---|
| 51 | Plate Helmet | |
| 53 | Two-Hand Mace | |
| 52 | Relic - Libram | |
| 53 | Off-Hand | |
| 52 | Relic - Totem |
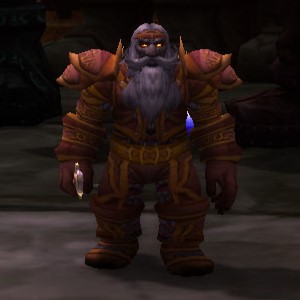
Emperor Dagran Thaurissan and Princess Moira Bronzebeard
This fight can be handled in two different ways, either killing Princess Moira Bronzebeard first, or keeping her alive to complete the faction-specific quests. Either way, this encounter is the most difficult fight in the dungeon and can easily wipe a group. Be sure to clear all of the trash inside the room before engaging the boss or he will call on them to aid him!
Emperor Dagran Thaurissan
-
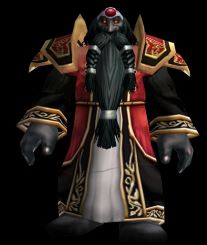
 Avatar of Flame
  Hand of Thaurissan
 Ironfoe
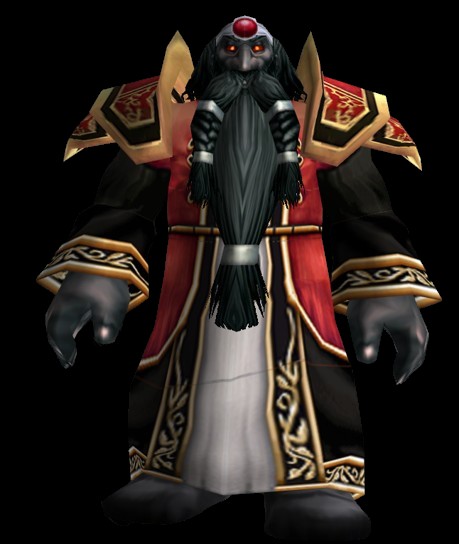
Emperor Dagran Thaurissan hits fairly hard, especially when he buffs
himself with ![]() Avatar of Flame, adding Fire damage to his melee
attacks. He will also periodically stun the tank with
Avatar of Flame, adding Fire damage to his melee
attacks. He will also periodically stun the tank with
![]() Hand of Thaurissan, further increasing their damage taken. Lastly and
most dangerously, he will sometimes proc
Hand of Thaurissan, further increasing their damage taken. Lastly and
most dangerously, he will sometimes proc ![]() Ironfoe, granting
him 10% increased critical strike chance and dealing 3 additional attacks.
Combined, all 3 of these can lead to high burst damage on the tank.
Ironfoe, granting
him 10% increased critical strike chance and dealing 3 additional attacks.
Combined, all 3 of these can lead to high burst damage on the tank.
Emperor Dagran Thaurissan Loot
| Item | Required Level | Item Type |
|---|---|---|
| 54 | Two-Hand Axe | |
| 55 | Ring | |
| 54 | Staff | |
| 53 | Trinket | |
| 55 | Necklace | |
| 54 | Plate Gloves | |
| 55 | Cloth Chest | |
| 55 | Mail Waist | |
| 55 | Off-Hand | |
| 55 | Cloak | |
| 55 | Leather Bracers | |
| 55 | Main-Hand Mace |
Princess Moira Bronzebeard
-
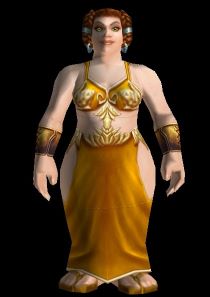
 Heal
Heal - Mind Blast
 Power Word: Shield
 Renew
Renew Shadow Bolt
 Shadow Word: Pain
 Smite
Smite

Princess Moira Bronzebeard deals fairly high damage with her spells
and should be crowd controlled if not killing her, or interrupted as much as
possible if you are focusing her down first. Be especially sure to interrupt
her ![]() Heal whenever she casts it as she will frequently heal herself
and Emperor Dagran Thaurissan.
Heal whenever she casts it as she will frequently heal herself
and Emperor Dagran Thaurissan.
Princess Moira Bronzebeard Loot
| Item | Required Level | Item Type |
|---|---|---|
| 54 | Plate Shoulders | |
| 54 | Cloth Gloves | |
| 54 | Cloth Boots | |
| 54 | Leather Boots |
Changelog
- 18 Nov. 2024: Page updated for Classic Anniversary.
- 09 Jul. 2024: Added section for new loot in Phase 4 of Season of Discovery.
- 04 Apr. 2024: Page added.
Classic Leveling Guides
Classic Dungeon Guides
Classic Profession Guides
Classic Reputation Guides
This guide has been written by Abide, TBC veteran for nearly a decade. Abide is a Warrior tank and multi-class expert currently playing on Faerlina as Horde. You can find him in the the Icy Veins Discord. You can also see him live on Twitch.
- Burning Crusade Classic Phase 2 Now Live: Here’s What to Expect
- Did Blizzard Just Quietly Invite Creators to Play WoW Classic’s Next Chapter?
- WoW Weekly Returns: Patch 12.0.5, Twitch Drops & Classic Updates
- WoW BCC Anniversary Edition: Overlords of Outland – Everything Coming May 14
- Battleground Honor Significantly Increased
- Limited-Time Mount Alert: Get the Voidfeather Dragonhawk for TBC Classic Servers Now!
- Could WoW Be Added to Xbox Game Pass Ultimate?
- MoP Classic Escalation PTR Update Details New Content