
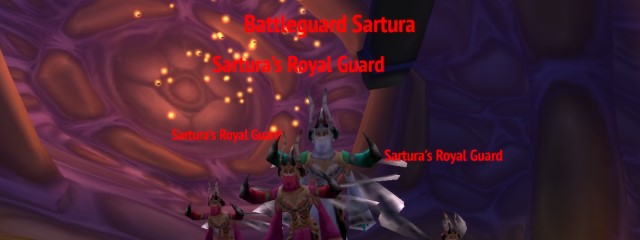
Battleguard Sartura is the second mandatory boss in the Temple of Ahn'Qiraj, and can be fought once The Prophet Skeram is killed.
She will automatically engage the group if they try to enter the bug tunnel behind her and her guards. Because of their unique threat reset mechanics and whirlwind attacks, she and her guards will provide a movement and awareness challenge to your group.
Notable loot includes ![]() Sartura's Might and
Sartura's Might and ![]() Badge of the Swarmguard.
Badge of the Swarmguard.
Season of Discovery Changes
As with previous phases of SoD, all bosses will drop both new and improved loot for players to collect. The list below shows the new and original loot for a side-by-side comparison.
New Loot
| Classic | SoD |
|---|---|
Battleguard Sartura Summary by Role
Tanks
- You will want at least 4 tanks, to tank Sartura and her three royal guards.
- Use
 Taunt,
  Challenging Shout,
  Mocking Blow, and
similar Druid abilities whenever your current target tries to
fly away, as they will often try to attack random targets during the
fight.
Mocking Blow, and
similar Druid abilities whenever your current target tries to
fly away, as they will often try to attack random targets during the
fight. - Sartura and her guards can be stunned while not using Whirlwind, so use
 Concussion Blow if you have it and
  Intercept if your target
manages to run away from you.
Intercept if your target
manages to run away from you. - Because their Whirlwind ability deals a lot of damage to nearby players, make sure to tank Sartura and her guards apart from each other, minimizing the odds of someone being caught by two or more Whirlwinds and dying.
- Sartura's Whirlwind will stack up an armor reduction effect on her tank and any other players hit by it. If this gets too high, you should look to tank swap with a tank whose guard has been killed.
- At 20% health remaining, she will enrage, greatly increasing her damage and attack speed. Make sure to save defensive cooldowns for this point.
Healers
- Spread out evenly across the arena, as the players you will be healing will also be spread, in order to minimize Whirlwind damage.
- Paladins can use
 Hammer of Justice to stun
Sartura and her guards while they are not using Whirlwind.
Hammer of Justice to stun
Sartura and her guards while they are not using Whirlwind.
DPS
- Spread out evenly across the arena, in order to minimize Whirlwind damage.
- Rogues should use
 Kidney Shot to stun
Sartura and her guards while they are not using Whirlwind. Because it does not
share diminishing returns with most other stun effects, it is almost guaranteed
to land for its full duration, greatly helping with keeping the fight under
control.
Kidney Shot to stun
Sartura and her guards while they are not using Whirlwind. Because it does not
share diminishing returns with most other stun effects, it is almost guaranteed
to land for its full duration, greatly helping with keeping the fight under
control. - Because all of the damage received in this fight is purely physical,
Mages should use
 Amplify Magic to increase the
healing received by the raid.
Amplify Magic to increase the
healing received by the raid.
General Tips for Battleguard Sartura
- Because of the high damage output of Sartura and her Guards, you should try to stun them as much as possible and focus down the Guards one by one, only swapping to Sartura herself once they are all down.
- You can use
 Limited Invulnerability Potion to become immune to all
the damage present in this fight, in case of emergency.
Limited Invulnerability Potion to become immune to all
the damage present in this fight, in case of emergency. - Avoid standing anywhere near the exit tunnel from her room, as the random knockbacks from the guards can easily cause you to land on top of the adds, leading to your death and possibly a wipe if enough of them are aggroed into the raid mid-encounter.
Strategy for Battleguard Sartura
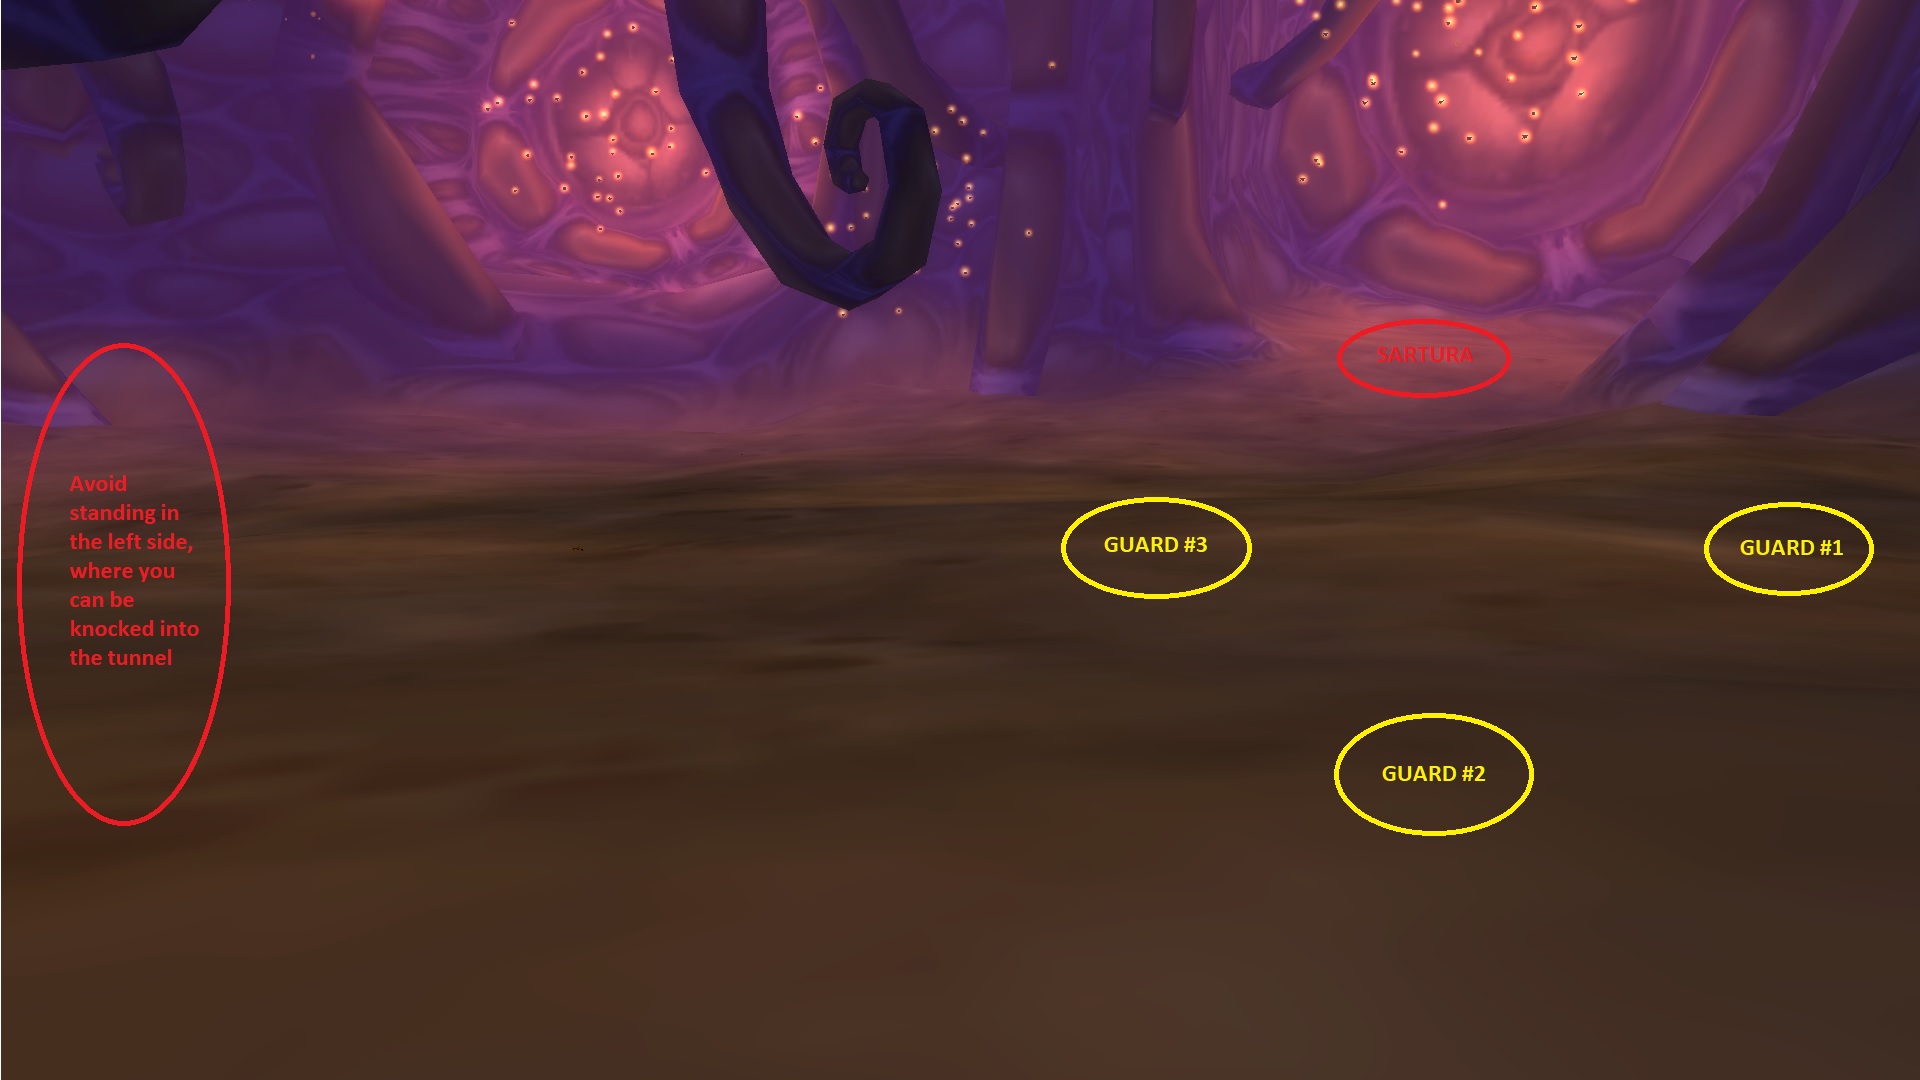
Begin by having your group run in, tanks first. Have each tank grab their pre-assigned enemy and have them try their best to bring them to the positions displayed in the image, while all DPS and healers spread out and burn down the adds one by one.
Tanks whose target dies should go help with tanking Sartura or the guards,
preferably having the first go directly to Sartura and begin a ![]() Taunt
rotation to minimize the amount of armor debuffs tanks need to deal with.
Taunt
rotation to minimize the amount of armor debuffs tanks need to deal with.
Avoid standing anywhere near the exit tunnel, and use as many stuns as you can to keep Sartura and her guards under control while taking them down, which should result in a quick victory for your team!
Loot from Battleguard Sartura
| Item | Slot |
|---|---|
| Head | |
| Neck | |
| Chest | |
| Gloves | |
| Gloves | |
| Belt | |
| Legs | |
| Legs | |
| Legs | |
| Boots | |
| Main-Hand | |
| Off-Hand | |
| Trinket | |
| Token | |
| Token |
Changelog
- 18 Nov. 2024: Page updated for SoD P6 & Classic Anniversary.
- 06 Aug. 2024: Guide reviewed and updated.
- 21 Apr. 2022: Mentioned encounter changes in the Season of Mastery.
- 30 Jun. 2020: Added a link to the general guide at the bottom.
- 11 Jun. 2020: Guide added.
In The Same Category
 Princess Huhuran Strategy Guide in Temple of Ahn'QirajSilithid Royalty Strategy Guide in Temple of Ahn'QirajViscidus Strategy Guide in Temple of Ahn'QirajProphet Skeram Strategy Guide in Temple of Ahn'QirajThe Twin Emperors Strategy Guide in Temple of Ahn'QirajOuro Strategy Guide in Temple of Ahn'Qiraj