Deadmines Dungeon Guide
Deadmines is the first dungeon available to Alliance players and is recommended for players between Level 17 and 21, but your group should ideally be above Level 19 in order to clear the final bosses. You should be able to clear the dungeon in just over an hour.
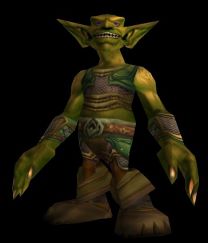
The Deadmines is filled with members of the Defias Brotherhood, a group of thieves and pirates that banded together after their leader, Edwin VanCleef, was cheated out of payment for their labour in rebuilding Stormwind after the First War. They now seek to overthrow the Kingdom of Stormwind and do so by creating unrest throughout Westfall.
Deadmines Entrance Location
The entrance to the Deadmines is located in Westfall, at the back of the Defias stronghold in Moonbrook.
It is far easier for Alliance players to get to this instance and, given the huge amount of time it will take to get there as a Horde player, it is generally not worth the time investment to actually go to this instance at the recommended level.
To get to the instance entrance, head to the most southwestern house in Moonbrook and follow the path until you come to a set of wooden planks that are acting as a bridge between two doorways. Drop off the edge and then move through the caves, moving down the slope you are currently on until you come to a wooden bridge.
Follow the tunnel to the right of the bridge and proceed straight ahead, sticking to the path of the broken cart track until you reach a much larger bridge that is straight ahead of you. Jump down to the right of it and the instance will be right in front of you.
Deadmines Quests
Before setting foot in Deadmines, we strongly advise you to get all the dungeon quests related to it. To make this process easier, we have written a separate guide.
Layout of the Deadmines
The dungeon is a series of tunnels and large open rooms, with very little possibility of getting lost on the way. Simply follow the natural progression of the dungeon until you have defeated Mr. Smite.
After this fight, head up the ramp and turn left to pull Cookie before clearing the right side and heading up to Edwin VanCleef.
Notable Trash in the Deadmines
The Deadmines is known for a number of patrols that can completely ruin trash pulls that would otherwise be no problem. Before pulling any trash in the dungeon, if you are unsure of whether a patrol is coming, make sure to look further into the tunnels to check if a pack of elites are on their way.
The dungeon also features a large number of mobs that will run away in fear once you get their HP down. Be very careful of this and make sure to prioritise them, otherwise you will end up with a massive amount of trash being pulled from this.
Bosses in the Deadmines
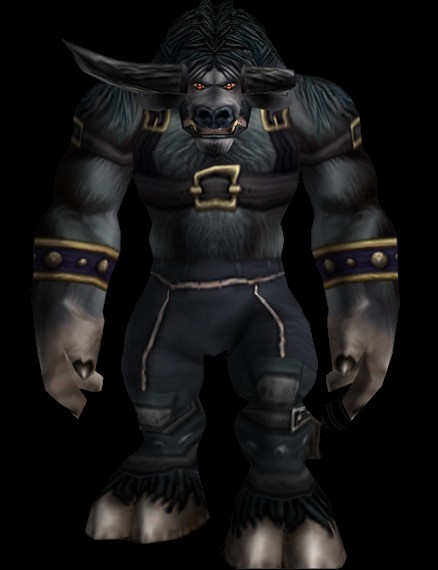
Rhahk'Zor
-

 Rhahk'Zor Slam
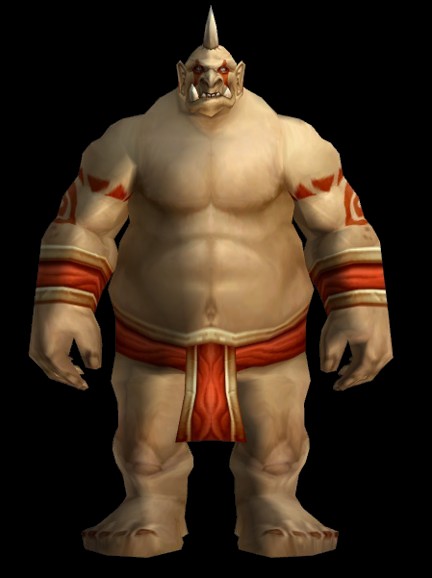
Rhahk'Zor is a Level 19 elite humanoid and is the first boss of the instance.
You can pull the boss separately from his adds to make things easier, but it is not necessary, as the boss has no mechanics to avoid and does a fairly low amount of damage.
Loot from Rhahk'Zor
| Item | Required Level | Slot |
|---|---|---|
| 15 | Weapon | |
| 16 | Weapon |
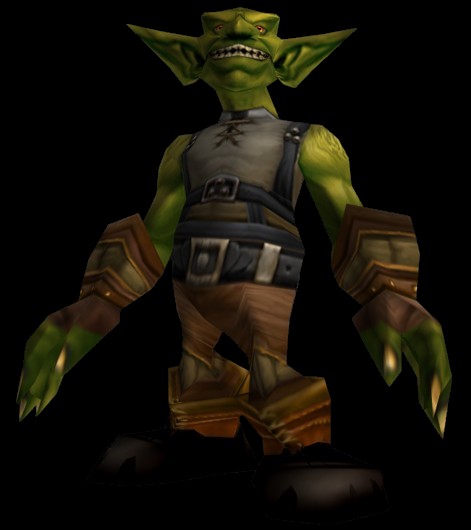
Miner Johnson (Rare)
-

 Pierce Armor
There is a single rare elite in the dungeon, Miner Johnson, who you may find just after killing Rhahk'Zor. Head through the door and into the small tunnel on the left.
Loot from Miner Johnson
| Item | Required Level | Slot |
|---|---|---|
| 15 | Shield | |
| 14 | Cloak |
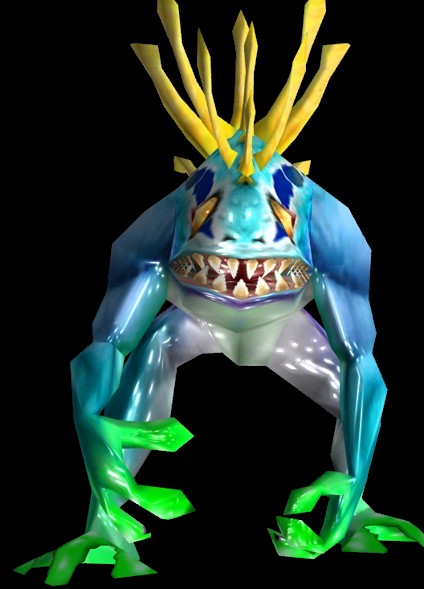
Sneed's Shredder
-

 Distracting Pain
  Terrify
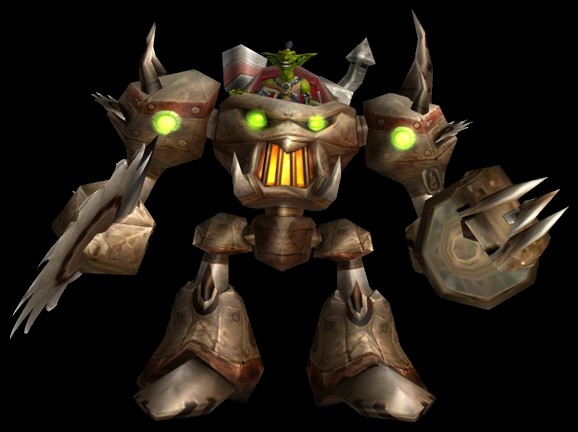
Sneed's Shredder is a Level 20 elite mechanical boss and is the second boss
of the instance. The Shredder will occasionally fear a target with
![]() Terrify, but other than this, there are no other mechanics worth
mentioning.
Terrify, but other than this, there are no other mechanics worth
mentioning.
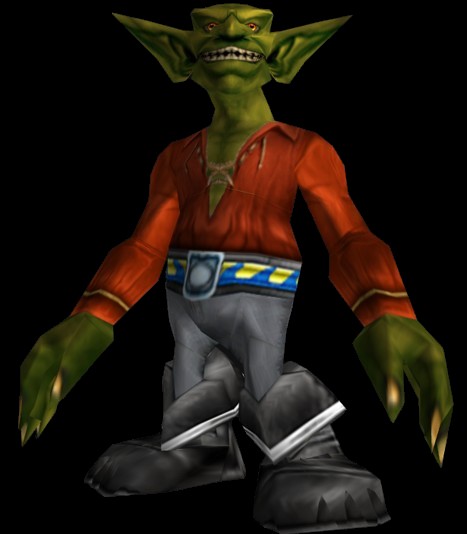
Once you defeat his shredder, Sneed will jump out to attack you in his goblin form.
-
 Disarm

You should clear the room of any trash before pulling Sneed, to avoid any trash mobs joining the fight when a player gets feared.
Loot from Sneed's Shredder
| Item | Required Level | Slot |
|---|---|---|
| 16 | Weapon | |
| 16 | Weapon |
Loot from Sneed
| Item | Required Level | Slot |
|---|---|---|
| 17 | Hands | |
| 18 | Weapon |
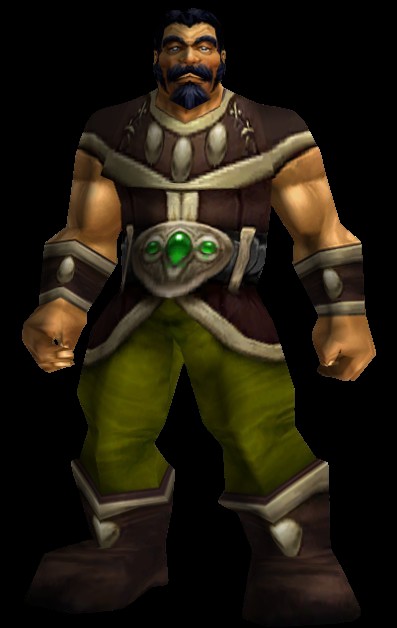
Gilnid
-

 Molten Metal
Gilnid is a Level 20 elite humanoid and is the third boss of the instance.
To make this fight easier, you can CC the add that is standing with Gilnid, but it is not necessary. You can just kill the add and then swap to Gilnid, as he has no real mechanics.
Loot from Gilnid
| Item | Required Level | Slot |
|---|---|---|
| 16 | Legs | |
| 17 | Ring |
Mr. Smite
-

 Nimble Reflexes
- Smite Slam
 Smite Stomp
 Thrash
Mr. Smite is a Level 20 elite humanoid and is the fourth boss of the instance.
This boss is the first one that has real mechanics, rather than simply being a trash mob with more health.
The fight is split into three "phases", each decided by the weapon he currently has equipped. Start the fight by pulling the two adds at the bottom of the ramp, which will pull Mr. Smite as well. Move back along the docks so that you are a decent distance away from the bottom of the ramp. We recommend moving as far as the bridge between the two platforms. This provides enough time for the stun to wear off before Mr. Smite comes back with his new weapon.
Kill the two adds before damaging the boss, then burn Mr. Smite down. Every 30% of his health, he will stun the group and go get a new weapon. There is no tactic to the fight beyond this.
Loot from Mr. Smite
| Item | Required Level | Slot |
|---|---|---|
| 17 | Weapon | |
| 17 | Weapon | |
| 18 | Weapon |
Cookie
-

 Acid Splash
 Cookie's Cooking
Cookie is a Level 20 elite humanoid and is the fifth boss of the instance.
Make sure to kill Cookie before he pulls other mobs, once he starts to run away when close to dying.
Loot from Cookie
| Item | Required Level | Slot |
|---|---|---|
| 16 | Weapon | |
| 17 | Weapon |
Captain Greenskin
-

 Cleave
 Poisoned Harpoon
Captain Greenskin is a Level 20 elite humanoid and is the sixth boss of the instance.
When you pull Greenskin, he will engage you with two guards. Pull them all back off the ship and kill the adds first, followed by Greenskin.
Loot from Captain Greenskin
| Item | Required Level | Slot |
|---|---|---|
| 17 | Belt | |
| 20 | Weapon | |
| 18 | Weapon |
Edwin VanCleef
-
 Thrash
 VanCleef's Allies
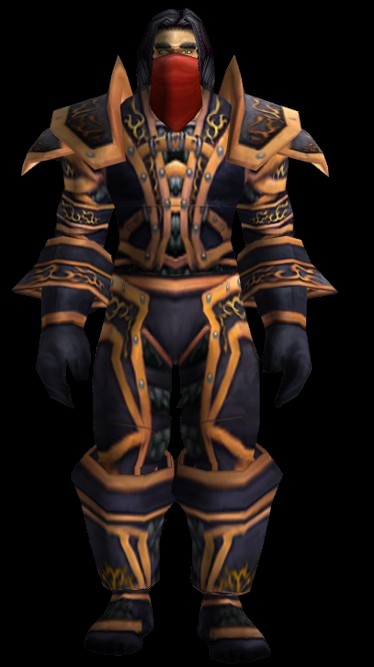
Edwin VanCleef is a Level 21 elite humanoid and is the final boss of the instance.
VanCleef will enter the fight with two adds that were stealthed before the pull. Your group can either choose to CC both adds and burn VanCleef down or CC one add, killing the adds one by one before killing VanCleef. While the boss deals a fair amount of damage to the tank, there are no mechanics to the boss itself.
Loot from Edwin VanCleef
| Item | Required Level | Slot |
|---|---|---|
| 19 | Weapon | |
| 19 | Chest | |
| 19 | Chest | |
| 20 | Back |
Recommended Classes for the Deadmines
There are a large number of humanoid mobs throughout the instance, so Rogues
and Mages are both great picks for their CC, ![]() Sap and
Sap and ![]() Polymorph
respectively. Mages are especially useful as they can Polymorph adds on multiple
boss fights while in combat.
Polymorph
respectively. Mages are especially useful as they can Polymorph adds on multiple
boss fights while in combat.
Outside of this, as long as you have a dedicated healer and tank in your group, then you will be able to clear the instance with no issues.
Changelog
- 18 Nov. 2024: Page updated for Classic Anniversary.
- 05 Apr. 2024: Added boss pictures and abilities.
- 16 Aug. 2019: Added notable quest loot.
- 14 Aug. 2019: Guide added.
Classic Leveling Guides
Classic Dungeon Guides
Classic Profession Guides
Classic Reputation Guides
This guide has been written by Abide, TBC veteran for nearly a decade. Abide is a Warrior tank and multi-class expert currently playing on Faerlina as Horde. You can find him in the the Icy Veins Discord. You can also see him live on Twitch.
- Burning Crusade Classic Phase 2 Now Live: Here’s What to Expect
- Did Blizzard Just Quietly Invite Creators to Play WoW Classic’s Next Chapter?
- WoW Weekly Returns: Patch 12.0.5, Twitch Drops & Classic Updates
- WoW BCC Anniversary Edition: Overlords of Outland – Everything Coming May 14
- Battleground Honor Significantly Increased
- Limited-Time Mount Alert: Get the Voidfeather Dragonhawk for TBC Classic Servers Now!
- Could WoW Be Added to Xbox Game Pass Ultimate?
- MoP Classic Escalation PTR Update Details New Content