Blackfathom Deeps Dungeon Guide
Blackfathom Deeps is a dungeon in Ashenvale that is available to both Alliance and Horde players. We recommend completing the dungeon with a group between Levels 20 and 27. This dungeon will take approximately 1 hour to complete.
The dungeon was once a temple of worship for the goddess of the Night Elves, Elune. Since its destruction during the Sundering, the Twilight's Hammer cult has moved in and now protects a beat of the Old Gods, waiting for it to mature and wreak havoc on Azeroth.
Blackfathom Deeps Entrance Location
The entrance to Blackfathom Deeps is located in Ashenvale, in the corner northwest of Maestra's Post.
Once you reach the temple entrance, jump down into the water below. Swim underwater to the west and then follow the tunnel until you reach the instance entrance.
Blackfathom Deeps Quests
Before setting foot in Blackfathom Deeps, we strongly advise you to get all the dungeon quests related to it. To make this process easier, we have written a separate guide.
Layout of Blackfathom Deeps
Once you enter this instance, head down the tunnel until you reach an open cavern. Here, you will need to jump over the water using the pieces of stone that are lined across the cavern. If you fall off, you will need to go back to the beginning and will likely aggro mobs when doing so.
Once you have cleared this and enter the next chamber, you will find Ghamoo-ra in the centre. After killing him, there are multiple parts of this chamber that are worth exploring before moving on.
- To the north, there is a chest underwater that contains a quest item for
Alliance players,
 Lorgalis Manuscript. Note that there is a long spawn
time for this chest, so you will need to wait a total of approximately 10 minutes
if every player needs the quest item.
Lorgalis Manuscript. Note that there is a long spawn
time for this chest, so you will need to wait a total of approximately 10 minutes
if every player needs the quest item. - To the northwest, there is a cavern that contains Lady Sarevess, the second boss of the instance.
- To the southwest, there is a cavern that contains Argent Guard Thaelrid, where Alliance players can turn in a quest and both factions can pick up one.
To continue the dungeon, head to the cave to the south and follow the tunnel until you come to a forked section with multiple possible avenues. From where you have come from, the tunnel directly in front of you leads to Gelihast, the next boss. After he is dead, head to the next northern tunnel over to find Lorgus Jett, before moving south once more to continue the dungeon. If you are Alliance, you can skip this, as he is only a kill-target for a Horde quest.
This tunnel will lead you to another open cavern. Before clearing to the end, you should go into the water and swim under the ruins. You will find a stone to summon Baron Aquanis, as well as the boss Old Serra'kis. Once these have been completed, get out of the water and clear through the ruins above ground.
Doing this will bring you to the main temple of the instance and the boss Twilight Lord Kelris. Once he dies, interact with the braziers that surround the statue in the centre of the room. Do these one by one until you have cleared all of them.
The door behind the statue will now open and you can fight the final boss, Aku'mai.
Notable Trash in Blackfathom Deeps
The most important thing to know about the trash in this instance is that they will disarm your tank frequently, so if this happens, your DPS should be very careful about their aggro.
It is also worth noting that the Water Elementals that you have to fight before Aku'mai deal a large amount of AoE damage, so make sure to focus one down as soon as possible to reduce the damage taken.
Bosses in Blackfathom Deeps
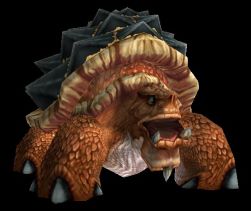
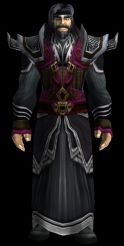
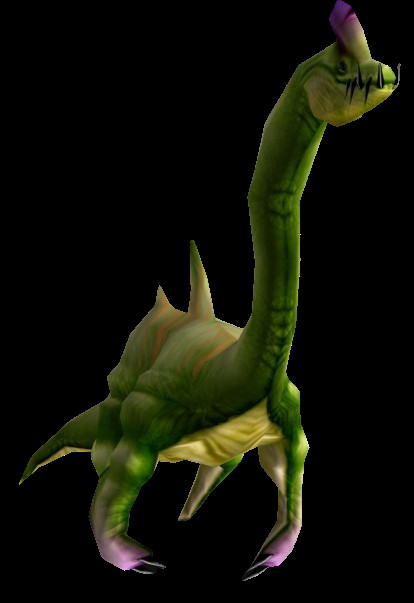
Ghamoo-ra
-
 Trample
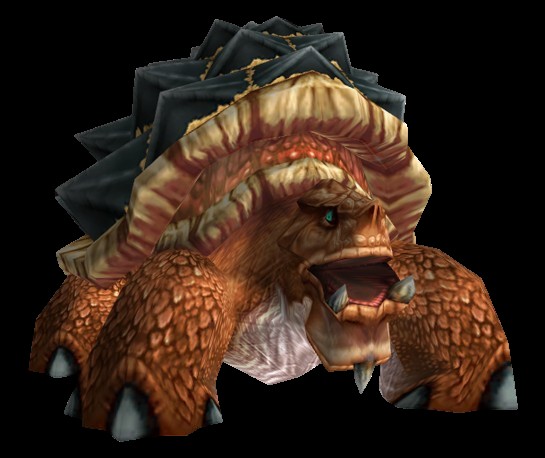
Ghamoo-ra is a Level 25 elite beast and is the first boss of the dungeon.
There are no mechanics that are worth mentioning on this boss.
Loot from Ghamoo-ra
| Item | Required Level | Slot |
|---|---|---|
| 20 | Waist | |
| 20 | Chest |
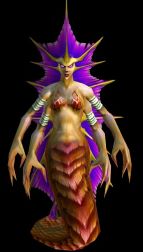
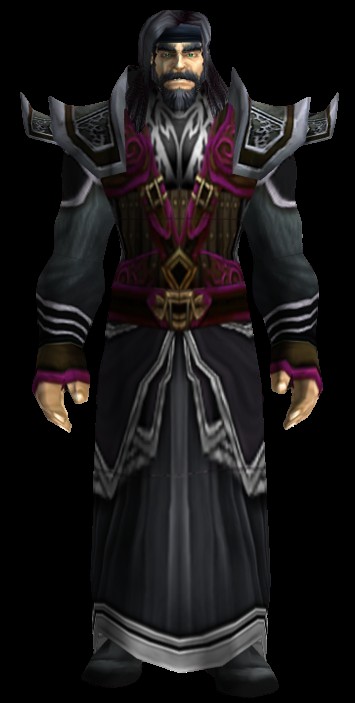
Lady Sarevess
-
 Forked Lightning
 Frost Nova
 Slow
Slow

Lady Sarevess is a Level 25 elite humanoid and is the second boss of the dungeon.
There are no mechanics worth mentioning on this boss, but you should CC the adds if you can to make the fight easier for your group.
Loot from Lady Sarevess
| Item | Required Level | Slot |
|---|---|---|
| 21 | Weapon | |
| 21 | Weapon | |
| 22 | Hands |
Gelihast
-

 Net
Net
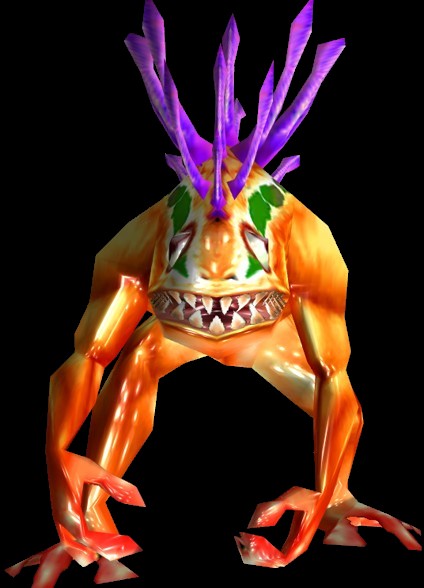
Gelihast is an optional Level 26 elite humanoid and is the third boss of the dungeon.
There are no mechanics worth mentioning on this boss, but you should clear the trash around it before engaging.
Loot from Gelihast
| Item | Required Level | Slot |
|---|---|---|
| 22 | Weapon | |
| 23 | Hands |
Lorgus Jett
-
 Lightning Bolt
 Lightning Shield
Lorgus Jett is an optional Level 26 elite humanoid and is the fourth boss of the dungeon.
There are no mechanics that are worth mentioning on this boss.
Loot from Lorgus Jett
This boss drops no loot of importance, but is a required target for the Horde-only quest Allegiance to the Old Gods.
Baron Aquanis
-
 Frostbolt
Baron Aquanis is an optional Level 28 elite elemental and is the fifth boss of the dungeon. If you are Alliance, do not kill this boss, as it drops nothing for you.
If you are Horde, you can summon this boss by interacting with the Fathom Stone
underwater. He will drop ![]() Strange Water Globe, which will start a Horde-only
quest.
Strange Water Globe, which will start a Horde-only
quest.
Loot from Baron Aquanis
This boss drops no loot except for the Horde-only quest item, ![]() Strange Water Globe.
Strange Water Globe.
Old Serra'kis
 Old Serra'kis is an optional Level 26 elite beast and is the sixth
boss of the dungeon.
Old Serra'kis is an optional Level 26 elite beast and is the sixth
boss of the dungeon.
There are no mechanics that are worth mentioning on this boss.
Loot from Old Serra'kis
| Item | Required Level | Slot |
|---|---|---|
| 22 | Wrist | |
| 23 | Weapon | |
| 24 | Back |
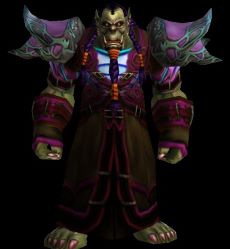
Twilight Lord Kelris
-
 Mind Blast
 Sleep
Sleep

Twilight Lord Kelris is a Level 27 elite humanoid and is the seventh boss of the dungeon.
Kelris will put players to ![]() Sleep, but this can be prevented with
a Shaman's
Sleep, but this can be prevented with
a Shaman's ![]() Tremor Totem.
Tremor Totem.
Loot from Twilight Lord Kelris
| Item | Required Level | Slot |
|---|---|---|
| 23 | Legs | |
| 24 | Weapon |
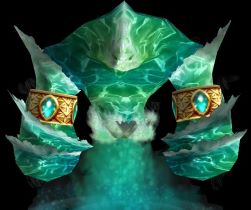
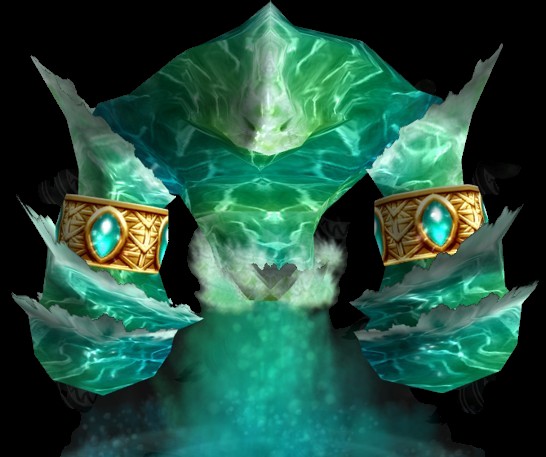
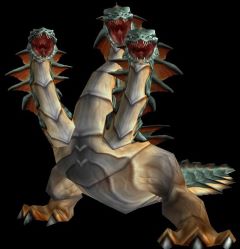
Aku'mai
-
 Frenzied Rage
 Poison Cloud

Aku'mai is a Level 28 elite and is the final boss of the dungeon.
This boss has no mechanics, but deals an extreme amount of damage with its basic attacks. Your healer will need to focus on keeping the tank alive at all costs, as Aku'mai can very quickly kill the tank from full health.
Loot from Aku'mai
| Item | Required Level | Slot |
|---|---|---|
| 26 | Legs | |
| 26 | Waist | |
| 26 | Weapon |
Recommended Classes for Blackfathom Deeps
There are a large number of mobs that can disarm your tank, so Druids have the upper hand as tanks in the later parts of the instance. While Warriors and Paladins can definitely still tank it, it is important to remember that this mechanic exists and to watch your threat as a DPS.
For Horde groups, Shamans can be very useful due to their ![]() Tremor Totem.
Tremor Totem.
Changelog
- 18 Nov. 2024: Page updated for Classic Anniversary.
- 05 Apr. 2024: Added boss pictures and abilities.
- 21 Aug. 2019: Guide added.
Classic Leveling Guides
Classic Dungeon Guides
Classic Profession Guides
This guide has been written by Abide, TBC veteran for nearly a decade. Abide is a Warrior tank and multi-class expert currently playing on Faerlina as Horde. You can find him in the the Icy Veins Discord. You can also see him live on Twitch.
- WoW Classic on a Phone?! This Player Shows It Actually Works
- Blizzard Confirms No Fresh Season of Discovery Servers, Fueling Classic+ Rumors
- XP Blocker Moves: Season of Discovery Hotfixes, June 25th
- Players Think a Leaked Blizzard Timeline Just Revealed Classic+ Release Window
- Guardian Mounts and Mog, Sa’bak: WoW Summer Sale, Up To 50% Off on Mounts, Pets, Toys, Transmog!
- Classic+ Fans, This ‘Camelot’ Datamine Is the Lead You’ve Waited For
- Darkmoon Faire Fixes, Extra One for Compensation: Burning Crusade Classic Hotfixes, June 12th
- Burning Crusade Classic Hotfixes, June 2nd