Witch Doctor Jade Set Dungeon Guide
Welcome to our guide to complete the Jade Harvester set dungeon for Witch Doctors, a required step to complete the Masters of the Universe Conquest.
Overview of the Raiment of the Jade Harvester Set Dungeon
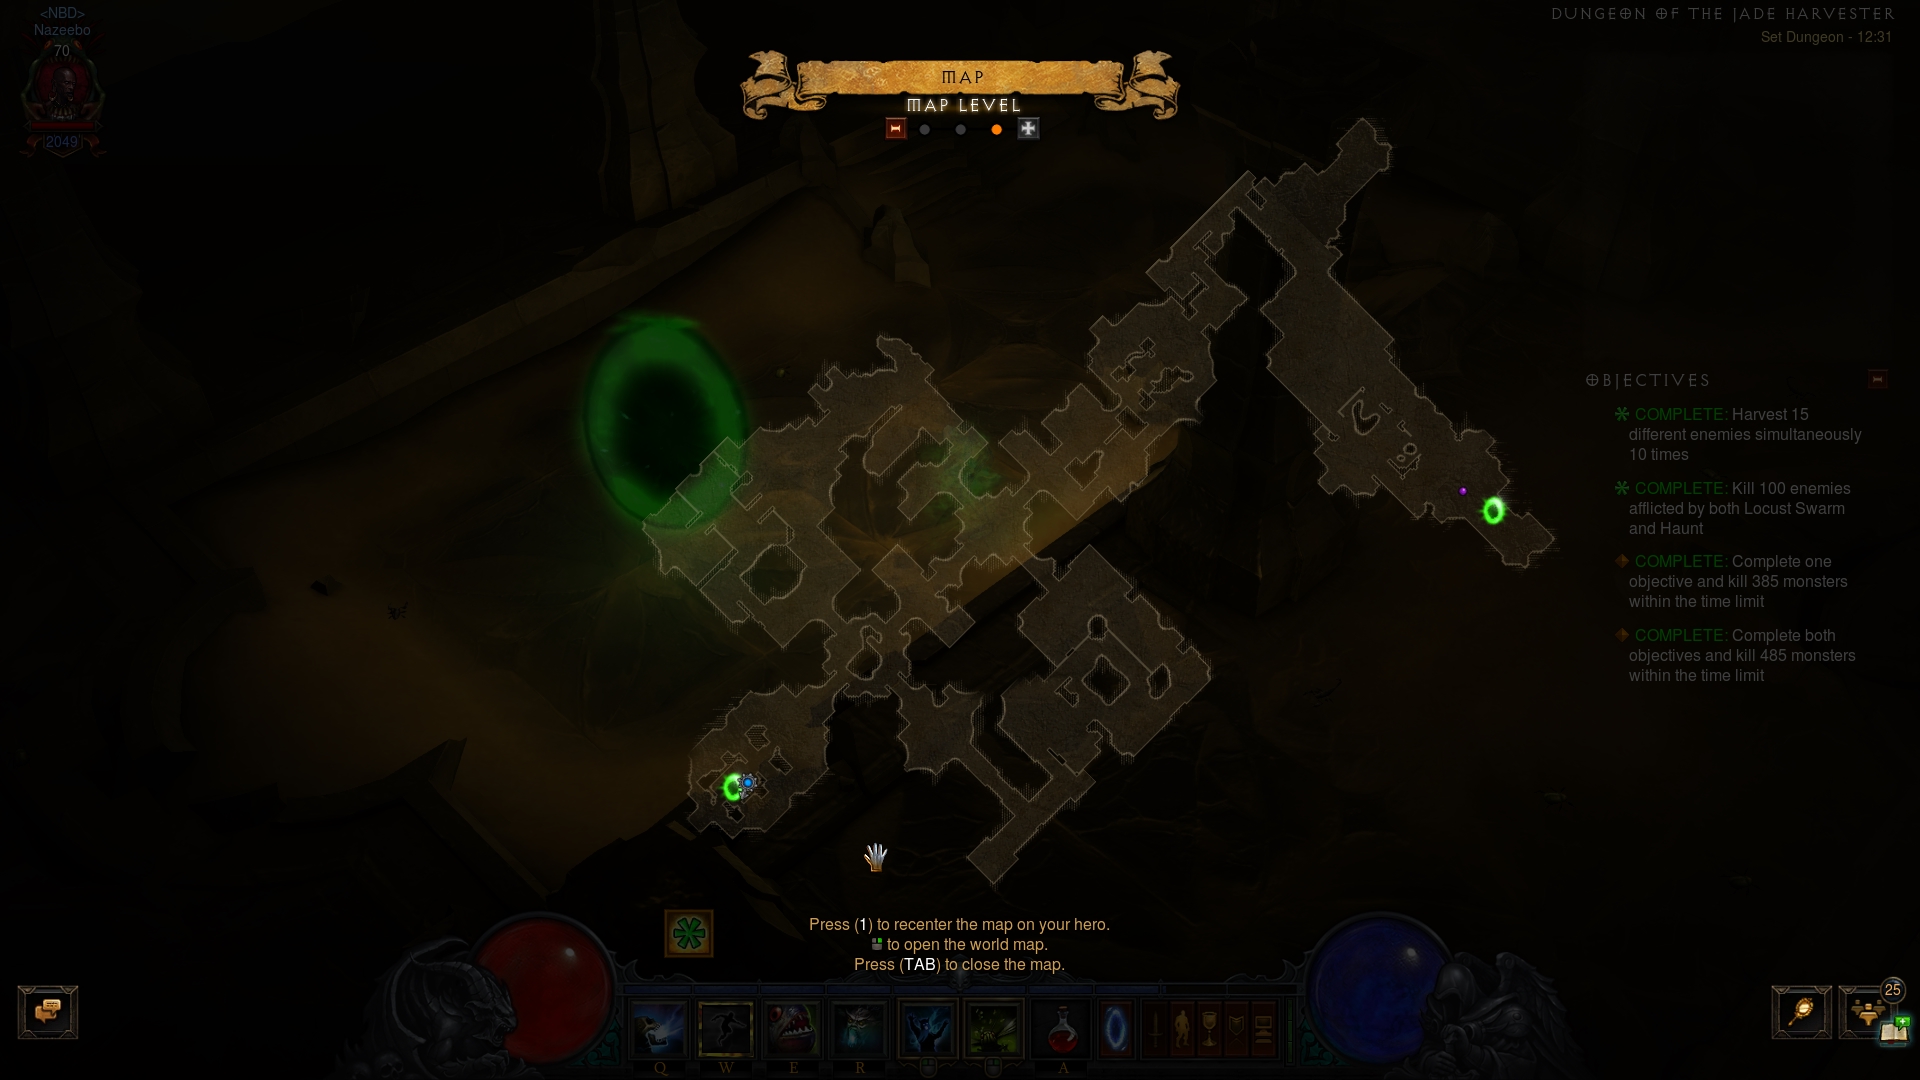
The Raiment of the Jade Harvester Set Dungeon is located in Act IV, The Vestibule of Light. Take the waypoint to Gardens of Hope 1st Tier and walk backwards, towards the entrance of the zone. Transition into The Vestibule of Light and start walking along the upper edge of the zone. In the upper right corner of the square arena where you fight Iskatu in the campaign, the entrance to the Jade Set Dungeon will open if you have the Jade Harvester 6-piece bonus active.
The Raiment of the Jade Harvester's two unique Primary Objectives are to: 1)
![]() Soul Harvest 15 enemies simultaneously 10 times; and 2) Kill 100 enemies
afflicted by both
Soul Harvest 15 enemies simultaneously 10 times; and 2) Kill 100 enemies
afflicted by both ![]() Haunt and
Haunt and ![]() Locust Swarm.
Locust Swarm.
The Raiment of the Jade Harvester Set Dungeon is a sprawling Ruins tileset that starts off with a rectangular area and eventually breaks off in a giant, L-shaped dead end. A proven attempt path is to clear the rectangular area first (it has a rough 8-shape, so you will need to weave between the three corridors a bit) and then finish off the branching corridor until you hit the dead end.
The Raiment of the Jade Harvester Set Dungeon is populated by the following enemy types:
- Zap Worms and Electric Eels — the sheer number of those slow moving, low threat trash enemies will make them the ideal target of both Objectives in the map.
- Writhing Deceivers — fewer and farther between, these hard-hitting melee monsters have the annoying tendency to go invisible (and thus, untargetable) for brief periods of time. While they can be useful to form a bigger harvest pull, it is often better to simply kill them on sight.
- Jade Champion — the unique enemies of the map. They resemble Act II's Scaled Magus trash, but also have the Frozen and Vortex affixes. Their hits and affixes are relatively threatening, so do not hesitate to burst them on sight.
Tips for the Raiment of the Jade Harvester Set Dungeon
Note that the 1st Objective requires that you simply ![]() Soul Harvest the
enemies — you do NOT need to execute the typical Jade build rotation, and
risk killing off trash with your pre-casts of
Soul Harvest the
enemies — you do NOT need to execute the typical Jade build rotation, and
risk killing off trash with your pre-casts of ![]() Haunt and
Haunt and
![]() Locust Swarm. As such, we advise that when you encounter a suitably big
trash pack, you do a rotation that opens with a "no damage"
Locust Swarm. As such, we advise that when you encounter a suitably big
trash pack, you do a rotation that opens with a "no damage" ![]() Soul Harvest
(to get progress on the Objective), and then do the usual
Soul Harvest
(to get progress on the Objective), and then do the usual ![]() Haunt into
Haunt into
![]() Locust Swarm into
Locust Swarm into ![]() Soul Harvest for cleanup.
Soul Harvest for cleanup.
Due to the sheer size of the dungeon, items that increase your speed are king.
Typically that would mean going for the Manajuma set, but since the
![]() Angry Chicken explosion might kill a lot more trash than it should, we
advise against using it. Instead, equip a combo of
Angry Chicken explosion might kill a lot more trash than it should, we
advise against using it. Instead, equip a combo of ![]() In-geom (for
In-geom (for
![]() Spirit Walk CD resets) and
Spirit Walk CD resets) and ![]() Shukrani's Triumph (for the lengthy
running sections with no enemies in sight, especially when you get to cleaning
up the dungeon). If you make a point to
Shukrani's Triumph (for the lengthy
running sections with no enemies in sight, especially when you get to cleaning
up the dungeon). If you make a point to ![]() Horrify appropriately, you can
also adopt the speed boost of
Horrify appropriately, you can
also adopt the speed boost of ![]() Rechel's Ring of Larceny. Finally, taking
Rechel's Ring of Larceny. Finally, taking
![]() Illusory Boots in your setup will help a lot with positioning for optimal
enemy count harvests.
Illusory Boots in your setup will help a lot with positioning for optimal
enemy count harvests.
While it might be tempting to use it to group up trash, use ![]() Piranhado
sparingly (if at all). It can kill off more trash than it helps clump up. Focus
its use against Writhing Deceivers and elites instead, to prevent them from using
their invisibility tricks during CC.
Piranhado
sparingly (if at all). It can kill off more trash than it helps clump up. Focus
its use against Writhing Deceivers and elites instead, to prevent them from using
their invisibility tricks during CC.
It is worth mentioning not to stress the 2nd Objective too much, since it will complete naturally as you execute the rotation outlined above.
Build for the Raiment of the Jade Harvester Set Dungeon
| Active Skills |
|---|


|
| Passive Skills |
| Slot | Pieces | Stat Priority |
|---|---|---|
| Head |
|
|
| Shoulders |
|
|
| Torso |
|
|
| Wrists |
|
|
| Hands |
|
|
| Waist |
|
|
| Legs |
|
|
| Feet |
|
|
| Amulet |
|
|
| Ring #1 |
|
|
| Ring #2 |
|
|
| Weapon |
|
|
| Off-hand |
|
To help you with farming the gear you need for your builds, we have two very useful guides that you can access by clicking the links below: a Salvage Guide to help you quickly check whether or not you can safely salvage a piece of gear and a Legendary Farming Guide to help you efficiently farm legendaries and set items.
| Slot | Gems |
|---|---|
| Jewelry | |
| Helm |
|
| Torso and Pants |
|
| Weapon |
Kanai's Cube
- Weapon Slot:
 Sacred Harvester
 - Armor Slot:
 Leoric's Crown
 - Jewelry Slot:
 Ring of Royal Grandeur
Changelog
- 05 Mar. 2018: Added guide.