Witch Doctor Arachyr Set Dungeon Guide
Welcome to our guide to complete the Arachyr set dungeon for Witch Doctors, a required step to complete the Masters of the Universe Conquest.
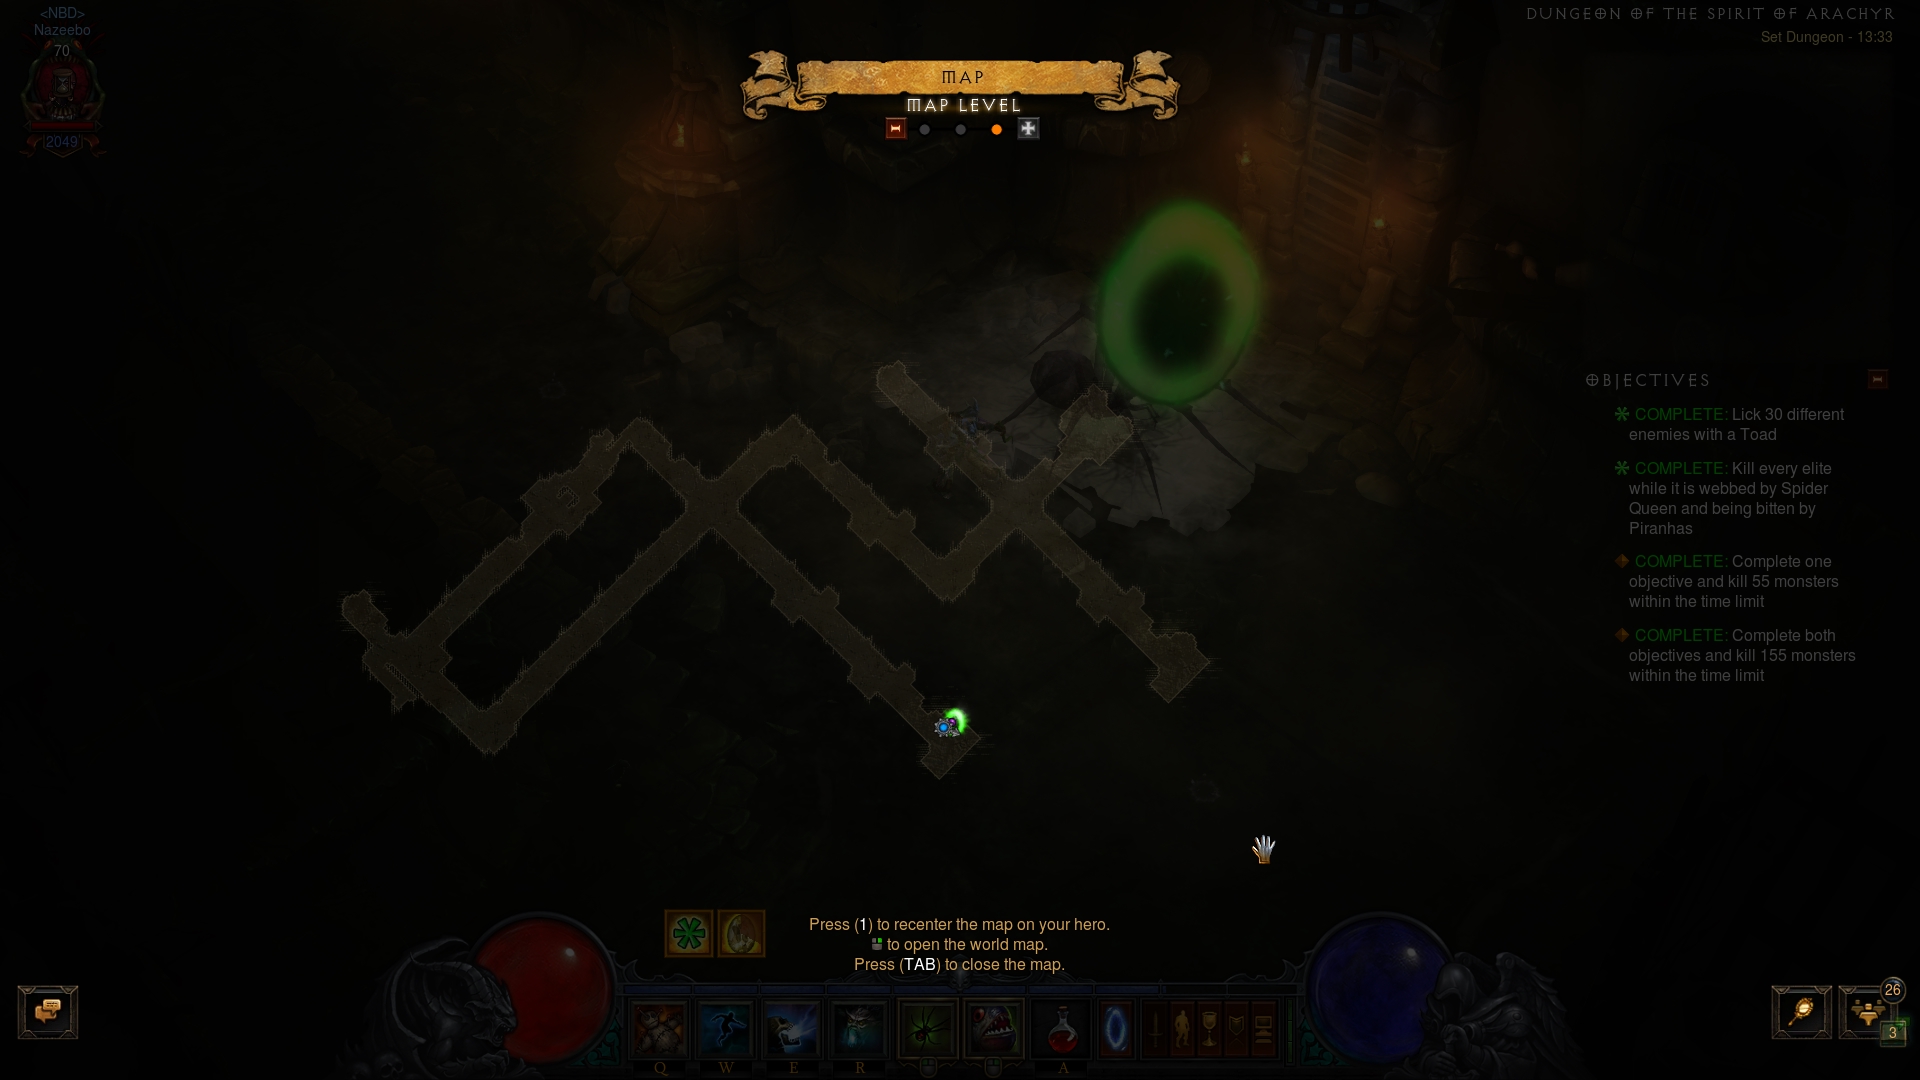
Overview of the Spirit of Arachyr Set Dungeon
The Spirit of Arachyr Set Dungeon is located in Act II, Dahlgur Oasis. This
is one of the harder Set Dungeons to find, so take the waypoint to that
location and start backtracking towards the entry point (the Manajuma set plus
![]() Angry Chicken form will help immensely with this). Once you reach the
beginning of the zone, Path to the Oasis, turn around and start following the
left wall of the Dahlgur Oasis. In the second larger clearing, near a small
pond, the portal to the Arachyr Set Dungeon will appear if you have the iSpirit of Arachyr
6-piece bonus active.
Angry Chicken form will help immensely with this). Once you reach the
beginning of the zone, Path to the Oasis, turn around and start following the
left wall of the Dahlgur Oasis. In the second larger clearing, near a small
pond, the portal to the Arachyr Set Dungeon will appear if you have the iSpirit of Arachyr
6-piece bonus active.
The Spirit of Arachyr's two unique Primary Objectives are to: 1) Lick 30
enemies with ![]() Hex
Hex ![]() Toad of Hugeness; and 2) Kill every elite while it is
webbed by Spider Queen and being bitten by
Toad of Hugeness; and 2) Kill every elite while it is
webbed by Spider Queen and being bitten by ![]() Piranhas.
Piranhas.
The Spirit of Arachyr Set Dungeon is a very short sewer tileset that connects two corridors, roughly q- and t-shaped, respectively. A proven attempt path is to clear the left corridor first, since it naturally loops and leads into the one on the right.
The Spirit of Arachyr Set Dungeon is populated by the following enemy types:
- Bone Warriors and Accursed — while the former are slow and the latter are fast, one thing remains a fact for both trash types: they will be the catalyst to the completion of the 1st Objective.
- Servant of Arachyr — the unique enemies of the map. They resemble Act III's Herald of Pestilence trash, but also has the Thunderstorm affix. While they have decent damage potential, their susceptibility to crowd control and the Objectives of this Set Dungeon should mean they never get to hit you.
Tips for the Spirit of Arachyr Set Dungeon
Try to get the "toad licking" Objective done as soon as possible, since the
enemies in this Set Dungeon are not as abundant as in others, and are farily low
health — meaning, any properly geared Arachyr WD will likely oneshot them.
In order to bring out the ![]() Toad of Hugeness (given to you for free by the
4-piece bonus), you will want to cast your
Toad of Hugeness (given to you for free by the
4-piece bonus), you will want to cast your ![]() Hex
Hex ![]() Angry Chicken near an enemy
pack and then run out, detonating it outside the range of enemies. This way, you
will both avoid oneshotting the trash and you will give the toad time to do the
licking. Note that the Spider Queen that accompanies you due to the 2-piece bonus
is also fairly powerful and can kill off trash before the toad — but is
thankfully under the control of your
Angry Chicken near an enemy
pack and then run out, detonating it outside the range of enemies. This way, you
will both avoid oneshotting the trash and you will give the toad time to do the
licking. Note that the Spider Queen that accompanies you due to the 2-piece bonus
is also fairly powerful and can kill off trash before the toad — but is
thankfully under the control of your ![]() Corpse Spiders. Simply drag her away
from the trash by detonating at a safe distance and spamming
Corpse Spiders. Simply drag her away
from the trash by detonating at a safe distance and spamming ![]() Corpse Spiders
near yourself.
Corpse Spiders
near yourself.
Once you get the first Objective out of the way, you can start cleaning up
with all the firepower at your disposal. Keep in mind however, that you need to
kill all 5 elites on the map with a combo of ![]() Corpse Spiders and
Corpse Spiders and
![]() Piranhas. When you spot an elite on the horizon, simply pre-detonate your
Piranhas. When you spot an elite on the horizon, simply pre-detonate your
![]() Angry Chicken form, toss a
Angry Chicken form, toss a ![]() Corpse Spiders jar on top of the elite
from a distance and immediately CC them in place with a
Corpse Spiders jar on top of the elite
from a distance and immediately CC them in place with a ![]() Piranhas
Piranhas ![]() Piranhado.
A sufficiently powerful Arachyr WD will have no problem oneshotting the elite
in one combo.
Piranhado.
A sufficiently powerful Arachyr WD will have no problem oneshotting the elite
in one combo.
Build for the Spirit of Arachyr Set Dungeon
| Active Skills |
|---|


|
| Passive Skills |
| Slot | Pieces | Stat Priority |
|---|---|---|
| Head |
|
|
| Shoulders |
|
|
| Torso |
|
|
| Wrists |
|
|
| Hands |
|
|
| Waist |
|
|
| Legs |
|
|
| Feet |
|
|
| Ring #1 |
|
|
| Ring #2 |
|
|
| Amulet |
|
|
| Weapon |
|
|
| Off-hand |
|
To help you with farming the gear you need for your builds, we have two very useful guides that you can access by clicking the links below: a Salvage Guide to help you quickly check whether or not you can safely salvage a piece of gear and a Legendary Farming Guide to help you efficiently farm legendaries and set items.
| Slot | Gems |
|---|---|
| Jewelry | |
| Helm |
|
| Torso and Pants |
|
| Weapon |
Kanai's Cube
- Weapon Slot:
 In-geom
 - Armor Slot:
 Leoric's Crown
 - Jewelry Slot:
 Rechel's Ring of Larceny
Changelog
- 05 Mar. 2018: Added guide.
This build is presented to you by Deadset, one of the very few professional Diablo 3 players. Deadset regularly publishes video guides on Youtube and streams on Twitch, where you can see how this and other builds play out in practice.
- Diablo 3 Season 38 Preview
- Diablo 3 Season 37 (Official Preview)
- What's Coming in Diablo 3 Season 36?
- Diablo 3 Season 35: Official Preview
- All Diablo 3 Season 34 Class Guides and Compendium
- Diablo 3 Season 34 Delayed a Week
- Season 34 Official Preview
- Diablo 3 Season 33 Unintentionally Prematurely Ended