Demon Hunter Natalya's Vengeance Set Dungeon Guide
Welcome to our guide to complete the Natalya set dungeon for Demon Hunters, a required step to complete the Masters of the Universe Conquest.
Overview of the Natalya's Vengeance Set Dungeon
The Natalya's Vengeance Set Dungeon is located in Act I's Wortham. Take the waypoint to the Wortham Chapel Cellar and then walk back out the entrance. The Natalya Set Dungeon Entrance should appear right next to the cellar door if you have the Natalya's Vengeance set 6-piece bonus active.
The Natalya Set Dungeon's two unique Primary Objectives are to: 1) Detonate
![]() Spike Trap 300 times; and 2) Never deplete all of your Hatred.
Spike Trap 300 times; and 2) Never deplete all of your Hatred.
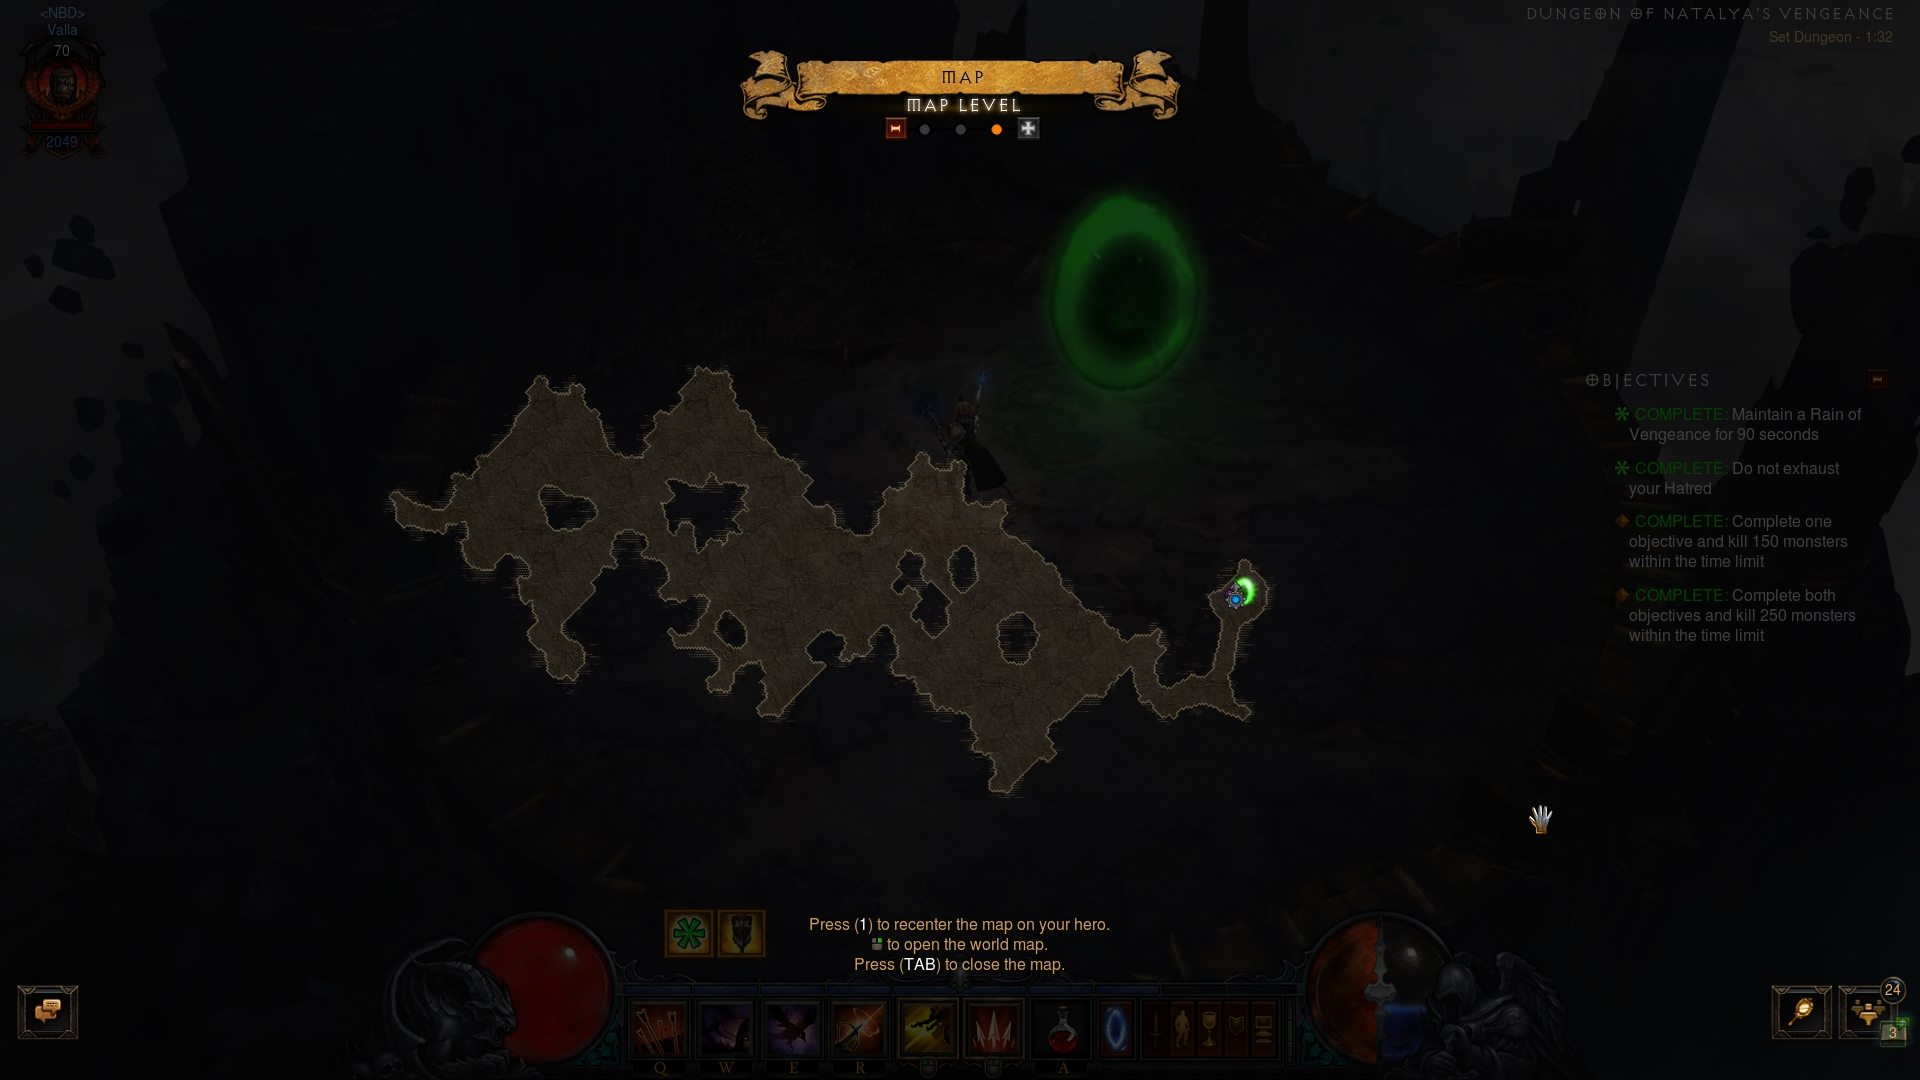
The Natalya's Vengeance Set Dungeon is an Act 5 Battlefields of Eternity tileset — a relatively small and open area, different from most of its ilk. There is no specific route to take. Simply following the northern edge of the map and then circling down to the southern should suffice.
The Natalya's Vengeance Set Dungeon is populated by three kinds of enemies:
- Ravenous Dead, Hungry Corpses, Risen — the shambling undead make up
the majority of trash in this dungeon. Useful for
 Obsidian Ring of the Zodiac cooldown resets.
 - Exhumed — significantly fewer, these lumbering constructs take a few more hits but are largely irrelevant in terms of tactics.
- Vengeance Guardians — the unique enemies of the map. They resemble
Act 1's Pain Mongers, but also have a Wormhole and Waller affixes. The elites
are very useful in this map, since they feed into
 In-geom resets.
Tips for the Natalya's Vengeance Set Dungeon
As with most Set Dungeons, a follower is not necessary and might get in the way more than help the situation. Do not be afraid to dismiss your companion.
With the revision of Natalya's Vengeance from a Rain of Vengeance- to a
![]() Spike Traps-centric set, this Set Dungeon's requirements have been
trivialized to a great extent. The build variation below is a suggestion and
not at all a necessity for its completion. Using this variant however makes it
so that you can never fail the 2nd Objective, as it doesn't use Hatred spenders
at all; the
Spike Traps-centric set, this Set Dungeon's requirements have been
trivialized to a great extent. The build variation below is a suggestion and
not at all a necessity for its completion. Using this variant however makes it
so that you can never fail the 2nd Objective, as it doesn't use Hatred spenders
at all; the ![]() Custom Trigger rune on
Custom Trigger rune on ![]() Spike Trap makes it so Hatred
generators (i.e.
Spike Trap makes it so Hatred
generators (i.e. ![]() Evasive Fire) detonate
Evasive Fire) detonate ![]() Spike Traps. Just dash
through the map, place
Spike Traps. Just dash
through the map, place ![]() Spike Traps left and right and pop them using
your Generator skill, and spam the remainder of your skills on cooldown.
Spike Traps left and right and pop them using
your Generator skill, and spam the remainder of your skills on cooldown.
Build for the Natalya's Vengeance Set Dungeon
| Active Skills |
|---|


|
| Passive Skills |
| Slot | Pieces | Stat Priority |
|---|---|---|
| Head |
|
|
| Shoulders |
|
|
| Torso |
|
|
| Wrists |
|
|
| Hands |
|
|
| Waist |
|
|
| Legs |
|
|
| Feet |
|
|
| Amulet |
|
|
| Ring #1 |
|
|
| Ring #2 |
|
|
| Weapon #1 |
|
|
| Weapon #2 |
|
To help you with farming the gear you need for your builds, we have two very useful guides that you can access by clicking the links below: a Salvage Guide to help you quickly check whether or not you can safely salvage a piece of gear and a Legendary Farming Guide to help you efficiently farm legendaries and set items.
| Slot | Gems |
|---|---|
| Jewelry | |
| Helm | |
| Torso and Pants |
|
| Weapon |
Kanai's Cube
- Weapon Slot: In-geom
- Armor Slot:
 Hexing Pants of Mr. Yan
 - Jewelry Slot:
 Elusive Ring
Changelog
- 22 Feb. 2023: Reworked the guide according to the new version of the set.
- 02 Mar. 2018: Added guide.
This build is presented to you by Deadset, one of the very few professional Diablo 3 players. Deadset regularly publishes video guides on Youtube and streams on Twitch, where you can see how this and other builds play out in practice.
- Diablo 3 Season 38 Preview
- Diablo 3 Season 37 (Official Preview)
- What's Coming in Diablo 3 Season 36?
- Diablo 3 Season 35: Official Preview
- All Diablo 3 Season 34 Class Guides and Compendium
- Diablo 3 Season 34 Delayed a Week
- Season 34 Official Preview
- Diablo 3 Season 33 Unintentionally Prematurely Ended