Monk Inna's Mantra Set Dungeon Guide
Welcome to our guide to complete the Inna dungeon for Monks, a required step to complete the Masters of the Universe Conquest.
Overview of the Inna's Mantra Set Dungeon
The Inna's Mantra Set Dungeon is located in Act II, the Flooded Causeway. Take the Act II town waypoint, then head up north to the Caldeum Bazaar. Once inside, do a U-turn to the left at the first opportunity — you will see the sewer grate leading to the Flooded Causeway. In there, follow the path down and to the right; to the south of the entrance to the next zone, the Ruined Cistern, the entrance to the Inna Set Dungeon will appear if you have the Inna's Mantra 6-piece set bonus active.
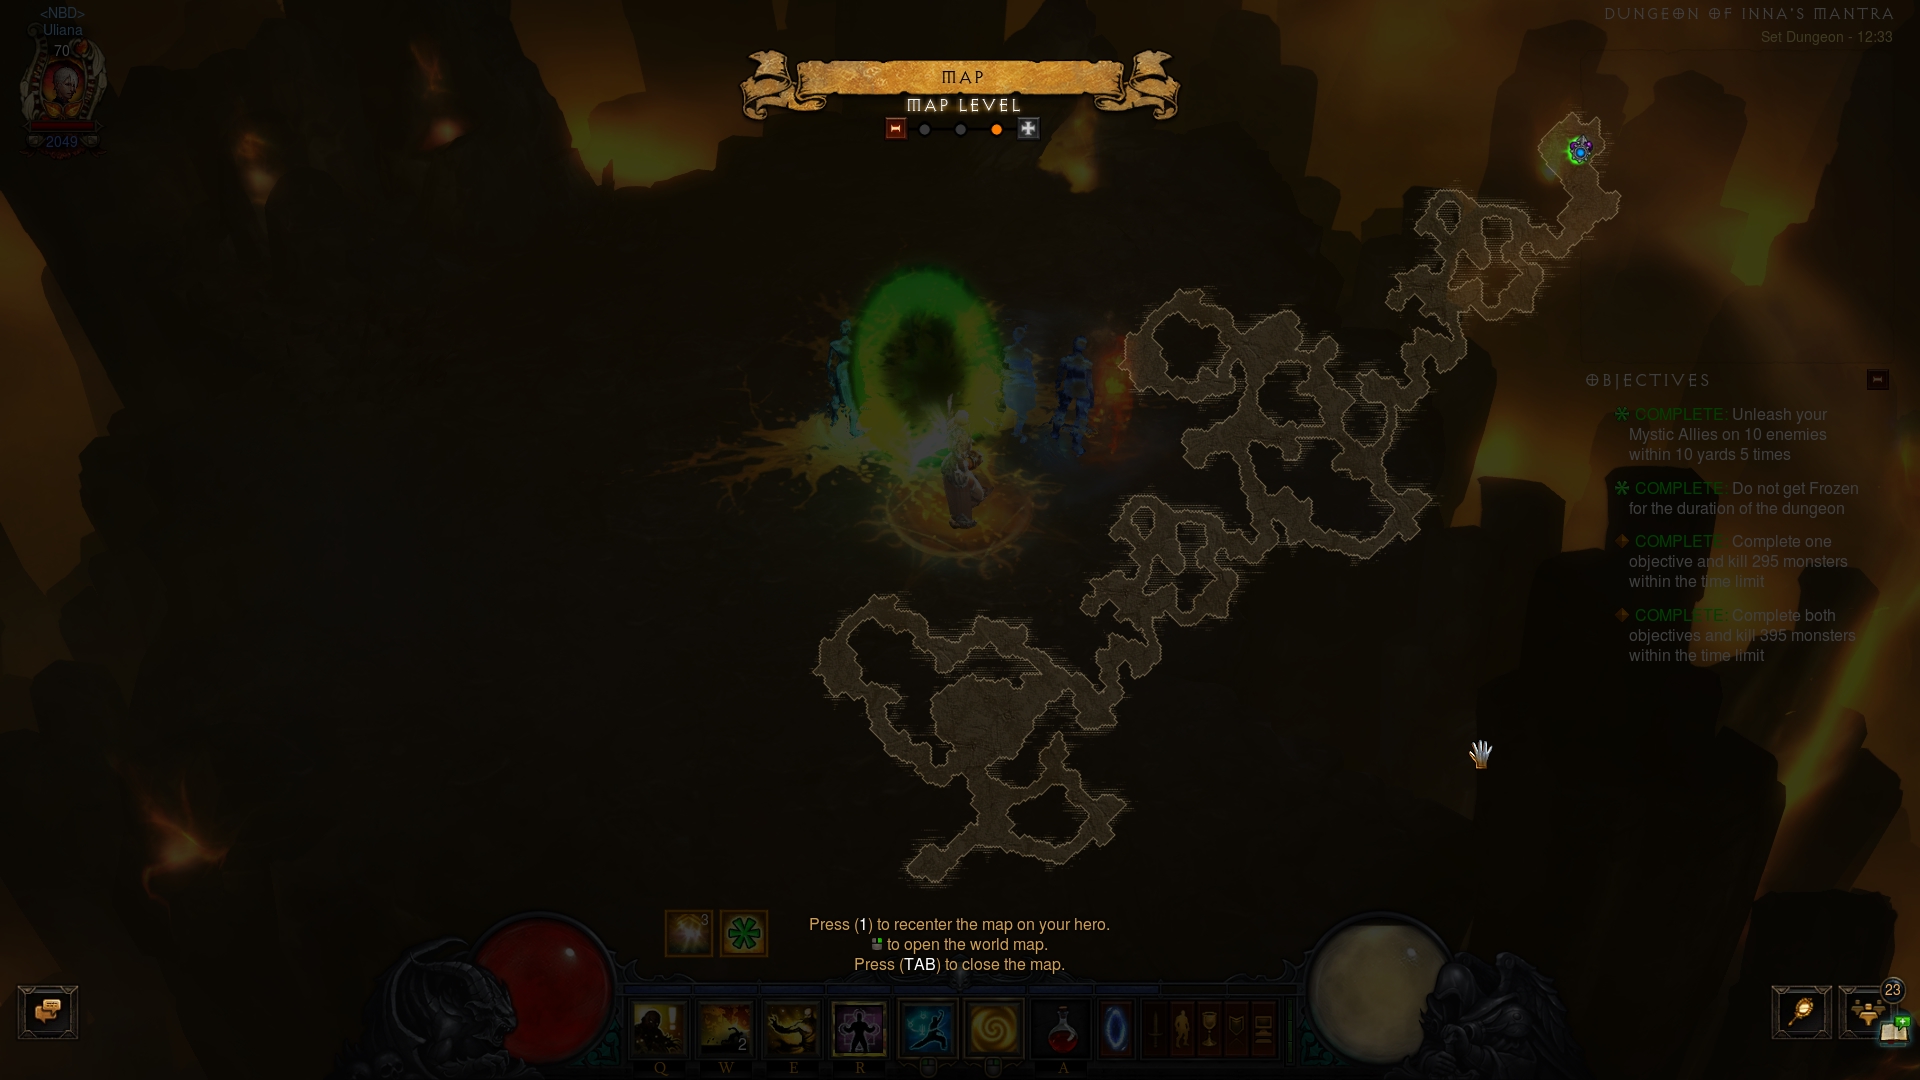
The Inna's Mantra Set Dungeon's two unique Primary Objectives are to: 1) Unleash your Mystic Allies on 10 enemies within 10 yards 5 times; and 2) Do not get Frozen for the duration of the dungeon.
The Inna's Mantra Set Dungeon is a Realm of the Banished tileset that is relatively linear, despite first appearances. Simply head further and further down on the map, making sure to finish off smaller branching areas before you continue.
The Inna's Mantra Set Dungeon is populated by several kinds of enemies:
- Bone Beetles and Scarabs — these tiny, near-harmless critters will provide the bulk for the counter of the first Objective. Swarming from all sides and relentless in their pursuit, they are the most valuable trash in this dungeon.
- Lacuni Warriors and Slashers — slower moving, medium-sized targets with a strong melee attack. You can use them as filler for a pull on the first Objective, but they will not follow you as readily.
- Inna's Guardians — the unique enemies of the map. They resemble Act 3's Golgor trash, but also have a Frozen affix. Their elite affix is tied to your second Primary Objective, not getting Frozen for the duration of this dungeon.
Tips for the Inna's Mantra Set Dungeon
The Inna's Mantra Set Dungeon is, unfortunately, of the type that benefits
from nerfing your build and toning down your damage. In a properly specced build,
your autonomous ![]() Mystic Ally summons will simply run ahead and slaughter
everything in your way before you get a chance to do the 1st Objective. Take some
simple steps to lower your damage to the 300-400k point: drop Dexterity and
Offense-section Paragons, drop Crit Damage gems from weaponry, drop excess
offense jewelry and legendary gems. Do NOT take standard Inna itemization choices
like
Mystic Ally summons will simply run ahead and slaughter
everything in your way before you get a chance to do the 1st Objective. Take some
simple steps to lower your damage to the 300-400k point: drop Dexterity and
Offense-section Paragons, drop Crit Damage gems from weaponry, drop excess
offense jewelry and legendary gems. Do NOT take standard Inna itemization choices
like ![]() The Crudest Boots and
The Crudest Boots and ![]() Bindings of the Lesser Gods.
Bindings of the Lesser Gods.
While the dungeon is mostly made of tight and inconveniently curved pathways,
there are several open platforms, albeit small. Try to use them to lure a larger
pack of trash and ![]() Cyclone Strike them in a massive pull for the 1st
Objective. If your damage is low enough (as it should), you can afford to set up
a pull with 2 or more
Cyclone Strike them in a massive pull for the 1st
Objective. If your damage is low enough (as it should), you can afford to set up
a pull with 2 or more ![]() Cyclone Strikes.
Cyclone Strikes.
The 2nd Objective — not getting Frozen — is rather trivial, as the
Elites are not very proactive in using their affix and when they do, you can
simply ![]() Dashing Strike away by paying minimal attention. While it is active,
Dashing Strike away by paying minimal attention. While it is active,
![]() Epiphany will also protect you from crowd controlling affixes. You can
completely ignore this threat if you equip
Epiphany will also protect you from crowd controlling affixes. You can
completely ignore this threat if you equip ![]() Ice Climbers.
Ice Climbers.
Build for the Inna's Mantra Set Dungeon
| Active Skills |
|---|


|
| Passive Skills |
| Slot | Pieces | Stat Priority |
|---|---|---|
| Head |
|
|
| Shoulders |
|
|
| Torso |
|
|
| Wrists |
|
|
| Hands |
|
|
| Waist |
|
|
| Legs |
|
|
| Feet |
|
|
| Amulet |
|
|
| Ring #1 |
|
|
| Ring #2 |
|
|
| Weapon #1 |
|
|
| Weapon #2 |
|
To help you with farming the gear you need for your builds, we have two very useful guides that you can access by clicking the links below: a Salvage Guide to help you quickly check whether or not you can safely salvage a piece of gear and a Legendary Farming Guide to help you efficiently farm legendaries and set items.
| Slot | Gems |
|---|---|
| Jewelry |
|
| Helm | |
| Torso and Pants |
|
| Weapon |
|
Kanai's Cube
- Weapon Slot:
 In-geom
 - Armor Slot:
 Depth Diggers
 - Jewelry Slot:
 Ring of Royal Grandeur
Changelog
- 12 Dec. 2020: Adjusted a Cube recommendation.
- 03 Mar. 2018: Added guide.