Barbarian Wrath of the Wastes Set Dungeon Guide
Welcome to our guide to complete the Wrath of the Wastes set dungeon for Barbarians, a required step to complete the Masters of the Universe Conquest.
Overview of the Wrath of the Wastes Set Dungeon
Take the Pandemonium Fortress Level 1 waypoint in Act V, and walk backwards (not through the teleport, but towards the entrance to the zone). Once you walk up the first flight of stairs leading to The Siege Outpost, the Set Dungeon portal should appear if you have the Wrath of the Wastes 6-piece.
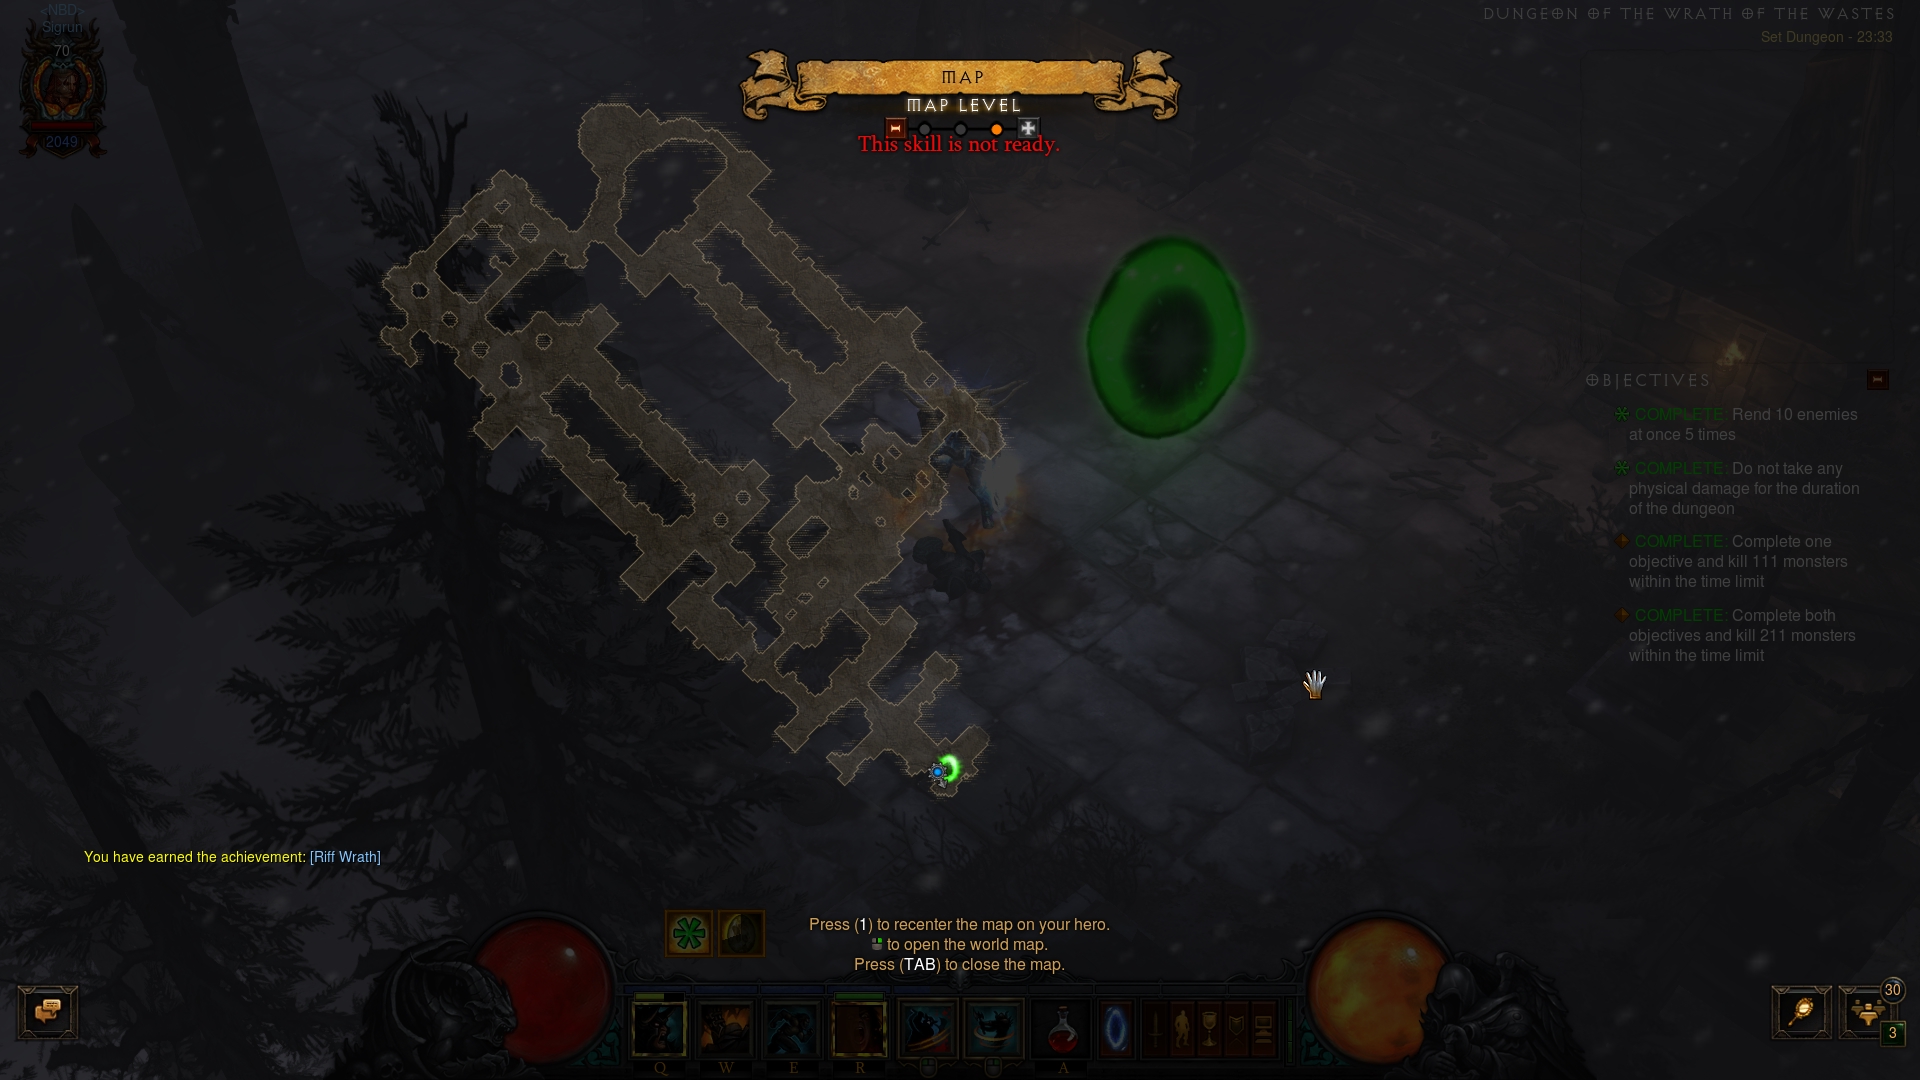
The Wrath of the Wastes Set Dungeon's two unique Primary Objectives are to: 1)
![]() Rend 10 different enemies at once 5 times; and 2) Do not take any
physical damage for the duration of the dungeon.
Rend 10 different enemies at once 5 times; and 2) Do not take any
physical damage for the duration of the dungeon.
The Wrath of the Wastes Set Dungeon is set in a Sescheron-like map, with a starting corridor leading into a courtyard that splits in two directions. Either of them features a dual lane corridor with swinging axe traps, and they connect on the other end in semi-open ruins. A proven tactic is to do a simple counter-clockwise run, doubling up on each trapped corridor slowly and carefully to clear it from enemies.
The Wastes Set Dungeon is populated by three kinds of enemies:
- Fallen Peons — these tiny, swarming critters will be the backbone of
your
 Rend objective. They pose next to no threat, but still inflict
physical damage (and can thus cause you to fail the 2nd Objective if you're not
careful).
Rend objective. They pose next to no threat, but still inflict
physical damage (and can thus cause you to fail the 2nd Objective if you're not
careful). - Pain Mongers — fewer and further between, these lumbering brutes have a powerful but slow and nicely telegraphed melee attack. Keep in mind that even if you can survive their hits, they count as physical damage for the 2nd Objective.
- Wrath Dealer — the unique enemies of the map. They resemble Act 1's
Pain Mongers, but also have Plagued and Waller affixes. Plagued will pose no
threat to your survival and your objectives, but the Waller can be annoying
when setting up a Rend pull; you will ideally be using
 Illusory Boots to counter this.
Tips for the Wastes Set Dungeon
As with most Set Dungeons, a follower is not necessary and might get in the way more than help the situation. Do not be afraid to dismiss your companion.
The biggest stumbling block of this dungeon is the first Primary Objective,
setting up 5 10-man ![]() Rends. To accomplish this, take your time with bigger
trash packs. Once you notice a lot of enemies on the minimap,
Rends. To accomplish this, take your time with bigger
trash packs. Once you notice a lot of enemies on the minimap, ![]() Sprint
through to scout and pull aggro. As a good number of Fallen walk towards you,
do a quick
Sprint
through to scout and pull aggro. As a good number of Fallen walk towards you,
do a quick ![]() Ground Stomp
Ground Stomp ![]() Wrenching Smash — your key to success. Once
grouped up and stunned,
Wrenching Smash — your key to success. Once
grouped up and stunned, ![]() Rend them with the biggest AoE rune,
Rend them with the biggest AoE rune,
![]() Ravage. If executed correctly, this will net you 10+ enemy hits.
Ravage. If executed correctly, this will net you 10+ enemy hits.
Refrain from the usual Wastes set gameplay — do not ![]() Whirlwind
mindlessly around, since any properly geared Barb will kill valuable trash
outright. Save
Whirlwind
mindlessly around, since any properly geared Barb will kill valuable trash
outright. Save ![]() Whirlwind once you've made a successful
Whirlwind once you've made a successful ![]() Rend on a
pull and you want to clean up the area to move on.
Rend on a
pull and you want to clean up the area to move on.
Note that our recommended ![]() Whirlwind rune,
Whirlwind rune, ![]() Hurricane, pulls
enemies towards you. Use this sparingly and to your advantage — pulling is
a hard CC effect and will interrupt enemy attacks, securing the 2nd
Objective.
Hurricane, pulls
enemies towards you. Use this sparingly and to your advantage — pulling is
a hard CC effect and will interrupt enemy attacks, securing the 2nd
Objective.
Take your time with swinging axe traps. The map is medium sized and if you are properly geared for speed, you will have no trouble making the round trip in time. On the flip side, one hit from the axe trap is an automatic failure of the attempt. Time their movement and walk in between accordingly.
Build for the Wrath of the Wastes Set Dungeon
| Active Skills |
|---|


|
| Passive Skills |
| Slot | Pieces | Stat Priority |
|---|---|---|
| Head |
|
|
| Shoulders |
|
|
| Torso |
|
|
| Wrists |
|
|
| Hands |
|
|
| Waist |
|
|
| Legs |
|
|
| Feet |
|
|
| Amulet |
|
|
| Ring #1 |
|
|
| Ring #2 |
|
|
| Weapon #1 |
|
|
| Weapon #2 |
|
To help you with farming the gear you need for your builds, we have two very useful guides that you can access by clicking the links below: a Salvage Guide to help you quickly check whether or not you can safely salvage a piece of gear and a Legendary Farming Guide to help you efficiently farm legendaries and set items.
| Slot | Gems |
|---|---|
| Jewelry | |
| Helm | |
| Torso and Pants |
|
| Weapon |
Kanai's Cube
- Weapon Slot:
 In-geom
 - Armor Slot:
 Krelm's Buff Belt
 - Jewelry Slot:
 Ring of Royal Grandeur
Changelog
- 01 Mar. 2018: Added guide.
This build is presented to you by Deadset, one of the very few professional Diablo 3 players. Deadset regularly publishes video guides on Youtube and streams on Twitch, where you can see how this and other builds play out in practice.
- Diablo 3 Season 38 Preview
- Diablo 3 Season 37 (Official Preview)
- What's Coming in Diablo 3 Season 36?
- Diablo 3 Season 35: Official Preview
- All Diablo 3 Season 34 Class Guides and Compendium
- Diablo 3 Season 34 Delayed a Week
- Season 34 Official Preview
- Diablo 3 Season 33 Unintentionally Prematurely Ended