Demon Hunter Unhallowed Essence Set Dungeon Guide
Welcome to our guide to complete the Unhallowed Essence set dungeon for Demon Hunters, a required step to complete the Masters of the Universe Conquest.
Overview of the Unhallowed Essence Set Dungeon
The Unhallowed Essence Set Dungeon is located in Act II, the Howling Plateau. Take the waypoint and go to the left, backtracking through the canyon as if you were returning to Caldeum. Past the canyon and into the small clearing, near an overturned cart, the Set Dungeon portal will open if you have the UE 6-piece bonus equipped.
The Unhallowed Essence Set Dungeon's two unique Primary Objectives are to: 1)
Hit 20 enemies with a single ![]() Multishot 6 times; and 2) Never drop below
50% Discipline.
Multishot 6 times; and 2) Never drop below
50% Discipline.
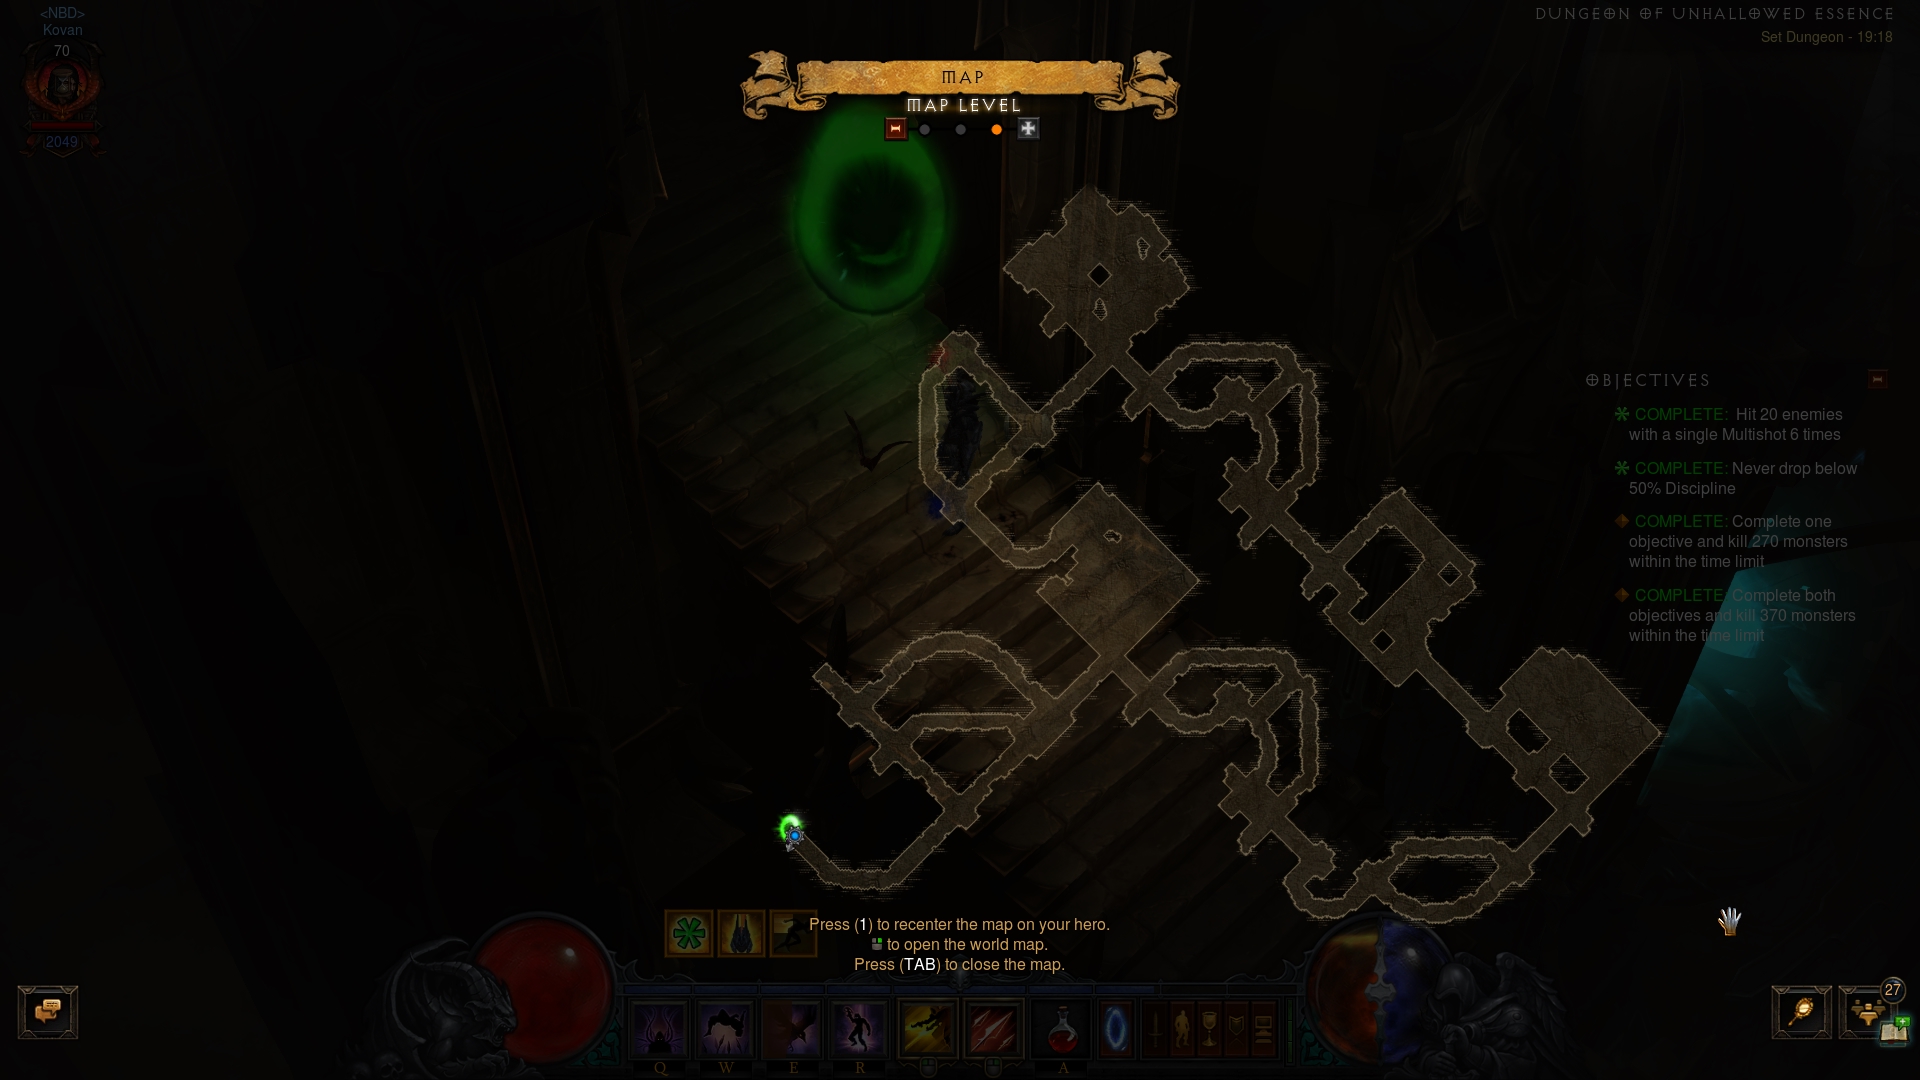
The Unhallowed Essence Set Dungeon is a Pandemonium Fortress tileset — a narrow, looping corridor with three open areas and a few dead ends. A proven attempt path is clearing the first section, then going counter-clockwise while still finishing off the few deadends encountered along the way.
The Unhallowed Essence Set Dungeon is populated by several kinds of enemies:
- Spiderlings and Blood Hatchlings — these low-health, low-threat trash will be the main source of the first Objective as they are spread in generous clusters across the map (mainly the wider square platforms).
- Arachnid Horrors, Webspitter Spiders, Frost Lurkers — these higher-health monsters come in smaller packs and can contribute to a 20-man hit, but will mostly serve to annoy you with their slowing web attacks.
- Unhallowed Champion — the unique enemies of the map. They resemble Act 1's Toxic Lurkers, but also have the Illusionist and Vortex affixes. The former can be helpful for a 20-man hit, since the illusions add to the counter.
Tips for the Unhallowed Essence Set Dungeon
With a rather large hit requirement on the first Objective, 20 monsters per
![]() Multishot, you have to be careful not to introduce extra sources of
damage into your build that might eliminate one or more targets prior to the
shot. We advise you to dismiss your companion, drop the regular UE build staples
like
Multishot, you have to be careful not to introduce extra sources of
damage into your build that might eliminate one or more targets prior to the
shot. We advise you to dismiss your companion, drop the regular UE build staples
like ![]() Vengeance, the
Vengeance, the ![]() Trail of Cinders rune on
Trail of Cinders rune on ![]() Vault, and
even the
Vault, and
even the ![]() Arsenal rune from
Arsenal rune from ![]() Multishot itself.
Multishot itself.
You should add as much mobility as you can into the build, since you are going
to traverse a decently sized map. Try not to overdo it, however — by
default, all Demon Hunter mobility skills cost Discipline, and it will be easy
to go and lose track of resources and fail the 2nd Objective. While you can do the
occasional ![]() Smoke Screen
Smoke Screen ![]() Displacement, do the vast majority of your movement
via
Displacement, do the vast majority of your movement
via ![]() Vault
Vault ![]() Tumble, and convert its cost to Hatred via the Danetta set
(
Tumble, and convert its cost to Hatred via the Danetta set
(![]() Danetta's Revenge and
Danetta's Revenge and ![]() Danetta's Spite). Replenish lost hatred with
an occasional pop of the
Danetta's Spite). Replenish lost hatred with
an occasional pop of the ![]() Bat Companion active.
Bat Companion active.
Focus your attempts at the first Objective when you encounter the larger, open square areas. Ideally, you will get 2 20-man hits each, with plenty more (but harder to clump up) packs along the way if you miss one. With the great DH mobility, you have plenty of time to set up pulls, so do not go trigger-happy as soon as you encounter a pack. Note the low aggro rate of the Spiderlings, which easily lose interest in following you — set up your pulls patiently.
Build for the Unhallowed Essence Set Dungeon
| Active Skills |
|---|


|
| Passive Skills |
| Slot | Pieces | Stat Priority |
|---|---|---|
| Head |
|
|
| Shoulders |
|
|
| Torso |
|
|
| Wrists |
|
|
| Hands |
|
|
| Waist |
|
|
| Legs |
|
|
| Feet |
|
|
| Amulet |
|
|
| Ring #1 |
|
|
| Ring #2 |
|
|
| Weapon #1 |
|
|
| Weapon #2 |
|
To help you with farming the gear you need for your builds, we have two very useful guides that you can access by clicking the links below: a Salvage Guide to help you quickly check whether or not you can safely salvage a piece of gear and a Legendary Farming Guide to help you efficiently farm legendaries and set items.
| Slot | Gems |
|---|---|
| Jewelry | |
| Helm | |
| Torso and Pants | |
| Weapon |
Kanai's Cube
- Weapon Slot:
 In-geom
 - Armor Slot:
 Pride's Fall
 - Jewelry Slot:
 Elusive Ring
Changelog
- 02 Mar. 2018: Added guide.
This build is presented to you by Deadset, one of the very few professional Diablo 3 players. Deadset regularly publishes video guides on Youtube and streams on Twitch, where you can see how this and other builds play out in practice.
- Diablo 3 Season 38 Preview
- Diablo 3 Season 37 (Official Preview)
- What's Coming in Diablo 3 Season 36?
- Diablo 3 Season 35: Official Preview
- All Diablo 3 Season 34 Class Guides and Compendium
- Diablo 3 Season 34 Delayed a Week
- Season 34 Official Preview
- Diablo 3 Season 33 Unintentionally Prematurely Ended