Demon Hunter Shadow Set Dungeon Guide
Welcome to our guide to complete the Shadow's Mantle set dungeon for Demon Hunters, a required step to complete the Masters of the Universe Conquest.
Overview of The Shadow's Mantle Set Dungeon
The Shadow's Mantle Set Dungeon is located in Act V, Pandemonium Fortress Level 3. You will need to teleport to Pandemonium Fortress Level 2, go through the chain of teleports and platforms leading up to the lower level, and enter it. At the very start of this short ledge leading to Malthael, the Shadow Set Dungeon should spawn if you have the Shadow's Mantle set 6-piece bonus active.
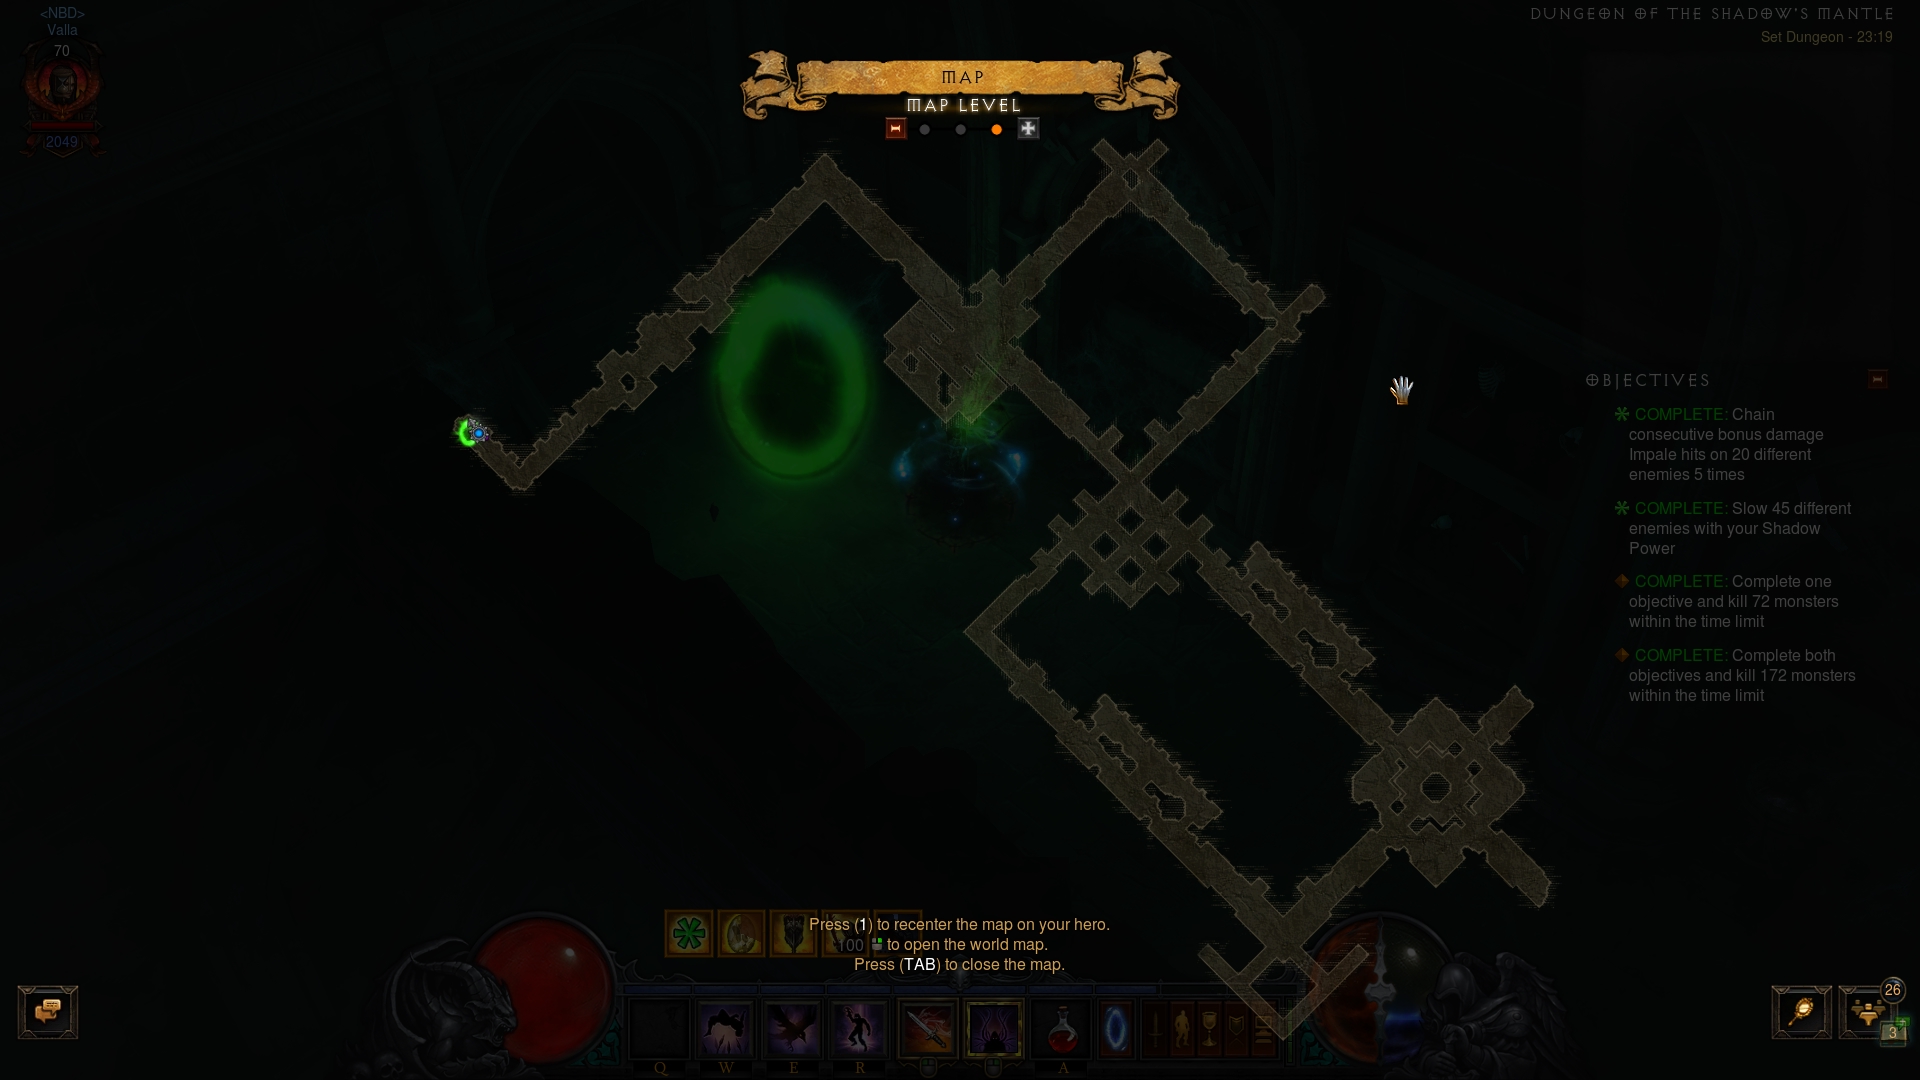
The Shadow's Mantle Set Dungeon's two unique Primary Objectives are to: 1)
Chain consecutive bonus damage ![]() Impale hits on 20 different enemies 5
times; and 2) Slow 45 different enemies with your
Impale hits on 20 different enemies 5
times; and 2) Slow 45 different enemies with your ![]() Shadow Power.
Shadow Power.
The Shadow's Mantle Set Dungeon is a crypt tileset of lengthy corridors. It basically consists of an entry corridor, followed by two interconnected shapes — a square and a rectangle. The order in which you clear them should not matter, though we generally advise you go through the (lengthier and harder) rectangle path first.
The Shadow Set Dungeon is populated by several kinds of enemies:
- Skeletal Raiders, Skeletal Sentries, Tomb Guardians and Returned — numerous, slow moving and harmless trash. They will be the primary targets for both unique Objectives of this dungeon.
- Hulking Phasebeast — be careful of the Phasebeast's short and sudden
teleports, as they might break your
 Impale chains. Try to get them point
blank as they try to melee you.
Impale chains. Try to get them point
blank as they try to melee you. - Shadow Servants — the unique enemies of the map. They resemble Act 4's
Terror Demons, but also have the Arcane and Wormhole affixes. Be careful of their
displacement mechanics, which can cause a break in the Impale chain.
Tips for The Shadow's Mantle Set Dungeon
As with most Set Dungeons, a follower is not necessary and might get in the way more than help the situation. Do not be afraid to dismiss your companion.
The most important tip for this Set Dungeon is not to go trigger happy and
take your time lining up the shots. Liberal use of point blank shots is also
encouraged, as they minimize potential mishaps and will double up for a
![]() Shadow Power activation for the other objective. Beware of the various
rubble and walls of the crypt tileset, as are deceptively low but will still
cause your
Shadow Power activation for the other objective. Beware of the various
rubble and walls of the crypt tileset, as are deceptively low but will still
cause your ![]() Impale knives to collide and fail the chain.
Impale knives to collide and fail the chain.
Try to get the ![]() Shadow Power objective out of the way early — a
third of the way into the dungeon and you should be done with it — as it
can easily be lost track of. Remember that while the passive bonuses of the skill
will be permanent with a single use due to the set bonuses, the slowing effect
only occurs on activation. Make sure to re-apply it in the thick of enemies to
get the
Shadow Power objective out of the way early — a
third of the way into the dungeon and you should be done with it — as it
can easily be lost track of. Remember that while the passive bonuses of the skill
will be permanent with a single use due to the set bonuses, the slowing effect
only occurs on activation. Make sure to re-apply it in the thick of enemies to
get the ![]() Night Bane slow kicking in.
Night Bane slow kicking in.
With all the careful sniping you have to do in this dungeon, you will have to
forego many Impale build staples — especially ![]() Holy Point Shot, whose
shotgun spread will automatically fail each attempt to start the chain. Other
less obvious exclusions are the popular
Holy Point Shot, whose
shotgun spread will automatically fail each attempt to start the chain. Other
less obvious exclusions are the popular ![]() Ricochet and
Ricochet and
![]() Overpenetration runes on
Overpenetration runes on ![]() Impale, as well as skills like
Impale, as well as skills like
![]() Vengeance and
Vengeance and ![]() Fan of Knives. On the flip side, some enemies will
help out the sniping objective — the shielded skeletons will net you two
Fan of Knives. On the flip side, some enemies will
help out the sniping objective — the shielded skeletons will net you two
![]() Impale hits.
Impale hits.
Build for The Shadow's Mantle Set Dungeon
| Active Skills |
|---|


|
| Passive Skills |
| Slot | Pieces | Stat Priority |
|---|---|---|
| Head |
|
|
| Shoulders |
|
|
| Torso |
|
|
| Wrists |
|
|
| Hands |
|
|
| Waist |
|
|
| Legs |
|
|
| Feet |
|
|
| Ring #1 |
|
|
| Ring #2 |
|
|
| Amulet |
|
|
| Weapon |
|
|
| Off-hand |
|
|
To help you with farming the gear you need for your builds, we have two very useful guides that you can access by clicking the links below: a Salvage Guide to help you quickly check whether or not you can safely salvage a piece of gear and a Legendary Farming Guide to help you efficiently farm legendaries and set items.
| Slot | Gems |
|---|---|
| Jewelry | |
| Helm | |
| Torso and Pants | |
| Weapon |
Kanai's Cube
- Weapon Slot:
 Envious Blade
 - Armor Slot:
 Pride's Fall
 - Jewelry Slot:
 Elusive Ring
Changelog
- 02 Mar. 2018: Added guide.