Witch Doctor Zunimassa Set Dungeon Guide
Welcome to our guide to complete the Zunimassa's Haunt set dungeon for Witch Doctors, a required step to complete the Masters of the Universe Conquest.
Overview of the Zunimassa's Haunt Set Dungeon
The Zunimassa's Haunt Set Dungeon is located in Act III, The Core of Arreat. Take the waypoint to that location and start making your way inward, towards the Azmodan fight. If you follow the left edge, about halfway through the area you will come across the portal to the Set Dungeon if you have the Zuni 6-piece bonus active.
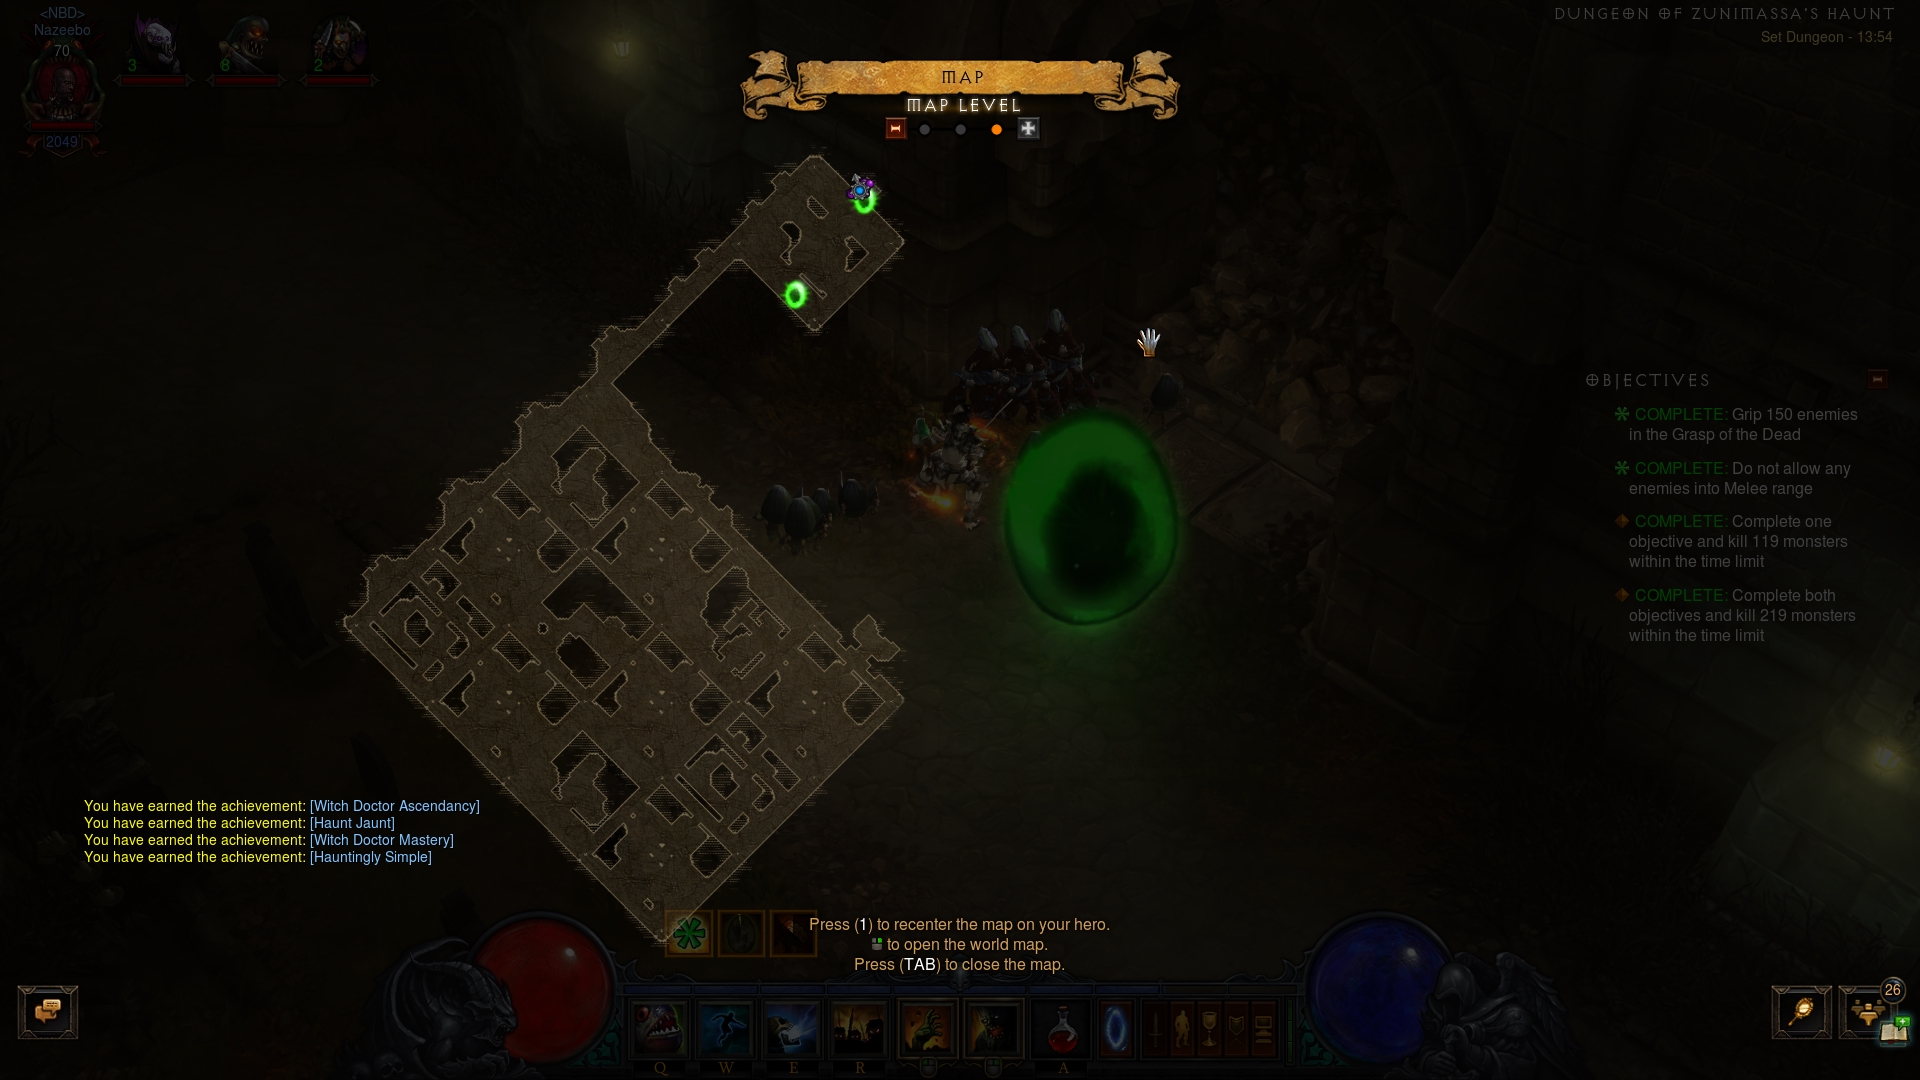
The Zunimassa's Haunt's two unique Primary Objectives are to: 1) Grip 150
enemies in the primary zone of ![]() Grasp of the Dead; and 2) Do not allow any
enemies into melee range.
Grasp of the Dead; and 2) Do not allow any
enemies into melee range.
The Zunimassa's Haunt Set Dungeon is a large, open Briarthorn Cemetery tileset, starting with one initial open area and then transitioning into a second, much larger main cemetery area. A proven attempt path is to clear the opening area thoroughly (to avoid needing to backtrack), and then clearing the major open area in systematic, zig-zagging movements — from one wall, through the middle and turning around when you hit the other wall.
The Zunimassa's Haunt Set Dungeon is populated by the following enemy types:
- Fallen Grunts, Soliders, Lunatics and Overseers — while these four types of trash each have their distinguishing characteristics, for the purposes of this Set Dungeon only their common trait will matter: their tendency to charge headfirst into melee combat. Do you best to keep them at bay with your summons and spells.
- Zunimassa's Zealot — the unique enemies of the map. They resemble Act II's Fallen Shaman trash, but also have the Molten and Electrified affixes. As long as you play out the Set Dungeon correctly, neither of its attacks will pose a threat to you.
Tips for the Zunimassa's Haunt Set Dungeon
Note that the 1st Objective does NOT require you to kill the targets with
![]() Grasp of the Dead — merely to catch them in its radius. This shifts
the emphasis on having as many
Grasp of the Dead — merely to catch them in its radius. This shifts
the emphasis on having as many ![]() Grasp of the Dead circles out in the field
as possible, pracically spamming it as soon as you see an enemy on the horizon
(before your summoned army runs over and decimates them). No other legendary
will help quite as much with this Objective as
Grasp of the Dead circles out in the field
as possible, pracically spamming it as soon as you see an enemy on the horizon
(before your summoned army runs over and decimates them). No other legendary
will help quite as much with this Objective as ![]() Wilken's Reach. With the
cooldown out of the way, select the
Wilken's Reach. With the
cooldown out of the way, select the ![]() Unbreakable Grasp rune to remove the
resource cost as well, and spam to your heart's content. Focus on getting this
Objective done ASAP, then shift into killing everything in sight.
Unbreakable Grasp rune to remove the
resource cost as well, and spam to your heart's content. Focus on getting this
Objective done ASAP, then shift into killing everything in sight.
There are no recipes of guaranteed success for the 2nd Objective, not letting
enemies into melee range. You just need to be a little more careful in how you
run the dungeon, and not let overconfidence blind you to the enemies' location.
It is more likely that you will rush into a trash pack by accident with a
supercharged ![]() Spirit Walk, than it is for the enemy to break through the
wall of your 20+ summons. Do not rush your attempt and use your mobility
cooldowns with caution.
Spirit Walk, than it is for the enemy to break through the
wall of your 20+ summons. Do not rush your attempt and use your mobility
cooldowns with caution.
Build-wise, use the potent Zuni Gargantuan build we have on the website, and
simply replace the ![]() Haunt we recommend from its speedfarming variant
with the necessary
Haunt we recommend from its speedfarming variant
with the necessary ![]() Grasp of the Dead for this dungeon.
Grasp of the Dead for this dungeon.
Build for the Zunimassa's Haunt Set Dungeon
| Active Skills |
|---|


|
| Passive Skills |
| Slot | Pieces | Stat Priority |
|---|---|---|
| Head |
|
|
| Shoulders |
|
|
| Torso |
|
|
| Wrists |
|
|
| Hands |
|
|
| Waist |
|
|
| Legs |
|
|
| Feet |
|
|
| Amulet |
|
|
| Ring #1 |
|
|
| Ring #2 |
|
|
| Weapon |
|
|
| Off-hand |
|
To help you with farming the gear you need for your builds, we have two very useful guides that you can access by clicking the links below: a Salvage Guide to help you quickly check whether or not you can safely salvage a piece of gear and a Legendary Farming Guide to help you efficiently farm legendaries and set items.
| Slot | Gems |
|---|---|
| Jewelry | |
| Helm |
|
| Torso and Pants |
|
| Weapon |
Kanai's Cube
- Weapon Slot:
 In-geom
 - Armor Slot:
 Leoric's Crown
 - Jewelry Slot:
 Ring of Royal Grandeur
Changelog
- 24 Jun. 2018: Corrected the gear table to properly include Wilken's Reach.
- 05 Mar. 2018: Added guide.
This build is presented to you by Deadset, one of the very few professional Diablo 3 players. Deadset regularly publishes video guides on Youtube and streams on Twitch, where you can see how this and other builds play out in practice.
- Diablo 3 Season 38 Preview
- Diablo 3 Season 37 (Official Preview)
- What's Coming in Diablo 3 Season 36?
- Diablo 3 Season 35: Official Preview
- All Diablo 3 Season 34 Class Guides and Compendium
- Diablo 3 Season 34 Delayed a Week
- Season 34 Official Preview
- Diablo 3 Season 33 Unintentionally Prematurely Ended