Welcome to our guide to the Vortex Pinnacle dungeon in Season 2 of the Dragonflight World of Warcraft expansion. This guide will cover everything you need to know about the dungeon, including how to get to it, its layout, the trash and boss mechanics within, and its loot.
Getting into The Vortex Pinnacle
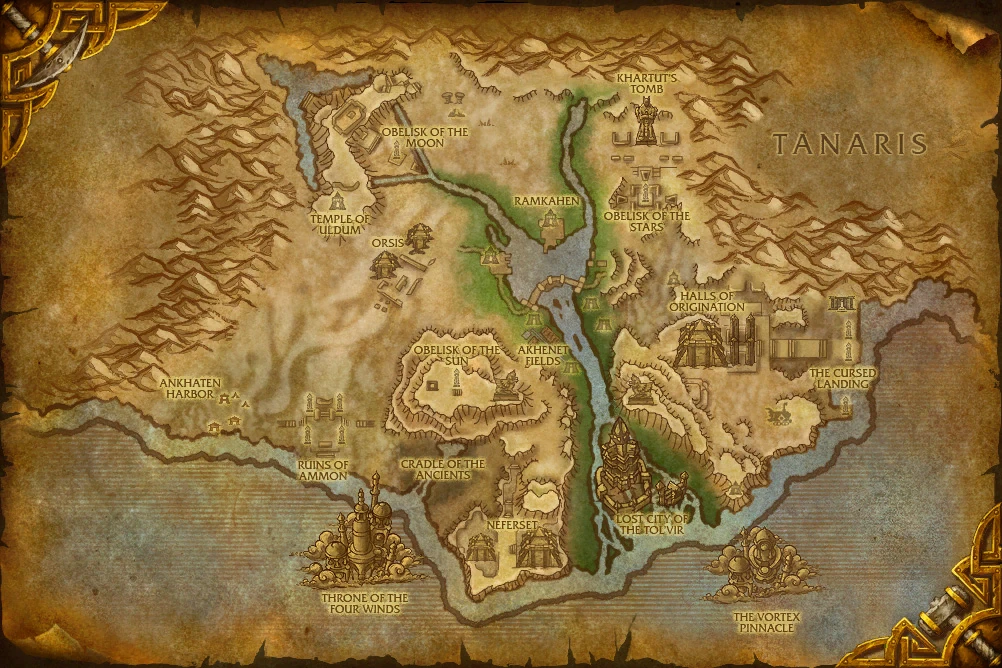
The Vortex Pinnacle is a max-level dungeon in Uldum, Kalimdor. You can quickly go there by accessing the portals in each of the capital cities (Orgimmar or Stormwind).
This guide will focus on an extensive overview of the dungeon, providing vital information to increase your chance of completing the key. We will cover all 3 boss fights supported by the most notable trash enemies in the dungeon and their important abilities. If you would like to learn about the rest of the dungeon in Season 2, please see our overviews linked below. Otherwise, without further ado, let us begin!
The Vortex Pinnacle Layout
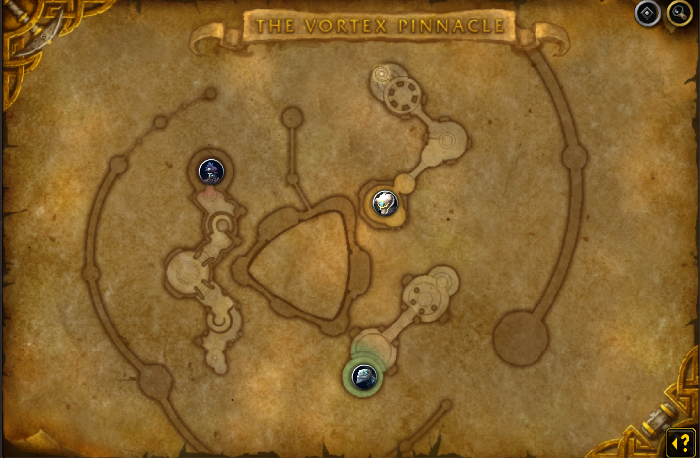
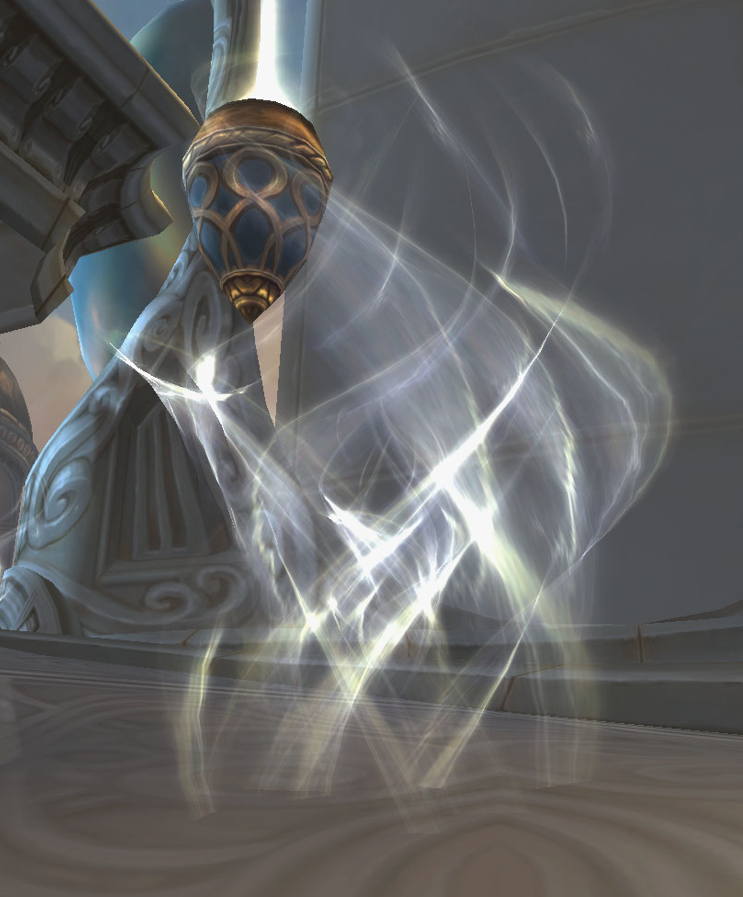
Unlock a Checkpoint Throughout the Dungeon
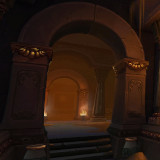
 Upon dying, you will release at the start of the dungeon. However,
2 checkpoints will unlock once you progress further into the instance.
Both of them appear as a Slipstream (see the picture); they will
be located to the left of the entrance (once you defeat Grand Vizier Ertan)
and to the right (once you defeat Altairus). This way, when you wipe or
fall off the platform, you can use one of the [ Slipstreams to quickly
move through the dungeon!
Upon dying, you will release at the start of the dungeon. However,
2 checkpoints will unlock once you progress further into the instance.
Both of them appear as a Slipstream (see the picture); they will
be located to the left of the entrance (once you defeat Grand Vizier Ertan)
and to the right (once you defeat Altairus). This way, when you wipe or
fall off the platform, you can use one of the [ Slipstreams to quickly
move through the dungeon!
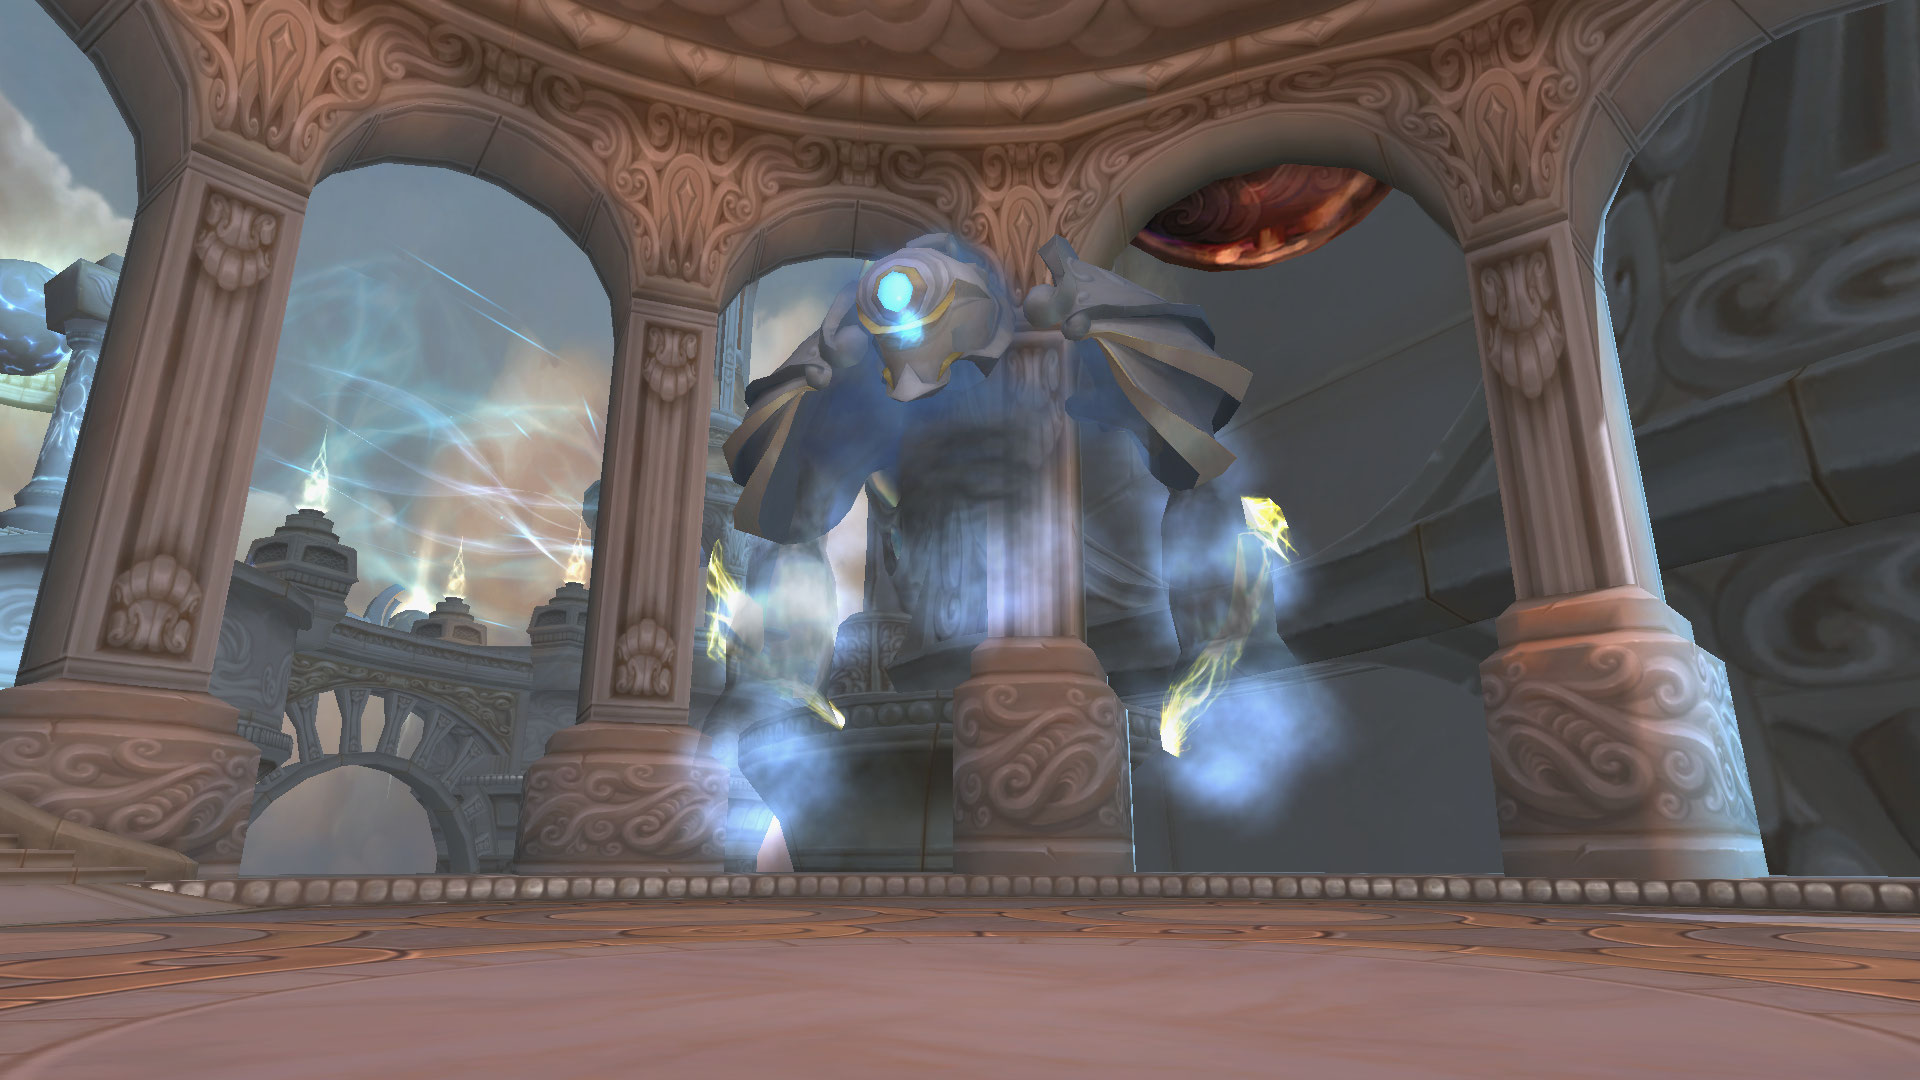
Cyclone Summit and Grand Vizier Ertan
Notable Trash Before Grand Vizier Ertan
- Watch out for Armored Mistral, this non-boss-enemy is extremely
ranged-unfriendly due to its
 Cloud Guard. In addition, all party
members should watch out for the
Cloud Guard. In addition, all party
members should watch out for the  Pressurized Blast knock-up effect.
 - Interrupt the incoming
 Wind Bolt cast from Wild Vortex.
Be mindful of the quantity of Wild Vortex in each pull! At last, the most
important cast to stop is going to be
Wind Bolt cast from Wild Vortex.
Be mindful of the quantity of Wild Vortex in each pull! At last, the most
important cast to stop is going to be  Cyclone; if this ability goes
through, you will be unable to do anything for
6 sec (you cannot dispel it).
Cyclone; if this ability goes
through, you will be unable to do anything for
6 sec (you cannot dispel it). - Watch out for Gust Soldier's
 Rushing Wind. The follow-up
damage-over-time effect can be dispelled.
Rushing Wind. The follow-up
damage-over-time effect can be dispelled. - At last, use your defensive cooldowns when Cloud Prince in casting
 Turbulence, this can become especially problematic when fighting
multiple of those mobs. Be also ready to dodge its
Turbulence, this can become especially problematic when fighting
multiple of those mobs. Be also ready to dodge its  Typhoon
ground animation at all costs.
Typhoon
ground animation at all costs.
Throughout the entire Cyclone Summit area (first part of the dungeon
until you face Grand Vizier Ertan), you will face a mob called Lurking Tempest.
You need to understand how it works since you will not only see
it multiple times, but it will also be present during the first boss encounter.
The non-boss-enemy is completely harmless, as long as you face you are facing it
(your camera must face the mob regardless of the distance between each other),
and it will stay in a ![]() Lurk. What happens if you don't face him?
The mob will continuously cast
Lurk. What happens if you don't face him?
The mob will continuously cast ![]() Lethal Current until you either
out-range him or face him.
Lethal Current until you either
out-range him or face him.
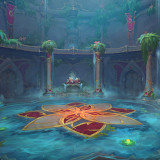
Grand Vizier Ertan Boss Guide
All Roles
- Interrupt as many
 Lightning Bolt as you can.
 - Stay inside the circle of cyclones during
 Storm's Edge
to prevent it from getting damaged.
Storm's Edge
to prevent it from getting damaged. - When the boss casts
 Summon Tempest, make sure to always
have someone from your team facing them to prevent Lurking Tempest
from casting
Summon Tempest, make sure to always
have someone from your team facing them to prevent Lurking Tempest
from casting  Lethal Current.
 - Dodge the incoming
 Cyclone Shield Fragment.
 - Avoid getting hit by any cyclones when the boss casts
 Cyclone Shield.
You will take unavoidable damage for a couple of seconds before the cyclones return
to their original positions, here will be a great place to use your defensive cooldowns.
Cyclone Shield.
You will take unavoidable damage for a couple of seconds before the cyclones return
to their original positions, here will be a great place to use your defensive cooldowns.
Tank
- Help your team by facing as many Lurking Tempest as you can.
Healer
- Be ready with your cooldowns on every Cyclone Shield Shield
cast, as your team will take unavoidable damage.
- Top-up any member damaged by Storm's Edge due to
their poor positioning.
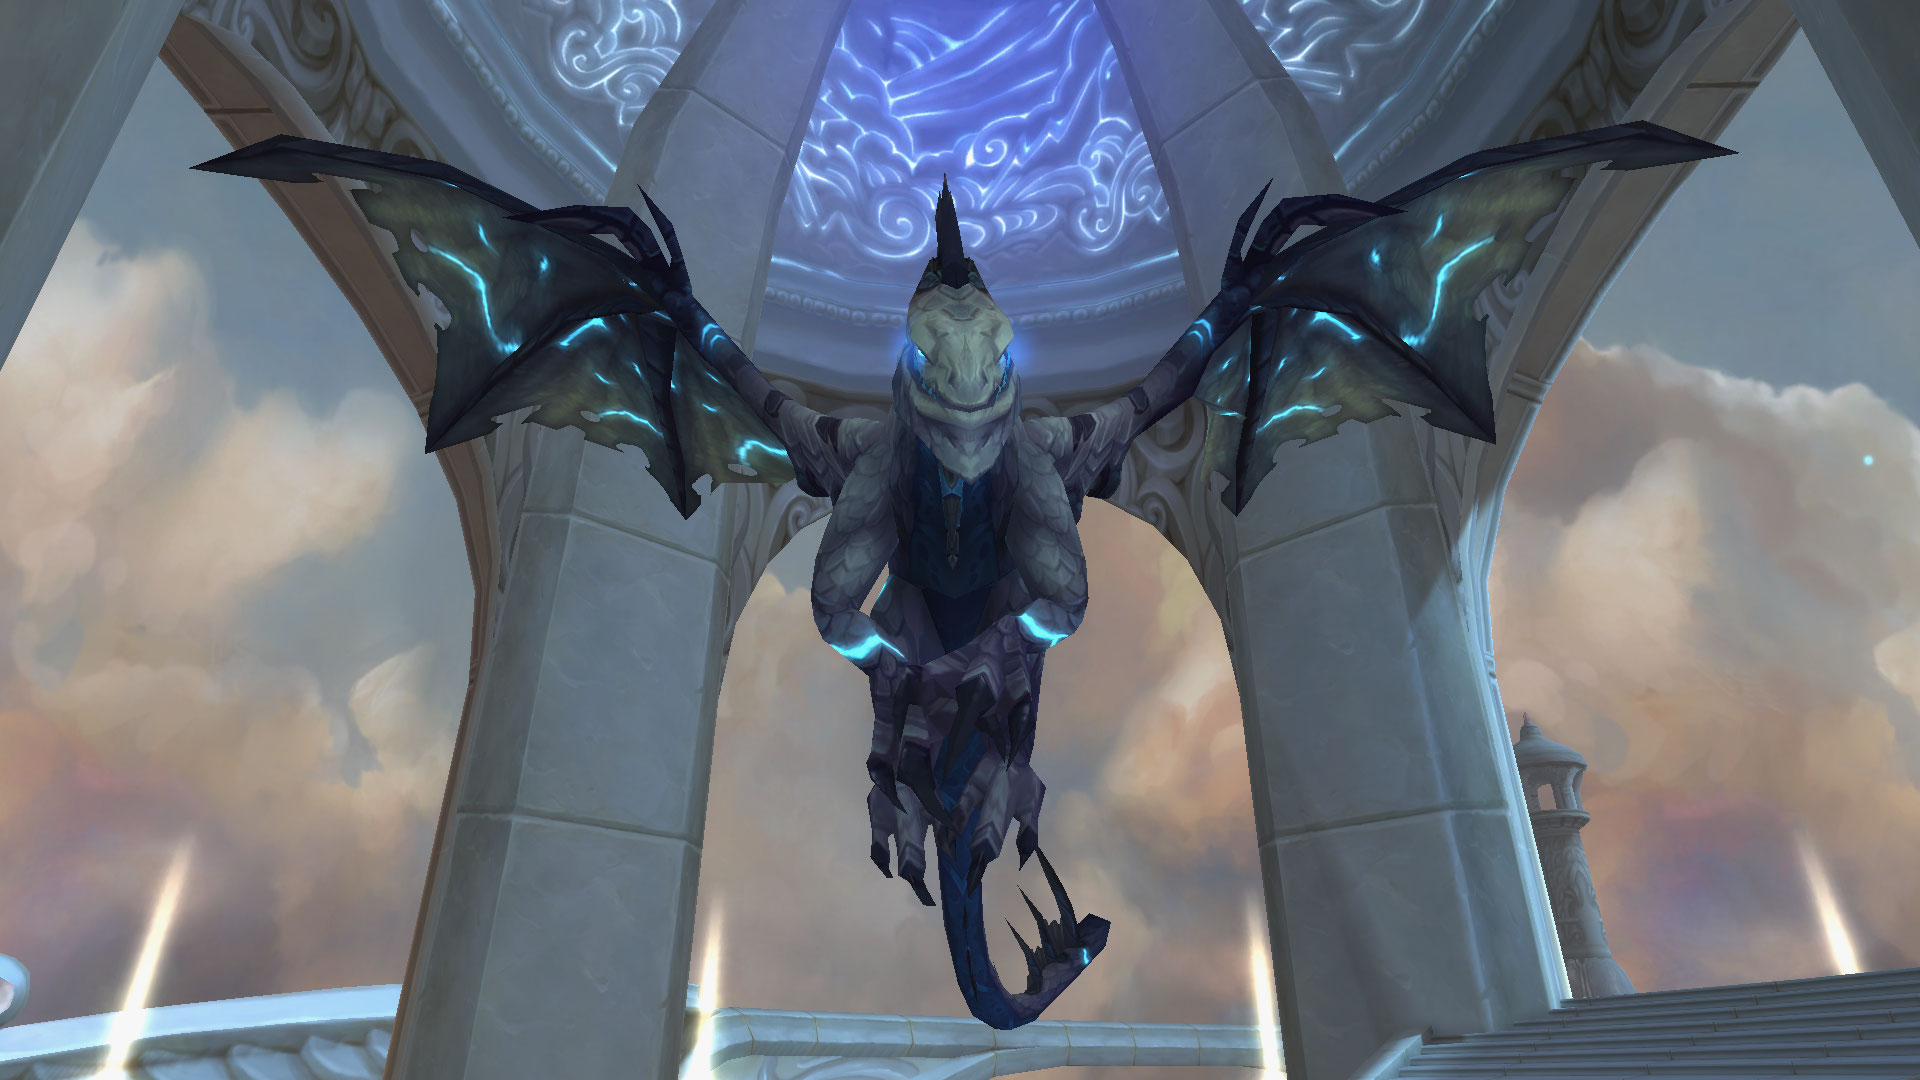
Nimbus Rise and Altairus
Notable Trash Before Altairus
Once you have defeated Grand Vizier Ertan, grab the Slipstream to the left to make your way towards the second boss of the dungeon - Altairus. Here is what you should know about all non-boss-enemies residing in this area:
- Turbulent Squall is the first trash mob you will face,
make sure to interrupt their
 Cloudburst cast and do
your best to Purge their
Cloudburst cast and do
your best to Purge their  Storm Shield.
 - Your tank must pay attention to Empyrean Assassin's
 Lethargic Poison
since the
Lethargic Poison
since the  Poison effect stacks. In addition, make sure to interrupt
their
Poison effect stacks. In addition, make sure to interrupt
their  Vapor Form, else they will take much longer to die.
 - Young Storm Dragon is the hardest trash mob in this area,
first because of its AoE damage ability -
 Icy Buffet and last
because of its lethal frontal -
Icy Buffet and last
because of its lethal frontal -  Chilling Breath. The good part here
is that you can benefit from
Chilling Breath. The good part here
is that you can benefit from  Healing Well if you stand in it!
Altairus Boss Guide
Before you begin the boss fight, you must understand how ![]() Call the Wind works.
Depending on where the winds are and your current position, you will either get
rewarded (
Call the Wind works.
Depending on where the winds are and your current position, you will either get
rewarded (![]() Upwind of Altairus) or punished (
Upwind of Altairus) or punished (![]() Downwind of Altairus).
Playing around with this boss mechanic will be the primary goal, as you
must always pay attention to the winds if you want to speed up this key.
More information, down below:
Downwind of Altairus).
Playing around with this boss mechanic will be the primary goal, as you
must always pay attention to the winds if you want to speed up this key.
More information, down below:
All Roles
- Do not ever stay outside of the boss' platform, else you will slowly die from
 Cold Front.
 - Reposition immediately when you get the
 Downwind of Altairus,
you will take damage every 0.5 sec and have your abilities & attacks
slowed by 30%.
Downwind of Altairus,
you will take damage every 0.5 sec and have your abilities & attacks
slowed by 30%. - Avoid the wide Chilling Breath frontal, it will always target
a random player!
- Dodge the ground Twisting Winds, they will be moving in slow
motion, so it's much easier to avoid them.
- Once you see
 Downburst being cast, use the nearest
Twisting Winds to knock yourself up in the air so that you can avoid
the damage and the silence effect. Immunities and abilities like
Downburst being cast, use the nearest
Twisting Winds to knock yourself up in the air so that you can avoid
the damage and the silence effect. Immunities and abilities like  Blink
work perfectly fine!
Blink
work perfectly fine!
Tank
- Tank the boss in the center so that you can reposition the boss in the
 Upwind of Altairus area more quickly.
Healer
- Top-up players that get hit by Twisting Winds.
- If any player gets caught by Downburst, use your healing
cooldowns to prevent them from dying.
- Keep in mind that throughout the whole fight, each of the party members will
take damage from
 Biting Cold.
Thunder's Rise and Asaad, Caliph of Zephyrs
Notable Trash Before Asaad, Caliph of Zephyrs
Once you have defeated Altairus, click the nearby Slipstream to move forward to the last area of the dungeon where you will be facing Asaad. Before this, however, there are several important non-boss-enemies you must face:
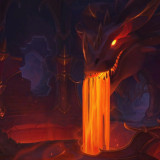
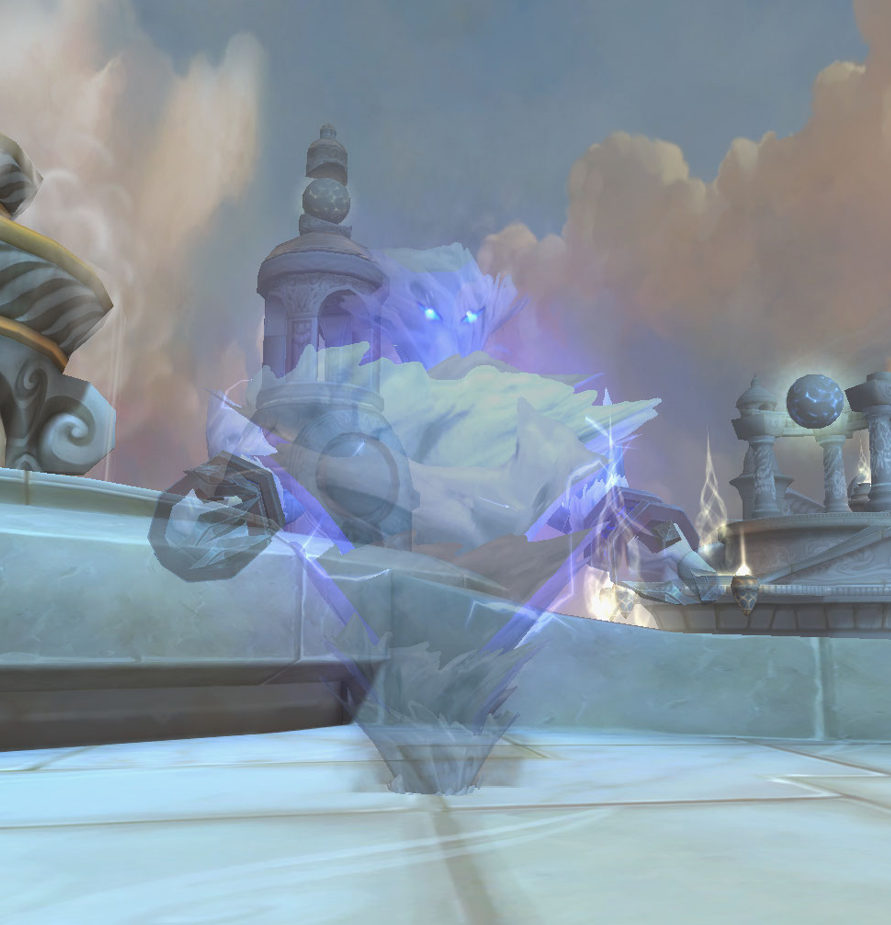
Before you make your way toward the first pack, you can walk closer to the nearby
![]() Zephyr, they will grant you a 70% movement speed and save
you a couple of seconds in this dungeon(see the screenshot below).
Zephyr, they will grant you a 70% movement speed and save
you a couple of seconds in this dungeon(see the screenshot below).
- Servant of Asaad is the easiest mob here, they will occasionally
charge you with
 Sure Strike, dealing physical damage,
be sure to be topped up.
Sure Strike, dealing physical damage,
be sure to be topped up. - Interrupt Temple Adept's
 Holy Smite and its heal effect
 Greater Heal. If you do have Purge in your group, you can remove
their
Greater Heal. If you do have Purge in your group, you can remove
their  Desperate Speed buff(they will occasionally gain it once they are in combat).
This is the trash mob you want to always focus on first!
Desperate Speed buff(they will occasionally gain it once they are in combat).
This is the trash mob you want to always focus on first! - Executor of the Caliph is one of the harder-hitting mobs, first because
of their unavoidable AoE ability -
 Crashing Stone and second
because of its uninterruptible
Crashing Stone and second
because of its uninterruptible  Rally ability, temporarily increasing
their healthy by 30%.
Rally ability, temporarily increasing
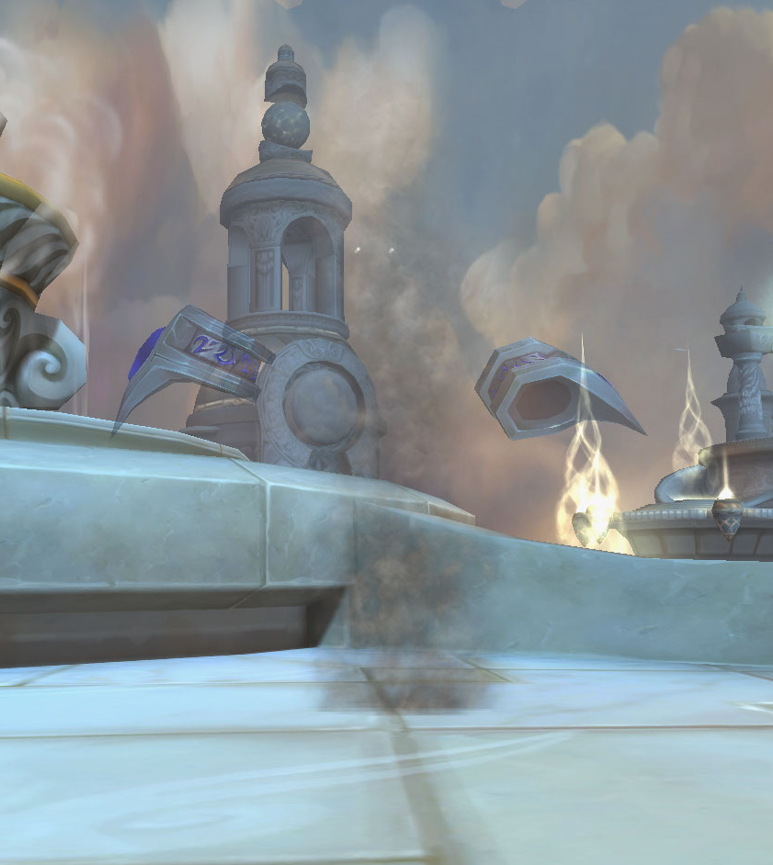
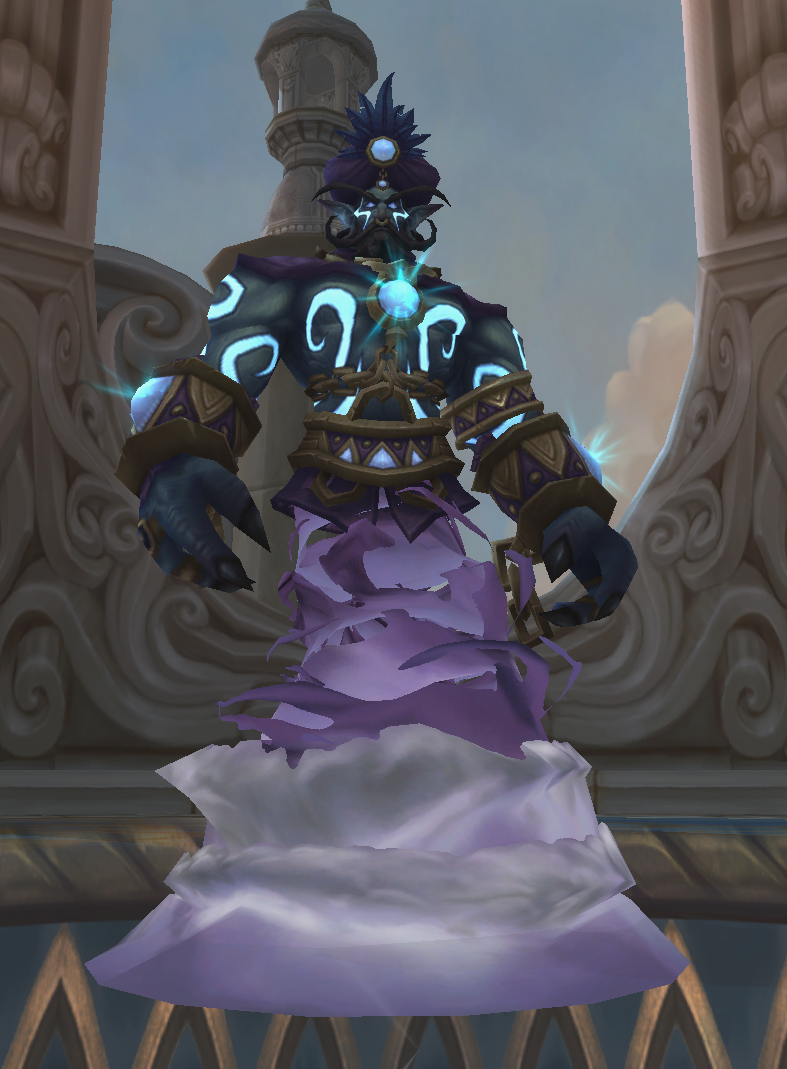
their healthy by 30%. - Minister of Air is the scariest caster mob here; luckily for you,
every one of those mobs has a nearby
 Grounding Field, which will
grant you immunity against any magical abilities like Lightning Lash
or from any other mobs (see the picture down below). The trick here is,
as soon as you see Minister of Air casting
Grounding Field, which will
grant you immunity against any magical abilities like Lightning Lash
or from any other mobs (see the picture down below). The trick here is,
as soon as you see Minister of Air casting  Overload Grounding Field,
you must quickly get away from it to avoid being damaged.
Overload Grounding Field,
you must quickly get away from it to avoid being damaged. - Use your defensive cooldowns when facing the pack of Skyfall Stars.
They don't have any other abilities except for
 Starlight.
Asaad, Caliph of Zephyrs Boss Guide
All Roles
- Get away from any nearby party members if you get targeted by
Chain Lightning.
- Immediately focus the
 Skyfall Nova when it spawns.
 - Use dispel effects, immunity, or movement-impairing removal effects
(like
 Blessing of Freedom) when the boss casts
  Static Cling.
 - Get inside the Unstable Grounding Field triangle to avoid a sure
death from Supremacy of the Storm channel cast. If you are far away,
any other magical immunity can save your life!
Tank
- Move Asaad closer to the Skyfall Nova to enable your
party to cleave both targets simultaneously.
Healer
- Dispel as many Static Cling as you can to help your team make
it to the Unstable Grounding Field.
- Make sure players are topped when they get targeted by Chain Lightning.
The Vortex Pinnacle Loot Table
Grand Vizier Ertan
| Type | Item | Stats |
|---|---|---|
| 2h Axe | Haste/Mastery | |
| Dagger | Int, Crit/Haste | |
| Plate Head | Parry/Crit | |
| Neck | Haste/Mastery | |
| Neck | Haste/Vers | |
| Neck | Crit/Mastery | |
| Mail Shoulder | Crit/Haste | |
| Cloth Waist | Mastery/Crit |
Altairus
| Type | Item | Stats |
|---|---|---|
| 1H Axe | Str, Mastery/Crit | |
| Neck | Crit/Vers | |
| Leather Shoulder | Haste/Vers | |
| Back | Mastery/Crit | |
| Mail Waist | Mastery/Crit | |
| Cloth Boots | Crit/Mastery | |
| Ring | Crit/Haste | |
| Mount |
Asaad, Caliph of Zephyrs
| Type | Item | Stats |
|---|---|---|
| Gun | Crit/Haste | |
| Plate Head | Crit/Haste | |
| Back | Parry/Mastery | |
| Back | Crit/Haste | |
| Leather Hands | Crit/Mastery | |
| Cloth Legs | Vers/Crit | |
| Plate Legs | Crit/Mastery | |
| Ring | Crit/Vers | |
| Trinket | Vers |
The Vortex Pinnacle Achievements
There are 6 total achievements to obtain in The Vortex Pinnacle:
| Achievement | Criteria |
|---|---|
| The Vortex Pinnacle | Defeat Asaad in The Vortex Pinnacle. |
| Defeat Asaad in The Vortex Pinnacle
on |
|
| Defeat Asaad in The Vortex Pinnacle on
|
|
| Complete The Vortex Pinnacle at |
|
| Collect 5 Golden Orbs in a single visit to
The Vortex Pinnacle on |
|
| Completely avoid the Static Cling effect during the
Asaad encounter in The Vortex Pinnacle on
|
Changelog
- 04 Sep. 2023: No further changes required for 10.1.7 Patch.
- 10 Jul. 2023: No further changes required for the 10.1.5 Patch.
- 09 May 2023: Page added.