

Neltharion's Lair Dungeon Guide: Location, Boss Strategies, Trash, and Loot
Welcome to our guide to the Neltharion's Lair dungeon in Season 2 of the Dragonflight World of Warcraft expansion. This guide will cover everything you need to know about the dungeon, including how to get to it, its layout, the trash and boss mechanics within, and its loot.
Getting into Neltharion's Lair
Neltharion's Lair is a max-level dungeon in Highmountain, Broken Isles. You can quickly access the portals in each capital city (Orgimmar or Stormwind).
neltharions-lairThis guide will focus on an extensive overview of the dungeon, providing vital information to increase your chance of completing the key. We will cover all 4 boss fights supported by the most notable trash enemies in the dungeon and their important abilities. If you would like to learn about the rest of the dungeon in Season 2, please see our overviews linked below. Otherwise, without further ado, let us begin!
Neltharion's Lair Layout
The Lost Road and Rokmora
Notable Trash Before Rokmora
Right when you start the dungeon, you will slide down the cave, making your way towards the first boss of the dungeon - Rokmora. Here is what you should know about the non-boss-enemies prior:
- Avoid standing in the
 Acid Splatter upon killing the
Vileshard Crawlers.
Acid Splatter upon killing the
Vileshard Crawlers. - Embershard Scorpion will mostly be a concern for your tank
due to its
 Impaling Shard, as it will also add a follow-up
 Bleed effect.
 - If you end up pulling any Rockback Gnasher, they will dangerous for your tank,
because of their
 Bone Chomp ability, dealing front-load damage and adding
an additional Bleed effect.
Bone Chomp ability, dealing front-load damage and adding
an additional Bleed effect. - Tarspitter Lurker is one of the harder mobs in this area,
first, because it will damage your party with
 Viscid Bile,
followed by spawning toxic ground pools, which you should avoid - Rancid Ooze.
If that weren't all, the mob would occasionally cast
Viscid Bile,
followed by spawning toxic ground pools, which you should avoid - Rancid Ooze.
If that weren't all, the mob would occasionally cast  Submerge, becoming
completely immune to attacks until the ability is over.
Submerge, becoming
completely immune to attacks until the ability is over. - Vileshard Hulk is the first tank buster in this dungeon,
first because of its deadly
 Piercing Shards frontal,
followed by its single-target hit ability
Piercing Shards frontal,
followed by its single-target hit ability  Fracture.
Use your party-external cooldowns to help your tank at any point!
Fracture.
Use your party-external cooldowns to help your tank at any point!
Rokmora Boss Guide
All Roles
- Rokmora will occasionally spawn Blightshard Skitter, focus them and
kill them immediately. Avoid the follow-up
 Choking Dust ground ability.
 - Make sure to have all Blightshard Skitter killed before the boss
manages to cast
 Shatter, otherwise you risk to take
additional damage from
Shatter, otherwise you risk to take
additional damage from  Rupturing Skitter. Keep in mindtha
 - When the boss casts Shatter, there will be a follow-up
effect called
 Crystalline Ground. Moving during the Crystalline Ground
will cause you to take extra damage, it is best if you stay still until the
area of effect is gone.
Crystalline Ground. Moving during the Crystalline Ground
will cause you to take extra damage, it is best if you stay still until the
area of effect is gone.
Tank
- Immediately taunt any newly-spawned Blightshard Skitters to avoid your team members dying from aggro.
- Move away from any existing Choking Dust to help your
melee players position safely.
- Aim the
 Razor Shards frontal away from your team.
Healer
- Be prepared with your healing cooldowns if there are any existing
Blightshard Skitters during the Shatter cast.
The extra damage from Rupturing Skitter will turn lethal
the higher the key goes.
Broken Teeth and Ularogg Cragshaper
Notable Trash Before Ularogg Cragshaper
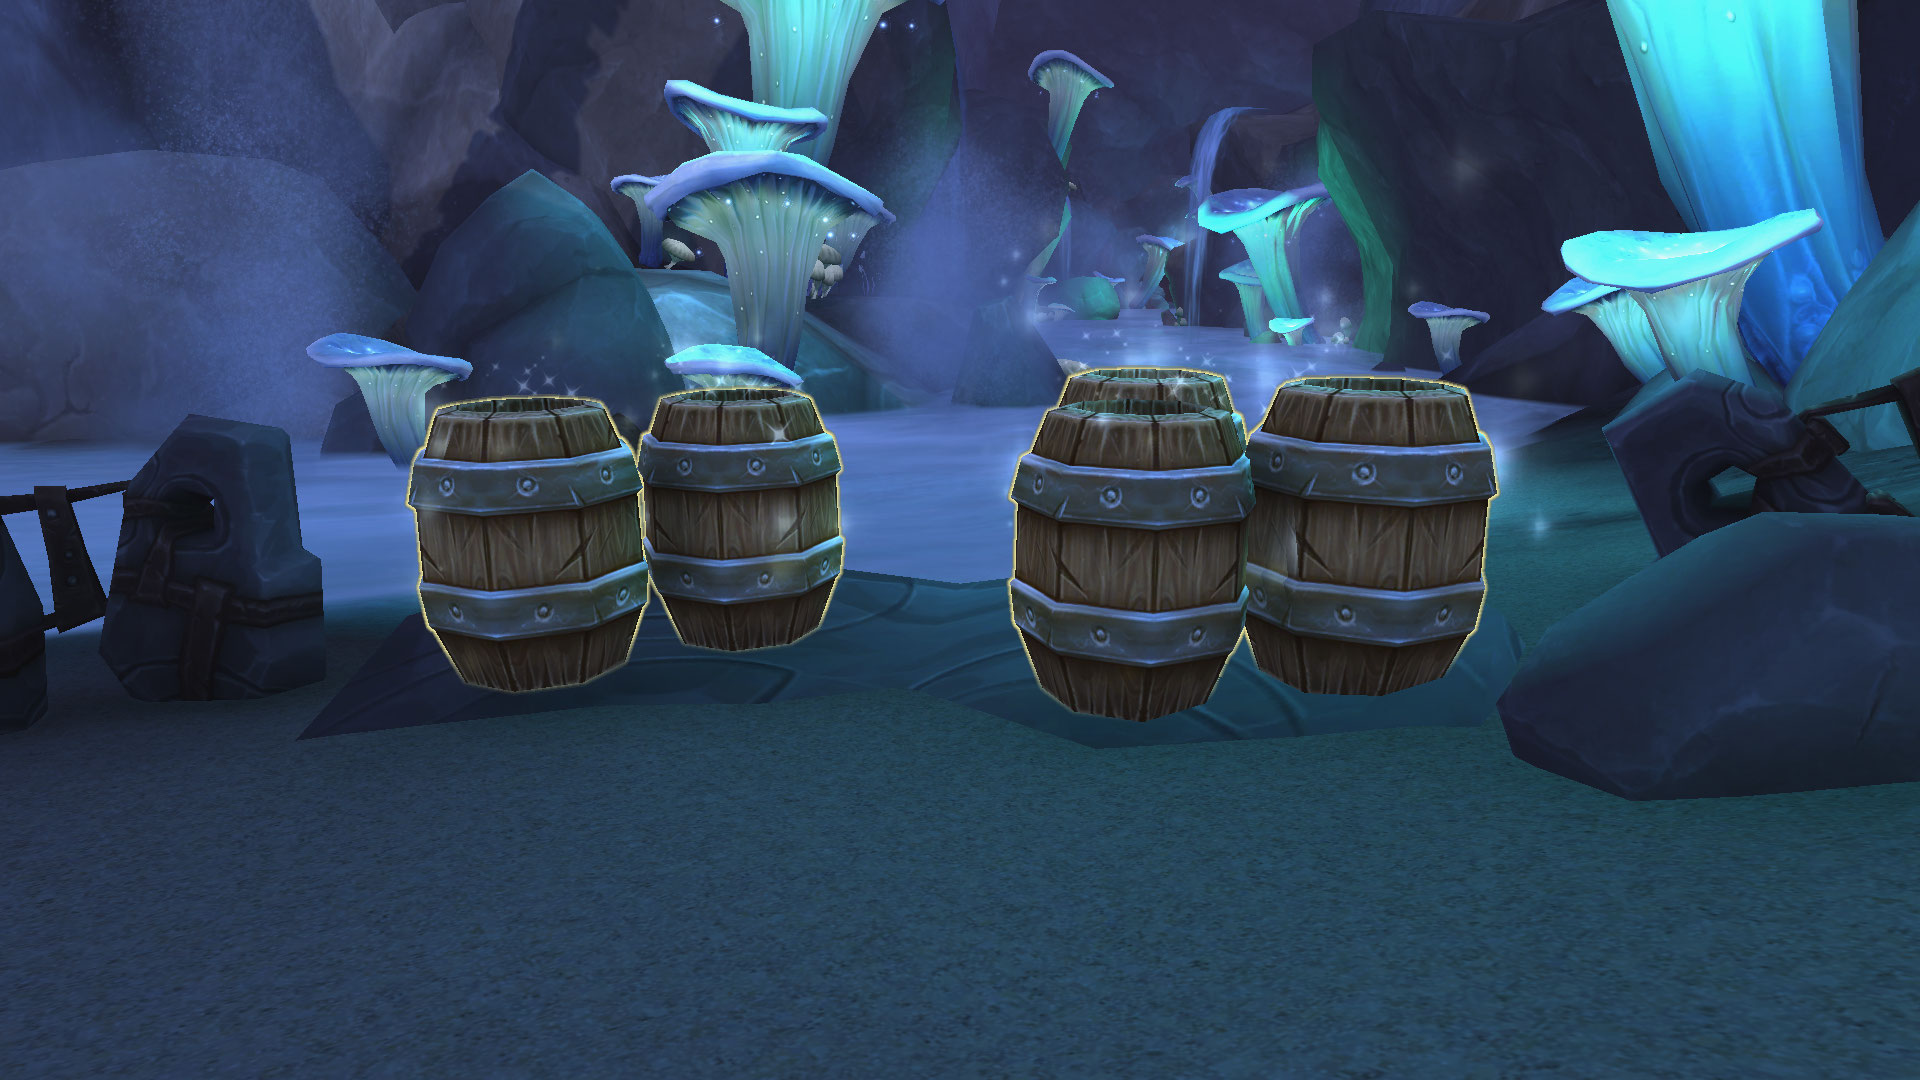 Once you defeat Rokmora, head towards the Empty Barrels
to access the next part of the dungeon - Broken Teeth, where you will
meet Ularogg Cragshaper.
Once you defeat Rokmora, head towards the Empty Barrels
to access the next part of the dungeon - Broken Teeth, where you will
meet Ularogg Cragshaper.
- Beware of Understone Drummers, if you decide to pull them, they
will spawn an extra set of mobs which will be via
 War Drums, and make
your run significantly harder, it is better to avoid them.
War Drums, and make
your run significantly harder, it is better to avoid them. - Rockbound Pelter will spam-cast
 Jagged Disc and
occasionally re-position due to its
Jagged Disc and
occasionally re-position due to its  Retreat ability.
 - Watch out when you are fighting Stoneclaw Hunters, they will
deal AoE damage around them with
 Stone Shatter. In addition,
they will have a Rockback Gnasher pet, which will cast
Bone Chomp on your tank, with a follow-up Bleed
effect. The Stoneclaw Hunter will also cast
Stone Shatter. In addition,
they will have a Rockback Gnasher pet, which will cast
Bone Chomp on your tank, with a follow-up Bleed
effect. The Stoneclaw Hunter will also cast  Kill Command
empowering further the Rockback Gnasher, enabling them to have an
extra ability called
Kill Command
empowering further the Rockback Gnasher, enabling them to have an
extra ability called  Stone Gaze.
 - Mightstone Breaker is one of the most dangerous mobs in this area,
because of their Avalanche cast, once you see it, change positions
to avoid its damage.
- Blightshard Shaper is the main focus-target in this area, interrupt
its
 Stone Bolt cast and side-step its
  Petrifying Totem
ground visual effect.
Petrifying Totem
ground visual effect.
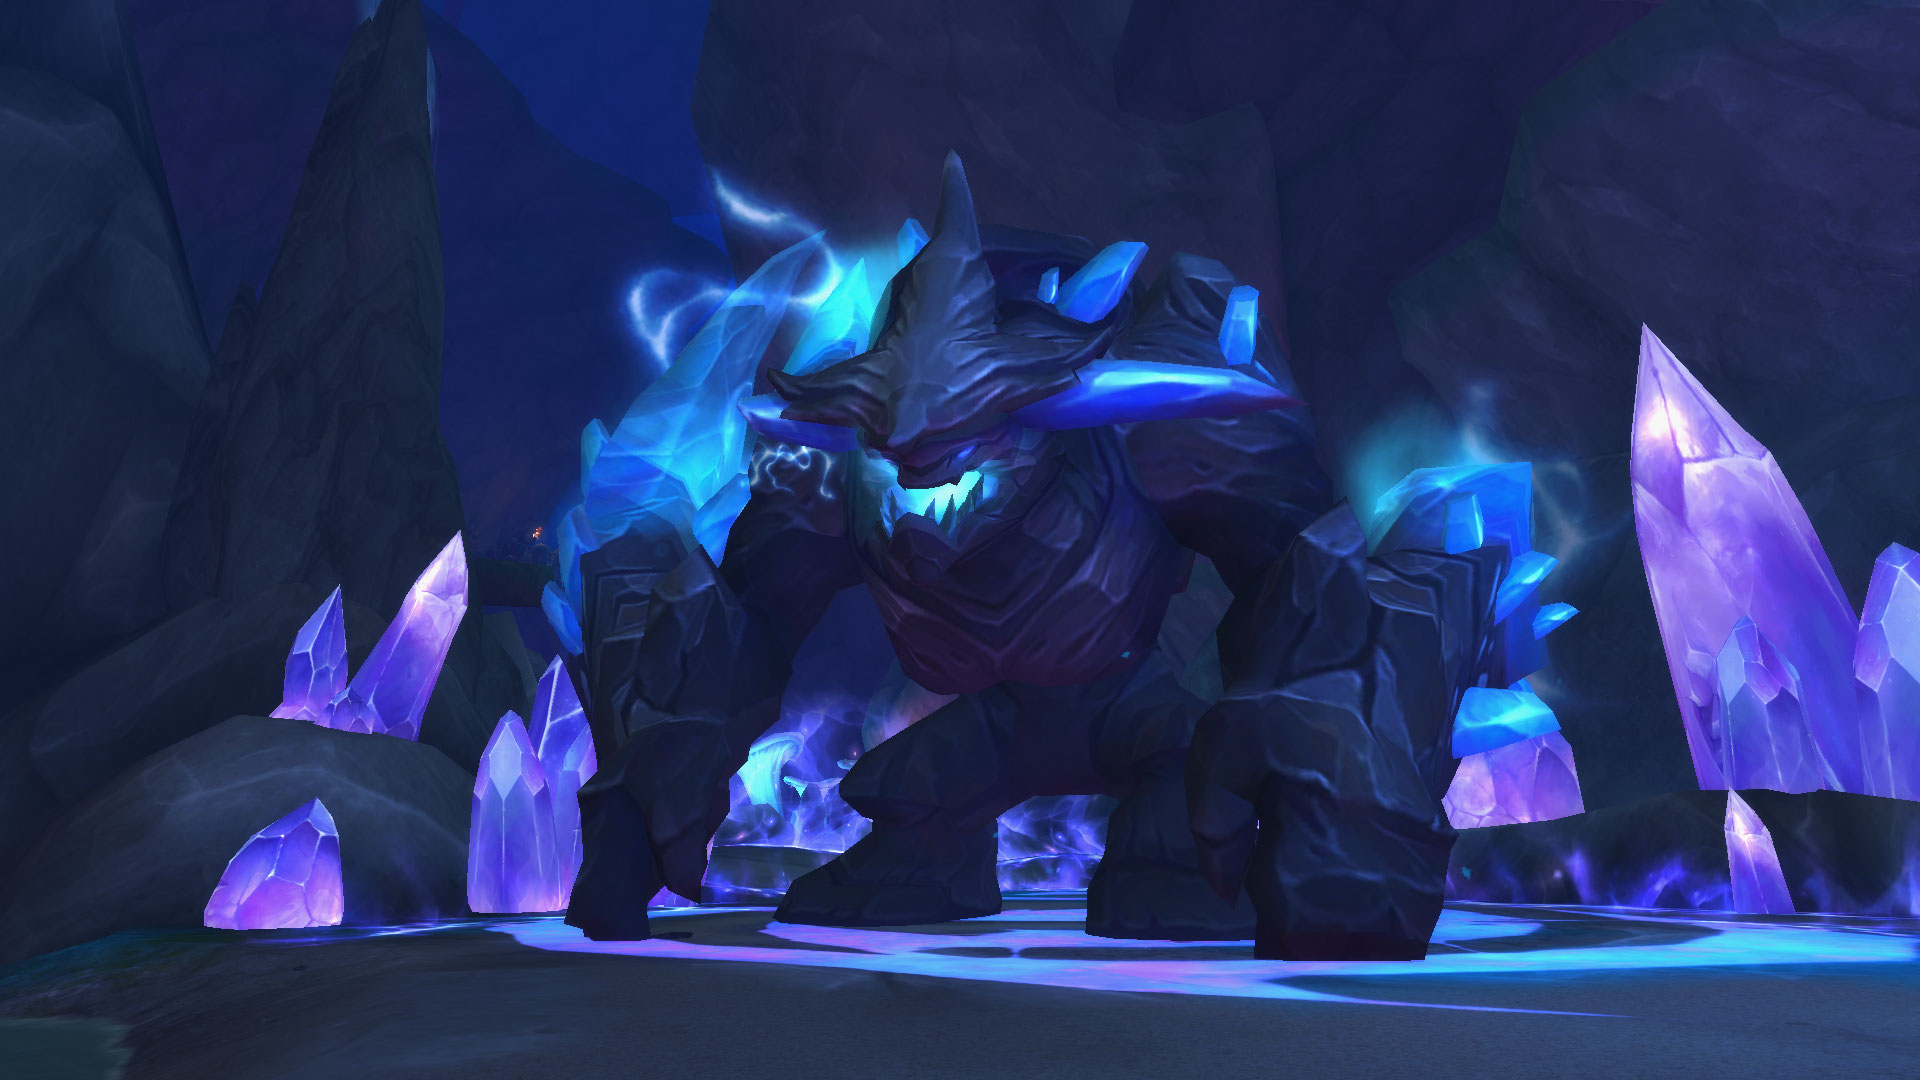
Ularogg Cragshaper Boss Guide
All Roles
- When Ularogg Cragshaper is casting
 Strike of the Mountain,
move away from the ground animation to avoid taking damage.
Strike of the Mountain,
move away from the ground animation to avoid taking damage. -
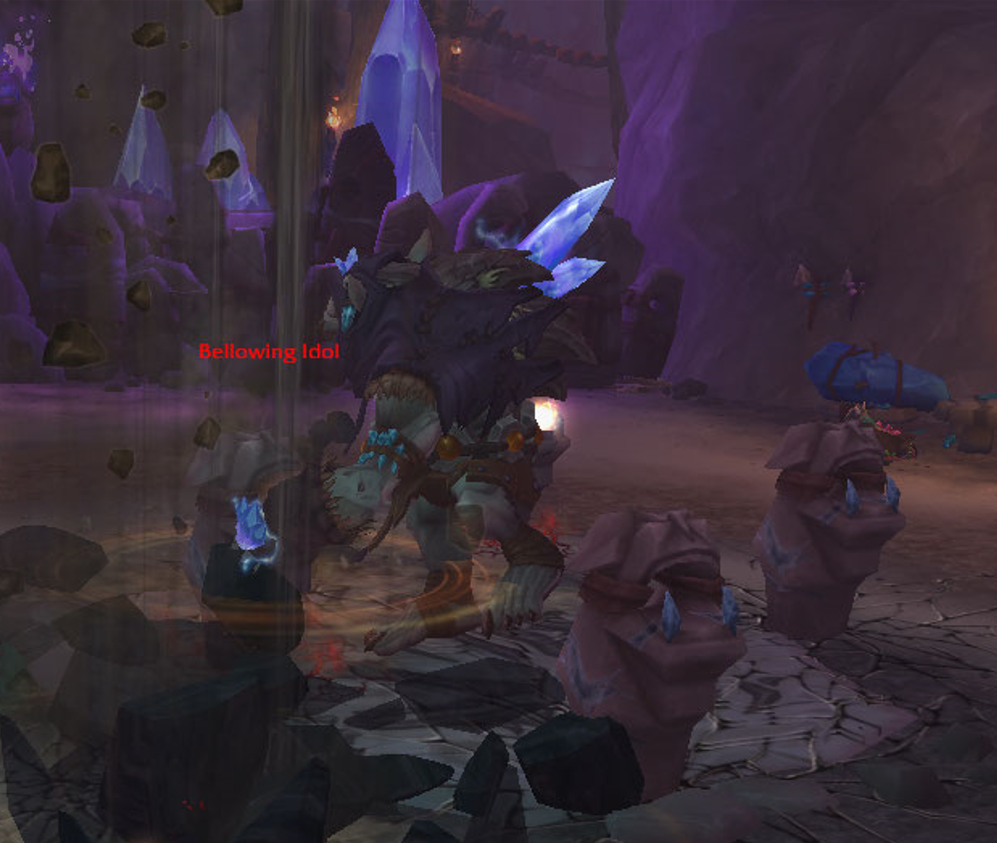 Watch out for
  Bellow of the Deeps cast, quickly focus the
Bellowing Idols to avoid taking damage from
Bellow of the Deeps cast, quickly focus the
Bellowing Idols to avoid taking damage from  Falling Debris.
 - Once the boss reaches maximum energy, he will cast Stance of the Mountain,
transforming himself to a Bellowing Idol, your goal here is to follow the
him throughout the shuffle and nuke it. If you are playing with comms, it is best to mark
it once you have identified which is the right Bellowing Idol.

Tank
- Use activate mitigation for each
 Sunder attack.
 - When Ularogg Cragshaper is casting Bellow of the Deeps,
move him closer to any existing Bellowing Idols to make it easier for your
party to cleave them.
Healer
- Keep everyone healthy on each Strike of the Mountain cast in case
either of them gets caught in it.
Path of The Worm and Naraxas
Notable Trash Before Naraxas
- Stoneclaw Grubmaster is the only new non-boss-enemy you will
face here. Watch out for his Stone Shatter AoE damage around
him and immediately focus the Tarspitter Grub when spawned with
Worm Call cast. If you let the Tarspitter Grub finish
its
 Metamorphosis (you can also stun them)cast, it will transform into
Rotdrool Grabber and gain several new abilities.
Metamorphosis (you can also stun them)cast, it will transform into
Rotdrool Grabber and gain several new abilities.
Naraxas Boss Guide
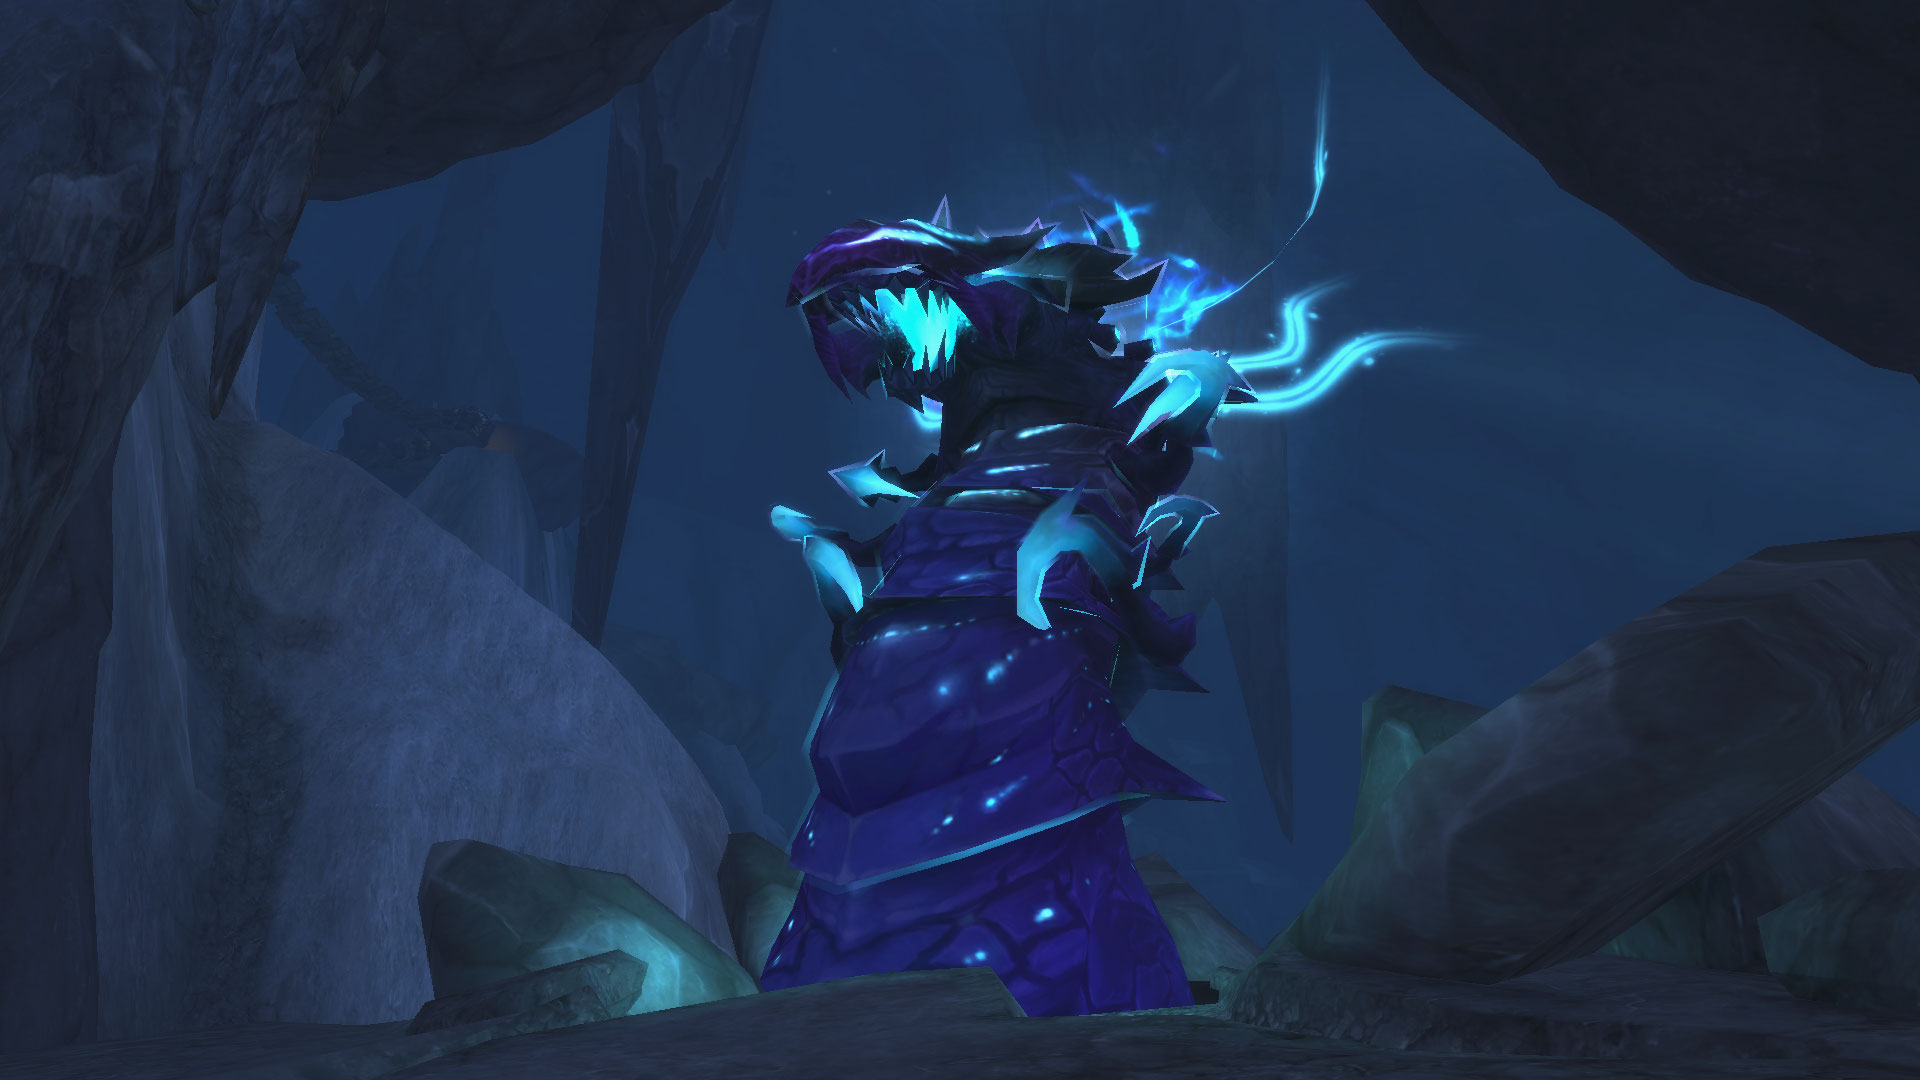
All Roles
- Avoid being hit by Rancid Maw and its follow-up ground effect.
- Melee players should be aware of the acid pools near the boss coming from
Putrid Skies.
- It is extremely important to kill the 2 Wormspeaker Devouts before
letting them get consume by Naraxas. If they do so, it will trigger a
 Fanatic's Sacrifice enabling the boss to get a
  Ravenous
each time she eats one. Remember that Wormspeaker Devout is affected by
all crowd-control effects, so this is the perfect time to use them.
Ravenous
each time she eats one. Remember that Wormspeaker Devout is affected by
all crowd-control effects, so this is the perfect time to use them. - When the boss falls under 20% health, she will become
 Frenzy,
gaining attack speed and increased physical damage, hence why you want to save your second
set of cooldowns for this time!
Frenzy,
gaining attack speed and increased physical damage, hence why you want to save your second
set of cooldowns for this time!
Tank
- When the boss casts
 Spiked Tongue run away to avoid being
Devouring. If that happens, you will likely die since the healer
can't assist you; this will be the time to use your bonus movement speed abilities.
During this time, you can use your defensive cooldowns to reduce the incoming damage
of the "dragging" channel. You might want to optimize the Rancid Maw
and use the pools while being dragged; just a heads up!
Spiked Tongue run away to avoid being
Devouring. If that happens, you will likely die since the healer
can't assist you; this will be the time to use your bonus movement speed abilities.
During this time, you can use your defensive cooldowns to reduce the incoming damage
of the "dragging" channel. You might want to optimize the Rancid Maw
and use the pools while being dragged; just a heads up! - Be ready with active mitigation when the boss has Frenzy effect.
Healer
- Watch out for
 Toxic Retch cast. It will be applied to all 5
party members and can be
Toxic Retch cast. It will be applied to all 5
party members and can be  Poison dispel, if you have one.
 - Spot-heal your tank during Spiked Tongue "phase".
- Heads up that throughout the boss fight the Angry Crowd will throw
 Hurling Rocks onto your party members, which will overlap with
Toxic Retch Poison debuff. Always keep your party healthy
to avoid having random deaths. Coordinate defensive cooldowns to best cover the
difficult period of the boss fight.
Hurling Rocks onto your party members, which will overlap with
Toxic Retch Poison debuff. Always keep your party healthy
to avoid having random deaths. Coordinate defensive cooldowns to best cover the
difficult period of the boss fight.
The Dragon's Spine and Dargrul the Underking
Notable Trash Before Dargrul the Underking
Once you have defeated Naraxas, jump down the cave underneath the corpse of the boss to access the last part of the dungeon, where you will face Dargrul the Underking. Here is what you should know about each non-boss-enemy in this area:
- Understone Demolisher does nothing but auto-attacks to your tank. Still, once it finishes its
 Charskin cast, it will randomly fixate people
with
Charskin cast, it will randomly fixate people
with  Burning Hatred and kite it away if you get targeted! Remember
that you can stun/disturb the Charskin cast to delay the effect.
Burning Hatred and kite it away if you get targeted! Remember
that you can stun/disturb the Charskin cast to delay the effect. - Rockbound Trapper is a heavy tank-hitting mob, first because of their
Jagged Disc, and second because of its
 Bound cast.
 - Emberhusk Dominator is the most dangerous mob in this area. Your tank
must pay attention to
 Ember Swipe and position the mob so
it doesn't cleave any melee player. In addition, they will occasionally cast
Frenzy, increasing further the damage they deal; if you do have
an Enrage dispel, here is the perfect time to use it. At last, your
healer must pay attention to everyone's health because of the Crystal Spike
instant casts.
Ember Swipe and position the mob so
it doesn't cleave any melee player. In addition, they will occasionally cast
Frenzy, increasing further the damage they deal; if you do have
an Enrage dispel, here is the perfect time to use it. At last, your
healer must pay attention to everyone's health because of the Crystal Spike
instant casts.
Dargrul the Underking Boss Guide

All Roles
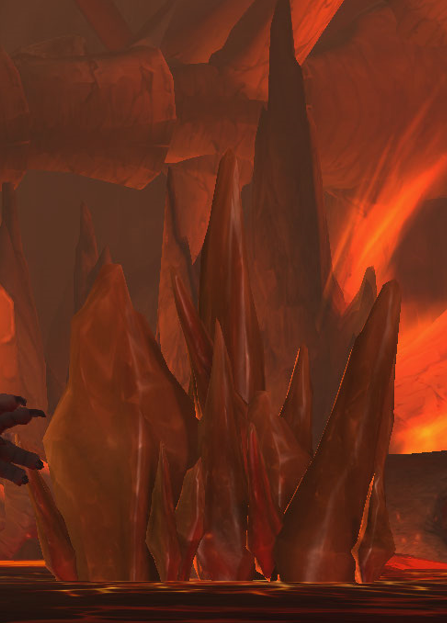
- Avoid the initial ground effect from
 Crystal Spikes. Later
in the fight, you can use them for cover against
Crystal Spikes. Later
in the fight, you can use them for cover against  Magma Wave.
 -
 When the boss casts
  Magma Sculptor, it will spawn a Molten Charskin
add. The ad will fixate ( Burning Hatred) a random player from your
party chasing them until defeated. To make it easier, kite the add towards any existing
Crystal Spikes so he can get a stunned -
Magma Sculptor, it will spawn a Molten Charskin
add. The ad will fixate ( Burning Hatred) a random player from your
party chasing them until defeated. To make it easier, kite the add towards any existing
Crystal Spikes so he can get a stunned -  Crystal Cracked
and increase its damage taken by 100% at which time you should switch and kill it.
At last, the longer the add lives, the more stacks of
Crystal Cracked
and increase its damage taken by 100% at which time you should switch and kill it.
At last, the longer the add lives, the more stacks of  Rising Inferno it will
receive and the more damage you will take from Magma Breaker, which makes it
a top priority to deal with the add and stun it with Crystal Spikes
as quickly as you can.
Rising Inferno it will
receive and the more damage you will take from Magma Breaker, which makes it
a top priority to deal with the add and stun it with Crystal Spikes
as quickly as you can. - Once the boss reaches 100 energy, it will cast Magma Wave; it is
crucial to see cover behind Crystal Spikes before the cast is
finished to reduce the incoming damage. This is the perfect time to use your defensive
cooldowns. Watch out for the following-up
 Lava Geyser effect after
Magma Wave and the giant magma pool on the ground.
Lava Geyser effect after
Magma Wave and the giant magma pool on the ground.

Tank
- Watch out for
 Molten Crash; here is a good place to use your
active mitigation.
Molten Crash; here is a good place to use your
active mitigation. - Beware that the more you move the boss, the more damage your team will take
from Magma Breaker.
- Aim the Landslide frontal away from any players or active
Crystal Spikes.
Healer
- Keep everyone healthy during Molten Charskin as your whole party will
take damage from Magma Breaker each time it steps.
- Watch out for your tank's health during Landslide & Molten Crash
combo.
- Use your major cooldowns during the Magma Wave channel to avoid
any party member from dying.
Neltharion's Lair Loot Table
Rokmora
| Type | Item | Stats |
|---|---|---|
| Neck | Crit/Vers | |
| Mail Shoulder | Haste/Crit | |
| Leather Chest | Crit/Vers | |
| Plate Wrist | Crit/Vers | |
| Cloth Wrist | Haste/Crit | |
| Mail Waist | Haste/Mastery | |
| Plate Waist | Haste/Crit | |
| Cloth Legs | Mastery/Haste | |
| Leather Boots | Haste/Crit | |
| Trinket | Agi/Str |
Ularogg Cragshaper
| Type | Item | Stats |
|---|---|---|
| Cloth Head | Haste/Crit | |
| Leather Head | Haste/Vers | |
| Cloth Shoulder | Haste/Vers | |
| Mail Chest | Crit/Haste | |
| Mail Wrist | Haste/Vers | |
| Leather Hands | Haste/Crit | |
| Plate Legs | Haste/Mastery | |
| Plate Boots | Haste/Vers | |
| Ring | Haste/Mastery | |
| Trinket | Vers |
Naraxas
| Type | Item | Stats |
|---|---|---|
| Plate Head | Mastery/Haste | |
| Back | Mastery/Crit | |
| Leather Wrist | Mastery/Haste | |
| Mail Hands | Mastery/Crit | |
| Cloth Boots | Mastery/Vers | |
| Ring | Crit/Vers | |
| Trinket | Mastery |
Dargrul the Underking
| Type | Item | Stats |
|---|---|---|
| Mail Head | Haste/Vers | |
| Neck | Crit/Mastery | |
| Leather Shoulder | Haste/Vers | |
| Plate Shoulder | Mastery/Crit | |
| Plate Chest | Haste/Vers | |
| Cloth Chest | Crit/Mastery | |
| Cloth Hands | Haste/Mastery | |
| Plate Hands | Vers/Haste | |
| Cloth Waist | Haste/Vers | |
| Leather Waist | Crit/Mastery | |
| Leather Legs | Crit/Mastery | |
| Mail Legs | Crit/Mastery | |
| Mail Feet | Haste/Vers | |
| Trinket | Crit |
Neltharion's Lair Achievements
There are 7 total achievements to obtain in Neltharion's Lair:
| Achievement | Criteria |
|---|---|
| Neltharion's Lair | Defeat Dargrul in Neltharion's Lair. |
| Defeat Dargrul in Neltharion's Lair on
|
|
| Defeat Dargrul in Neltharion's Lair on
|
|
| Defeat Dargrul in Neltharion's Lair on
|
|
| Complete Neltharion's Lair at |
|
| Use the Ketchum Tablet to acquire imprints of all the named snails within Neltharion's Lair. | |
| Defeat Naraxas after she gains 6 stacks of
|
Changelog
- 04 Sep. 2023: No further changes required for 10.1.7 Patch.
- 10 Jul. 2023: No further changes required for the 10.1.5 Patch.
- 09 May 2023: Page added.