The Soulforges is one of the Cell Blocks of Torghast. Its difficulty is mostly linked to your ability to quickly interrupt a few key abilities, especially Inner Flames, which can quickly turn a promising pull into a wipe. It is also a special Block in that its lost souls can be used for more than the basic 1% primary stat increase, as explained below.
In this guide, we will explain the mechanics of The Soulforges,
its enemies and torments, detail which special Anima Powers you can get from
![]() Ravenous Anima Cell here and finish by explaining the bosses you can find
on this Cell Block.
Ravenous Anima Cell here and finish by explaining the bosses you can find
on this Cell Block.
The Soulforges
The Soulforges are a fire-based Cell Block with many enemies and environmental
hazards that deal fire damage. Expect to be taking a lot of Fire magic damage
before you are done, but, fortunately, there is also an easy way to reduce this damage
once you can buy a ![]() Ravenous Anima Cell, as
explained below.
Ravenous Anima Cell, as
explained below.
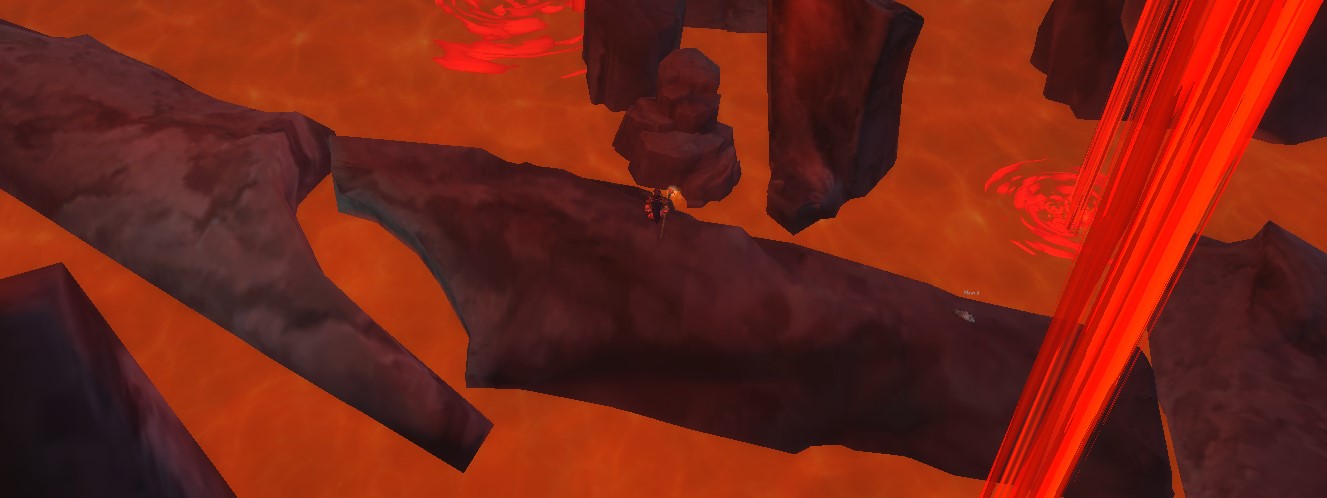
Layout wise, Soulforges floors vary between long gauntlets and short, magma and fire filled chambers. Notably, the rock bridge surrounded by magma has a semi-hidden side path that you can jump to for extra jars to smash for Phantasma and maybe even an Anima Power orb!
Another thing of note is that the souls you can find in this Cell Block often offer a second option besides just gaining 1% primary stat: you may opt to gain 10% critical damage and healing and 10% haste for 3 minutes, which stack and refresh their duration when you absorb a new soul.
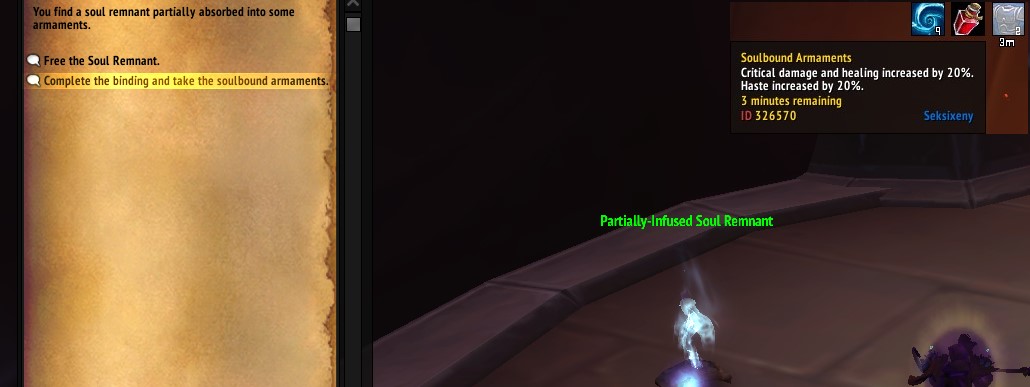
If you are quick enough to reach the next soul before the buff expires, the stacked buffs can become incredibly powerful, but their timed nature will place time pressure you might not want on your run. Decide accordingly.
The Soulforges Notable Enemies
Mawsworn Flametender are the most dangerous enemy in The Soulforges. Their Inner Flames cast is a channel that heals all enemies near the Flametender (and himself) for 10% health per second and also applies a stacking 5% damage buff every second. Needless to say, this is a critical ability to interrupt, be especially careful when fighting multiple of these enemies at once, as you can easily run out of ways to interrupt, resulting in death.
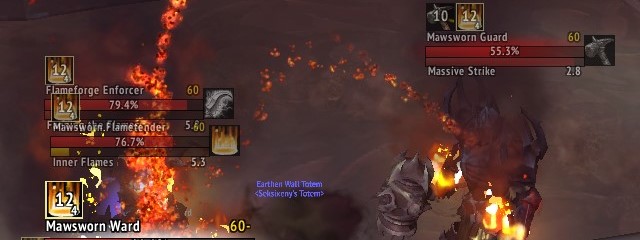
Mawsworn Guards cast Accursed Strength (50% damage self-buff) followed by Massive Strike (huge damage ground effect), which is a deadly combo. Make sure to be ready to dodge when fighting these!
Forge Keeper use quick, powerful fire spells that are difficult to keep under control. If you have to fight several of these at the same time, make sure to line of sight their casts around a corner, as grouping them makes them much easier to kill and interrupt.
Some of the enemies found in The Soulforges also appear in other Cell Blocks, such as the Mawsworn Guards.
Using Ravenous Anima Cell in The Soulforges
Using the ![]() Ravenous Anima Cell wisely is one of the keys to winning.
Different Cell Block archetypes have different threats and enemies you can convert
into useful powers. You can find the following powers from transforming enemies
in The Soulforges:
Ravenous Anima Cell wisely is one of the keys to winning.
Different Cell Block archetypes have different threats and enemies you can convert
into useful powers. You can find the following powers from transforming enemies
in The Soulforges:
| Enemy | Power | Explanation |
|---|---|---|
| Caster enemies | This power is amazing, as it will reduce your damage intake from most dangerous attacks on this Cell Block by a whopping 65%. Unless you have absolutely no trouble with surviving, taking this power will always be worth it when running Soulforges. | |
| Broker Vendor | By using the Anima Cell on the Broker vendor, you will gain a significant amount of Phantasma, which more than covers its cost, but you will also be missing out on extra powers until the final boss, which is a significant downside. | |
| Lost Dredger | Treasure Room | By waiting until the Lost Dredger starts casting his escape portal to use
the |
| Mawsworn Guard | You can open the cages opened by this power manually, causing it to be mostly useless. | |
| Mawrats | Using this item allows you to turn into a Mawrat, increasing your speed by 100%. Taking or dealing any damage removes the buff, but you can reuse it after leaving combat. Due to its lack of combat effectiveness, this power is not recommended. |
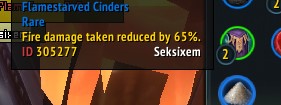
Out of these, we recommend saving your Cell for the ![]() Flamestarved Cinders,
which is a great survivability boost, and generally well worth the Phantasma.
Flamestarved Cinders,
which is a great survivability boost, and generally well worth the Phantasma.
The Soulforges Bosses
The final boss of your run will be the hardest challenge and the most likely spot at which you can actually get stuck and have to reset. Knowing about the boss abilities and some tips on how to deal with them before pulling is often the difference between victory and defeat!
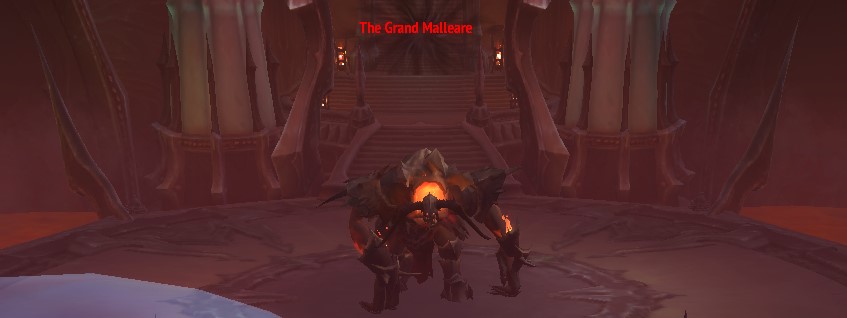
Learn more about the bosses of Torghast on our specialized guide below:
Changelog
- 26 Jun. 2021: Removed mention to the Cell Block Torment, as it has been removed with 9.1.
- 03 Feb. 2021: Guide added.