

Strategy Guide for Torghast Layer Bosses
The bosses at the end of each Torghast Cell Block are usually the run breakers, as they sport vastly more health, more damage, and the most dangerous abilities you will typically find within. To make things worse, they will regenerate full health if you wipe, but your own cooldowns will not instantly recover.
Thus, learning about boss abilities and how to deal with them before pulling is often the difference between victory and defeat, especially in the Twisting Corridors due to the extra scaling and higher time investment required: you do not want to ever wipe on floor 18!.
In this guide, we will present each boss and their preferred Cell Block, explain their abilities, and give tips on how to deal with each.
Shadowlands Torghast Bosses
At the end of each Cell Block, or in Floor 6, 12, and 18 in Twisting Corridors, you will be facing your toughest challenge yet: a single boss stands in the way, who is much tougher than any other enemies, elites, or floor bosses you have faced yet!
Dying on this boss implies having to try to kill him again from scratch, possibly
without the cooldowns or consumables you used on your first attempt, so make sure
to make the first try count! Buy and use ![]() Fleeting Frenzy Potion, if available,
as it has the highest impact of all Phantasma purchasable items.
Fleeting Frenzy Potion, if available,
as it has the highest impact of all Phantasma purchasable items.
![]() Blinding Smoke Capsules are also great consumables for hard bosses, as
they will stop most of the boss attacks for a large duration, making survival much,
much easier.
Blinding Smoke Capsules are also great consumables for hard bosses, as
they will stop most of the boss attacks for a large duration, making survival much,
much easier.
While the bosses you get are random, each Cell Block layout seems to have higher odds of getting some of the bosses, which will be listed below, alongside their main abilities and tips on how to deal with them.
The three new Adamant Vaults bosses are explained in their own dedicated guide, linked below.
Fracture Chambers Bosses
Gherus the Chained
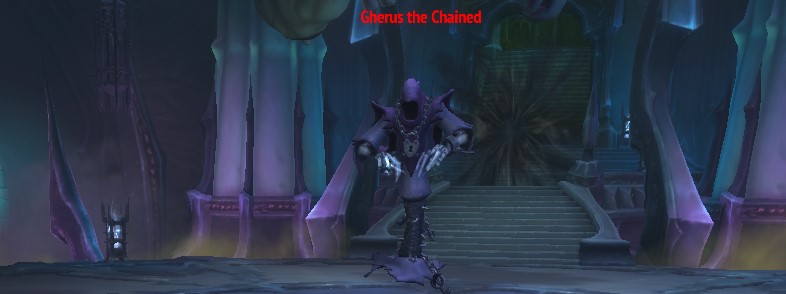
Gherus the Chained is a very easy boss with two low impact abilities and one high impact one that he does not cast often:
- Deafening Howl is a cast that deals some damage and interrupts spells if they are still being cast when it goes off. Interrupt it or make sure you are not casting at the wrong time!
- Incorporeal is yet another cast that makes the boss take next to no damage for a little while if allowed to be cast, but the boss will not be able to attack either during this time. Either interrupt or purge this cast or use this time to self-heal and prepare crowd control for when the boss is attackable again.
- Devour Soul is the most dangerous ability in this fight by far. It will reduce your health, damage, and healing by 3%, and its effect stacks, creating significant pressure to kill the boss quickly before he can cast it too many times.
Overall, this is a pure DPS race. Kill the boss as quickly as possible, while interrupting as many of his casts as you can.
Kosarus the Fallen
Kosarus the Fallen can be a tough boss and is nearly impossible to kill if you fail his main mechanic. Read on to understand how to make quick work of him!
- Predator's Gaze causes your movement to enrage the boss, increasing his damage and haste, and it also stacks. Move as little as possible to avoid giving him many stacks.
- Collapse creates multiple ground swirls around the room which cause high damage when they explode. Unless you have very powerful defensives available, this will naturally cause you to move, enraging the boss in the process.
Predator's Gaze needs you to stop moving, while Collapse requires you to move, causing a dilemma, and easily leading to the boss getting too many enrage stacks.
The best way to deal with this is to use teleportation abilities,
such as ![]() Door of Shadows to get out of the way without giving him
any stacks in the process, but you can also use powerful defensives and sit in
the explosion, or simply move just enough to be out of the explosion area every
time, and you should be able to kill him before you die.
Door of Shadows to get out of the way without giving him
any stacks in the process, but you can also use powerful defensives and sit in
the explosion, or simply move just enough to be out of the explosion area every
time, and you should be able to kill him before you die.
Custodian Thonar
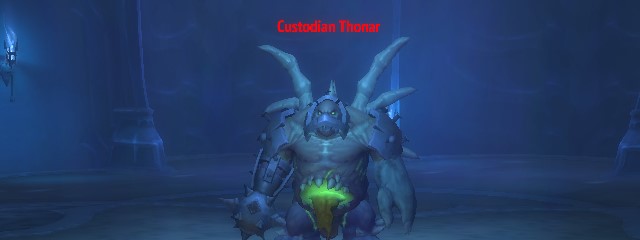
Custodian Thonar is a tricky boss, but with enough understanding of his mechanics you can minimize his damage and take him down safely:
- Thorned Shell reduces the damage the boss takes by a large amount and causes high damage to anyone who attacks him while active, also slowing the boss' movement by 75%. Stop attacking when this goes up and move away from the boss to stop his melee attacks as well. You can resume the assault once the buff expires.
- Noxious Cloud creates a green ground effect that deals significant damage over time and slows any player caught within. These expand over time, so be ready to kite the boss around the room to avoid them.
- Meat Hook pulls the player to his melee range and stuns for a little bit. Try to interrupt this whenever possible, but if that is not possible, make sure to use a defensive if the boss is currently standing on top of a Noxious Cloud, as you are likely to die before leaving the stun, otherwise.
The main way to die against this boss is to kill yourself on the Thorned Shell, so watch out for that and make sure to stop attacking and move away when it is cast.
Also, Noxious Clouds are best placed on the corners of the room, as they expand over time, so if your DPS is low make sure to kite the boss around the corners as much as possible.
Writhing Soulmass
The Writhing Soulmass is a very simple boss, but its special mechanic can be tricky to navigate, so read on for the full rundown:
- Bubbling Splash causes area of effect damage and is cast every few seconds. Interrupt it when you can and its damage should not cause you major concerns.
- At 66% and 33% health, the boss will spawn smaller blobs, which have similar abilities to the boss but lower health, deal lower damage, and do not get buffed by Unnatural Power. You can either focus them down before the boss or burn down the boss while ignoring or crowd controlling the adds, depending on your preference and powers.
Due to the extra blobs, you will either have to spend precious time killing them, allowing the boss to gain extra Unnatural Power stacks, have to sustain yourself through their damage, or worry yourself with keeping them crowd controlled or slowed while kiting away. The best option depends on your class and Anima powers and should be evaluated at that moment.
The Upper Reaches Bosses
Synod
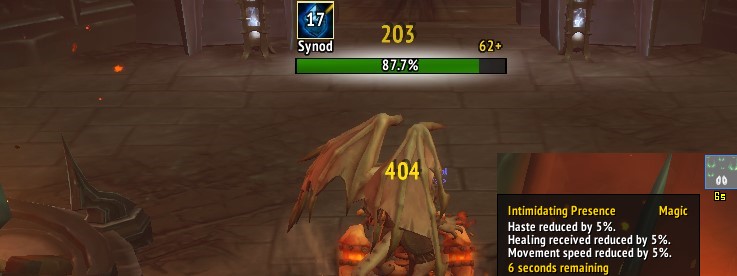
Synod can be easy, or extremely tough, depending on whether your class has many ways to interrupt and/or a magic dispel and purge.
His abilities cause him to gain power over time and reduce your own power, so if you cannot stop them you will quickly run out of time to kill him before he kills you:
- Interrupting Slam is a short cast that, once finished, causes shadow damage and interrupts any ongoing casts for a short while. Make sure to stop casting when this ability is close to going off.
- Intimidating Presence is an even shorter cast that reduces the haste
of any players nearby by 1%, healing received by 5%, and movement speed by 5% for
12 seconds. This duration is long enough that, without interrupts, it will stack
throughout the fight, but it can be dispelled (with
 Mass Dispel or a healer)
and will fall off if you interrupt well.
Mass Dispel or a healer)
and will fall off if you interrupt well. - Solidify is an instant self-buff on Synod that causes players to take 2% increased shadow damage per stack. It is applied whenever he is able to cast Intimidating Presence, but it can be purged off.
This is one of a few bosses in Torghast that are much easier in a party, especially if you brought a healer, who can dispel Intimidating Presence. When solo, try to interrupt it as much as possible and burst the boss as quickly as you can, as Solidify will eventually cause Interrupting Slam to one shot.
If you need to reset your Intimidating Presence stacks, one easy way to do it is to jump off one of the side ledges in the upper part of the room and move away from him. This will force the boss to run for the stairs to continue attacking and safely keep you out of range of his ability refreshes. Try to slow him before jumping to increase the time you have for the reset to happen.
Goxul the Devourer
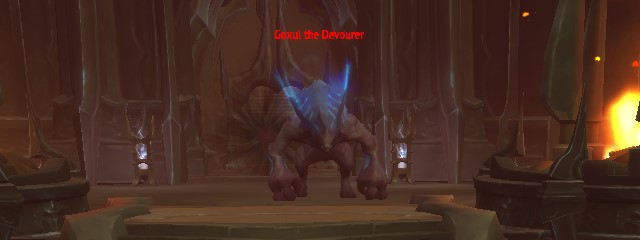
Goxul the Devourer is one of the few bosses where area damage can be of value to deal with his orbs before he can heal with them:
- Shatter Essence is a short cast that deals physical damage to nearby players and creates orbs next to them. Use defensives if you cannot crowd control the boss when the cast begins as it hits very hard. The orbs are harmless by themselves but can be used to fuel his other ability.
- Mass Devour deals a small amount of damage to players nearby but, more importantly, it also consumes any alive orbs if allowed to be fully cast, creating a huge absorb shield on the boss. This should be interrupted whenever possible.
If you have plentiful of interrupts, you can just ignore all the orbs and focus on interrupting him whenever he begins Mass Devour, but otherwise make sure to kill all the orbs in between casts, or it will take much longer to kill him, and Unnatural Power at higher stacks can easily cause Shatter Essence to one shot.
Patrician Cromwell
Patrician Cromwell is a boss where you will definitively want to move around the room and mind your positioning, due to his void zones which will fill the room over time:
- Creeping Sins periodically creates a damage zone on a random place near the boss. These will gradually fill the room and you should look to slowly move the boss away from these as the fight progresses.
- Dark Bolt Volley is a short cast that deals high shadow damage to all players nearby. Interrupt whenever possible, especially when you are trying to move him away from his void zones.
- Mass Slow is another short cast that causes all players nearby to attack and cast 35% slower and move 60% slower for 5 seconds. While the duration is relatively low, the impact of the slow effect is high, and as such, this should be a priority to interrupt.
Because of his frequent dangerous casts, having multiple players or short interrupts will help a lot, but all of his dangerous abilities also hit everyone in the party, making him one of the potentially deadliest bosses for a group. Interrupt everything you can and keep moving him and you will eventually win out.
Arch-Suppressor Laguas
Arch-Suppressor Laguas is a straightforward caster boss. Interrupts and the ability to remove curses will come in handy on this boss:
- Curse of Frailty is a short cast that increases damage taken by 50% for 8 seconds. This is his most dangerous cast and should be interrupted as much as possible, as it will make the rest of the fight significantly harder.
- Soul Bolt is his main ability, a short cast that deals shadow damage to his target. Interrupt it when possible, but only if you will still be able to interrupt Curse of Frailty afterwards.
- Suppress is a short cast that causes random swirlies all around the room. These deal damage if you stand in them are create void zones that deal damage over time and silence / pacify you. Simply dodge these when they appear.
Other than moving when Suppress is cast, this fight is all about nuking the boss down while interrupting as many of his casts, especially Curse of Frailty, as possible.
This boss can also show up on the Soulforges Cell Block.
Skoldus Halls Bosses
Cellblock Sentinel
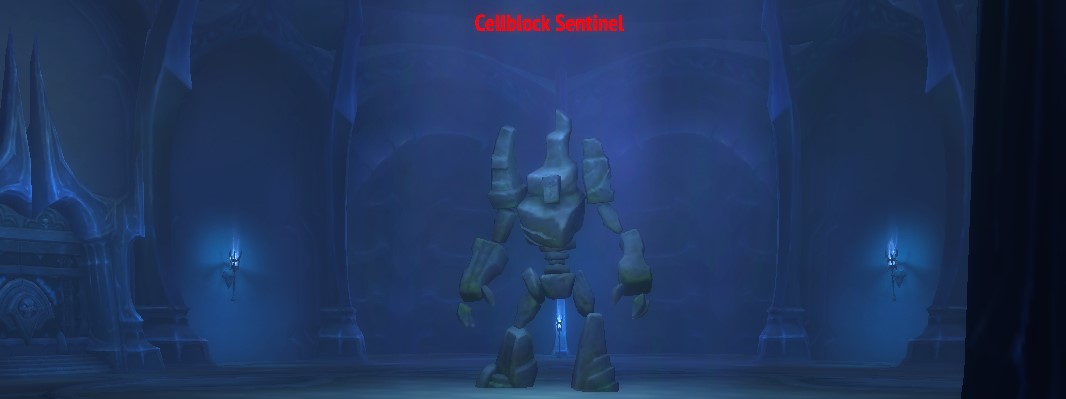
The Cellblock Sentinel has multiple avoidable attacks, but also comes outfitted with some annoying abilities that will force you to stop DPS unless you can deal with the consequences:
- Crumbling Walls is a self-buff that causes one add to spawn for each attack you do to the boss during its 10-second uptime. Either stop attacking when this is cast or be ready to crowd control, ignore or kill the adds that appear.
- Lumbering Might is a self-buff that reduces the boss movement speed by 75%, but also increases his damage by 50%. Unless you can tank the added damage, the safe option is to kite away while this buff is active. This buff can be purged.
- Ground Crush is a swirly centered on the boss that, after a short cast, stuns and damages nearby enemies for 4 seconds. Make sure to be safely away from the swirly when the cast ends.
- Shockwave creates a line in front of the boss that stuns and damages you for 3 seconds if you are standing within when the cast ends. Simply away from it to avoid it.
If you respect his multiple self-buffs he will be much less dangerous, but they will also cause you to lose DPS uptime, which can lead to an eventual wipe from Unnatural Power stacking, so if you can deal with the adds or kite away his Lumbering Might while DPSing from a safe distance, by all means, do so!
This boss can also show up on the Soulforges Cell Block.
Warden Skoldus
Warden Skoldus is a straightforward boss with only a handful of abilities to watch out for:
- Hulking Charge causes him to charge in the direction he is facing, causing high damage and stunning any player caught in the way. Simply move sideways slightly if he is facing you to avoid this ability.
- Rat Traps causes traps to be thrown at every nearby player, which activate after a short while. If you are caught in one, you will be rooted and take physical damage over time for 5 seconds. Make sure to move once you see this ability finish casting, as being caught by even one of these is extremely deadly.
- Rats! is a short cast that causes a physical bleed and 50% slow debuff on nearby players for 10 seconds. Interrupt this whenever possible, as the slow makes it more likely that you will be hit by his other, much deadlier abilities.
While this is generally an easy boss, he can still be very punishing if you fail to dodge his abilities. Make sure to keep Rats! interrupted and it should be easy enough to keep dodging until he dies.
Mort'Regar Bosses
Maw of the Maw
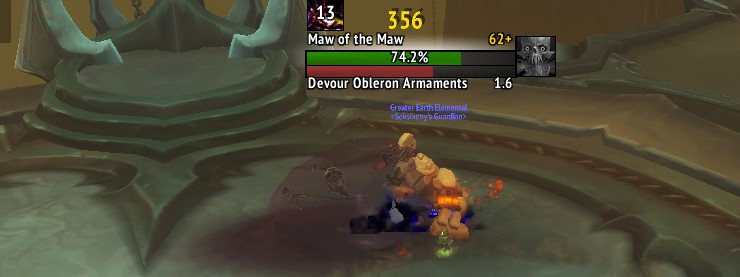
The Maw of the Maw can easily be considered the hardest boss in the Twisting Corridors, especially if you get it late in your run. Even after the nerfs on January 8th (no longer removes your health increasing Obleron powers, lower damage and health, and removes Obleron powers on a longer cooldown), this is still a very tough boss:
- Gunk is a short cast that deals damage to all players and reduces their movement speed significantly. You can interrupt this to reduce your damage intake.
- Devour Obleron Armaments is a killer, as it will remove a lot of your Obleron powers, other than the health ones, thankfully. It also buffs the boss with 10% extra damage per cast, stacking. This makes the DPS race against this boss particularly difficult, as he can reduce your power and increase his own at a very rapid pace. Try to disrupt this ability's cast by any means available as much as you can!
Post nerfs, it is much easier to deal with this boss, but depending on your ability to keep Devour Obleron Armaments under control, it can still be a tough fight, make sure to bring all interrupts possible and burn him down as fast as you can!
Binder Baritas
Binder Baritas is an add centric boss, and is quite harmless as long as you can quickly kill or control the adds he spawns:
- Bind Souls is a short cast that spawns an add near the boss. This add will just be throwing some damage orbs at players, which can be avoided, and has low health, so just nuke it down before resuming damage on the boss.
- Soul Echo is a channel that causes swirlies to appear under all players. If hit, you take a lot of damage and get knocked up. Simply move until the channel stops to avoid all of them.
- Shadow Bolt is a short cast that deals damage. Interrupt it as much as possible.
As previously mentioned, the only potentially dangerous thing about this boss is the adds, so make sure to kill them quickly while dodging their orbs. You can also crowd control them or just ignore them if the boss is low health.
Watchers of Death
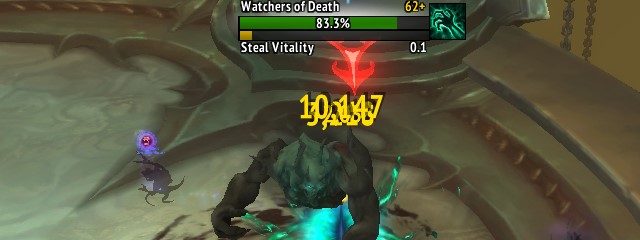
The Watchers of Death have some very nasty casts that you will want to know about, and hopefully interrupt:
- Fearsome Howl is the most dangerous cast, and if allowed to go through causes fear for 4 seconds and a lot of damage. Make sure to always have a way to interrupt this, as the fear is more than long enough for him to hit you with multiple of his other casts.
- Steal Vitality is a short cast whose damage scales with its target's current health, this makes it especially problematic for high health but low damage characters, such as tanks. Interrupt it as much as possible!
- Prophecy of Death is another short cast that causes swirlies to appear under nearby players. Standing in these for too long deals damage and causes a debuff that reduces your maximum health by 20%. This debuff can stack, so move out of the swirlies as soon as you see them.
Because of his multiple casts, the priority interrupts should go to Fearsome Howl, with any leftover interrupts hitting Steal Vitality. Prophecy of Death can safely be ignored, as it is easy to avoid by moving and you need to save your interrupts for the other casts.
Warden of Souls
The Warden of Souls is an add fight, but it also has a small kiting component:
- Fearsome Howl is a short cast that fears any players nearby. Interrupt it as soon as you see it start casting.
- Well of Souls creates a void zone under the boss, which increases its damage done by 50%. Make sure to
- Soul Fragment creates ranged adds, try to kill them quickly if you can, as they are not dangerous individually but can stack up in high amounts if left unchecked. An alternative is to kite away from their range, as you will be moving the boss because of Well of Souls, anyway.
Interrupt Fearsome Howl, kill or kite away from the adds and move the boss away from his void zones. This is a rather busy boss, but knowing what to do makes everything much easier to execute.
Coldheart Interstitia Bosses
Dark Ascended Corrus
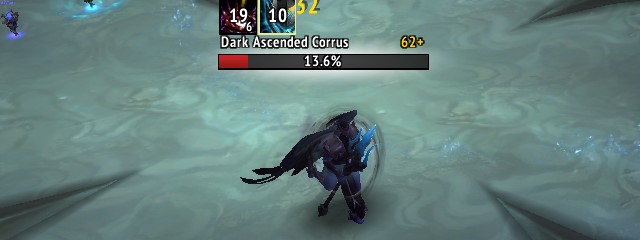
Dark Ascended Corrus can be a very dangerous boss due to its powerful and difficult to avoid damage abilities:
- Falling Strike is an instant cast that causes her to leap on a random player nearby, dealing significant damage in a small area. This is very difficult to avoid, so for the most part you will just be tanking it when it is cast.
- Shadow Rip is a short cast that causes damage and leaves a damage over
time effect for 8 seconds. This can be avoided with
 Blinding Smoke Capsules
or through kiting, but for many classes, this is also unavoidable damage.
Blinding Smoke Capsules
or through kiting, but for many classes, this is also unavoidable damage. - Stygian Shield is a self-buff that reduces damage taken by 30% for 12 seconds. Needless to say, either interrupt or purge this immediately, or the fight will take much longer.
![]() Blinding Smoke Capsules are especially useful for this boss, as they
will negate both auto-attacks and abilities. If the amount of interrupts available
is an issue, remember that you can purge Stygian Shield instead of interrupting
it, but this should be your priority, otherwise. You can also kite her
to completely negate most of her damage.
Blinding Smoke Capsules are especially useful for this boss, as they
will negate both auto-attacks and abilities. If the amount of interrupts available
is an issue, remember that you can purge Stygian Shield instead of interrupting
it, but this should be your priority, otherwise. You can also kite her
to completely negate most of her damage.
Decayspeaker
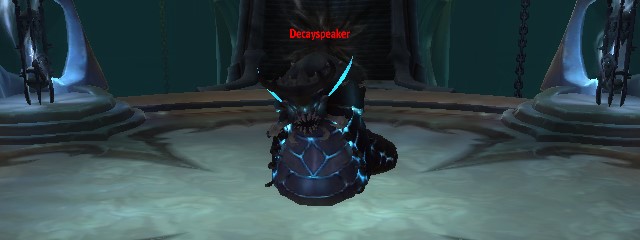
Decayspeaker is one of the trickiest bosses in Torghast, but once you learn its secrets, it becomes one of the easiest, instead:
- Hardened Shell is a buff the boss starts with multiple stacks of. Each
stack reduces damage taken by 10%, but one stack is removed for every attack received.
Deal with this by spamming quick and weak attacks at the start of the fight such
as
 Frost Shock until the buff is completely gone, at which point you can
use your cooldowns and start to burn the boss down.
Frost Shock until the buff is completely gone, at which point you can
use your cooldowns and start to burn the boss down. - Bite is a short melee cast that deals a huge amount of damage. To avoid being destroyed by this on higher layers or Twisting Corridors try to kite the boss around, even if you are a melee player. Because of the cast time and melee range requirements, this will cause the ability to simply fail, as if you had interrupted it.
- Acid Bomb is a short cast that causes green swirlies on the ground. Avoid these or you will take a lot of damage over time.
As mentioned before, do not use any cooldowns until the Hardened Shell buff is removed, and keep kiting the boss away to negate Bite damage. This leaves Acid Bomb, but the ongoing kiting will make dodging these trivial as well. If you take too long to kill it, he will cast Hardened Shell again, so deal with it as you did on the first one.
Elder Longbranch
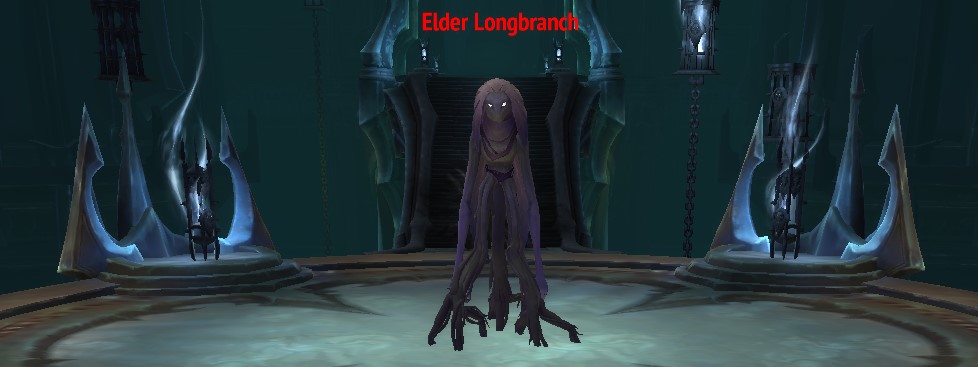
Elder Longbranch can be a tough boss, especially for melee players, who cannot outrange his stun ability. Make sure to save interrupts for his heal ability!
- Bounty of the Forest is a short cast that creates a self-buff on the boss that heals for 3% of his maximum health every 3 seconds for 12 seconds. This can be interrupted or purged, and should be your maximum priority, as failing to do so will undo most of the damage you dealt to the boss.
- Crush is a short cast that damages and stuns the target for 2 seconds. While it can be avoided if you are far enough away, it has a decent range of 20 yards.
- Hardened Shell is a buff the boss starts with multiple stacks of. Each
stack reduces damage taken by 10%, but one stack is removed for every attack received.
Deal with this by spamming quick and weak attacks at the start of the fight such
as Frost Shock until the buff is completely gone, at which point you can
use your cooldowns and start to burn the boss down.
As mentioned before, Bounty of the Forest is by far the most important ability to be aware of, as failing to interrupt it a single time will lead to a huge 12% heal for the boss, leading to higher Unnatural Power stacks.
Outrange Crush if you can and save your cooldowns for when Hardened Shell is down, although he might cast it again midway through the fight if you do not take him down quick, rinse and repeat until he is dead.
The Soulforges Bosses
The Grand Malleare
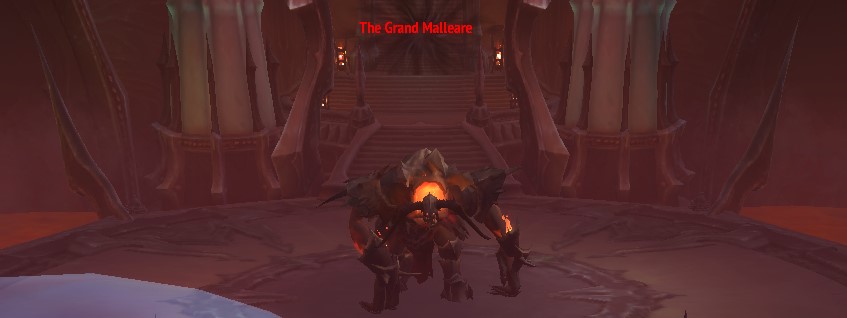
The Grand Malleare has some extremely deadly abilities, but luckily most of them are quite easy to avoid:
- Withering Roar is a short cast that deals shadow damage and reduces the health of any player hit by 10%. Because it stacks, save interrupts for this ability or you will eventually get one shot!
- Ground Crush is a long cast that one-shots anyone inside the swirly around the boss once the cast finishes. Make sure to move out to a safe distance while you can.
- Inferno! is a short cast that causes swirlies to appear around the room, move out of these quickly to avoid the subsequent explosion that deals high fire damage and knockback.
The difficulty of this boss comes from the extremely high damage of his avoidable abilities, which heavily punishes any mistake with instant death. Stay focused and make sure to dodge any swirlies you see, as, otherwise, the boss is a target dummy with the occasional interrupt for Withering Roar.
Observer Zelgar
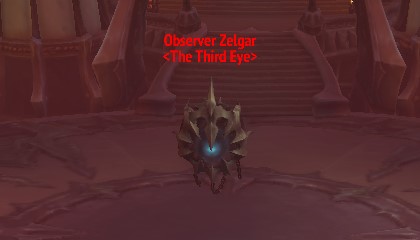
Observer Zelgar also has very deadly abilities, one of which is avoidable but one-shots if you fail to move out of the way:
- Focused Blast is his main ability and he will essentially be spamming these constantly throughout the fight unless interrupted. The damage from each blast is not too bad, but if you have spare interrupts, feel free to use them here.
- Aerial Strikes causes multiple large swirlies around the room which one-shot you if you stand in them when they explode seconds later. Make sure to move out immediately, and use movement abilities if you have to, as they can sometimes fill a huge part of the room.
- Ocular Beam is a short cast that causes a damaging beam to shoot out at you, which deals significant damage and knocks you back over its duration. It cannot be avoided or sidestepped but it can be interrupted, so make sure to save your interrupts, stuns, and other types of crowd control for this.
As previously mentioned, avoid Aerial Strikes at all costs and save an interrupt for Ocular Beam. Focused Blast can be considered as auto-attack damage for the most part and is unlikely to cause you trouble.
This boss can also show up on the Skoldus Hall Cell Block.
Changelog
- 26 Jun. 2021: Added reference to the new Adamant Vault bosses.
- 09 Feb. 2021: Guide added.