

The Twisting Corridors are a special mode of Torghast, unlocked at the end of a lengthy questline and composed of three random Cell Blocks in a row, with 18 floors and 3 end bosses in total.
As all floors and torments scale as you go higher, you will be required to have a lot of great powers by floor 18 if you expect to finish the run successfully.
In this guide, we will explain the mechanics of the Twisting Corridors, how its lengthier runs change the regular Cell Block clearing dynamics and Anima Power priorities, as well as the rewards you can expect from completing its layers.
Shadowlands Torghast Twisting Corridors
Unlike the regular 6 floor runs, the Twisting Corridors section of Torghast is comprised of three 6 floor runs in a row, for a total of 18 floors. While the enemies, vendors, and general layout of Torghast are kept the same as the regular cell block runs, the added scaling makes the final floors and final boss extremely challenging, and you will need a lot of offensive and defensive powers to survive.
Also, because the run is so long, make absolutely sure to explore every floor and gather as many powers and free as many souls as you can, as each of them gives a 1% primary stat bonus, and you are looking to be finishing your run with 80 of these or more!
Unlocking the Twisting Corridors
After starting the Torghast questline, you will be sent inside to find clues about, and eventually rescue, Baine, Jaina, and Thrall. This leaves Anduin as the final prisoner of Sylvanas and the Jailer, and immediately after you rescue Thrall, you will receive the Signs of the Lion quest which is meant to be completed inside the Twisting Corridors and is the first time you are allowed to go there.
Twisting Corridors Rewards
You can get any memories of the Runecarver you are missing from doing Twisting Corridors, as long as their drop source is a Torghast Cell Block. Besides those, there are four potential rewards from completing Twisting Corridors layers:
- Layer 2:
 Death Seeker pet;
 - Layer 4:
 Helm of the Dominated toy;
 - Layer 6: Spirestalker title;
- Layer 8:
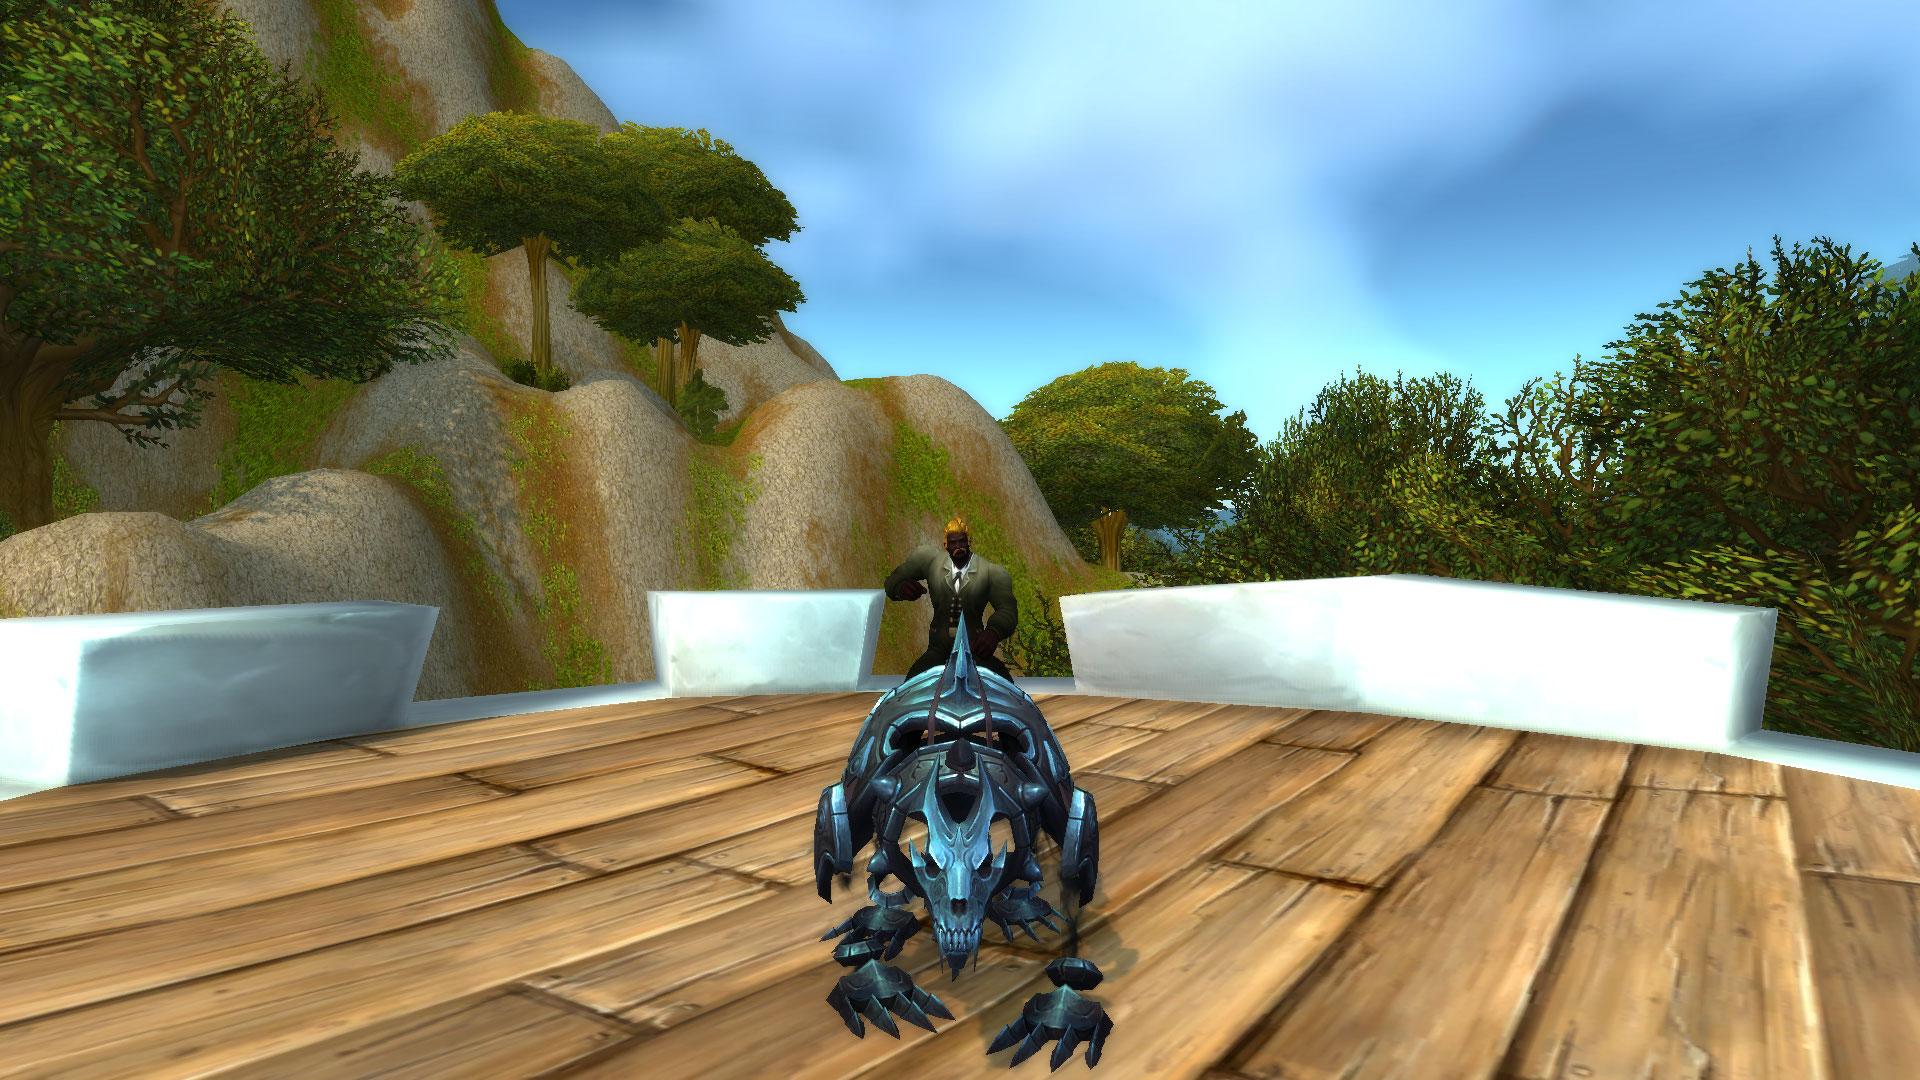
 Corridor Creeper, a mount that works in The Maw!
Doing the run itself can be great fun, depending on how you feel about Torghast as a whole. You will certainly end as quite a different character than what you began with!
Twisting Corridors Strategy
Because you will be climbing so many floors, powers that increase your Phantasma
gain, and the ![]() Stable Phantasma Lure legendary are much stronger than usual
and should be prioritized in the first 12 floors. Powers that require a lot of time
to hit their maximum potential, most notably
Stable Phantasma Lure legendary are much stronger than usual
and should be prioritized in the first 12 floors. Powers that require a lot of time
to hit their maximum potential, most notably ![]() Secret Spices, are also amazing
in Twisting Corridors and should be valued highly, especially if they show up in
the first half of your run.
Secret Spices, are also amazing
in Twisting Corridors and should be valued highly, especially if they show up in
the first half of your run.
Anima Powers in general will make or break your run even more than usual, regardless of your gear level. For example, in one of my alt Twisting Corridor runs as a low gear Shadow Priest, this was the damage and healing log on the final, floor 18 boss:
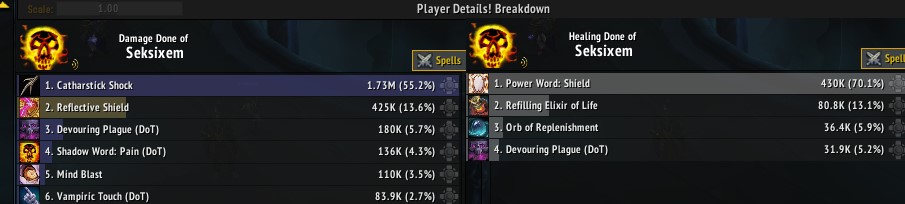
You can clearly see the difference Anima Powers made. Even though my character
was way more powerful than usual in straightforward ways (triple primary stat, vastly
increased secondary stats), the vast majority of the damage in the end still came
from ![]() Catharstick and
Catharstick and ![]() Reflective Shield, which doubled as a powerful
defensive layer through stacked health increasing powers and
Reflective Shield, which doubled as a powerful
defensive layer through stacked health increasing powers and ![]() Life Barrier,
as you can see in the healing part of the screenshot.
Life Barrier,
as you can see in the healing part of the screenshot.
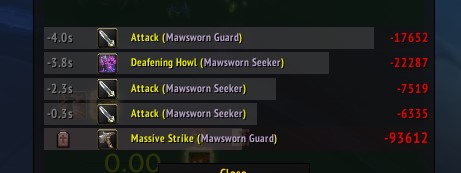
Being able to combine defense and offense is key to success in the Twisting Corridors, as both will be thoroughly tested in the final 6 floors. Also, even if your defense is great, you can still get destroyed by some enemy combos if not careful, such as the infamous Accursed Strength (50% damage self-buff) into Massive Strike (huge damage ground effect) Mawsworn enemy combo, as you can see in the Floor 17 death log below:
Make sure to never drop your guard until the end! Crowd control and movement abilities are at least as effective on the final boss as they are on the first mob of Floor 1, use them!
Also, just like normal Cell Blocks, remember that you should use any cooldowns
(including ![]() Time Warp or equivalent effects) you have left on the final
boss of each floor, as moving to a new floor will reset all of your cooldowns.
Ideally, this means you should look to use all your cooldowns for a big pull at
the start of each floor and then on the boss at the end of the floor.
Time Warp or equivalent effects) you have left on the final
boss of each floor, as moving to a new floor will reset all of your cooldowns.
Ideally, this means you should look to use all your cooldowns for a big pull at
the start of each floor and then on the boss at the end of the floor.
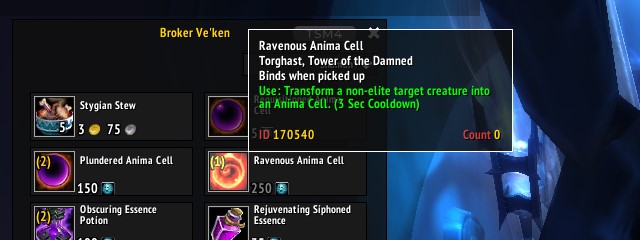
Using Ravenous Anima Cell in Twisting Corridors
Using the ![]() Ravenous Anima Cell wisely is one of the keys to winning.
Different Cell Block archetypes have different threats and enemies you can convert
into useful powers:
Ravenous Anima Cell wisely is one of the keys to winning.
Different Cell Block archetypes have different threats and enemies you can convert
into useful powers:
| Enemy | Power | Explanation |
|---|---|---|
| Broker Vendor | Do not use Ravenous Cells on Brokers in Twisting Corridors. Doing so will prevent them from appearing in later levels and stop you from spending your Phantasma! | |
| Mawsworn Soulbinder / Endbringer / Disciple / Acolyte | While ordinarily irrelevant, if you can manage to get this power early on your Twisting Corridors run, the Phantasma gain will be massive and very worth it. You can force this to happen by abandoning your run immediately until you get either Fracture Chambers or The Upper Reaches as your first Cell Block, which are the ones containing the enemies you need to transform, and also the largest amount of skeletons to farm. | |
| Mawsworn Archer / Mawsworn Interceptor | Gaining an average of 15% extra primary stat is a pretty good deal and should be your priority when doing Skoldus Halls wings. | |
| Caster enemies on The Soulforges Cell Blocks | This power can either be amazing or useless depending on what your final floors are like, but should always be taken if your final Cell Block is Soulforges, as it will prevent most of the damage intake in this environment. | |
| Lost Dredger | Treasure Room | By waiting until the Lost Dredger starts casting his escape portal to use
the |
| Mawsworn Shackler | While Shackle effects can be quite dangerous (especially when combined with
ground effects from other enemies which you cannot dodge while Shackled), the
high opportunity cost of the |
|
| Mawsworn Guard / Mawsworn Sentry | You can open the cages opened by this power manually, causing it to be mostly useless. | |
| Skeletal Remains | The summoned ally is way too weak to be of much use and can pull unwanted enemies, so avoid getting this power. | |
| Coldheart enemies in the Coldheart Interstitia Cell Blocks | While this is a great power for trash and certain bosses that spawn minions, it can also be useless when you need the most help on some of the hardest final bosses that have no minions, so take it at your own risk. | |
| Deadsoul enemies in Mort'regar | Bosses do not cause the pools absorbed by this effect, and you should generally be able to simply move out of them while progressing through the floors, making this power not worth taking in most situations. | |
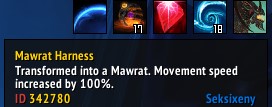
| Mawrats | Using this item allows you to turn into a Mawrat, increasing your speed by 100%. Taking or dealing any damage removes the buff, but you can reuse it after leaving combat. Due to its lack of combat effectiveness, this power is not recommended. |
There are a few more powers related to non-Torghast native enemies that you might find fighting the forces of the Jailer, but they are low impact, and can safely be ignored.
Out of the listed powers, we recommend saving your Cell for ![]() Marrow Scooper
if you can get it early on in your run or
Marrow Scooper
if you can get it early on in your run or ![]() Pocketed Soulcage, otherwise,
as the primary stat boost is always useful but extra Phantasma needs a
lot of time to develop into a significant advantage.
Pocketed Soulcage, otherwise,
as the primary stat boost is always useful but extra Phantasma needs a
lot of time to develop into a significant advantage.
![]() Flamestarved Cinders can be situationally amazing if The Soulforges are
your final 6 floors, but otherwise, there is little fire damage happening on most
other Cell Blocks.
Flamestarved Cinders can be situationally amazing if The Soulforges are
your final 6 floors, but otherwise, there is little fire damage happening on most
other Cell Blocks.
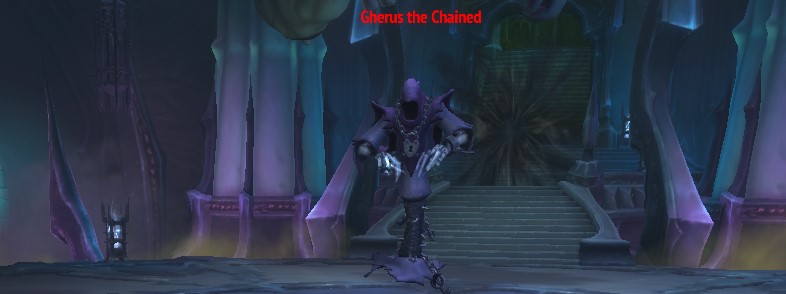
Twisting Corridors Bosses
While bosses are a super important part of Twisting Corridors, especially the final one which is by far the hardest challenge in the full run, they are shared with the Cell Block boss pool and use the same abilities.
Learn more about the bosses of Torghast on our specialized guide below:
Changelog
- 03 Feb. 2021: Guide added.