

Darkheart Thicket Dungeon Guide: Location, Boss Strategies, Trash, and Loot
Welcome to our guide to the Darkheart Thicket dungeon in Season 3 of the Dragonflight World of Warcraft expansion. This guide will cover everything you need to know about the dungeon, including how to get to it, its layout, the trash and boss mechanics within, and its loot.
Short Introduction
This guide will focus on an extensive overview of the dungeon, providing vital information to increase your chance of completing the key. We will cover all 4 boss fights supported by the most notable trash enemies in the dungeon and their important abilities. If you would like to learn about the rest of the dungeons in Mythic+, please see our overviews linked below.
Getting into Darkheart Thicket
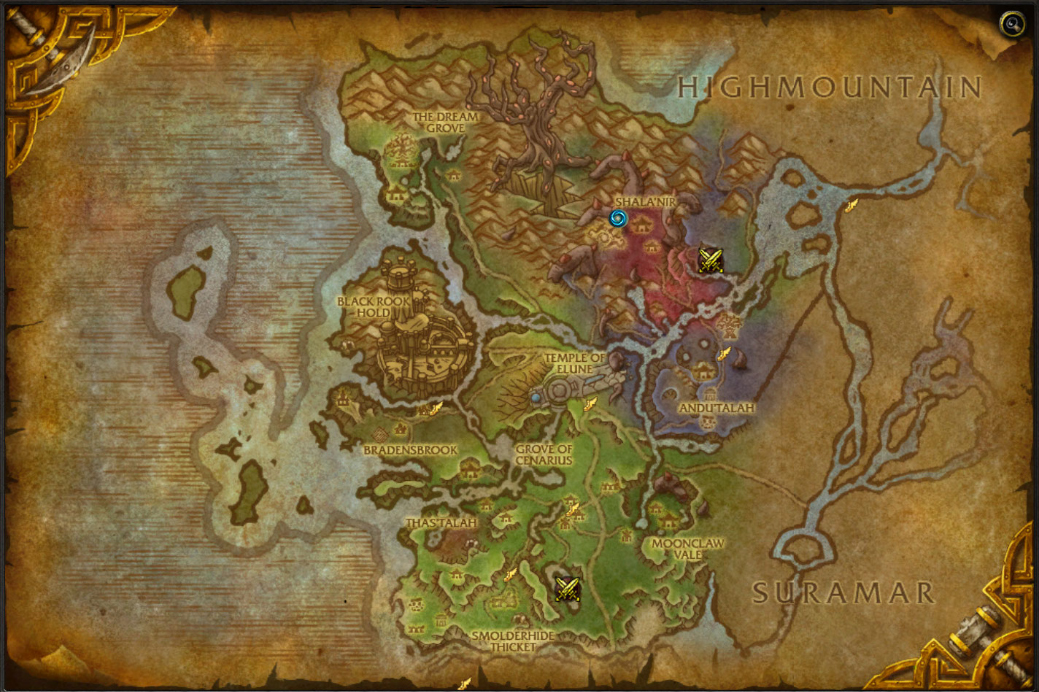
Darkheart Thicket is a max-level dungeon in Val'sharah, Broken Isles.
The dungeon is available in both ![]() Mythic and Mythic+ mode.
Mythic and Mythic+ mode.
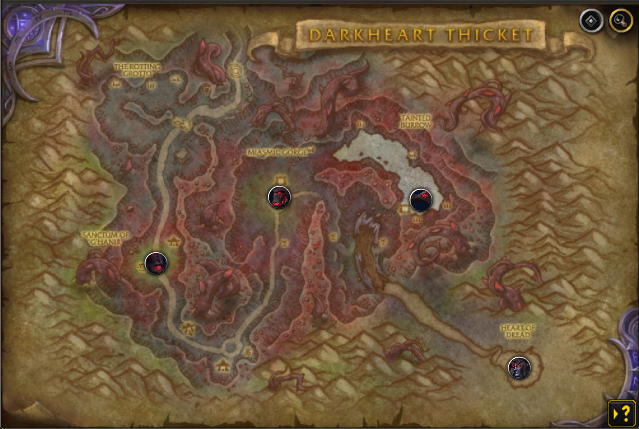
Darkheart Thicket Layout
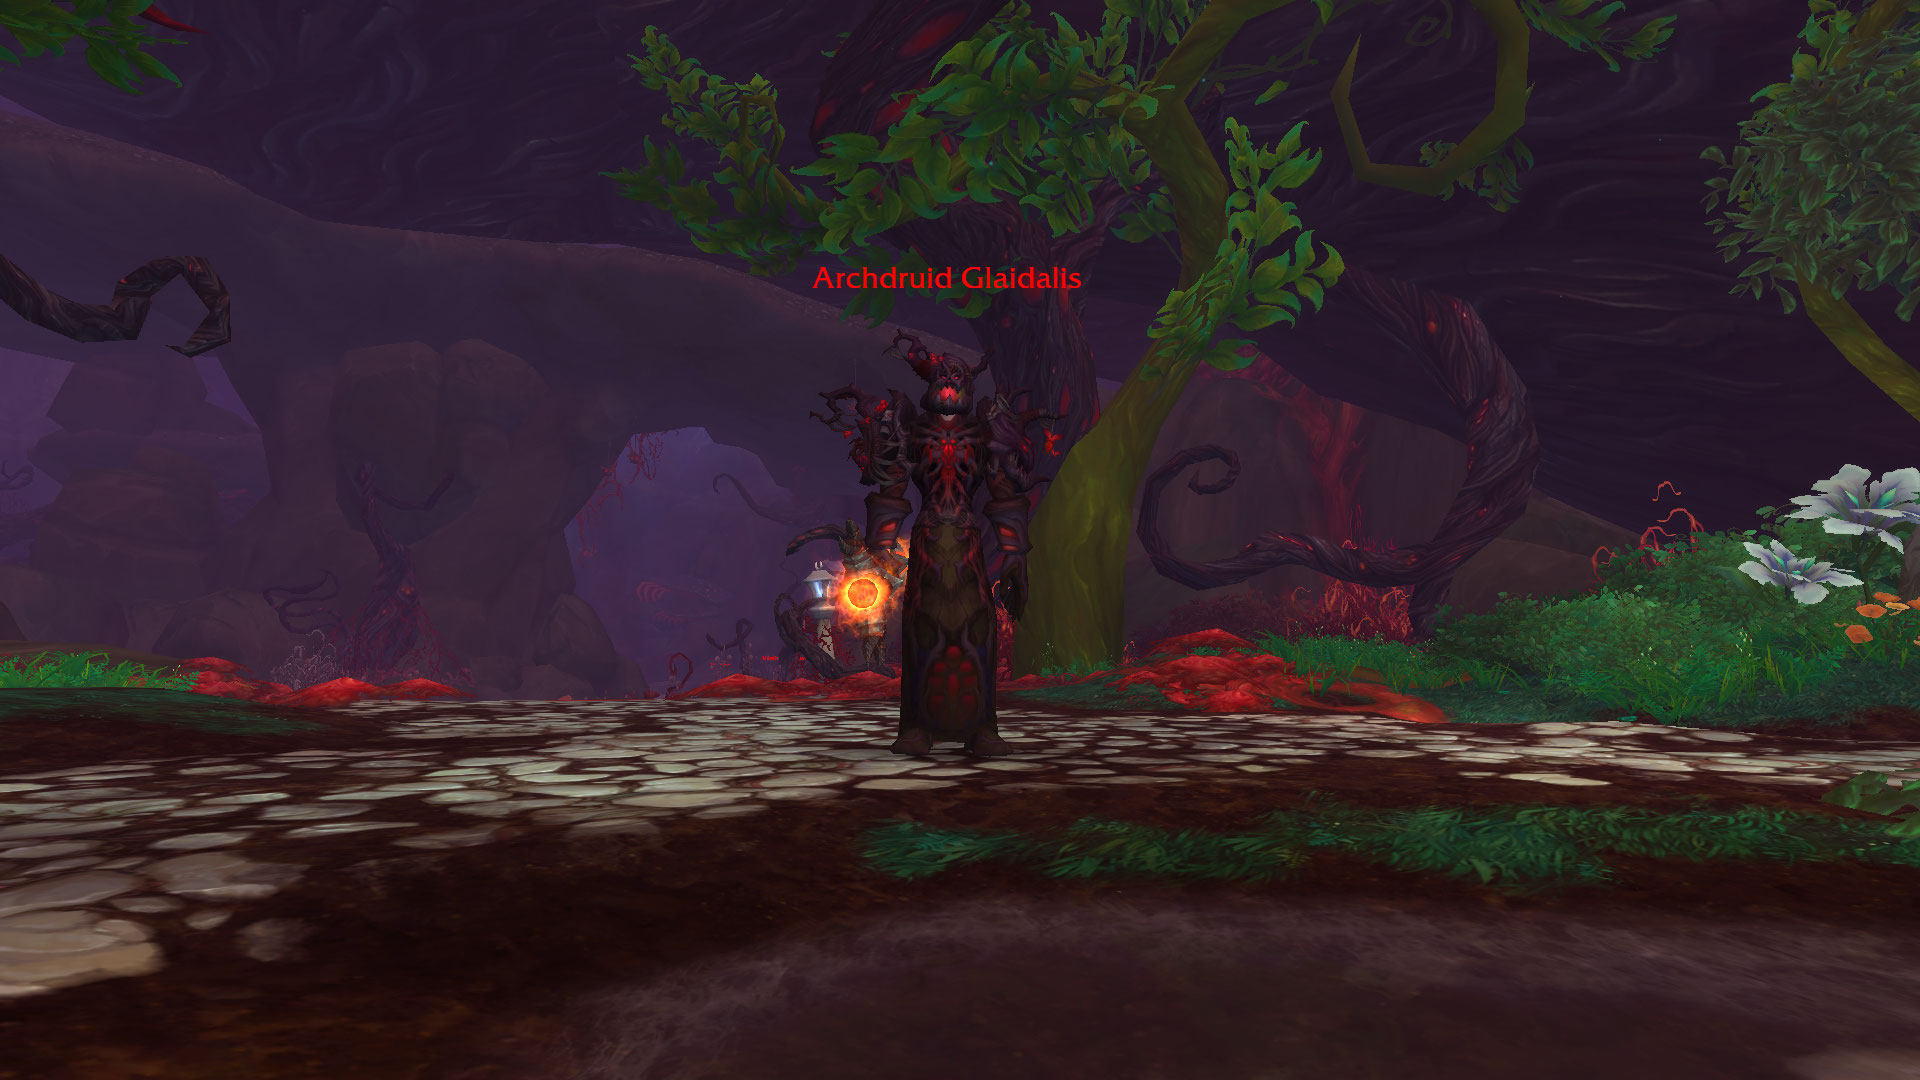
Archdruid Glaidalis
Notable Trash Before Archdruid Glaidalis
- Important mob: Watch out for Frenzied Nightclaws as they will
leap on a random player applying
 Frantic Rip, a permanent
  Bleed
the effect that is removed instantaneously once the player's health reaches above
90%.
Bleed
the effect that is removed instantaneously once the player's health reaches above
90%. - Interrupt Mindshattered Screecher's
 Unnerving Screech.
 - If you have
 Poison removal, use it for Dreadsoul Prisoner's
 Nightmare Toxin, triggering its follow-up effect
  Nightmare Eruption.
 - Interrupt Dreadsoul Ruiner's
 Despair cast while dodging
the
Despair cast while dodging
the  Star Shower ground effect.
 - Avoid getting hit by Crazed Razorbeak's
 Propelling Charge.
 - Important mob: Festerhide Grizzly is the hardest non-boss-enemy
in this area due to its
 Maddening Roar AoE damage ability, which is
also a stackable debuff; the longer you fight it, the harder it becomes to
survive. In addition, they will cast
Maddening Roar AoE damage ability, which is
also a stackable debuff; the longer you fight it, the harder it becomes to
survive. In addition, they will cast  Spew Corruption, spawning
3 Nightmare Abominations which leave corruption pools on the ground
(you don't have to kill them just use crowd-control abilities to get
away from them and focus the Festerhide Grizzly).
Spew Corruption, spawning
3 Nightmare Abominations which leave corruption pools on the ground
(you don't have to kill them just use crowd-control abilities to get
away from them and focus the Festerhide Grizzly).
Archdruid Glaidalis Boss Guide
When fighting Archdruid Glaidalis, beware of its ![]() Grievous Leap,
it will always target the furthest target and apply
Grievous Leap,
it will always target the furthest target and apply ![]() Grievous Tear
Grievous Tear
![]() Bleed effect. In addition, avoid its
Bleed effect. In addition, avoid its ![]() Primal Rampage
frontal while being mindful of its Nightmare Abominations
fixate + avoiding the
Primal Rampage
frontal while being mindful of its Nightmare Abominations
fixate + avoiding the ![]() Nightfall puddles. More information,
down below:
Nightfall puddles. More information,
down below:
All Roles
- Avoid being hit by the
 Primal Rampage.
 - Use defensive cooldowns during
 Grievous Tear Bleed
effect.
Grievous Tear Bleed
effect. - Cleave down the Nightmare Abominations while avoiding the
 Nightfall ground puddles.
Tank
- Tank Archdruid Glaidalis closer to the Nightmare Abominations to allow your party to "cleave".
- Side-step the Primal Rampage frontal.
Healer
- Top up any target who has Grievous Tear, up to 90% HP.
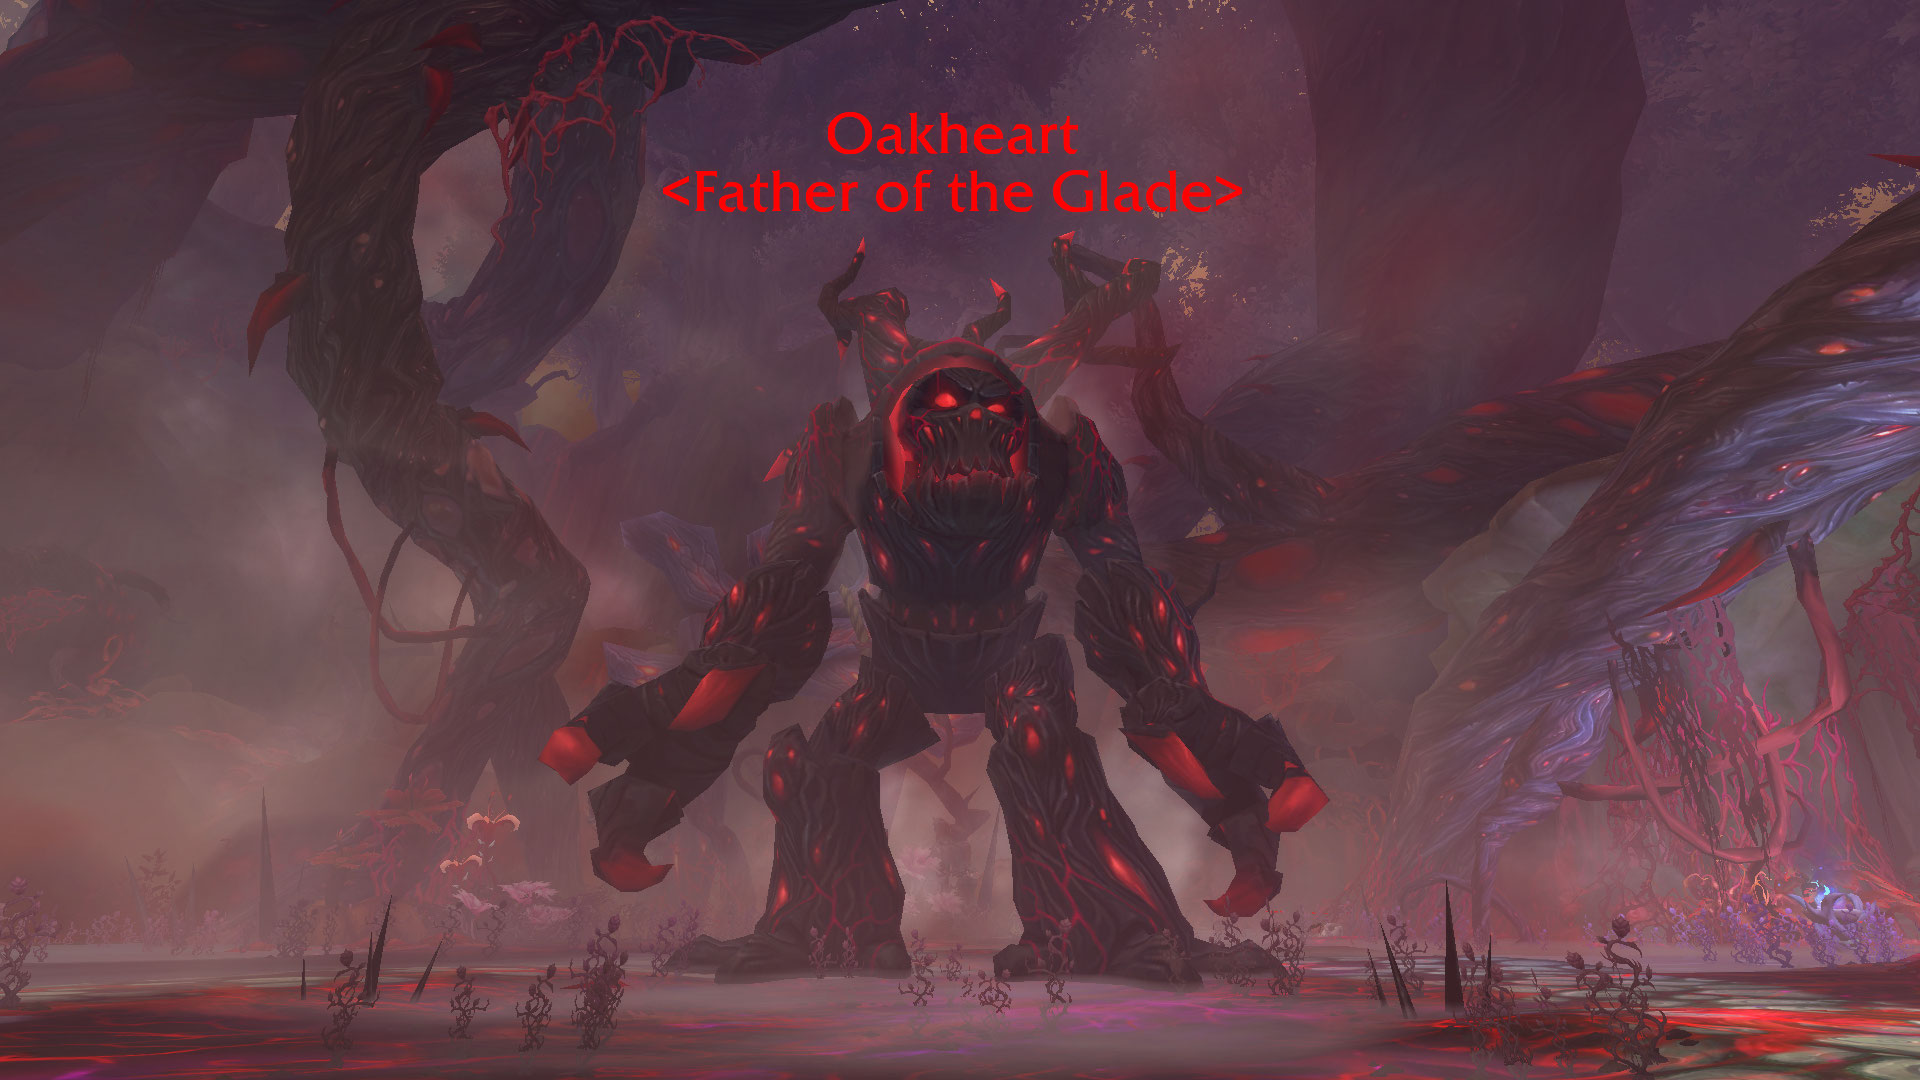
Oakheart
Notable Trash Before Oakheart
- Focus on killing first Rotheart Dryads due to their
 Poison Spear ability leaving a Poison effect on a random
member from your party. In addition, they will occasionally swap positions
, making it much harder to stack together as they can easily attack from
range with
Poison Spear ability leaving a Poison effect on a random
member from your party. In addition, they will occasionally swap positions
, making it much harder to stack together as they can easily attack from
range with  Throw Spear.
 - Important mob: Make sure to nuke down any Rotheart Keepers
first due to its
 Corrupted Infusion healing abilities. In addition,
they will continuously spawn
Corrupted Infusion healing abilities. In addition,
they will continuously spawn  Vile Mushrooms, which will be lethal
on the higher-end keys; avoid staying in them!
Vile Mushrooms, which will be lethal
on the higher-end keys; avoid staying in them! - Sidestep the Vilethorn Blossom's
 Root Burst ground effect.
 - Interrupt Nightmare Dweller's
 Tormenting Eye to prevent you
from being
Tormenting Eye to prevent you
from being  Tormenting Feared (you can dispel it). Any other form of
crowd-control works if you lack the interrupts.
Tormenting Feared (you can dispel it). Any other form of
crowd-control works if you lack the interrupts.
Oakheart Boss Guide
Your main focus during the Oakheart boss encounter is to stay
healthy before each ![]() Shattered Earth AoE damage/knockback ability.
In addition to that, if you get
Shattered Earth AoE damage/knockback ability.
In addition to that, if you get ![]() Strangling Roots root
underneath you, avoid stepping on it (you will take periodically take damage
if rooted); you must shift your damage
to break the rooted player and, therefore, slow down the boss fight.
Avoid staying in front of the tank so the
Strangling Roots root
underneath you, avoid stepping on it (you will take periodically take damage
if rooted); you must shift your damage
to break the rooted player and, therefore, slow down the boss fight.
Avoid staying in front of the tank so the ![]() Nightmare Breath won't
hit you and focus cleave any nearby Vilethorn Sapplings that come
after the
Nightmare Breath won't
hit you and focus cleave any nearby Vilethorn Sapplings that come
after the ![]() Uproot cast. The more
Uproot cast. The more ![]() Strangling Roots you have
the more Vilethorn Sapplings there will be each time
Strangling Roots you have
the more Vilethorn Sapplings there will be each time ![]() Uproot
has been cast. They will do melee attacks exclusively to your tank and
are otherwise harmless. More information down below:
Uproot
has been cast. They will do melee attacks exclusively to your tank and
are otherwise harmless. More information down below:
All Roles
- Use defensive cooldowns if you have low HP before each
 Shattered Earth
cast.
Shattered Earth
cast. - Avoid stepping into any active
 Strangling Roots.
 - Never stay on top of your tank, or else you will be hit with
 Nightmare Breath.
 - Cleave any existing Vilethorn Sapplings while focusing the boss.
Tank
- Beware how you face the boss to avoid unnecessary deaths before
each Nightmare Breath.
- Collect the Vilethorn Sapplings as soon as they spawn.
- Use your major defensive cooldowns during
 Crushing Grip.
Healer
- Top-up your party members before each Shattered Earth.
- Use your external cooldowns on your tank during Crushing Grip.
Dresaron
Notable Trash Before Dresaron
- Beware when you engage any Hatespawn Slimes as they will do damage upon
death with -
 Dreadburst. Killing them all simultaneously requires you
to pre-use defensive cooldowns to stay healthy.
Dreadburst. Killing them all simultaneously requires you
to pre-use defensive cooldowns to stay healthy. - Do not step over any nearby Corrupted Dragon Egg or else it will spawn Hateful Whelpling. Although they only do melee attacks and are not dangerous, they will still slow down your run. Side note: if any mob gets in contract with them, it will also trigger and spawn Hatespawn Whelpling.
- Avoid the Bloodtainted Fury's
 Blood Assault frontal and step aside
from any nearby
Blood Assault frontal and step aside
from any nearby  Blood Bomb. Once you defeat it, it will trigger
  Dispersion,
spawning 4 Bloodtainted Bursters. Interrupt their
Dispersion,
spawning 4 Bloodtainted Bursters. Interrupt their  Bloodbolt and stop
the
Bloodbolt and stop
the  Blood Metamorphosis or else they will turn back to Bloodtainted Fury.
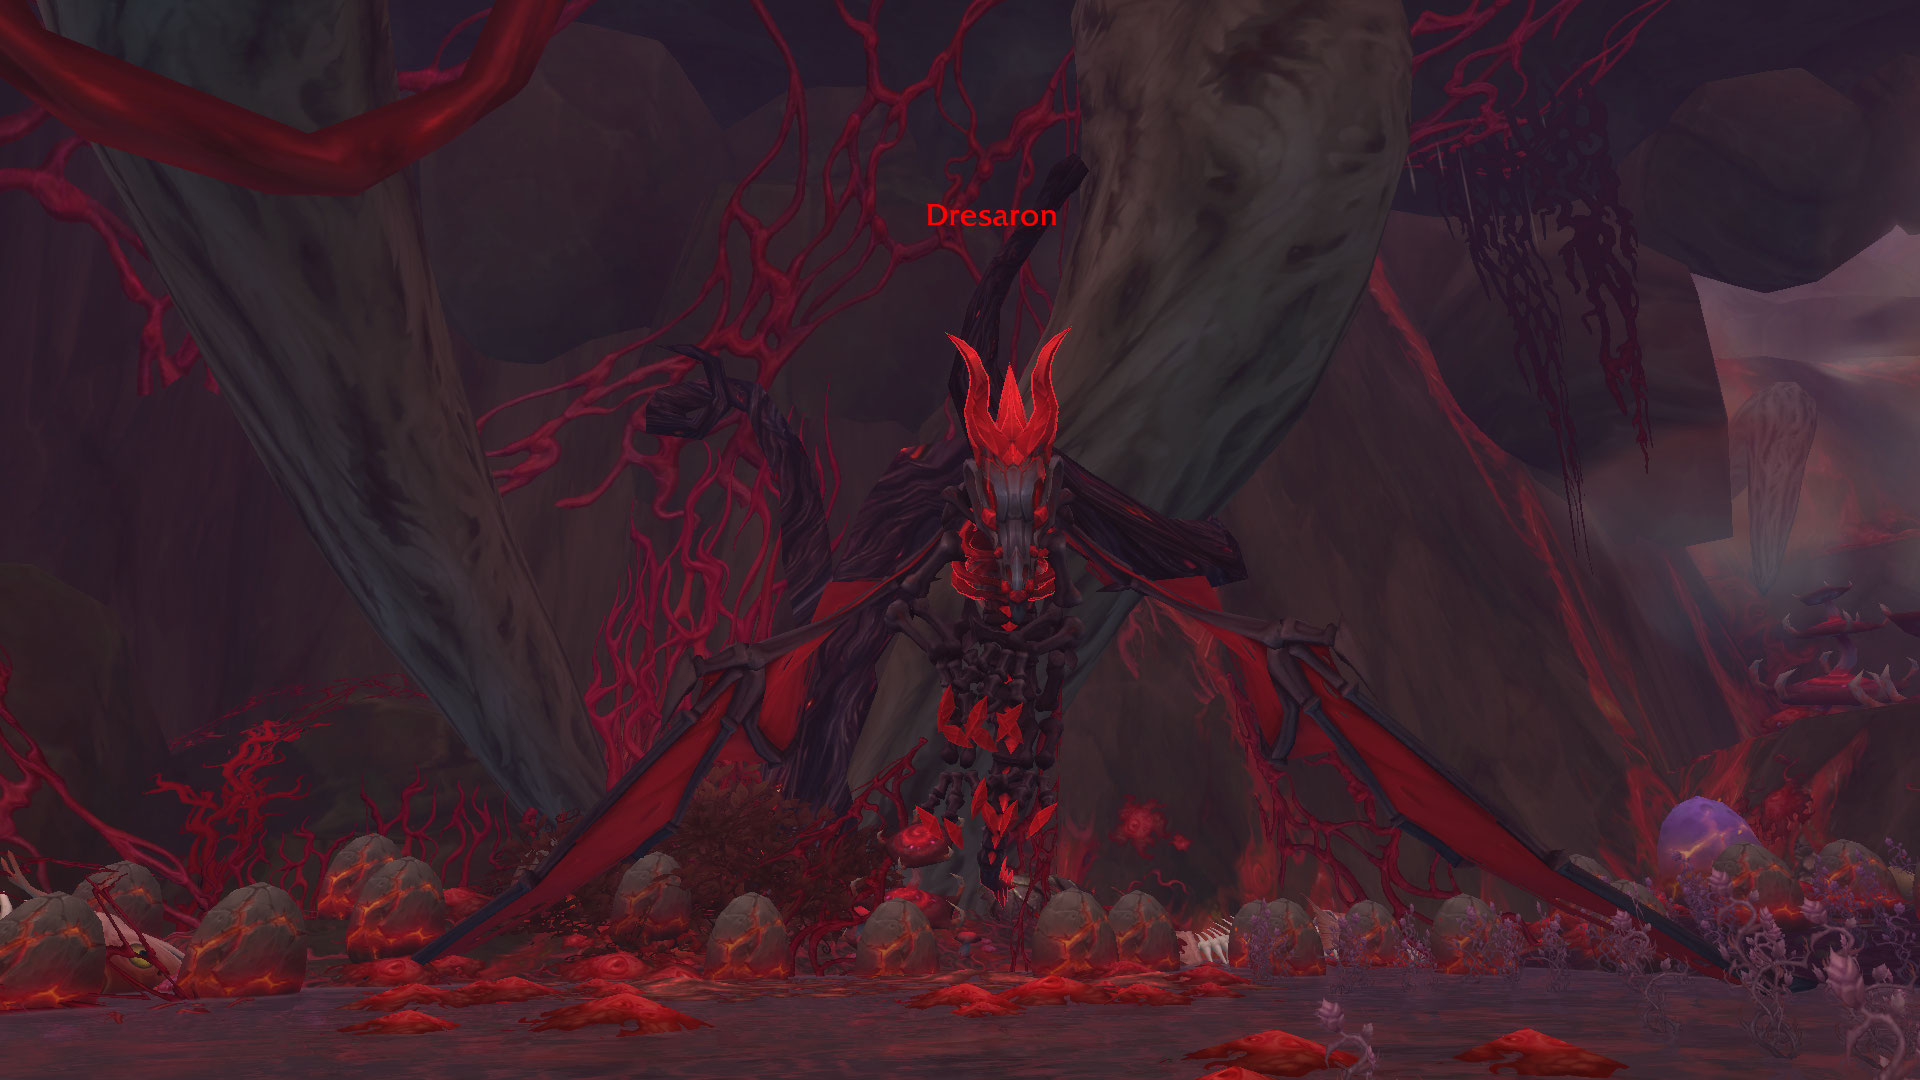
Dresaron Boss Guide
Dresaron is fairly simple fight in which you must avoid the
![]() Breath of Corruption frontal (it goes on the tank), while making sure you
have a good amount of health before each
Breath of Corruption frontal (it goes on the tank), while making sure you
have a good amount of health before each ![]() Earthshaking Roar. In addition,
after each
Earthshaking Roar. In addition,
after each ![]() Earthshaking Roar,
Earthshaking Roar, ![]() Falling Rocks will appear on
a random player; make sure to avoid staying in them to prevent you from
taking any unnecessary damage. At last, during
Falling Rocks will appear on
a random player; make sure to avoid staying in them to prevent you from
taking any unnecessary damage. At last, during ![]() Down Draft, you will
be pushed back onto any existing Corrupted Dragon Eggs, so here will
be the perfect opportunity to use any movement speed increase effects to
prevent you from triggering the eggs and spawning Hatespawn Whelplings.
More information down below:
Down Draft, you will
be pushed back onto any existing Corrupted Dragon Eggs, so here will
be the perfect opportunity to use any movement speed increase effects to
prevent you from triggering the eggs and spawning Hatespawn Whelplings.
More information down below:
All Roles
- Avoid the Breath of Corruption frontal, and don't stack in front of
the tank.
- Pre-use defensive cooldowns if you have low HP before each
 Earthshaking Roar.
 - Move out of the
 Falling Rocks as quickly as you can.
 - Use bonus movement-speed abilities during each
 Down Draft to avoid
breaking any Corrupted Dragon Eggs and thus spawning Hatespawn Whelplings.
Down Draft to avoid
breaking any Corrupted Dragon Eggs and thus spawning Hatespawn Whelplings.
Tank
- Stay away from your team before each Breath of Corruption frontal.
- If any Hatespawn Whelplings spawn, collect the aggro and stack them under the boss to enable cleaving.
Healer
- Top-up every player before each Earthshaking Roar.
Shade of Xavius
Notable Trash Before Shade of Xavius
- Interrupt Dreadfire Imp's
 Dread Inferno cast.
If you have any spare kicks, you can use them for their
Dread Inferno cast.
If you have any spare kicks, you can use them for their  Firebolt.
 - Interrupt Taintheart Summoner's
 Shadow Bolt and be mindful
of the
Shadow Bolt and be mindful
of the  Curse of Isolation. Although you can interrupt the curse, if there
are no allies around you, no one takes damage!
Curse of Isolation. Although you can interrupt the curse, if there
are no allies around you, no one takes damage! - Beware of Taintheart Stalker's
 Dark Hunt, as he will randomly
teleport and damage a random member of your party.
Dark Hunt, as he will randomly
teleport and damage a random member of your party. - Important mob: Focus on killing any Tormented Bloodseekers due
to their
 Darksoul Bite ability, leaving multiple applications of the
 Disease effect on your tank - Darksoul Drain.
 - At last, Taintheart Deadeye will cast
 Scorching Shot and Shoot
on a random target when out of melee. If they are in melee, you can only expect them
to auto-attack your tank and occasionally cast
Scorching Shot and Shoot
on a random target when out of melee. If they are in melee, you can only expect them
to auto-attack your tank and occasionally cast  Shadow Decoy, spawning
Deadeye Decoy trying to "trick" you (ignore the spawn).
Shadow Decoy, spawning
Deadeye Decoy trying to "trick" you (ignore the spawn).
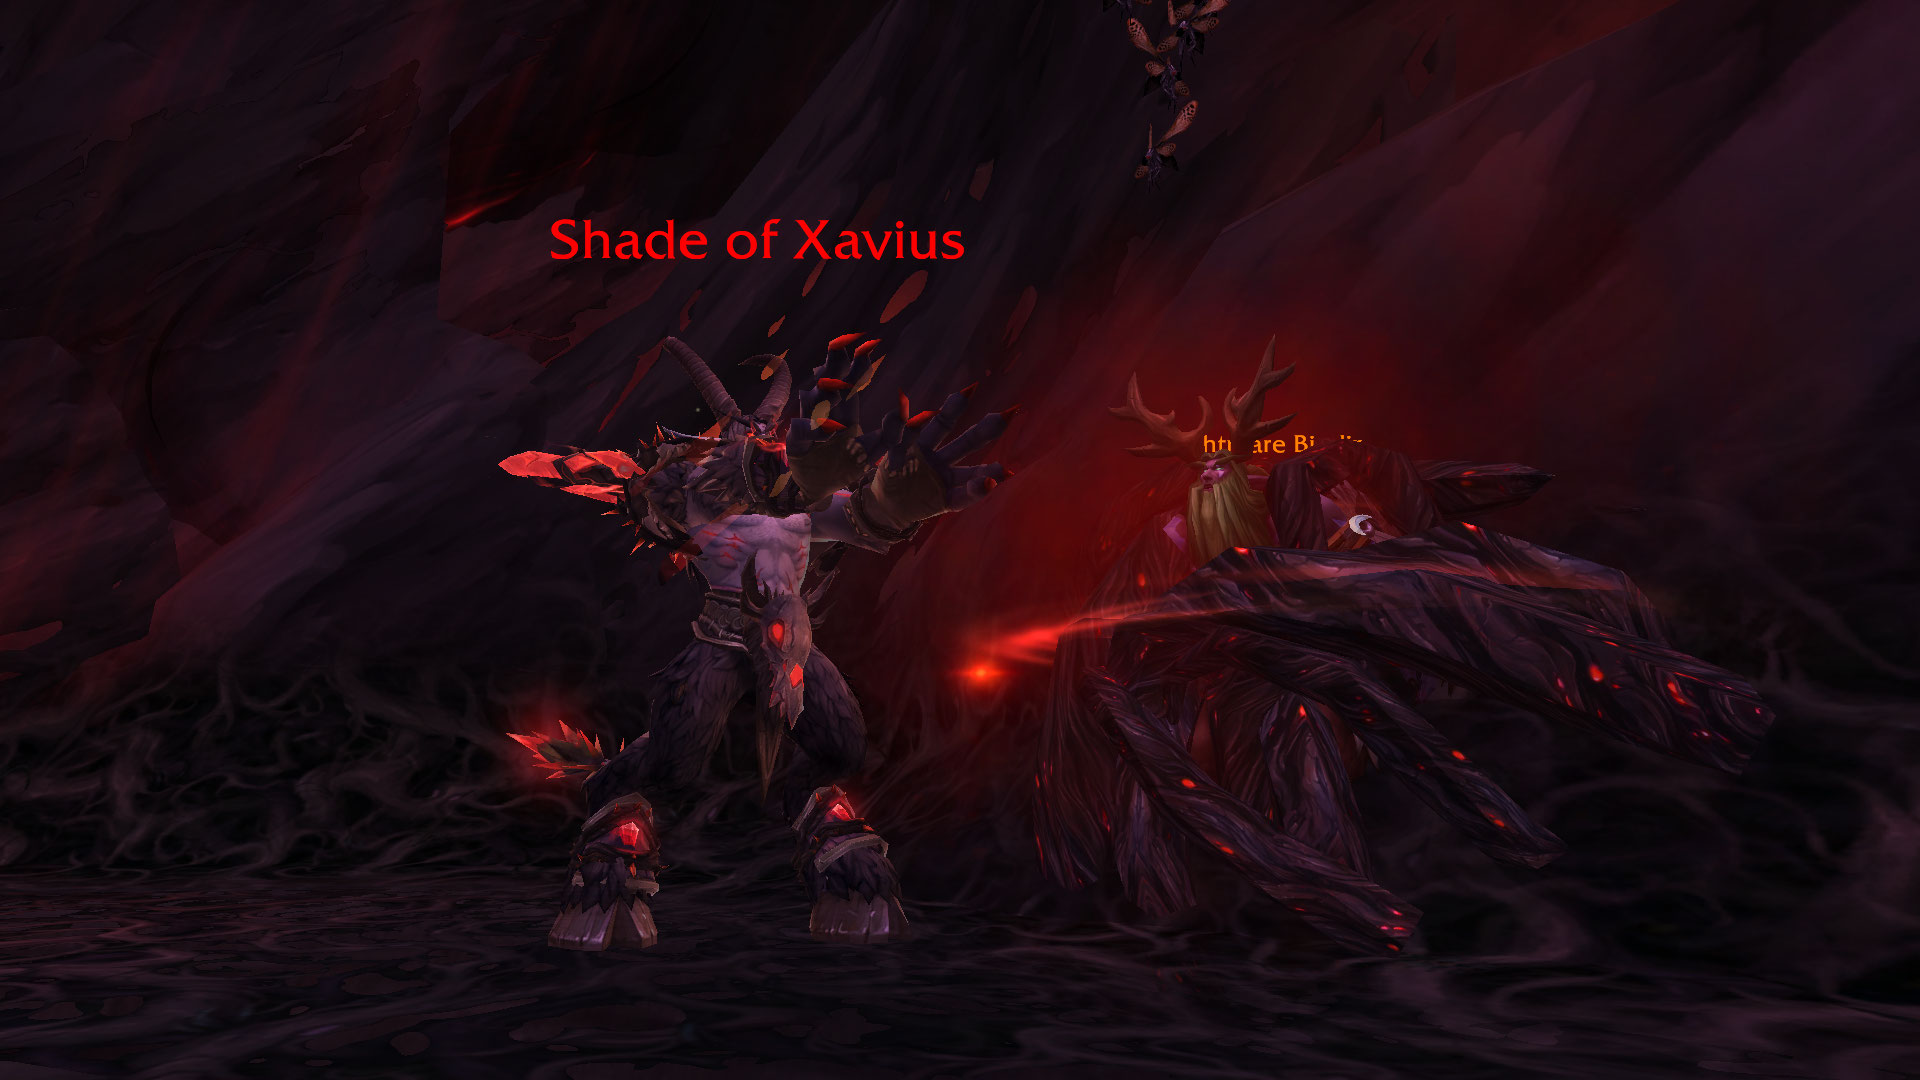
Shade of Xavius Boss Guide
Throughout the fight, Shade of Xavius will cast ![]() Nightmare Bolt to
a random target and select a
Nightmare Bolt to
a random target and select a ![]() Waking Nightmare target (stay close to each
other to prevent them from getting feared if the
Waking Nightmare target (stay close to each
other to prevent them from getting feared if the ![]() Waking Nightmare
target is all by himself; they will get feared). Being stacked has its disadvantages
, such as
Waking Nightmare
target is all by himself; they will get feared). Being stacked has its disadvantages
, such as ![]() Induced Paranoia effect, in which case you have to swiftly
react and avoid the targeted person. At last, be aware that
Induced Paranoia effect, in which case you have to swiftly
react and avoid the targeted person. At last, be aware that ![]() Apocalyptic Nightmare
will be cast throughout the fight, all together with
Apocalyptic Nightmare
will be cast throughout the fight, all together with ![]() Feed on the Weak, in which
case, use personal defensive! More information down below:
Feed on the Weak, in which
case, use personal defensive! More information down below:
All Roles
- Use defensives during
 Feed on the Weak cast.
 - Stay away from anyone that gets the
 Induced Paranoia debuff.
 - Stay close enough to each other so you can react to Waking Nightmare
debuff, this way you will prevent the person from getting feared!
- Be mindful of
 Apocalyptic Nightmare ground animation.
Tank
- Use personal defensives during the
 Festering Rip tank buster
ability.
Festering Rip tank buster
ability.
Healer
- Top everyone up before each Apocalyptic Nightmare cast.
- Spot-heal the Feed on the Weak channel cast.
Darkheart Thicket Loot Table
Archdruid Glaidalis
| Type | Item | Stats |
|---|---|---|
| Plate Wrist | Mastery/Crit | |
| Mail Hands | Haste/Mastery | |
| Cloth Waist | Mastery/Crit | |
| Leather Boots | Mastery/Vers | |
| Ring | Mastery/Haste | |
| Trinket | Mastery |
Oakheart
| Type | Item | Stats |
|---|---|---|
| 1H Mace | Str, Vers/Mastery | |
| Mail Wrist | Vers/Haste | |
| Cloth Legs | Vers/Haste | |
| Ring | Crit/Mastery | |
| Trinket | Vers |
Dresaron
| Type | Item | Stats |
|---|---|---|
| Neck | Mastery/Crit | |
| Cloth Shoulder | Haste/Mastery | |
| Leather Wrist | Mastery/Crit | |
| Plate Waist | Vers/Mastery | |
| Mail Boots | Mastery/Haste | |
| Trinket | Agi |
Shade of Xavius
| Type | Item | Stats |
|---|---|---|
| Plate Shoulder | Crit/Vers | |
| Back | Crit/Haste | |
| Mail Chest | Mastery/Crit | |
| Leather Hands | Haste/Mastery | |
| Cloth Boots | Crit/Mastery | |
| Trinket | Crit |
Darkheart Thicket Achievements
There are 6 total achievements to obtain in Darkheart Thicket:
| Achievement | Criteria |
|---|---|
| Defeat the Shade of Xavius in Darkheart Thicket. | |
| Defeat the Shade of Xavius in Darkheart Thicket
on |
|
| Defeat the Shade of Xavius in Darkheart Thicket
on |
|
| Complete Darkheart Thicket at |
|
| Defeat the Shade of Xavius while he has 10 stacks
of |
|
| Defeat Dresaron after slaying the Hateful Abomination
in Darkheart Thicket on |
Changelog
- 19 Mar. 2024: No further changes required for 10.2.6 Patch.
- 15 Jan. 2024: No further changes required for 10.2.5 Patch.
- 06 Nov. 2023: Guide added.