

Welcome to our guide to the Throne of the Tides dungeon in Season 3 of the Dragonflight World of Warcraft expansion. This guide will cover everything you need to know about the dungeon, including how to get to it, its layout, the trash and boss mechanics within, and its loot.
Short Introduction
This guide will focus on an extensive overview of the dungeon, providing vital information to increase your chance of completing the key. We will cover all 4 boss fights supported by the most notable trash enemies in the dungeon and their important abilities. If you would like to learn about the rest of the dungeons in Mythic+, please see our overviews linked below.
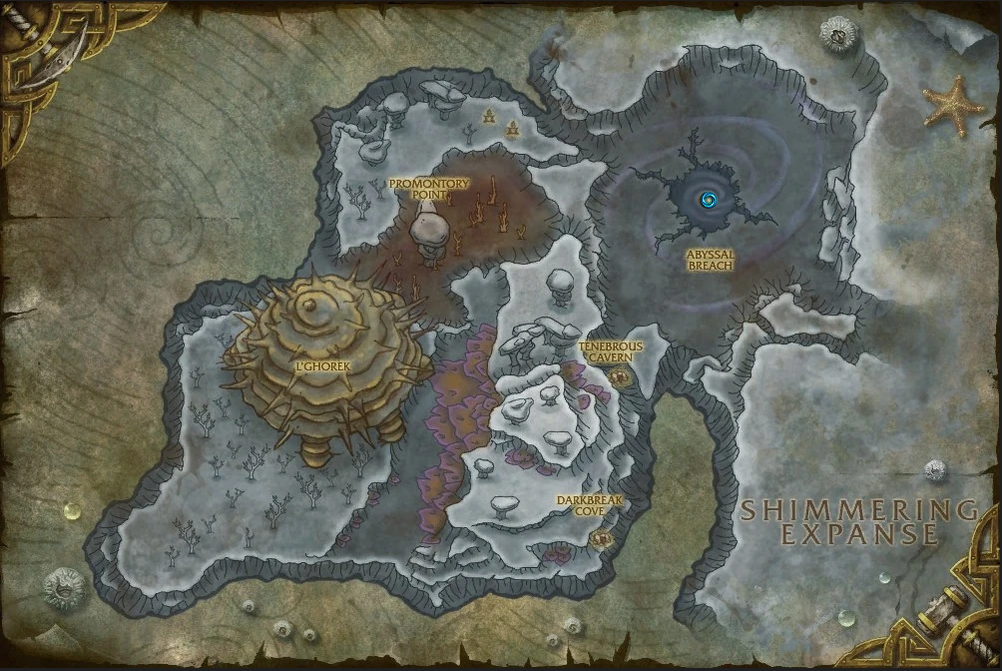
Getting into Throne of the Tides
Throne of the Tides is a max-level dungeon in Abyssal Depths, Vashj'ir.
The dungeon is available in both ![]() Mythic and Mythic+ mode.
Mythic and Mythic+ mode.
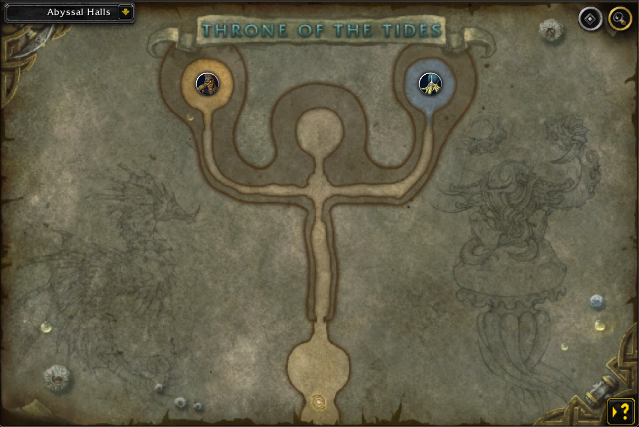
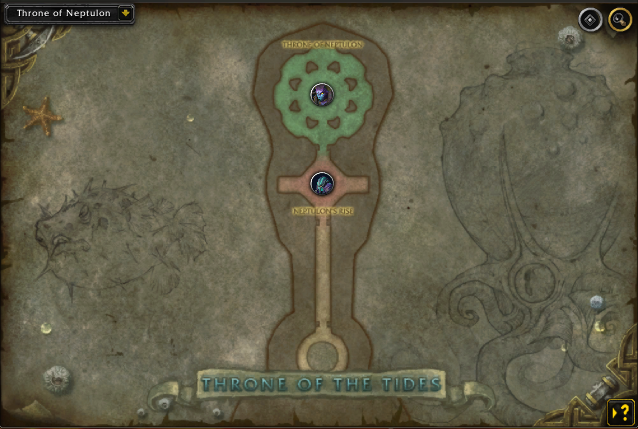
Throne of the Tides Layout
Lady Naz'Jar
Notable Trash Before Lady Naz'Jar
- Important mob: Interrupt Naz'jar Spiritmender's
 Healing Wave,
while stopping as many
Healing Wave,
while stopping as many  Wrath as possible. In addition, the mob will
occasionally cast
Wrath as possible. In addition, the mob will
occasionally cast  Hex to a random member of your party. It is extremely
important to interrupt/stop the cast, and in case you can't, the alternative
option is to
Hex to a random member of your party. It is extremely
important to interrupt/stop the cast, and in case you can't, the alternative
option is to  Curse dispel it.
 - Watch out for Naz'jar Sentinel's
 Crushing Depths debuff,
as you can't dispel it. In addition, the mob will cast
Crushing Depths debuff,
as you can't dispel it. In addition, the mob will cast  Shellbreaker
to your tank, this can be dangerous if you have multiple mobs alongside the
Naz'jar Sentinel.
Shellbreaker
to your tank, this can be dangerous if you have multiple mobs alongside the
Naz'jar Sentinel. - Naz'jar Invader will only melee attack and have a
 Slithering Assault
buff that you can Purge.
Slithering Assault
buff that you can Purge. - Important mob Vicious Snap Dragon will apply a stackable
 Bleed
effect on your tank
Bleed
effect on your tank  Razor Jaws. Use stun effects to try and reset
the stacks or alternative "kite".
Razor Jaws. Use stun effects to try and reset
the stacks or alternative "kite". - Avoid Naz'jar Ravager's
 Volatile Bolt ground effect.
In addition, avoid staying in the
Volatile Bolt ground effect.
In addition, avoid staying in the  Acid Barrage frontal (it always goes on the tank); in case you do, use defensive cooldown on the follow-up
  Volatile Acid effect.
 - Interrupt Naz'jar Tempest Witch's Lighting Bolt and dispel as many
 Lightning Surge debuffs as you can.
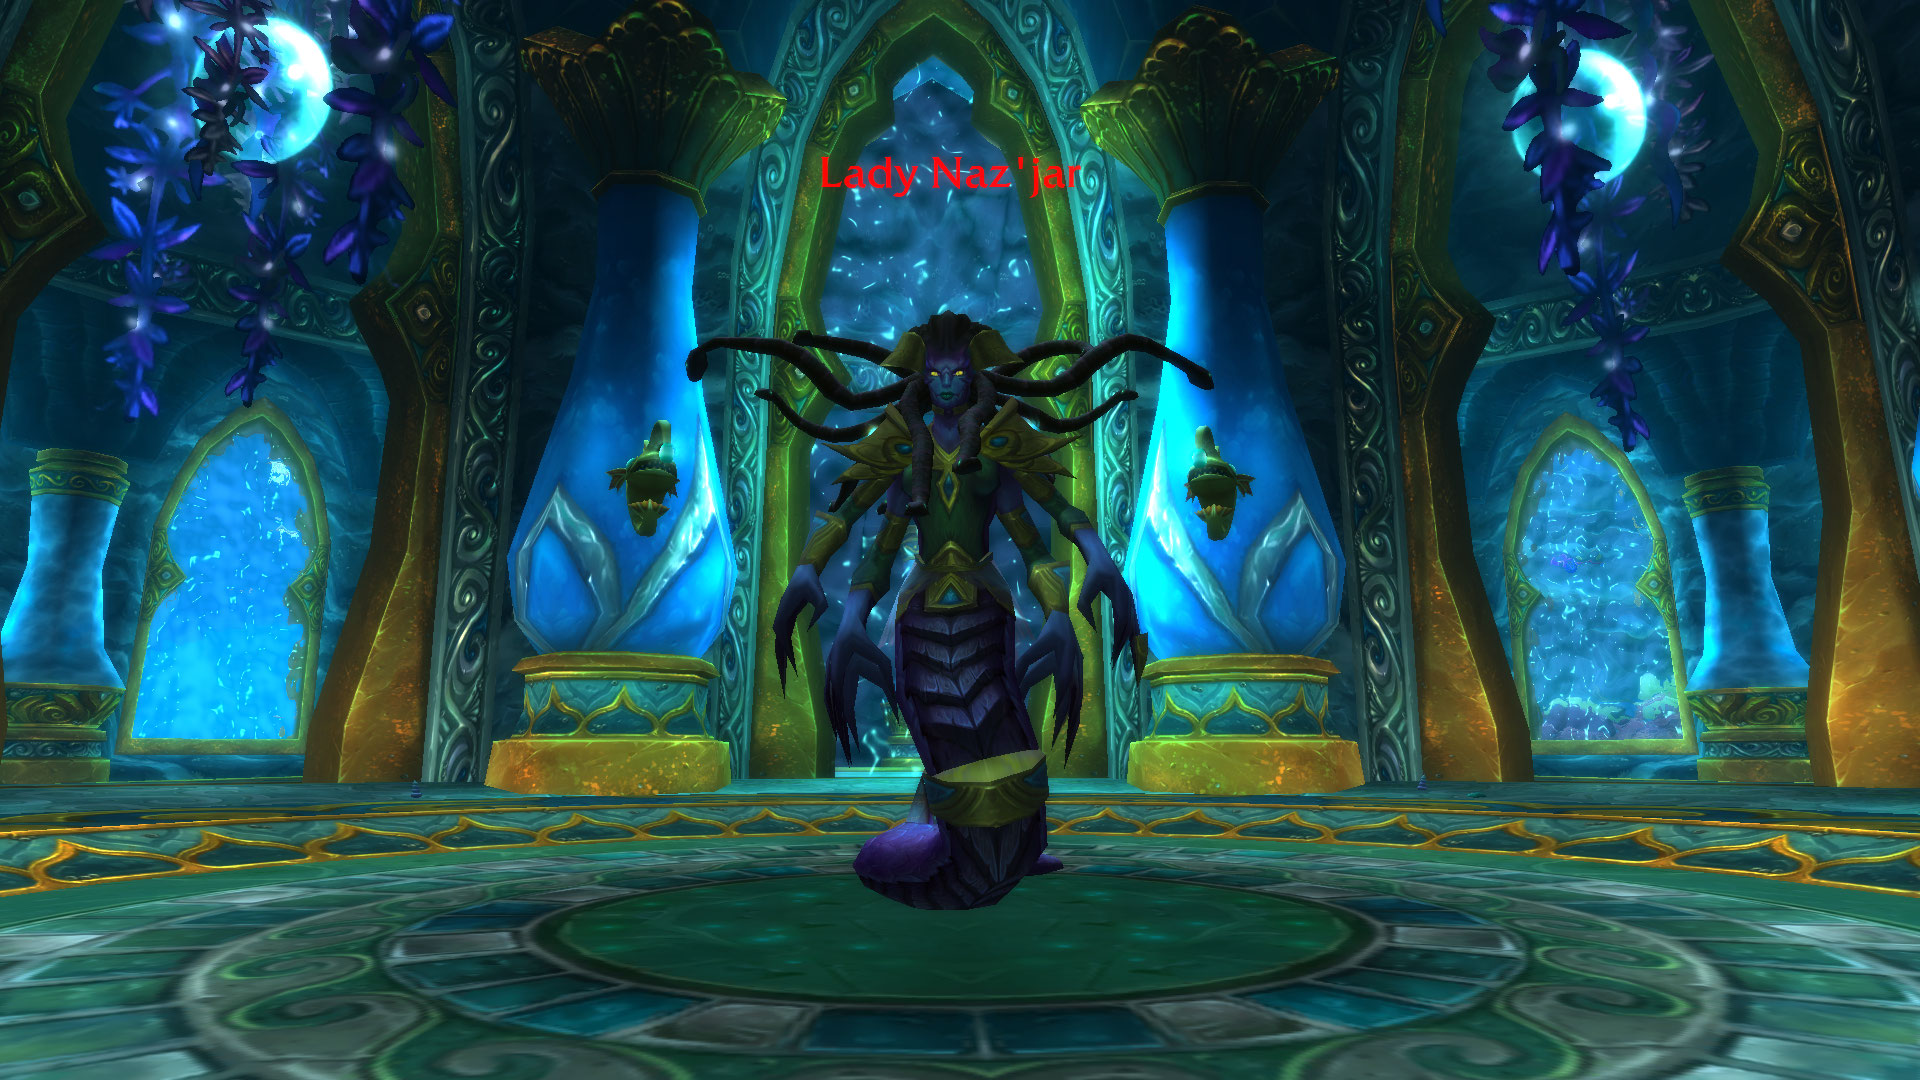
Lady Naz'Jar Boss Guide
Lady Naz'jar is a single-phase boss encounter with a 2 identical
intermissions - ![]() Waterspout, starting at 60% and 30% HP
remaining, summoning Naz'jar Tempest Witch, Naz'jar Honor Guard and
Deep Sea Murloc. Throughout the fight, you must interrupt her
Waterspout, starting at 60% and 30% HP
remaining, summoning Naz'jar Tempest Witch, Naz'jar Honor Guard and
Deep Sea Murloc. Throughout the fight, you must interrupt her ![]() Water Bolt
and stay fairly loose during
Water Bolt
and stay fairly loose during ![]() Focused Tempest channel cast. In addition,
the boss will target a singular person with
Focused Tempest channel cast. In addition,
the boss will target a singular person with ![]() Shock Blast, after which
you must get away from your party to avoid cleaving them with the follow-up
Shock Blast, after which
you must get away from your party to avoid cleaving them with the follow-up
![]() Shock Orb effect.
Shock Orb effect. ![]() Waterspout intermission will end
as soon as all adds are dead. At last, make sure you never stand on the
Waterspout intermission will end
as soon as all adds are dead. At last, make sure you never stand on the
![]() Geyser ground effect. For a more detailed breakdown, read down below:
Geyser ground effect. For a more detailed breakdown, read down below:
All Roles
- Interrupt as many
 Water Bolt as you can.
 - Stay slightly spread during
 Focused Tempest channel cast.
 - If you get targeted by
 Shock Blast, make sure there are no
other party members around you to make the follow-up
Shock Blast, make sure there are no
other party members around you to make the follow-up  Shock Orb
effect easier to dodge.
Shock Orb
effect easier to dodge. - Avoid the
 Geyser ground effect.
 - During the
 Waterspout intermission, your utmost priority is to
interrupt the Naz'jar Tempest Witch's
Waterspout intermission, your utmost priority is to
interrupt the Naz'jar Tempest Witch's  Frostbolt and use Purge / Dispel
effects on
Frostbolt and use Purge / Dispel
effects on  Icy Veins buff. In addition, avoid staying in front of the
Naz'jar Honor Guard's
Icy Veins buff. In addition, avoid staying in front of the
Naz'jar Honor Guard's  Trident Flurry frontal and use your Enrage
dispels on the Slithering Assault aura.
Trident Flurry frontal and use your Enrage
dispels on the Slithering Assault aura.
Tank
- During Waterspout intermission, collect aggro on all adds
(Naz'jar Tempest Witch, Naz'jar Honor Guard and Deep Sea Murloc)
and do your best to stack them together. This will allow for better efficiency
and faster intermissions.
Healer
- Keep everyone healthy during the Focused Tempest channel cast.
- Dispel Naz'jar Tempest Witch's Icy Veins to make the
Waterspout intermission much easier to handle.
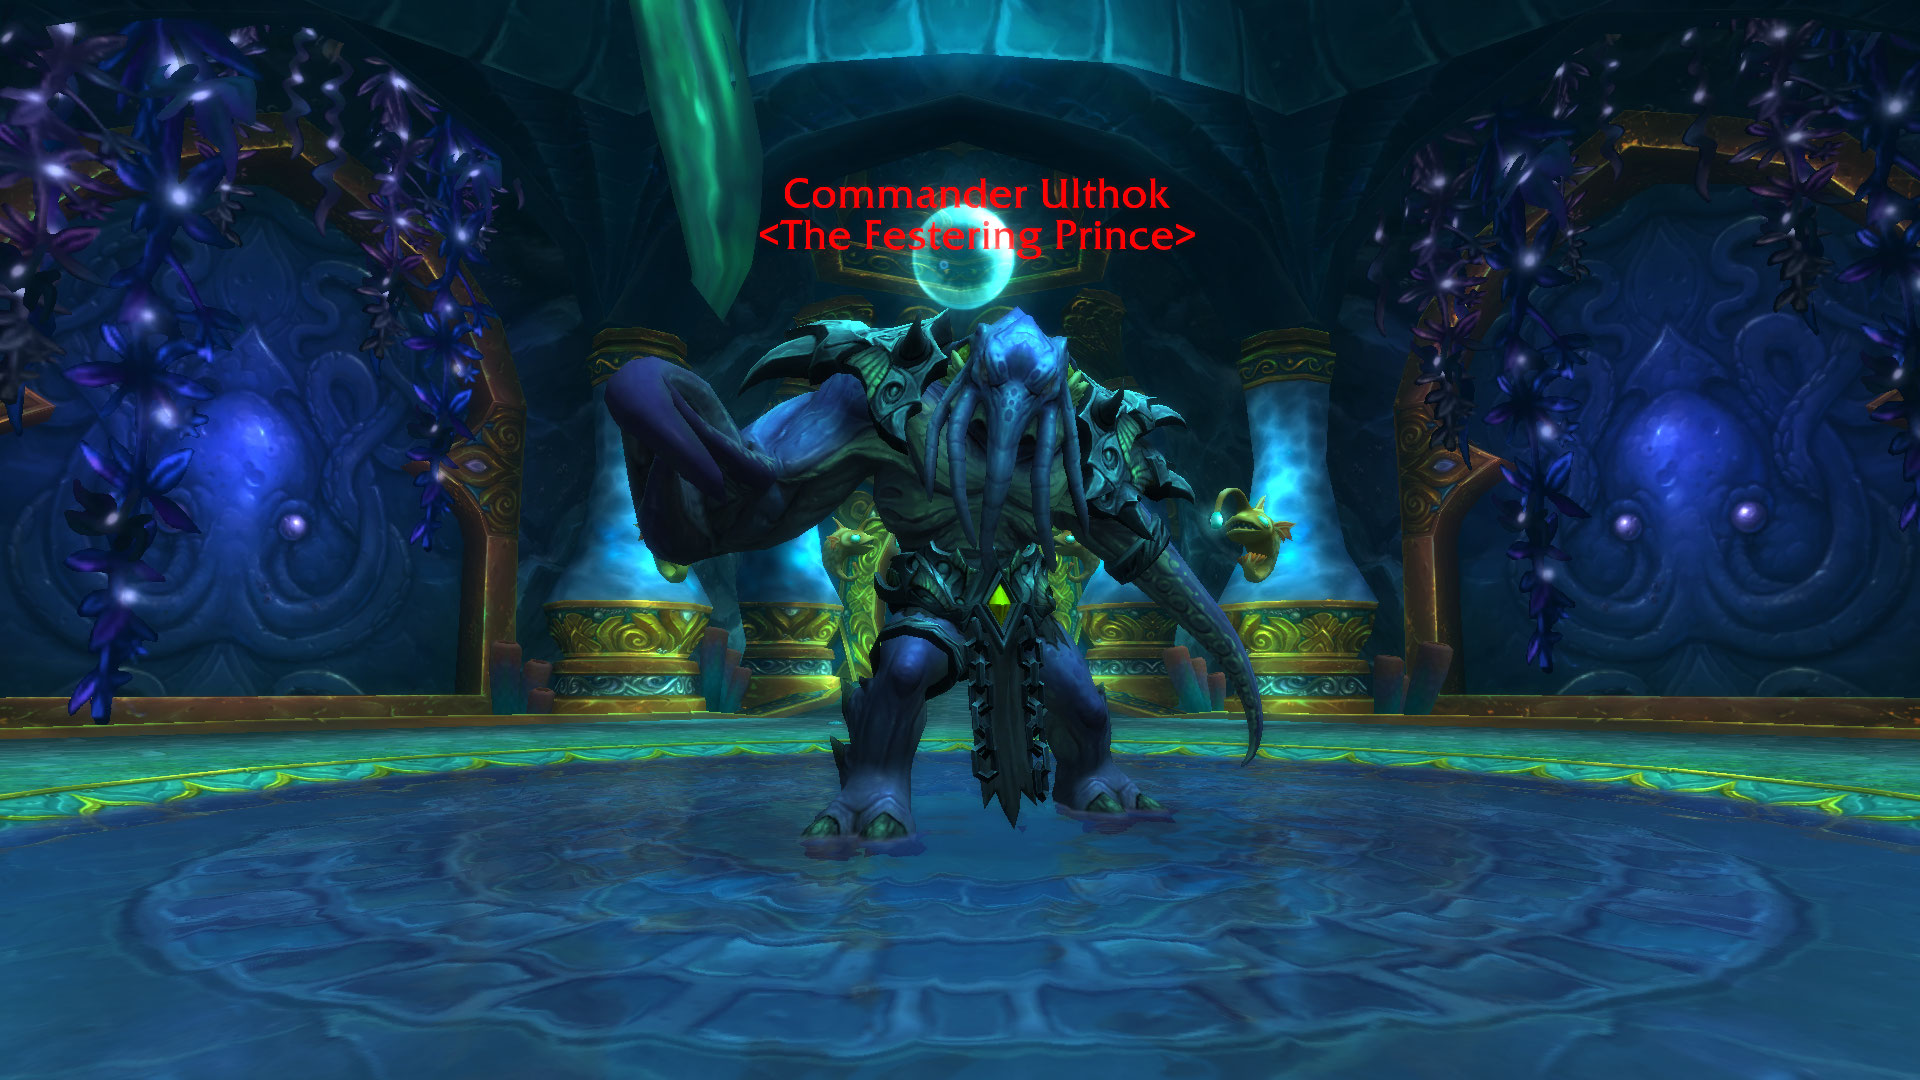
Commander Ulthok, the Festering Prince
Commander Ulthok, the Festering Prince Boss Guide
Commander Ulthok is a single-phase fight in which your main focus will be
![]() Bubbling Fissure placement and
Bubbling Fissure placement and ![]() Bubbling Ooze management.
In addition, your tank needs to watch out for
Bubbling Ooze management.
In addition, your tank needs to watch out for ![]() Crushing Claw tank-buster
ability while your healer keeps you alive during the
Crushing Claw tank-buster
ability while your healer keeps you alive during the ![]() Festering Shockwave
damage-over-time effect. For a more detailed breakdown, read down below:
Festering Shockwave
damage-over-time effect. For a more detailed breakdown, read down below:
All Roles
- Position
 Bubbling Fissure closer to each other to help you kite
easier the incoming
Bubbling Fissure closer to each other to help you kite
easier the incoming  Bubbling Oozes. In addition, avoid staying in
the ground pools at all costs.
Bubbling Oozes. In addition, avoid staying in
the ground pools at all costs. - Pro tip: You can light of sight the
 Festering Shockwave
damage-over-time effect.
Festering Shockwave
damage-over-time effect. - Use any crowd-control effects to help your team prevent Bubbling Oozes
coming closer to you.
Tank
- Beware of
 Crushing Claw tank-buster ability.
Healer
- Use your major healing cooldowns during the Festering Shockwave
knockback.
Mindbender Ghur'sha
Notable Trash Before Mindbender Ghur'sha
- Beware of Faceless Watcher's
 Clenching Tentacles combined with
 Ground Pound. You have limited time to escape the smash, so be quick! In addition,
Faceless Watcher will continuously cast Crush to your tank.
Ground Pound. You have limited time to escape the smash, so be quick! In addition,
Faceless Watcher will continuously cast Crush to your tank. - Minion of Ghur'sha will continuously cast its unavoidable AoE damage
 Psionic Pulse (you can stun it).
 - Interrupt Faceless Seer's
 Mind Flay.
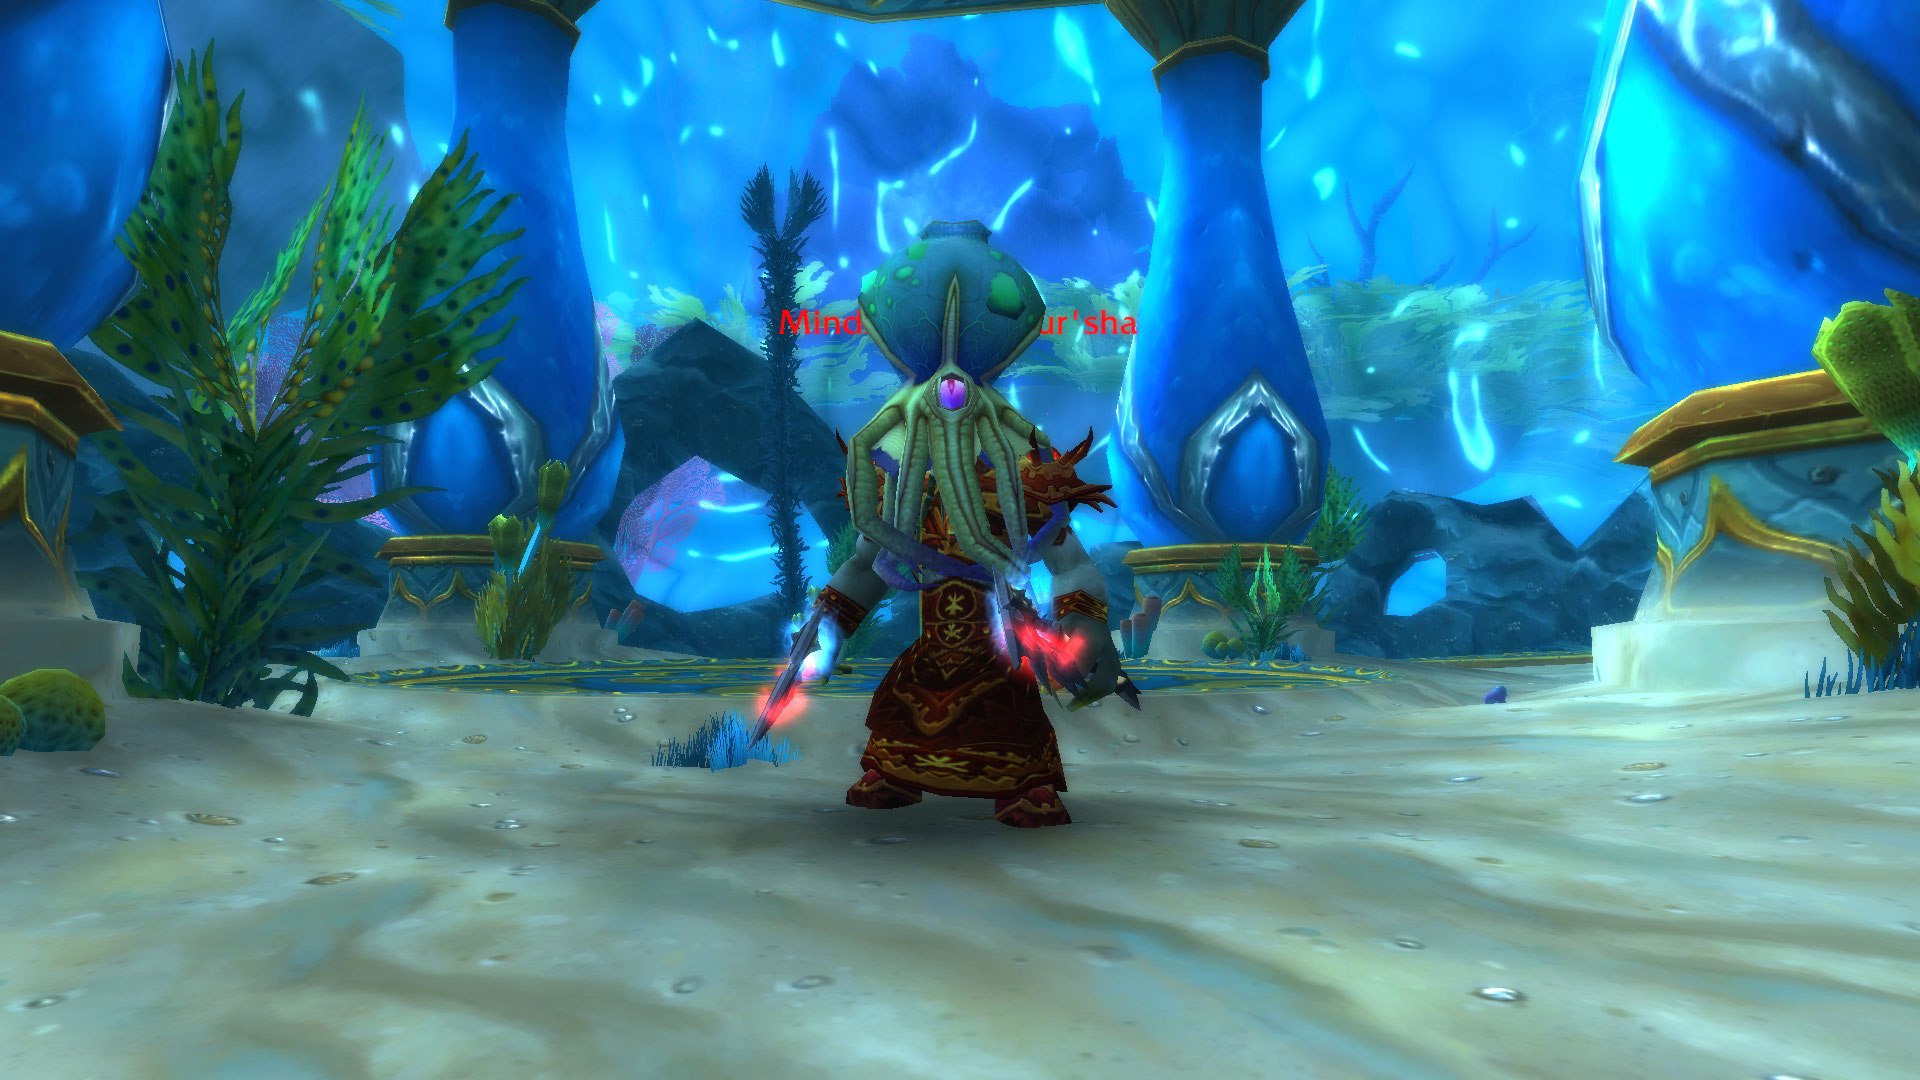
Mindbender Ghur'sha Boss Guide
Mindbender Ghur'sha is a 2 Phase fight, in which you will be fighting
Erunak Stonespeaker during Phase 1 and Mindbender Ghur'sha during Phase 2.
In the first phase, all you have to do is Dispel ![]() Flame Shock, avoid stepping
on a
Flame Shock, avoid stepping
on a ![]() Earthfury ground puddle, and kill
Earthfury ground puddle, and kill ![]() Stormflurry Totem as
quickly as you can. Once you down Erunak Stonespeaker to 25% HP, Phase 2 will begin.
During that time, line of sight the Mindbender Ghur'sha's
Stormflurry Totem as
quickly as you can. Once you down Erunak Stonespeaker to 25% HP, Phase 2 will begin.
During that time, line of sight the Mindbender Ghur'sha's ![]() Terrifying Vision
while your healer prevents you from dying to
Terrifying Vision
while your healer prevents you from dying to ![]() Mind Rot. For a more detailed
breakdown, read down below:
Mind Rot. For a more detailed
breakdown, read down below:
All Roles
- Avoid staying in the
 Earthfury.
 - Line of sight the Mindbender Ghur'sha's
 Terrifying Vision.
Tank
- Move Mindbender Ghur'sha closer to the
 Stormflurry Totem
to enable your party to cleave.
Stormflurry Totem
to enable your party to cleave.
Healer
- Dispel as many
 Flame Shock, as you can.
 - Keep everyone healthy during the
 Mind Rot (final stage of the fight).
Ozumat
Notable Trash Before Ozumat
- Beware of Gilgoblin Hunter's
 Poisoned Spear (it prefers tank players).
The
Poisoned Spear (it prefers tank players).
The  Poison damage-over-time effect stacks and can be Poison dispelled.
 - Interrupt Gilgoblin Aquamage's
 Aquablast.
 - Be mindful when you engage several Unstable Corruptions, due to their
 Wave of Corruption stackable debuff. If you combine that with Tainted Sentry
and its Swell heavy group-wide AoE ability, can be lethal depending
on the Wave of Corruption stacks.
Wave of Corruption stackable debuff. If you combine that with Tainted Sentry
and its Swell heavy group-wide AoE ability, can be lethal depending
on the Wave of Corruption stacks.
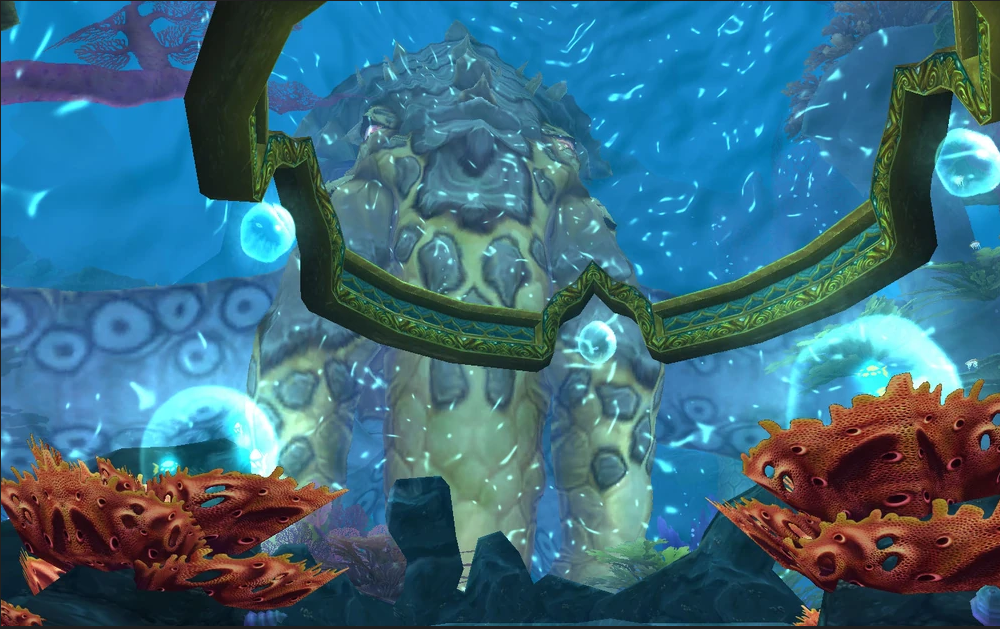
Ozumat Boss Guide
Ozumat consists of two phases - Phase 1: Filthy Invaders, fighting
Ink of Ozumat, and Phase 2: Tidal Surge, fighting Ozumat . During Phase 1,
your tank needs to pay attention to ![]() Foul Bolt single-target spell and
Foul Bolt single-target spell and
![]() Murk Spew frontal (it always goes on you, so position carefully
to avoid unnecessary casualties). In addition, he will periodically cast
@Blotting Barrage on3 players, followed by the
Murk Spew frontal (it always goes on you, so position carefully
to avoid unnecessary casualties). In addition, he will periodically cast
@Blotting Barrage on3 players, followed by the ![]() Blotting Darkness ground effect.
It is best if you position yourself further away from melee to allow for better
Blotting Darkness ground effect.
It is best if you position yourself further away from melee to allow for better
![]() Blotting Darkness management. The only way to get rid of the ground pools
is if you go on top of them with
Blotting Darkness management. The only way to get rid of the ground pools
is if you go on top of them with ![]() Cleansing Flux (also cast on 3 players).
Your healer must not only pay constant attention to people with
Cleansing Flux (also cast on 3 players).
Your healer must not only pay constant attention to people with ![]() Blotting Barrage
but also keep you healthy during
Blotting Barrage
but also keep you healthy during ![]() Putrid Roar damage-over-time effect.
At last, Ozumat will periodically cast
Putrid Roar damage-over-time effect.
At last, Ozumat will periodically cast ![]() Deluge of Filth, summoning
Splotch and Sludge (each of them having unique abilities). Once you defeat
Ink of Ozumat, Phase 2 will begin by receiving a
Deluge of Filth, summoning
Splotch and Sludge (each of them having unique abilities). Once you defeat
Ink of Ozumat, Phase 2 will begin by receiving a ![]() Tidal Surge to
the whole party. At this stage of the fight, it is very unlikely that you will wipe
, but just consider that the boss will damage the whole party with
Tidal Surge to
the whole party. At this stage of the fight, it is very unlikely that you will wipe
, but just consider that the boss will damage the whole party with ![]() Raining Darkness.
Raining Darkness.
All Roles
- If you get the
 Blotting Barrage, do NOT stack together and
instead, place the puddles close together. This is to ensure that there will
be better
Blotting Barrage, do NOT stack together and
instead, place the puddles close together. This is to ensure that there will
be better  Blotting Darkness ground effect management and easier
time clearing them with
Blotting Darkness ground effect management and easier
time clearing them with  Cleansing Flux.
 - Once the adds appear, your priority is to interrupt Splotch's
 Ink Blast.
In addition, beware that Sludge will apply
Ink Blast.
In addition, beware that Sludge will apply  Grimy debuff to your
tank and trigger
Grimy debuff to your
tank and trigger  Gushing Ink explosion upon death (which will also cause
their corpse to create Blotting Darkness).
Gushing Ink explosion upon death (which will also cause
their corpse to create Blotting Darkness).
Tank
- Be prepared to use mitigation for
 Foul Bolt.
 - Beware how you manage the
 Murk Spew frontal to avoid
causing any unnecessary death.
Murk Spew frontal to avoid
causing any unnecessary death. - Obtain aggro on both Splotch and Sludge and stack them under the Ink of Ozumat to enable better cleave.
Healer
- Be ready to use your healing cooldowns for
 Putrid Roar.
Throne of the Tides Loot Table
Lady Naz'Jar
| Type | Item | Stats |
|---|---|---|
| 1H Axe | Crit/Haste | |
| Shield | Crit/Mastery | |
| Cloth Head | Crit/Mastery | |
| Leather Head | Crit/Haste | |
| Mail Hands | Crit/Mastery |
Commander Ulthok
| Type | Item | Stats |
|---|---|---|
| Staff | Crit/Haste | |
| Leather Shoulder | Crit/Haste | |
| Plate Shoulder | Crit/Haste | |
| Mail Chest | Crit/Mastery |
Mindbender Ghur'sha
| Type | Item | Stats |
|---|---|---|
| Off-Hand | Haste/Crit | |
| Plate Head | Crit/Mastery | |
| Mail Waist | Crit/Mastery | |
| Leather Boots | Haste/Crit | |
| Trinket | Agi |
Ozumat
| Type | Item | Stats |
|---|---|---|
| 2H Axe | Crit/Haste | |
| Plate Chest | Haste/Mastery | |
| Cloth Hands | Crit/Haste | |
| Leather Waist | Crit/Haste | |
| Plate Legs | Mastery/Crit | |
| Trinket | Crit | |
| Trinket | Vers |
Throne of the Tides Achievements
There are 3 total achievements to obtain in Throne of the Tides:
| Achievement | Criteria |
|---|---|
| Throne of the Tides | Defeat Ozumat in Throne of the Tides. |
| Defeat Ozumat in Throne of the Tides on
|
|
| Complete Throne of the Tides at |
Changelog
- 19 Mar. 2024: No further changes required for 10.2.6 Patch.
- 15 Jan. 2024: No further changes required for 10.2.5 Patch.
- 06 Nov. 2023: Guide added.