

Shriekwing Strategy Guide for Castle Nathria

Nathria Guides
Shriekwing is the first boss of the Castle Nathria raid in the first patch of Shadowlands.
On this page, you will find the strategy guide video from Ready Check Pull, as well as their written strategy guide and the encounter journal from the game.
Ready Check Pull Video
Strategy Guide
Quick Version
During the Main Phase:
- The tanks need to taunt swap after every
 Exsanguinating Bite.
 - Run out of the raid if you get a red arrow on your head
(
 Echolocation).
 - Dodge the randomly facing frontal in melee (
 Blind Swipe).
 - Line-of-sight the
 Earsplitting Shriek casts using the pillars.
 - On Heroic, dodge the circles from the boss that bounce around the
room (
 Echoing Screech).
During the Intermission:
- Stay away from the boss as she walks around (
 Murder Prey).
 - Dodge the circles that bounce around the room ( Echoing Sonar).
- Line-of-sight the Earsplitting Shriek casts using the pillars.
Full Guide
The Shriekwing encounter is a two phase fight that alternates between the main phase where you fight the boss directly, and a sort of intermission phase where you basically play hide-and-seek with her.
During the Main Phase:
- Use
 Bloodlust/
 Heroism on the pull and bring the boss
close to one of the pillars while everyone else positions behind the boss.
Heroism on the pull and bring the boss
close to one of the pillars while everyone else positions behind the boss.- Keeping the boss close to a pillar makes it easier to quickly line-of-sight
the Earsplitting Shriek cast from the boss. Everyone should
line-of-sight this cast together in the same spot, because it also spawns red
pools at everyone's feet that damage anyone standing in them
(
 Sanguine Ichor). When the cast finishes, everyone should immediately
move out of the pools and back into position. You can use the same pillar for
every shriek cast by either rotating the boss around the pillar or simply
standing behind the previous pools.
Sanguine Ichor). When the cast finishes, everyone should immediately
move out of the pools and back into position. You can use the same pillar for
every shriek cast by either rotating the boss around the pillar or simply
standing behind the previous pools.
- Keeping the boss close to a pillar makes it easier to quickly line-of-sight
the
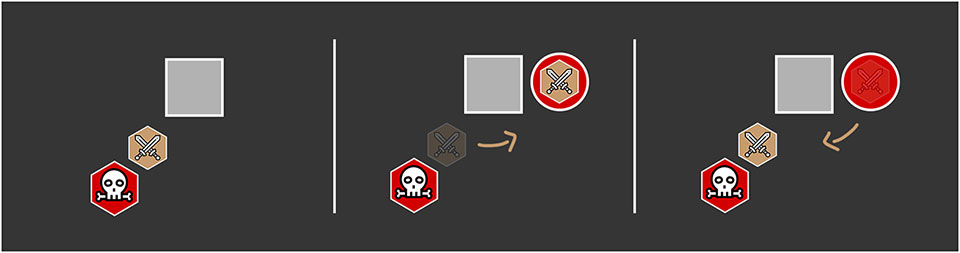
- The tanks need to taunt swap immediately after every
Exsanguinating Bite. It applies 10 stacks of a bleed that reduces
healing taken per stack (
 Exsanguinated). The stacks fade quickly on
their own, so each tank just has to survive the initial damage and they will be
fine.
Exsanguinated). The stacks fade quickly on
their own, so each tank just has to survive the initial damage and they will be
fine. - Shriekwing occasionally marks random players with a red arrow above their
head ( Echolocation). These players need to run away from the raid to
avoid hitting anyone else with the AoE when the mark expires (
 Descent).
This also leaves a red pool on the ground, so drop it away
from the pillars.
Descent).
This also leaves a red pool on the ground, so drop it away
from the pillars. - Shriekwing also occasionally casts a short-range swipe in a random
direction ( Blind Swipe). Be ready to quickly dodge this if you are
ever close to the boss.
- On Heroic difficulty, Shriekwing occasionally shoots a bunch of
circles out in a random direction that bounce around the room for a few seconds
( Echoing Screech). These need to be dodged, because getting hit by one
stuns you and then does AoE damage in a small circle and drops a red pool. If
someone does get hit by one, everyone should immediately move out of the AoE
circle.
- There is also regular, unavoidable DoT damage throughout the phase to give
you something to heal, but it is nothing major (
 Wave of Blood).
 - When Shriekwing's blood bar is full, she will start the intermission.
 Earsplitting Shriek
During the Intermission:
- Shriekwing becomes untargetable, jumps to the middle of the room, and sends
out a bunch of circles in random directions. Then she starts walking around the
room randomly, instantly killing any player that gets too close to her
( Murder Prey). She also continues to cast
Earsplitting Shriek.
- Everyone needs to stay away from the boss, while also dodging the circles and line-of-sighting her shriek casts with the pillars. The shriek still causes everyone to drop red pools at their feet, so it is probably easier to group up and move together in order to keep the pools from getting too messy.
- When Shriekwing's blood bar is empty, she will become targetable again, clear all of the red pools in the room, and start the Main Phase again.
Encounter Journal
We have encounter journal pages for each of the four difficulties, which you can access by clicking the links below.
Class Advice for Shriekwing
For each class, we provide advice on how to tackle the Shriekwing encounter, complete with actual tips, but also recommendations for talents and Legendary Powers.
Changelog
- 04 Dec. 2020: Added visuals.
- 23 Nov. 2020: Added Ready Check Pull video.
- 02 Nov. 2020: Added strategy section.
- 07 May 2020: Guide added.