

Invasion Points Guide (Legion 7.3)

Invasion Points
Invasion Points are a new type of repeatable content added in Patch 7.3. The forces of Azeroth will have the opportunity to strike at the Burning Legion by shutting down Invasion Points on other worlds.
Players will first be introduced to Invasion Points through a quest that challenges them to enter and defeat demonic forces inside. Each Invasion Point can be accessed without a queue to enter, and while no group is required, additional players will be able to enter the Invasion point instance within a short period of each other.
There are two tiers of Invasion Points:
- Tier 1 Invasion Points allow anywhere from 3-10 players within the instance. While you can enter alone, you will ideally want at least two other players to join you in order to complete the scenario.
- Tier 2 Invasion Points (also known as Greater Invasion Points), will require a raid to bring down the boss within.
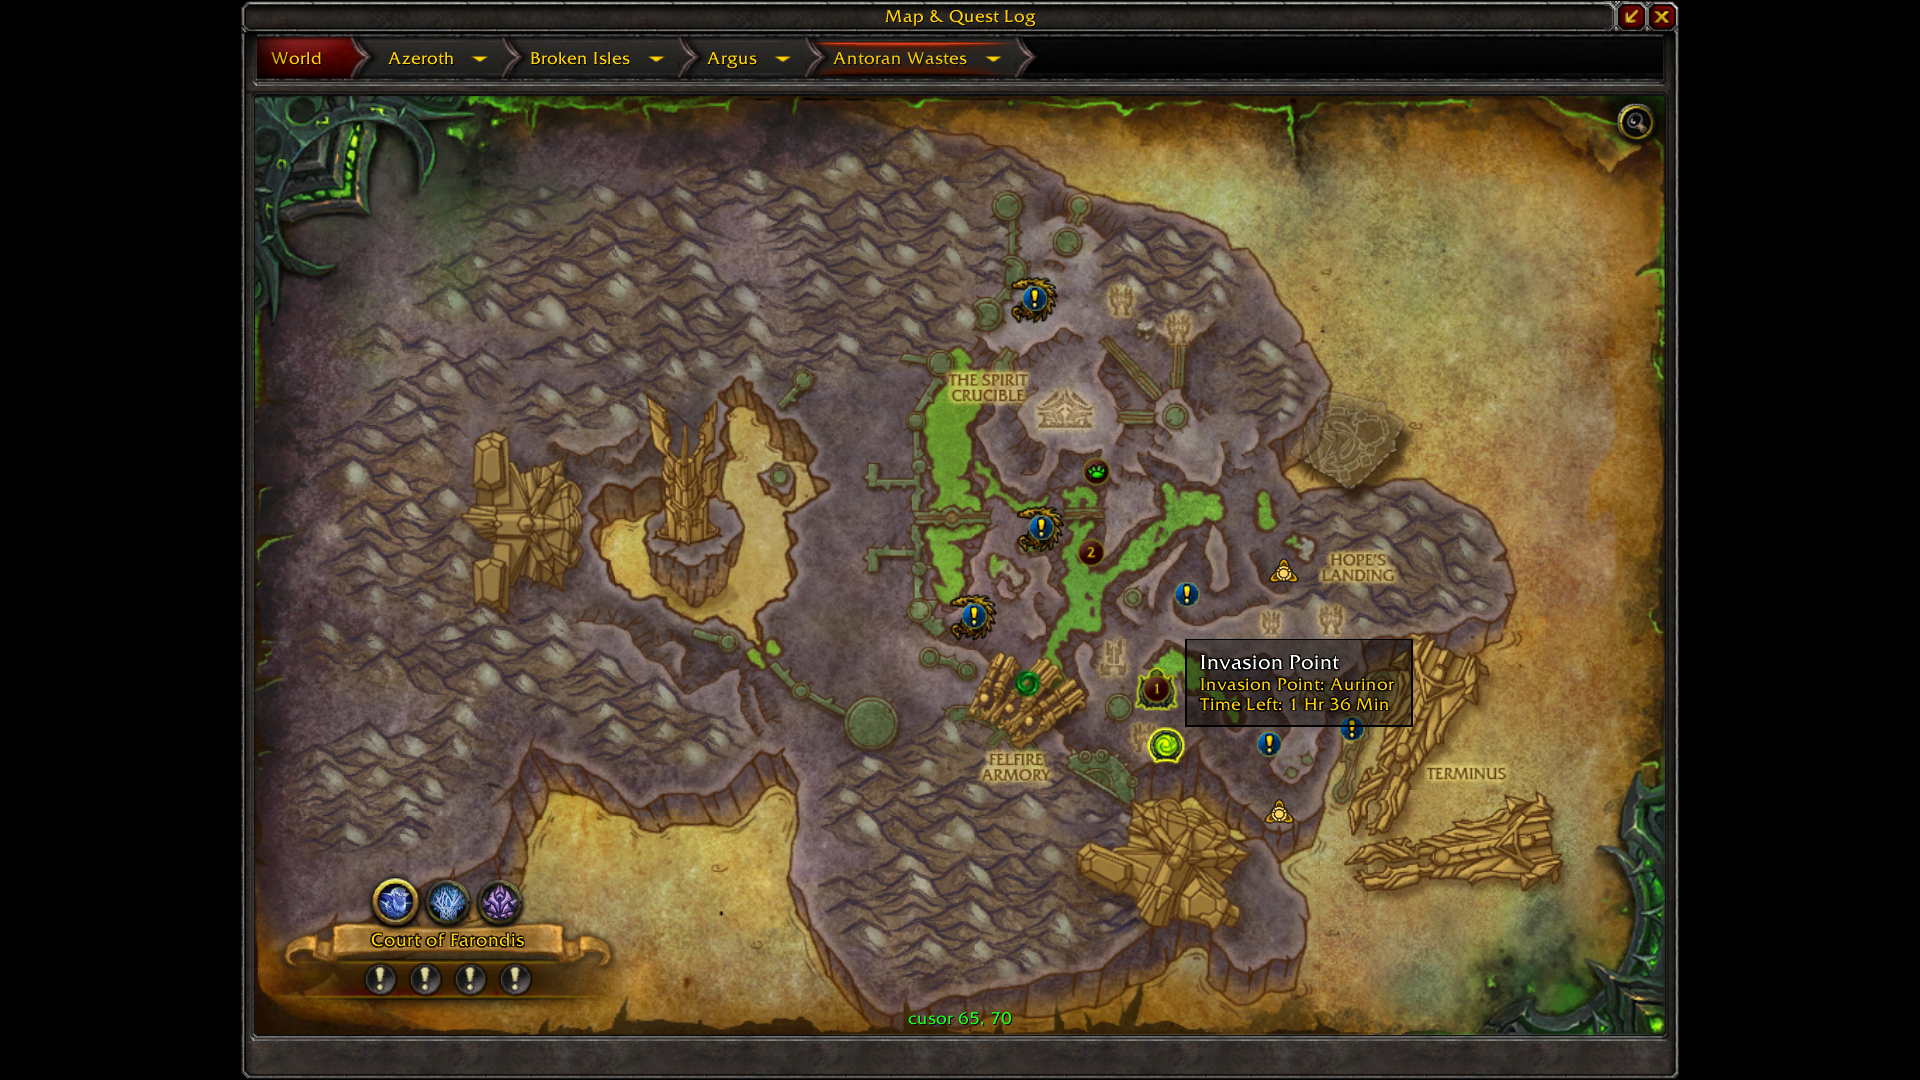
Multiple Invasion Points will be available on Argus at any given time. They are entered through portals, visible on your world map. Each player needs to click on the portal to enter.
Unlocking Invasion Points
Starting September 5th 2017, Invasion Points can be unlocked by talking to Illidan Stormrage aboard the Vindicaar (Where They Least Expect It).
Locations
Portals in locations on Argus, at random.
- In Krokuun, Invasion Point portals can be found at 46, 77 and/or 69, 82.
- In Mac'Aree, they are at 38, 12 and/or 61, 18.
- In Antoran Wastes, the portals are located at 60, 42 and/or 65, 70.
Uptime
Each Invasion Point will cycle within 6 hours and despawn. Keep an eye out on timers indicated on your map.
Rewards
Completing Invasion Points provides ![]() Argus Waystones which can be
used toward earning a weekly reward (Invasion Onslaught),
Argus Waystones which can be
used toward earning a weekly reward (Invasion Onslaught),
![]() Veiled Argunite and an Artifact power token.
Veiled Argunite and an Artifact power token.
Understanding the Notion of Environmental Hazards
Within Invasion Points, you need to be aware of your surroundings. Moving circles of Blizzard will appear on the ground, vines will emerge from the ground following, and eventually, stunning you if you get caught and so forth. Environmental hazards vary with each Invasion Point and in this guide, we are explaining all the possible variants for each Invasion Point.
Differences & Similarities Between Invasion Points
In this section, we will be discussing how Invasion Points differ from one another and what they all have in common.
Differences
- Invasion Points have different environmental hazards and at least one unique objective.
- The types of mobs you will be facing inside Invasion Points will differ with each stage.
Similarities
- All Invasion Points have three stages. Based on PTR testing, each stage 1 deals with defeating Legion forces, until the bar reaches 100%. In stage 2, additional mobs will spawn, and in the final stage you will need to kill a random elite Legion Commander to complete the Invasion Point.
 Arrogance will trigger on every pull, making enemies deal 10% less
damage to you for 4 seconds after you first damage them.
Arrogance will trigger on every pull, making enemies deal 10% less
damage to you for 4 seconds after you first damage them.- Enemies inside Invasion Points are susceptible to or benefit from environmental hazards.
- If you wipe on Legion Commanders, their health will not reset.
Invasion Points of Argus
A total of six Invasion Points can be found on Argus. In this section, you can find information about environmental hazards and different stages of the scenarios.
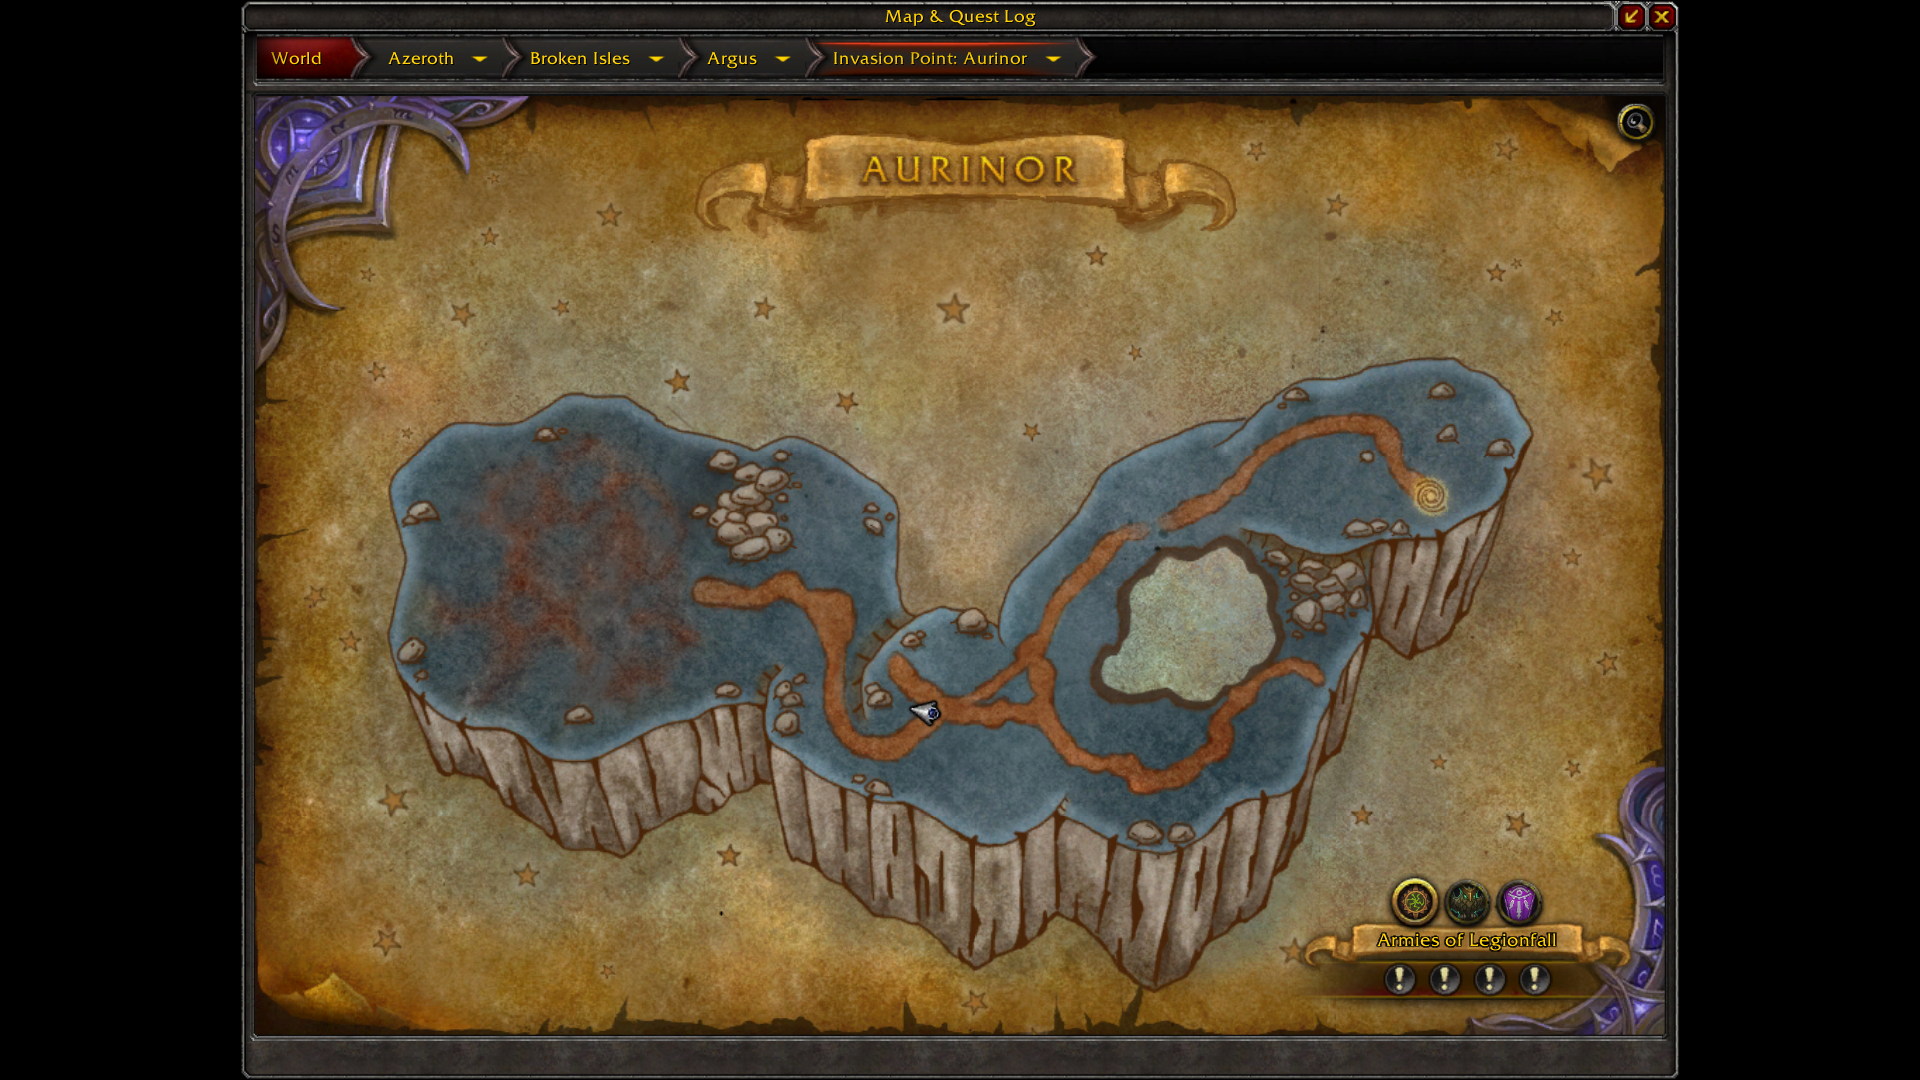
Invasion Point: Aurinor (Islands)
Map
Objectives
Stage 1
In the first stage, your group will need to kill Legion forces to fill the
bar to 100%. In Aurinor, you can find 8 Temporal Anomalies. Standing in a
Temporal Anomaly in stage 1 grants you the effect of
![]() Temporal Distortion, increasing your Haste and Movement speed by 15%.
Make sure your group stands at the edge of the Temporal Anomaly, so that
enemies do not benefit from it (they also get benefits if they stand in the
Anomaly). Fight your way down and kill enough enemies for
stage 2 to begin.
Temporal Distortion, increasing your Haste and Movement speed by 15%.
Make sure your group stands at the edge of the Temporal Anomaly, so that
enemies do not benefit from it (they also get benefits if they stand in the
Anomaly). Fight your way down and kill enough enemies for
stage 2 to begin.
Stage 2
The objective of the second stage is to destroy 8 Temporal Anomalies. More
demons will spawn and you will have to fight your way back to the entrance.
Approaching and right-clicking a Temporal Anomaly will destroy it,
granting you the effect of ![]() Temporal Alacrity, increasing your Haste and
Movement speed by 3% for every destroyed Temporal Anomaly, stacking up
to 8 times. The buff persists through death and in stage 3, your Haste and
Movement speed will be increased by up to 24%.
Temporal Alacrity, increasing your Haste and
Movement speed by 3% for every destroyed Temporal Anomaly, stacking up
to 8 times. The buff persists through death and in stage 3, your Haste and
Movement speed will be increased by up to 24%.
Environmental Hazards
We found the following hazards associated with Aurinar.
Astralfall
![]() Astralfall causes Arcane crystals to fall from the sky, inflicting
Arcane damage in a 7 yard radius.
Astralfall causes Arcane crystals to fall from the sky, inflicting
Arcane damage in a 7 yard radius.
- Avoid standing in swirling circles on the ground to evade
 Astralfall. Enemies caught in Astralfall will take damage
from the effect.
Astralfall. Enemies caught in Astralfall will take damage
from the effect.
Legion Command Ship
A ship will periodically sear the landscape with ![]() Obliteration Beam,
inflicting 250,000 Fire damage to nearby enemies every 0.5 seconds. Incoming
attacks are indicated in chat with a warning that reads: "This area is targeted
for Obliteration!"
Obliteration Beam,
inflicting 250,000 Fire damage to nearby enemies every 0.5 seconds. Incoming
attacks are indicated in chat with a warning that reads: "This area is targeted
for Obliteration!"
- Pay attention to the warning and avoid standing in the area affected by
 Obliteration Beam.
Power Oscillation
![]() Surging Power and
Surging Power and ![]() Waning Power: Energy fluctuates in this
world, damage and healing done oscillates, increasing up to 20% and decreasing
up to 20%.
Waning Power: Energy fluctuates in this
world, damage and healing done oscillates, increasing up to 20% and decreasing
up to 20%.
- Every second, you will gain the effect of
 Surging Power, which
increases damage and healing done by 2% per stack (up to a maximum of 20% at 10
seconds). After that, the power of the effect will begin to decrease by 2%
every second, until it reaches 0% and you gain the effect of
Surging Power, which
increases damage and healing done by 2% per stack (up to a maximum of 20% at 10
seconds). After that, the power of the effect will begin to decrease by 2%
every second, until it reaches 0% and you gain the effect of
 Waning Power.
 - Waning Power will decrease your damage and healing done by 2% per
stack (up to a maximum of 20% at 10 seconds). After that, the effect will begin
to dissipate by 2% every second, until it reaches 0% and you regain the effect
of Surging Power.
Temporal Precognition
![]() Temporal Precognition: Temporal pockets occasionally show you
where you should be 6 seconds in the future. Moving there avoids triggering
Temporal Precognition: Temporal pockets occasionally show you
where you should be 6 seconds in the future. Moving there avoids triggering
![]() Time Paradox, which inflicts Arcane damage.
Time Paradox, which inflicts Arcane damage.
- When you see a spirit link pointing to your future location,
move to it, to avoid damage from
 Time Paradox.
 - If you successfully move to your future point,
you will gain
 Synchronicity. The buff increases all damage
done by 25% and stacks.
Synchronicity. The buff increases all damage
done by 25% and stacks.
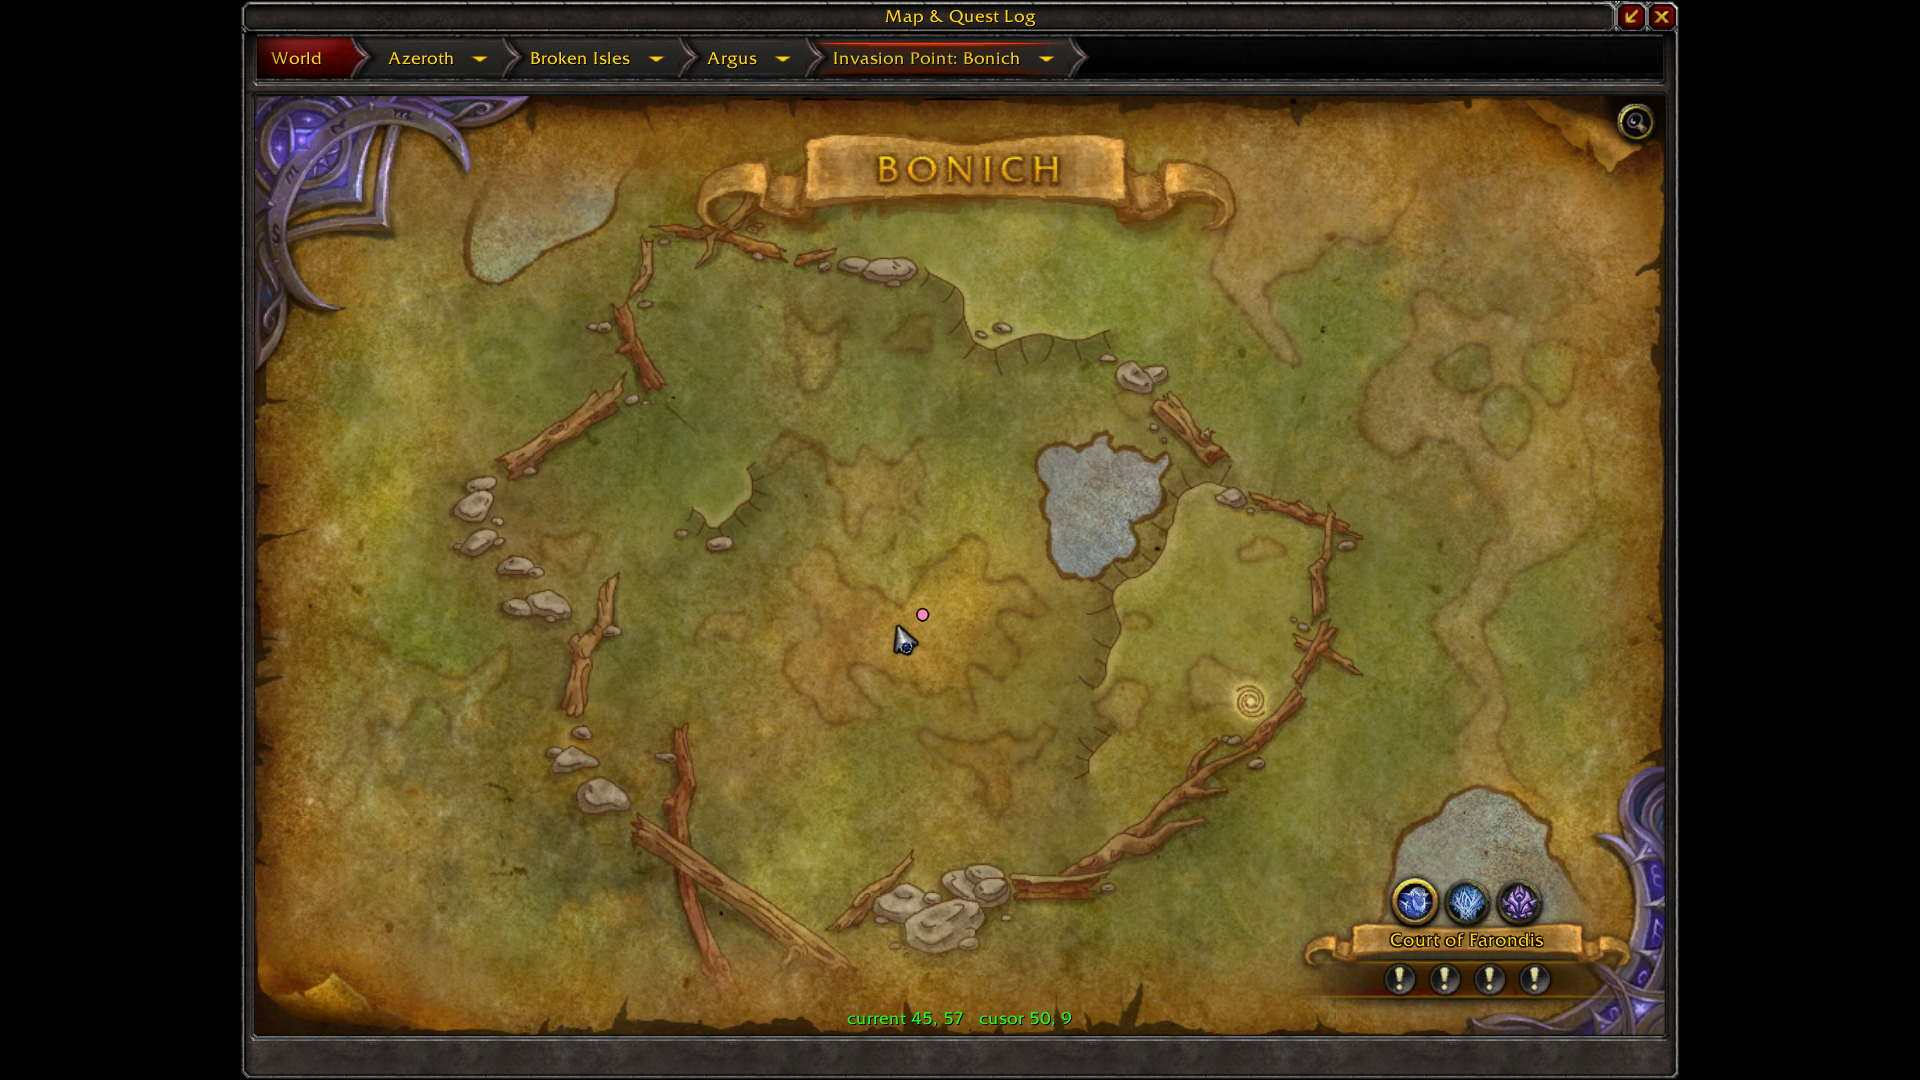
Invasion Point: Bonich (Forest)
Map
Objectives
Stage 1
In the first stage, you must defeat Legion forces, until you fill the bar to 100%.
Stage 2
Defeat 8 Invasive Gazers. They have the following abilities:
 Shadow Bolt, a damaging spell that can be interrupted;
 Fel Meteor, a fel meteor that crashes to the ground inflicting
damage to enemies within 5 yards of the impact, setting them ablaze for Fire
damage every 2 seconds for 8 seconds;
Fel Meteor, a fel meteor that crashes to the ground inflicting
damage to enemies within 5 yards of the impact, setting them ablaze for Fire
damage every 2 seconds for 8 seconds; Felflame Shield: a shield of fel fire that surrounds the caster,
inflicting Fire damage to nearby enemies.
Felflame Shield: a shield of fel fire that surrounds the caster,
inflicting Fire damage to nearby enemies.
Environmental Hazards
We found the following hazards associated with Bonich.
Sacred Vines
![]() Sacred Vines will be moving toward you and if you are caught, you
become rooted and take ticking damage for 8 seconds. The effect can be avoided
by kiting mobs or moving, when
Sacred Vines will be moving toward you and if you are caught, you
become rooted and take ticking damage for 8 seconds. The effect can be avoided
by kiting mobs or moving, when ![]() Sacred Vines get near you.
Sacred Vines get near you.
Legion Command Ship
A ship will periodically sear the landscape with ![]() Obliteration Beam,
inflicting 250,000 Fire damage to nearby enemies every 0.5 seconds. Incoming
attacks are indicated in chat with a warning that reads: "This area is targeted
for Obliteration!"
Obliteration Beam,
inflicting 250,000 Fire damage to nearby enemies every 0.5 seconds. Incoming
attacks are indicated in chat with a warning that reads: "This area is targeted
for Obliteration!"
- Pay attention to the warning and avoid standing in the area affected by
Obliteration Beam.
Swarming Insects
![]() Swarming Insects is an effect that can be visually distinguished as a
green gas cloud moving across the area. Players caught in it will be
incapacitated for 6 seconds and suffer 5% of maximum health as Nature damage
every second.
Swarming Insects is an effect that can be visually distinguished as a
green gas cloud moving across the area. Players caught in it will be
incapacitated for 6 seconds and suffer 5% of maximum health as Nature damage
every second.
Invigorating Pollen
![]() Invigorating Pollen: Standing in trees that emanate light increases
your Haste by 75%. The trees will disappear after a short time and reappear
somewhere else near your location. Try to position mobs to take full
advantage of the buff.
Invigorating Pollen: Standing in trees that emanate light increases
your Haste by 75%. The trees will disappear after a short time and reappear
somewhere else near your location. Try to position mobs to take full
advantage of the buff.
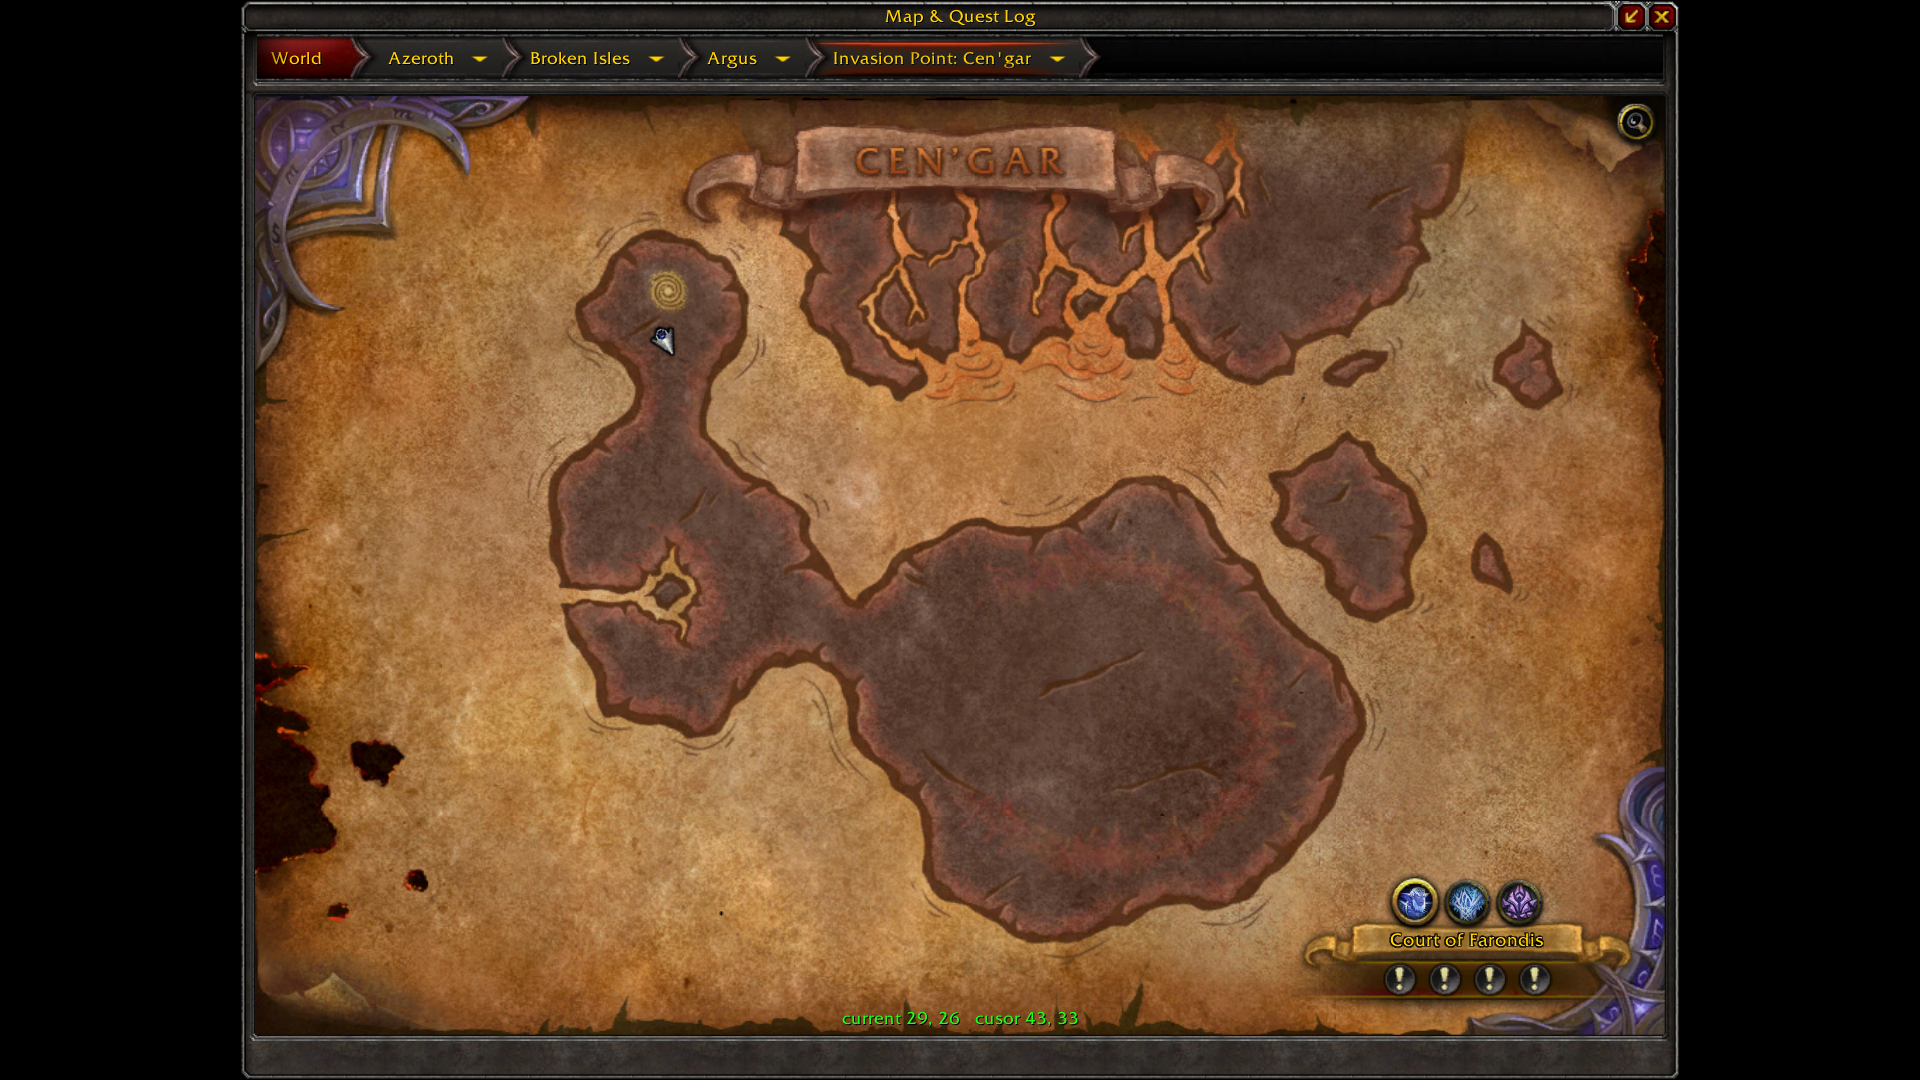
Invasion Point: Cen'gar (Fire)
Map
Objectives
Stage 1
Glowing circles that look like healing pools will periodically appear on the
ground and standing inside them causes Fire damage (![]() Searing Pain) every
second, and at the same time, you will gain the effect of
Searing Pain) every
second, and at the same time, you will gain the effect of ![]() Searing Power,
that increases damage dealt by 50% and healing done by 100% for 20 seconds
stacking up to 60 seconds if you stand in it for 3 seconds. Maintain the buff
to increase your damage and healing output. In the first stage, you must
collapse 8 Smoldering Rifts. Defeat 8 Crazed Corruptors to begin stage
2.
Searing Power,
that increases damage dealt by 50% and healing done by 100% for 20 seconds
stacking up to 60 seconds if you stand in it for 3 seconds. Maintain the buff
to increase your damage and healing output. In the first stage, you must
collapse 8 Smoldering Rifts. Defeat 8 Crazed Corruptors to begin stage
2.
Stage 2
Defeat 5 Molten Giants. Kite Molten Giants to the beginning of the instance to minimize the risk of pulling any other mobs that spawned during stage 2.
Environmental Hazards
We found the following hazards associated with Cen'gar.
Fire Enchanted
![]() Fire Enchanted causes creatures to explode on death, dealing Fire damage.
Melee should move or start kiting the mobs when they are at low health to avoid
damage from the explosion, while ranged DPS finish them off.
Fire Enchanted causes creatures to explode on death, dealing Fire damage.
Melee should move or start kiting the mobs when they are at low health to avoid
damage from the explosion, while ranged DPS finish them off.
Volatile Lava
![]() Volatile Lava inflicts almost 1 million Fire damage to all players
and creatures within 8 yards of the impact. Move out of the area to avoid
knockback and damage of the spell. Tanking creatures on top of
Volatile Lava will cause damage and knock them back.
Volatile Lava inflicts almost 1 million Fire damage to all players
and creatures within 8 yards of the impact. Move out of the area to avoid
knockback and damage of the spell. Tanking creatures on top of
Volatile Lava will cause damage and knock them back.
Burning Steps
![]() Burning Steps causes creatures to melt ground into molten lava during
combat. Standing in lava deals 500,000 Fire damage every second.
Burning Steps causes creatures to melt ground into molten lava during
combat. Standing in lava deals 500,000 Fire damage every second.
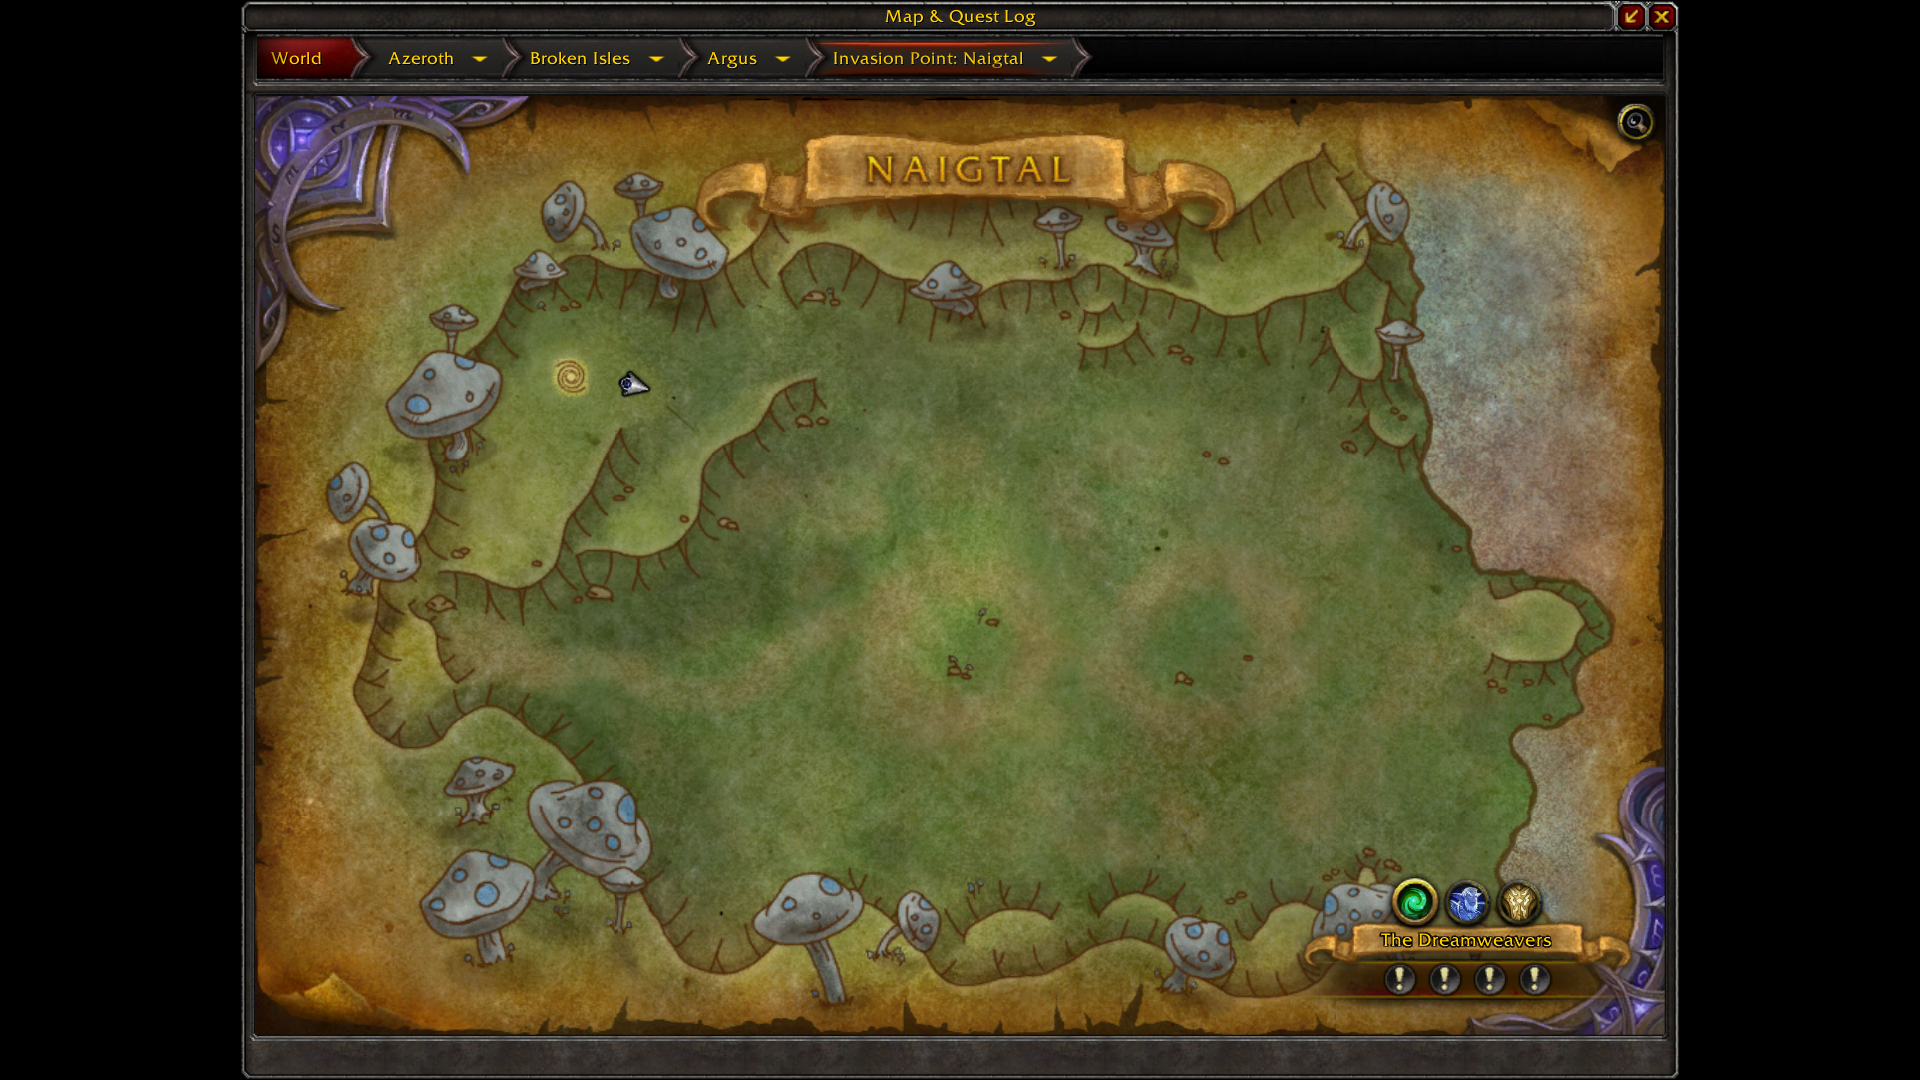
Invasion Point: Naigtal (Marsh)
Map
Objectives
Stage 1
Find and click on Energized Vines to become ![]() Energized for
10 seconds. While under the buff, your movement speed will be increased and any
Spore Stalks you pass through will burst, granting you
Energized for
10 seconds. While under the buff, your movement speed will be increased and any
Spore Stalks you pass through will burst, granting you
![]() Embedded Spores.
Embedded Spores.
![]() Embedded Spores increase your damage dealt by 10% and healing done
by 5% per stack for two minutes (up to a maximum of 10 stacks). Try to maintain
the effect of Embedded Spores at all times, to increase your damage
output.
Embedded Spores increase your damage dealt by 10% and healing done
by 5% per stack for two minutes (up to a maximum of 10 stacks). Try to maintain
the effect of Embedded Spores at all times, to increase your damage
output.
In another variation of the Invasion Point, the air gets so thick with
spores that players get embedded with them just by standing in the area of
Spore Stalks (becoming affected by ![]() Energized Vine) and
coming into contact with Energized Vines will cause damage and
violently remove any applications of
Energized Vine) and
coming into contact with Energized Vines will cause damage and
violently remove any applications of ![]() Embedded Spores. Maintain the
effect of Embedded Spores by avoiding Energized Vines.
Embedded Spores. Maintain the
effect of Embedded Spores by avoiding Energized Vines.
During stage 1, you need to defeat Legion forces, until you fill the bar to 100% and stage 2 begins.
Stage 2
A Marsh Shambler becomes Fel Enraged and breaks free from the
corrupters. Avoid the creature that is now patrolling the area. When pulled,
the shambler will cast ![]() Baleful Beam and you should not stand in front
of him in order to avoid damage. His second ability is
Baleful Beam and you should not stand in front
of him in order to avoid damage. His second ability is ![]() Dark Spores. The
caster casts spores at random locations nearby that deal damage to everyone
within 5 yards of the impact. Avoid swirling circles on the ground to counter the ability.
Dark Spores. The
caster casts spores at random locations nearby that deal damage to everyone
within 5 yards of the impact. Avoid swirling circles on the ground to counter the ability.
The objective of stage 2 is to defeat 5 Hellfire Infernals that
appear as soon as stage 2 starts. The infernals will cast
![]() Blazing Hellfire (channeled AoE ability) for 8 seconds, if not
interrupted.
Blazing Hellfire (channeled AoE ability) for 8 seconds, if not
interrupted.
Environmental Hazards
We found the following hazards associated with Naigtal.
Spore Pools
![]() Spore Filled causes creatures to be filled with spores due to exposure. On
death, the spores will form a pool of spores on the ground that inflicts Decay
damage to any player entering the area. Creatures drop a
Spore Filled causes creatures to be filled with spores due to exposure. On
death, the spores will form a pool of spores on the ground that inflicts Decay
damage to any player entering the area. Creatures drop a ![]() Spore Pool on
death. Leave melee area when they the targets are about to die and let ranged
finish them. Spore Pool causes players to suffer 1 million Decay damage
every second.
Spore Pool on
death. Leave melee area when they the targets are about to die and let ranged
finish them. Spore Pool causes players to suffer 1 million Decay damage
every second.
Spore Laden
![]() Spore Laden causes Sinuous Devourers to periodically drop
Dark Spores beneath them. Avoid the area of the impact.
Spore Laden causes Sinuous Devourers to periodically drop
Dark Spores beneath them. Avoid the area of the impact.
Maddening Spores
![]() Maddening Spores: Standing in disease clouds will cause the
victim to succumb to Maddening Spores, causing them to attack their allies
until their health is reduced below 50%.
Maddening Spores: Standing in disease clouds will cause the
victim to succumb to Maddening Spores, causing them to attack their allies
until their health is reduced below 50%.
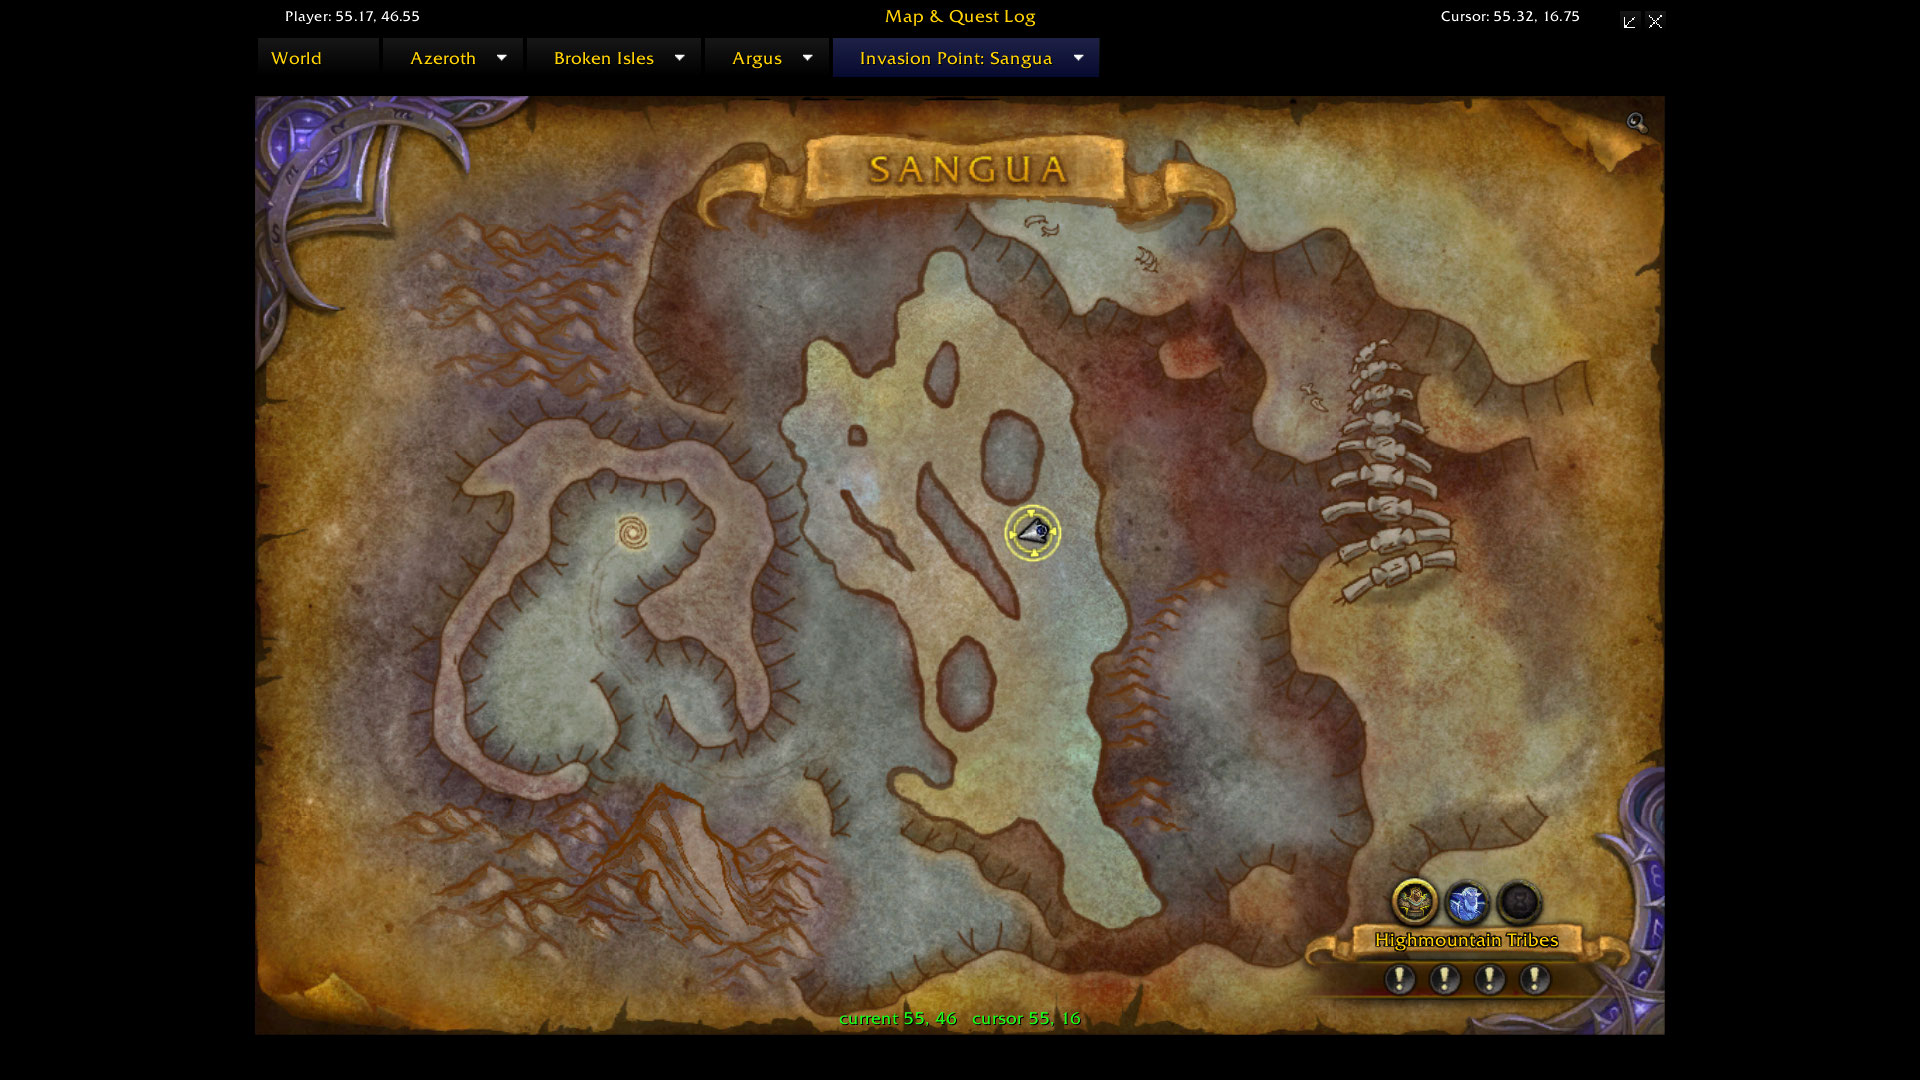
Invasion Point: Sangua (Blood)
Map
Objectives
Stage 1
The goal of stage 1 is to destroy 3 Legion Blood Drainers. Once a
Legion Blood Drainer takes damage, it will ![]() Alert nearby Legion
forces within 20 yards to attack you. When destroyed, it will spawn a
Alert nearby Legion
forces within 20 yards to attack you. When destroyed, it will spawn a
![]() Bloody Pool that increases all damage done by 25%, if players or
creatures stand in it.
Bloody Pool that increases all damage done by 25%, if players or
creatures stand in it.
Stage 2
Defeat Legion forces until the bar reaches 100%.
Environmental Hazards
We found the following hazards associated with Sangua.
Tentacles
When a Legion Blood Drainer is destroyed, you will see the following
warning: As the machine erupts, something stirs beneath the surface.
Every 30 seconds, a Deep Terror will emerge at your location. The
tentacles ![]() Crush an area, slamming the ground, inflicting Physical
damage and stunning all enemies in a cone in front of the caster. You do not
need to kill them. Move out of the range of Deep Terrors and they will
not be able to attack you. Mobs will become stunned and take damage when hit by
Crush.
Crush an area, slamming the ground, inflicting Physical
damage and stunning all enemies in a cone in front of the caster. You do not
need to kill them. Move out of the range of Deep Terrors and they will
not be able to attack you. Mobs will become stunned and take damage when hit by
Crush.
Legion Command Ship
A ship will periodically sear the landscape with ![]() Obliteration Beam,
inflicting 250,000 Fire damage to nearby enemies every 0.5 seconds. Incoming
attacks are indicated in chat with a warning that reads: "This area is targeted
for Obliteration!"
Obliteration Beam,
inflicting 250,000 Fire damage to nearby enemies every 0.5 seconds. Incoming
attacks are indicated in chat with a warning that reads: "This area is targeted
for Obliteration!"
- Pay attention to the warning and avoid standing in the area affected by
Obliteration Beam.
Coalesced Power
![]() Coalesced Power causes Demon attacks to have a chance to inflict an
additional 15,00 Shadow damage every second. This effect stacks up to 10 times.
Receiving any crowd-control causes the demon to drop this gem. Applying crowd-control makes enemies
lose the effect of Coalesced Power.
Coalesced Power causes Demon attacks to have a chance to inflict an
additional 15,00 Shadow damage every second. This effect stacks up to 10 times.
Receiving any crowd-control causes the demon to drop this gem. Applying crowd-control makes enemies
lose the effect of Coalesced Power.
Surging Blood
Congealed Plasma (blood globes) will spawn in the blood pool.
When they die, blood splashes over all targets within 10 yards, increasing
Haste by 15% for 20 seconds (![]() Surging Blood). When the aura expires,
the target explodes dealing 250,000 Shadow damage to everyone nearby.
This effect stacks up to 10 times. Try to stack them on top of each other
to get as many stacks as possible. Refresh the duration of the buff every
20 seconds to avoid the explosion.
Surging Blood). When the aura expires,
the target explodes dealing 250,000 Shadow damage to everyone nearby.
This effect stacks up to 10 times. Try to stack them on top of each other
to get as many stacks as possible. Refresh the duration of the buff every
20 seconds to avoid the explosion.
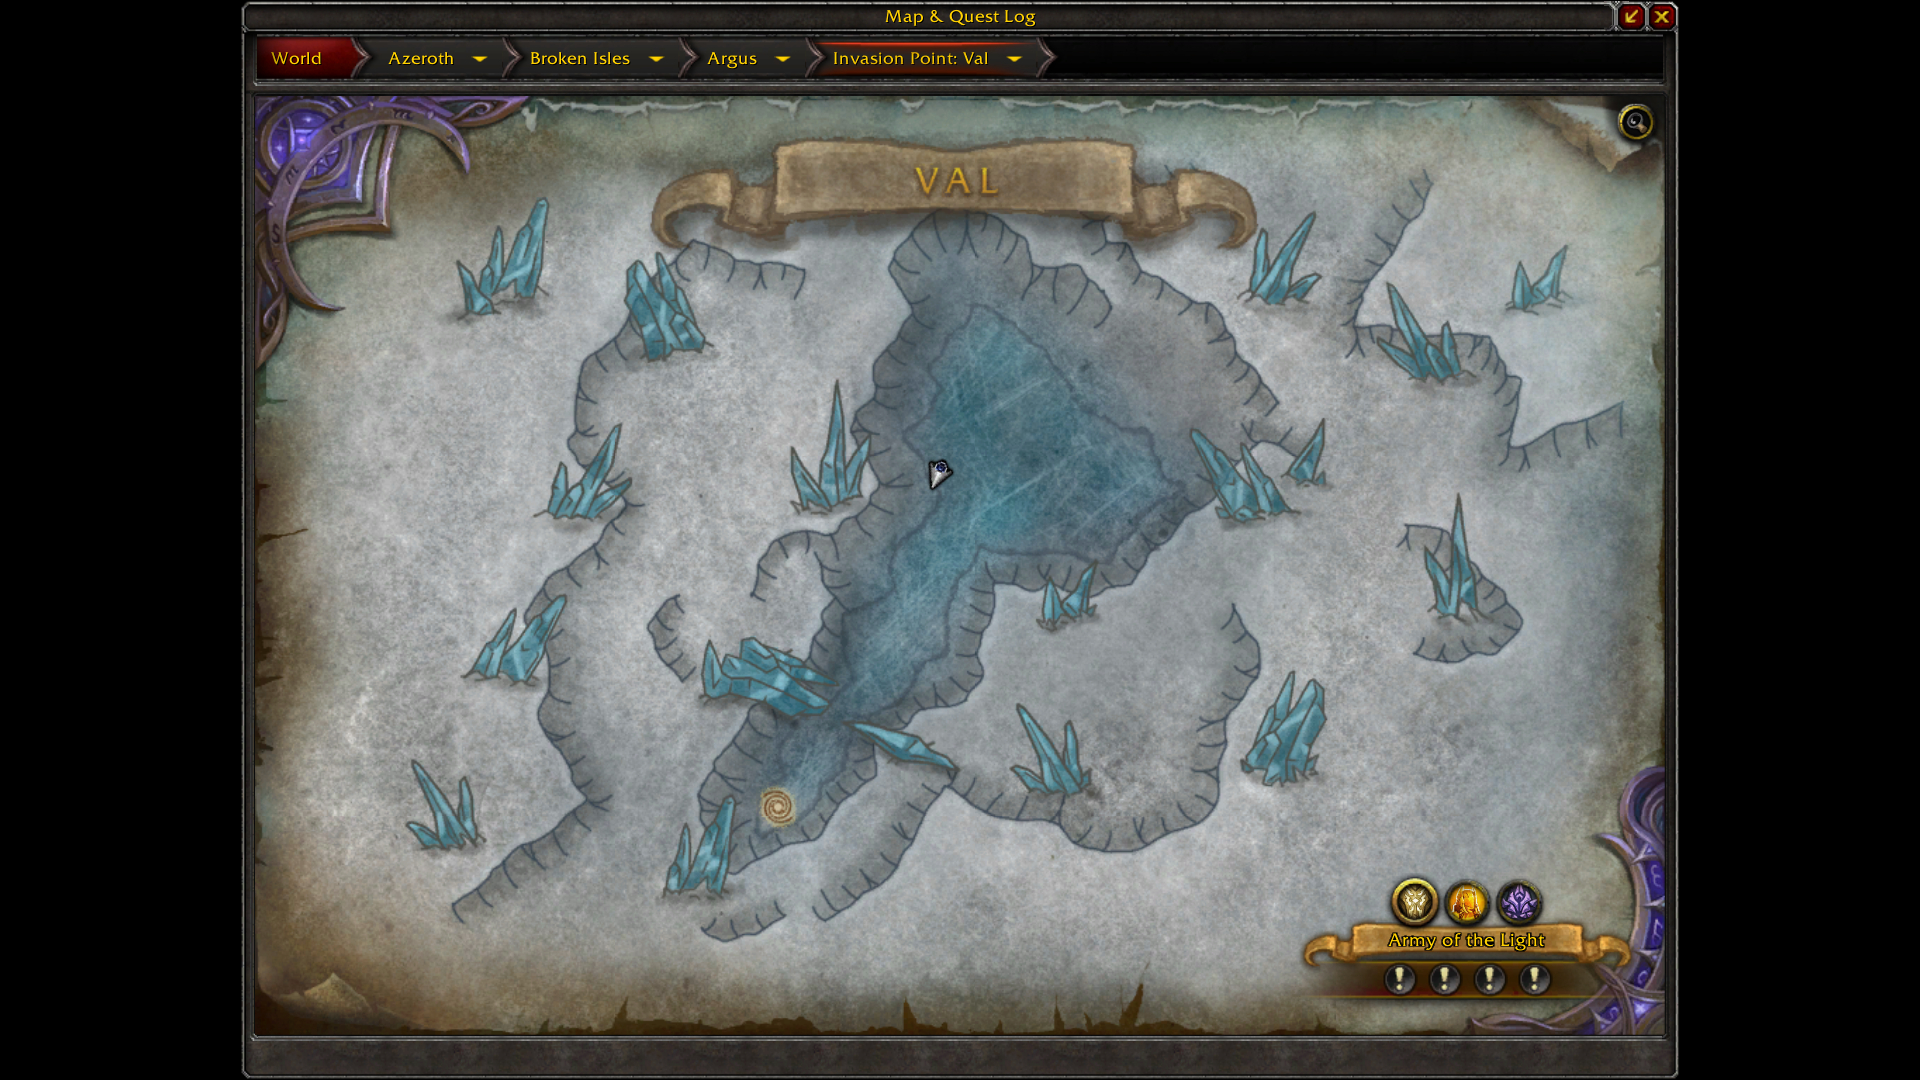
Invasion Point: Val (Ice)
Map
Objectives
Stage 1
Val revolves around a buff called ![]() Brazier's Warmth. While standing
close to a brazier, creatures and players gain 1% of their maximum health every
3 seconds. The brazier is used to mitigate environmental hazards, such as
Brazier's Warmth. While standing
close to a brazier, creatures and players gain 1% of their maximum health every
3 seconds. The brazier is used to mitigate environmental hazards, such as
![]() Crippling Cold or
Crippling Cold or ![]() Flash Freeze and its
Flash Freeze and its ![]() Frozen. Find a
position at maximum range, where you gain the effect of
Frozen. Find a
position at maximum range, where you gain the effect of ![]() Brazier's Warmth,
but mobs do not. Defeat Legion forces to fill the bar to 100%. It can be tricky
to properly move casters out of the effect, but if you interrupt one of their
spells, you will have a short timespan to readjust positioning.
Brazier's Warmth,
but mobs do not. Defeat Legion forces to fill the bar to 100%. It can be tricky
to properly move casters out of the effect, but if you interrupt one of their
spells, you will have a short timespan to readjust positioning.
Stage 2
Release 12 trapped Illidari by right-clicking ![]() Ice Prison.
Ice Prison.
Environmental Hazards
We found the following hazards associated with Val.
Buffeting Winds
![]() Buffeting Winds roam the area slowly moving toward players. Do not
stand in them to avoid damage and knockbacks.
Buffeting Winds roam the area slowly moving toward players. Do not
stand in them to avoid damage and knockbacks.
Blizzard
![]() Blizzard causes ice to fall from the sky, inflicting damage every 1.5
seconds, reducing movement speed by 30%. Blizzard is technically the
same effect as
Blizzard causes ice to fall from the sky, inflicting damage every 1.5
seconds, reducing movement speed by 30%. Blizzard is technically the
same effect as ![]() Buffeting Winds, but it deals less damage. Reposition
yourself to avoid the effect.
Buffeting Winds, but it deals less damage. Reposition
yourself to avoid the effect.
Crippling Cold
![]() Crippling Cold: The intense cold inflicts 1% maximum health as Frost
damage every 3 seconds. This effect stacks up to 100 times. The stacking debuff
will become unmanageable, if you do not clear your stacks by standing near a
brazier (
Crippling Cold: The intense cold inflicts 1% maximum health as Frost
damage every 3 seconds. This effect stacks up to 100 times. The stacking debuff
will become unmanageable, if you do not clear your stacks by standing near a
brazier (![]() Brazier's Warmth).
Brazier's Warmth).
Flash Freeze
![]() Flash Freeze: The spell decreases movement speed by 15% for 6
seconds. If you are not affected by
Flash Freeze: The spell decreases movement speed by 15% for 6
seconds. If you are not affected by ![]() Brazier's Warmth when
Flash Freeze expires, you will trigger
Brazier's Warmth when
Flash Freeze expires, you will trigger ![]() Frozen, and become
stunned for 5 seconds. The stun can be avoided by standing close to a brazier
all the time, or when Flash Freeze is about to expire.
Frozen, and become
stunned for 5 seconds. The stun can be avoided by standing close to a brazier
all the time, or when Flash Freeze is about to expire.
Stage 3: Legion Commanders
The following section is dedicated to stage 3 of Invasion Points. There are
13 demonic commanders that control the Invasion Points, and reaching stage 3
will spawn a random one. Defeating a commander grants 10
![]() Argus Waystones.
Argus Waystones.
Baldrazar
 Breath of Shadows: Inflicts Shadow damage to all enemies in front of
the caster.
Breath of Shadows: Inflicts Shadow damage to all enemies in front of
the caster. Gripping Shadows: Summons Gripping Shadows that need to be
killed before they start pulling players toward them (
Gripping Shadows: Summons Gripping Shadows that need to be
killed before they start pulling players toward them ( Gravity Well).
- Shadow Bolt Volley: Inflicts Shadow damage to all nearby enemies.
Quick Strategy
- Do not stand in front of Baldrazar when he is casting
Breath of Shadows.
- Kill Gripping Shadows before they start drawing players into the
Gravity Well.
Dread Knight Zak'gal
 Bound by Fel: Chains two enemy targets together. While the targets
are over 10 yards apart, the chains inflict 103,014 Fire damage every 0.5
seconds. This damage is increased by 15% each second they remain apart. The
chains will break if the targets remain apart for 20 total seconds.
Bound by Fel: Chains two enemy targets together. While the targets
are over 10 yards apart, the chains inflict 103,014 Fire damage every 0.5
seconds. This damage is increased by 15% each second they remain apart. The
chains will break if the targets remain apart for 20 total seconds. Chaos Wave: Inflicts Shadow damage to enemies struck by the Chaos
Wave.
Chaos Wave: Inflicts Shadow damage to enemies struck by the Chaos
Wave. Fragment of Argus: The caster summons forth a Living Meteor that
rolls towards players. If it reaches a player it will cause a Meteor Impact,
inflicting Fire damage to enemies within 8 yards. If you get fixated, run away
and kite the meteor, until ranged DPS destroy it. If Fragment of Argus
reaches its target, it deals Fire damage and knocks the target back
( Flames of Argus).
Fragment of Argus: The caster summons forth a Living Meteor that
rolls towards players. If it reaches a player it will cause a Meteor Impact,
inflicting Fire damage to enemies within 8 yards. If you get fixated, run away
and kite the meteor, until ranged DPS destroy it. If Fragment of Argus
reaches its target, it deals Fire damage and knocks the target back
( Flames of Argus).
Quick Strategy
- Bound by Fel chains two targets together. Stand close to the player
you are chained to. The chains will deal increasing damage each second you
remain apart and break only after 20 seconds.
- If Fragment of Argus fixates on you, run away, until ranged DPS
destroy it.
Dreadbringer Valus
 Carrion Swarm: Inflicts 1,500,000 Shadow damage to enemies in front
of the caster, reducing healing received by 75% for 5 seconds.
Carrion Swarm: Inflicts 1,500,000 Shadow damage to enemies in front
of the caster, reducing healing received by 75% for 5 seconds. Slumber Fog: Creates clouds of sleeping gas under up to 3 nearby
enemies. Move away from it, because it will stun you, making you vulnerable to
other abilities.
Slumber Fog: Creates clouds of sleeping gas under up to 3 nearby
enemies. Move away from it, because it will stun you, making you vulnerable to
other abilities. Vampiric Cleave: Cleaves targets in front of the caster, draining
Shadow damage, transferring health to him.
Vampiric Cleave: Cleaves targets in front of the caster, draining
Shadow damage, transferring health to him.
Quick Strategy
- Do not stand in front of Dreadbringer Valus when he is casting
Carrion Swarm and Vampiric Cleave.
- Slumber Fog clouds are not stationary. They will be moving at
player's feet. Standing in them results in a stun that will expose you to other
abilities.
Fel Lord Kaz'ral
- Bound by Fel: Chains two enemy targets together. While the targets
are over 10 yards apart, the chains inflict 103, 014 Fire damage every 0.5
seconds. This damage is increased by 15% each second they remain apart. The
chains will break if the targets remain apart for 20 total seconds.
- Chaos Wave: Inflicts Shadow damage to enemies struck by the Chaos
Wave.
 Fel Lightning: Inflicts Fire damage to a random enemy and then
jumps to additional nearby enemies.
Fel Lightning: Inflicts Fire damage to a random enemy and then
jumps to additional nearby enemies. Fel Spike: Inflicts Fire damage to enemies within 6 yards and
creates a Fel Spike at the location.
Fel Spike: Inflicts Fire damage to enemies within 6 yards and
creates a Fel Spike at the location.
Quick Strategy
- Bound by Fel chains two targets together. Stand close to the player
you are chained to. The chains will deal increasing damage each second you
remain apart and break only after 20 seconds.
- Do not stand in front of Fel Lord Kaz'ral when he is unleashing
Chaos Wave.
- Interrupt Fel Lightning.
- Destroy Fel Spike when it is up.
Flamebringer Az'rothel
 Explosive Blast: Inflicts Fire damage to enemies within 50
yards.
Explosive Blast: Inflicts Fire damage to enemies within 50
yards. Flame Breath: Inflicts Fire damage to all enemies in front of the
caster.
Flame Breath: Inflicts Fire damage to all enemies in front of the
caster. Rain of Fire: Inflicts Fire damage to all enemies standing in the
area. The area expands and starts following the caster.
Rain of Fire: Inflicts Fire damage to all enemies standing in the
area. The area expands and starts following the caster.- Summon Explosive Orbs: Summons 3 Explosive Orbs at nearby locations
that need to be killed, or players need to move away from them, before they
finish casting Explosive Blast that inflicts Fire damage to enemies
within 50 yards.
Quick Strategy
- Move out of the effect of Explosive Blast.
- Do not stand in front of the caster when he unleashes
Flame Breath.
- Rain of Fire covers a small area at first, but expands after a short
time. Do not remain stationary.
- Destroy Summon Explosive Orbs before they finish casting
Explosive Blast, or ignore them entirely by move the boss away 50 yards
from the orbs.
Flamecaller Vezrah
 Destructive Flames: Attacks cause a Flaming Destruction,
inflicting additional Fire damage and causes Flaming Destruction at a
nearby location.
Destructive Flames: Attacks cause a Flaming Destruction,
inflicting additional Fire damage and causes Flaming Destruction at a
nearby location.- Flaming Destruction: Inflicts 15,000 Fire damage every second,
stacking up to 100 times.
 Lava Waves: Inflicts 250,000 Fire damage every 0.5 seconds for 5
seconds.
Lava Waves: Inflicts 250,000 Fire damage every 0.5 seconds for 5
seconds.
Quick Strategy
- Avoid the blaze of Flaming Destruction by moving from the area of
the effect.
- Flamecaller Vezrah unleashes several Lava Waves that slowly
move toward the target. When you notice a fiery wave moving toward you, try to
dodge it sideways.
Flameweaver Verathix
- Bound by Fel: Chains two enemy targets together. While the targets
are over 10 yards apart, the chains inflict 103, 014 Fire damage every 0.5
seconds. This damage is increased by 15% each second they remain apart. The
chains will break if the targets remain apart for 20 total seconds.
 Flame Fissure: Inflictings increasing 150,000 Fire damage. This
effect stacks up to 100 times.
Flame Fissure: Inflictings increasing 150,000 Fire damage. This
effect stacks up to 100 times.- Fel Lightning: Inflicts Fire damage to a random enemy and then
jumps to additional nearby enemies.
- Lava Waves: Inflicts 250,000 Fire damage every 0.25 seconds for 5
seconds.
Quick Strategy
- Bound by Fel chains two targets together. Stand close to the player
you are chained to. The chains will deal increasing damage each second you
remain apart and break only after 20 seconds.
- Dodge Lava Waves when they start moving toward you.
- Interrupt Fel Lightning.
Gorgoloth
 Creeping Doom deals increasing periodic damage to stationary
enemies.
Creeping Doom deals increasing periodic damage to stationary
enemies. Fel Breath inflicts Fire damage to targets in front of the
caster.
Fel Breath inflicts Fire damage to targets in front of the
caster.
Quick Strategy
- When Gorgoloth casts Creeping Doom do not stand still.
Movement diminishes the effect of the spell.
- Do not stand in front of Gorgoloth when he casts
Fel Breath.
Harbinger Drel'nathar
 Eye of Darkness: Inflicts increasing shadow damage every 0.5
seconds. Moving to the eye of the Shadow Gale will prevent the damage.
Eye of Darkness: Inflicts increasing shadow damage every 0.5
seconds. Moving to the eye of the Shadow Gale will prevent the damage. Secrete Shadows: Current location explodes every 0.5 seconds for 10
seconds. After 1.5 seconds, the marked location explodes, inflicting Shadow
damage to all players within 5 yards.
Secrete Shadows: Current location explodes every 0.5 seconds for 10
seconds. After 1.5 seconds, the marked location explodes, inflicting Shadow
damage to all players within 5 yards. Shadow Nova: Inflicts 2,400,000 Shadow damage to enemies within 20
yards stunning them for 4 seconds.
Shadow Nova: Inflicts 2,400,000 Shadow damage to enemies within 20
yards stunning them for 4 seconds.
Quick Strategy
- Move to eye of the Shadow Gale to prevent damage from
Eye of Darkness.
- Shadow energy explodes at your current location every 0.5 seconds. Do not remain stationary.
- Shadow Nova stuns all targets for 4 seconds. Move 20 yards away
from the boss to avoid it.
Malphazel
- Slumber Fog: Creates clouds of sleeping gas under up to 3 nearby
enemies. Move away from it, because it will stun you, making you vulnerable to
other abilities.
 Waves of Dread: Inflicts Shadow damage every second and causes
enemies to run in Fear.
Waves of Dread: Inflicts Shadow damage every second and causes
enemies to run in Fear.
Quick Strategy
- Slumber Fog clouds are not stationary. They will be moving at
player's feet. Standing in them results in a stun that will expose you to other
abilities.
- Do not stand in front of Malphazel when he unleashes
Waves of Dread. You can get easily feared into
Slumber Fog.
Mazgoroth
 Fel Burn: Deals Fire damage every 3 seconds and creates a patch of
Fel Flames at the location.
Fel Burn: Deals Fire damage every 3 seconds and creates a patch of
Fel Flames at the location. Fel Slash: Inflicts 1,200,000 Physical damage, piercing armor
and clearing the target's threat.
Fel Slash: Inflicts 1,200,000 Physical damage, piercing armor
and clearing the target's threat.
General Strategy
- Do not stand in Fel Flames created by Fel Burn.
Vel'thrak the Punisher
 Blast Waves: Inflicts 2,500,000 Fire damage to enemies caught in an
area.
Blast Waves: Inflicts 2,500,000 Fire damage to enemies caught in an
area. Fel Stomp: Inflicts Fire damage to enemies and their allies within
5 yards and stuns for 3 seconds.
Fel Stomp: Inflicts Fire damage to enemies and their allies within
5 yards and stuns for 3 seconds.- Rain of Fire: Inflicts Fire damage to all enemies standing in the
area. The area expands and starts following the caster.
Quick Strategy
- Move away from the impact area of Blast Waves before it
explodes.
- Fel Stomp will stun all targets in a 5 yard radius near the caster.
The ability has a short cast time and can be painful for melee, because a 3
second stun combined with Rain of Fire can be fatal.
- Move out from Rain of Fire. The rain will start moving, so the
safest option is to kite the boss away at least 10 yards from it, so that melee
do not stand in it, when they get stunned by Fel Stomp.
Vogrethar the Defiled
 Mass Mind Blast: Inflicts Shadow damage (up to 5 targets).
 Narcolepsy: Movement causes Sleep.
 Wake of Blood: Inflicts Shadow damage to enemies within 5 yards.
Quick Strategy
- Interrupt Mass Mind Blast.
- Do not move when Vogrethar the Defiled casts Narcolepsy.
Otherwise, you will become stunned for 5 seconds.
- Wake of Blood can be dodged. It moves toward players in a straight line.
Achievements
![]() Envision Invasion Eradication is gained by defeating all demonic
commanders. The achievement is required for the
Envision Invasion Eradication is gained by defeating all demonic
commanders. The achievement is required for the ![]() Paragon of Argus meta
and the Lightbringer title.
Paragon of Argus meta
and the Lightbringer title.
Changelog
- 17 Sep. 2017: New variant for Invasion Point Aurinor added.
- 10 Sep. 2017: Shadow Bolt Volley cannot be interrupted.
- 08 Sep. 2017: Added new variants for Invasion Points Sangua and Bonich.
- 05 Sep. 2017: Guide added.