Dr. Boom's Puzzles Guide for the Puzzle Lab
Once you have fully cleared all of the previous 4 puzzle types, you will get to face off against Dr. Boom and a very difficult set of puzzles from each category. After completing all of Dr. Boom's Puzzles, you will be awarded a card back.
Hints and Solutions for each Dr. Boom's Puzzles can be found below.
Puzzle Lab Guides
TABLE OF CONTENTS OF THIS PAGE
- 11. Dr. Boom Board Clear Puzzle #2
- 12. Dr. Boom Board Clear Puzzle #3
- 13. Dr. Boom Board Clear Puzzle #4
- 14. Dr. Boom's Survival Puzzle #1
- 15. Dr. Boom's Survival Puzzle #2
- 16. Dr. Boom's Survival Puzzle #3
- 17. Dr. Boom's Survival Puzzle #4
- 18. Dr. Boom's Survival Puzzle #5
- 19. Dr. Boom's Survival Puzzle #6
1.
Dr. Boom's Puzzles Overview
1.1.
Dr. Boom's Lethal Puzzles
- Dr. Boom's Lethal Puzzle 1
- Dr. Boom's Lethal Puzzle 2
- Dr. Boom's Lethal Puzzle 3
- Dr. Boom's Lethal Puzzle 4
1.2.
Dr. Boom's Mirror Puzzles
- Dr. Boom's Mirror Puzzle 1
- Dr. Boom's Mirror Puzzle 2
- Dr. Boom's Mirror Puzzle 3
- Dr. Boom's Mirror Puzzle 4
1.3.
Dr. Boom's Board Clear Puzzles
- Dr. Boom's Board Clear Puzzle 1
- Dr. Boom's Board Clear Puzzle 2
- Dr. Boom's Board Clear Puzzle 3
- Dr. Boom's Board Clear Puzzle 4
1.4.
Dr. Boom's Survival Puzzles
- Dr. Boom's Survival Puzzle 1
- Dr. Boom's Survival Puzzle 2
- Dr. Boom's Survival Puzzle 3
- Dr. Boom's Survival Puzzle 4
- Dr. Boom's Survival Puzzle 5
- Dr. Boom's Survival Puzzle 6
2.
Dr. Boom Lethal Puzzle #1
2.1.
Hints
- Use Super Soldier to ensure all of your minions have charge.
- Maximise the damage of your Whirlwind effects and minion trade to get the biggest Frothing Berserker possible.
- Make sure there is enough room for all of your Grim Patrons to spawn
2.2.
Solution
- Play Super Soldier.
- Play Frothing Berserker.
- Play Fiery War Axe.
- Play both Dread Corsairs.
- Trade both Dread Corsairs into the Sludge Belcher.
- Trade a Grim Patron in to the Slime from the Sludge Belcher.
- Play Whirlwind.
- Cast Slam on a 3-Health Grim Patron.
- Attack the enemy Hero with the remaining 5 Grim Patrons, your Frothing Berserker, and your weapon.
3.
Dr. Boom Lethal Puzzle #2
3.1.
Hints
- Keep track of which side of the board the Spud M.E. will be on after each point of damage.
- Make sure your Wild Pyromancer does not die.
- Take care when calculating Defile damage.
3.2.
Solution
- Play Wild Pyromancer.
- Play Power Word: Tentacles on the Wild Pyromancer.
- Play Circle of Healing.
- Play Divine Spirit on the Wild Pyromancer.
- Play Recharge.
- Play Haunted Creeper.
- Use Holy Smite on the Spud M.E..
- Play Defile.
4.
Dr. Boom Lethal Puzzle #3
4.1.
Hints
- Be careful when drawing cards with your Northshire Cleric as you begin at 1 Health.
- Try to maximise the number of damaged minions on the board and the number of Northshire Clerics on your opponent's board.
4.2.
Solution
- Play Power Word: Shield on either Northshire Cleric.
- Use Lab Recruiter on Northshire Cleric.
- Play the Wild Pyromancer that was drawn.
- Use Elven Archer on your Lab Recruiter.
- Play Battery Pack.
- Play Fungal Enchanter.
- Play all of your Northshire Clerics.
- Play Binding Heal on any undamaged minion to trigger Wild Pyromancer.
- Play The Swap.
- Use Treachery on your remaining Northshire Cleric.
- Play Circle of Healing.
5.
Dr. Boom Lethal Puzzle #4
5.1.
Hints
- This puzzle is very similar to the previous one, but Undercover Reporter will guarantee shuffled minions go to the top of your deck, unlike Lab Recruiter.
- Ensure you maximise the number of damaged minions on the board as well as the number of Northshire Clerics your opponent has.
5.2.
Solution
- Use Undercover Reporter on your Northshire Cleric.
- Use Elven Archer on your Northshire Cleric.
- Use Power Word: Shield on your Elven Archer.
- Play your freshly drawn Northshire Cleric.
- Heal your Northshire Cleric with your Hero Power.
- Play the final Northshire Cleric.
- Play The Swap.
- Play Battery Pack.
- Play Wild Pyromancer.
- Play Treachery on your remaining Northshire Cleric.
- Play Fungal Enchanter.
- Use Binding Heal on Undercover Reporter.
- Play Circle of Healing.
6.
Dr. Boom Mirror Puzzle #1
6.1.
Hints
- The remaining card in your deck is Silence.
- Prince Taldaram can be used to copy minions of either player.
- There are many solutions available for this puzzle.
6.2.
Solution
- Copy Abomination with Prince Taldaram.
- Trade your Abomination into your opponent's Abomination.
- Trade your Cruel Dinomancer into one of your opponent's Sea Giants.
- Use Kidnapper on a second Sea Giant.
- Use your Kidnapper to trade into your opponent's final Sea Giant.
7.
Dr. Boom Mirror Puzzle #2
7.1.
Hints
- Your opponent's Secrets that are in place are Mirror Entity and Freezing Trap.
- Healing Wave will only heal for 7 if there are no minions in your deck.
- As there are no card duplicates on both boards at the start of the puzzle, a nearly full board clear is required.
7.2.
Solution
- Play Archmage's Insight.
- Use Recycle on an Ultrasaur.
- Attack any minion with Archbishop Benedictus to trigger Freezing Trap.
- Trade your Polluted Hoarder and Radiant Elemental into your opponent's Hoarding Dragon.
- Play the 2 copies of The Coin in your hand.
- Play your Archbishop Benedictus.
- Trade Ice Rager into your opponent's Loot Hoarder.
- Use Healing Wave on your opponent's second Ultrasaur.
- Trade your Auchenai Soulpriest into your opponent's Reckless Rocketeer.
8.
Dr. Boom Mirror Puzzle #3
8.1.
Hints
- A dormant copy of The Darkness cannot be removed with Vanish.
- Although you have no card draw and have cards in your deck, this can be circumvented with King Togwaggle, Naturalize, and Gloves of Mugging.
- All cards can be played for free with Archmage's Insight and Boots of Haste.
- Your opponent has two copies of Magma Rager in their hand.
- Your start with 3 copies of Darkness Candle in your deck. You need to find a way to draw them.
8.2.
Solution
- Play Archmage's Insight.
- Play Boots of Haste.
- Use your Hero Power on your opponent's Howlfiend.
- Use Toxic Arrow on your opponent's Dire Mole.
- Use Betrayal on your opponent's Dire Mole.
- Play Vanish.
- Play Gloves of Mugging.
- Play Novice Engineer to draw the Darkness Candles from your deck.
- Use Faceless Manipulator on The Darkness.
- Use Naturalize on your Novice Engineer.
9.
Dr. Boom Mirror Puzzle #4
9.1.
Hints
- The Deathrattle of Boom-in-a-box triggers immediately upon death, regardless of subsequent damage.
- There are many great targets for Prince Taldaram and Shadow Madness available, such as Aviana and Glinda Crowskin.
- Be careful making minions immune with Deathspeaker as it will prevent them from ever being killed to mirror the board.
9.2.
Solution
- Steal Glinda Crowskin with Shadow Madness.
- Use Prince Taldaram to copy Aviana.
- Use your Prince Taldaram echoes to create two more copies of Mal'Ganis so that your original copy exceeds 10 Health.
- Use Kun the Forgotten King to refresh your Mana Crystals.
- Play Ray of Roasting.
10.
Dr. Boom Board Clear Puzzle #1
10.1.
Hints
- Test Subject can be used with Topsy Turvy to generate extra spells.
- It is not possible to infinitely create spells with the cards available and just 8 Mana.
- A second Gelbin's Coil will double the efficiency of your spells.
10.2.
Solution
- Play both copies of Radiant Elemental.
- Play Test Subject.
- Use Vivid Nightmare on your Test Subject.
- Use Topsy Turvy on one of your Test Subjects.
- Use Vivid Nightmare on your Gelbin's Coil.
- Use Topsy Turvy on your remaining Test Subject.
- Use Shadow Word: Pain on one of your Radiant Elementals.
- Use Topsy Turvy on your other Radiant Elemental.
- Use Holy Smite on an enemy minion.
- Use Holy Smite to kill one of your Gelbin's Coils.
- Use Holy Smite to kill your Radiant Elemental.
- Use Holy Smite to kill your final Gelbin's Coil.
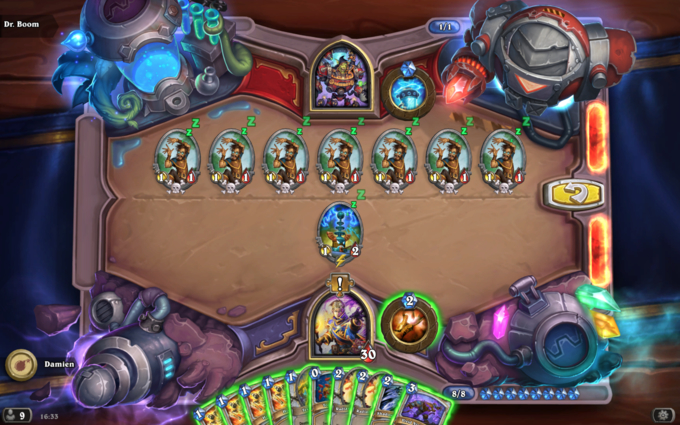
11.
Dr. Boom Board Clear Puzzle #2
11.1.
Hints
- Using Cave Hydras on Leper Gnomes is a great way to damage the Mekgineer Thermapluggs.
- You have a finite amount of Health so try to limit the number of Leper Gnomes that you spawn.
11.2.
Solution
- Play Tundra Rhino.
- Attack the middle Mekgineer Thermaplugg with one of your Cave Hydras.
- Use Windfury on your remaining two Cave Hydras.
- Use one attack with each of your Cave Hydras to attack the two left-most Leper Gnomes.
- Use the second attack of a Cave Hydra to kill the centre Mekgineer Thermaplugg.
- Use your other Cave Hydra to kill the left-most Mekgineer Thermaplugg.
- Use your Tundra Rhino to kill the remaining Mekgineer Thermaplugg.
- Use your 3 Novice Engineers to kill the remaining 3 Leper Gnomes on the board.
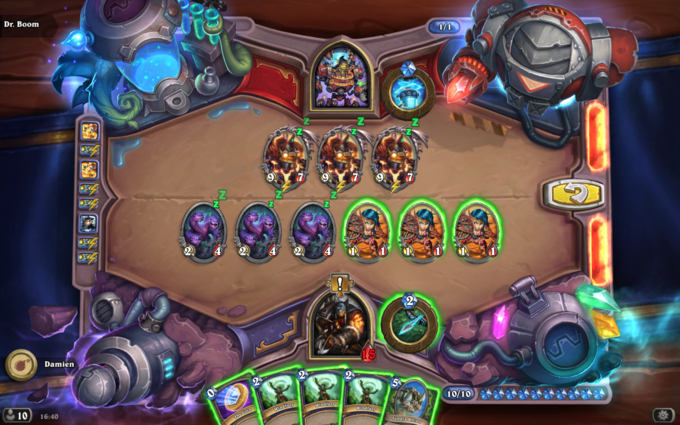
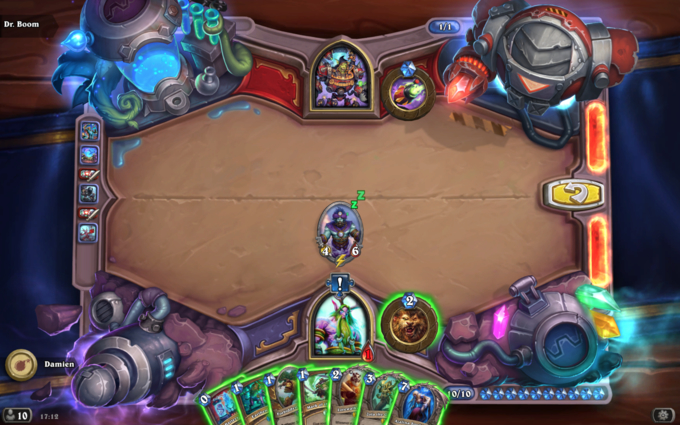
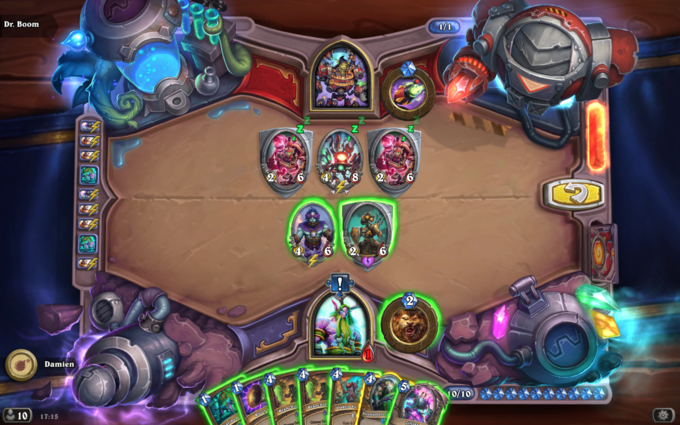
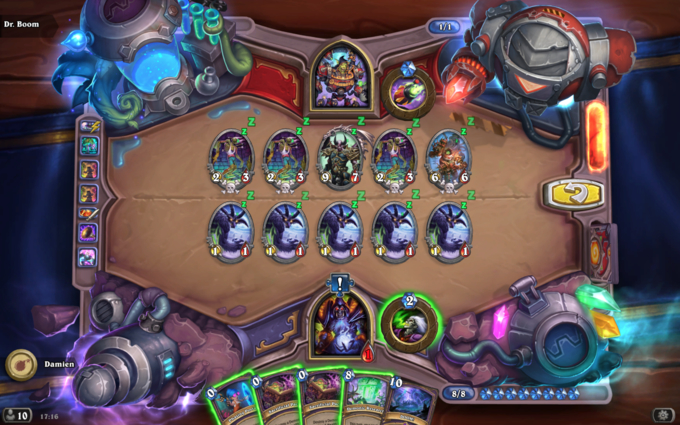
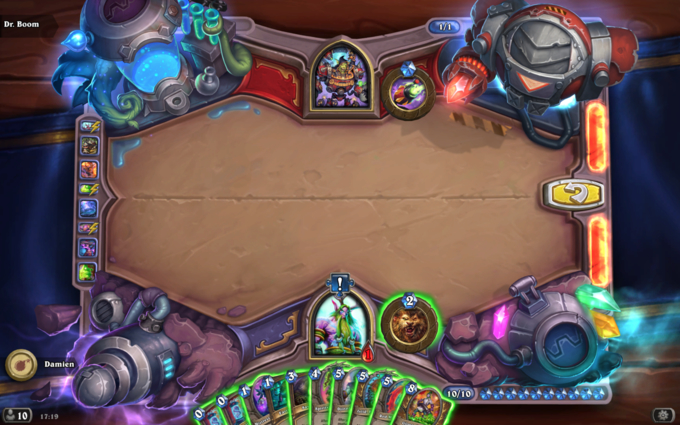
12.
Dr. Boom Board Clear Puzzle #3
12.1.
Hints
- You have many Test Subjects available but very little space in our hand to duplicate combo pieces.
- Sergeant Sally is a great AoE tool if you can buff her enough.
12.2.
Solution
- Play Radiant Elemental.
- Cast Divine Spirit and Vivid Nightmare on a single Test Subject.
- Use Shadow Word: Pain on the copied Test Subject.
- Play Sergeant Sally.
- Use Shadow Word Pain on the original buffed Test Subject.
- Play Battery Pack.
- Cast 2 copies of Divine Spirit on Sergeant Sally.
- Play Confuse.
- Use Vivid Nightmare on Sergeant Sally.
- Use your Fireblast Hero Power to kill off a copy of Sergeant Sally.
- Play Kobold Geomancer.
- Play Spirit Lash.
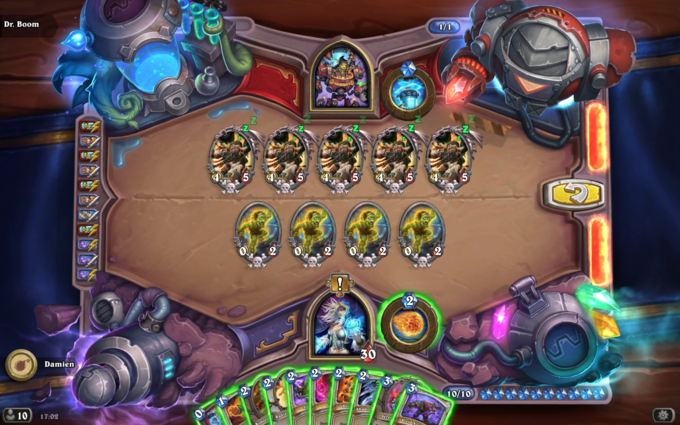
13.
Dr. Boom Board Clear Puzzle #4

13.1.
Hints
- The board is very powerful, but there are a large number of different Health values for Defile plays.
- Try to nullify your Wild Pyromancer so that you can play spells freely.
- Use Void Terror and Ratcatcher to reach some of the higher Health totals for the Defile chain.
13.2.
Solution
- Cast Demonfire on the enemy Ultrasaur.
- Place your Moat Lurker on the far left side of the board and target your Wild Pyromancer.
- Play Arcane Anomaly away from the Moat Lurker.
- Use your Ratcatcher on your Fearsome Doomguard.
- Use your second Demonfire on the enemy Jade Golem.
- Use Bloodfury Potion on any non-Demon minion.
- Place your Void Terror on the left-hand side of the board so that it only devours the Moat Lurker.
- Play Defile.
14.
Dr. Boom's Survival Puzzle #1
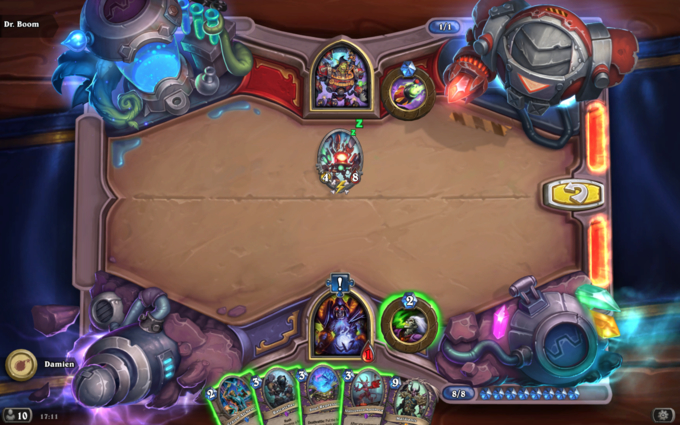
14.1.
Hints
- Unlicensed Apothecary will not do any damage if it is immediately killed by a minion's Battlecry.
- Try to find a way to make Mal'Ganis the lowest Cost minion in your hand to utilise Soul Repressor.
14.2.
Solution
- Play Unlicensed Apothecary
- Use Ratcatcher on your Unlicensed Apothecary.
- Play Soul Repressor.
- Use Crazed Alchemist on your Soul Repressor.
15.
Dr. Boom's Survival Puzzle #2
15.1.
Hints
- Unlike other Puzzles, your opponent will deal exactly 40 damage to you this time so you will need to gain enough Armor to get out of range.
- The combination of Azalina Soulthief and Lorewalker Cho can be used to get additional copies of cards via your opponent.
15.2.
Solution
- Play Lorewalker Cho
- Use Zola the Gorgon on your Lorewalker Cho.
- Play a second copy of Lorewalker Cho.
- Play your Forbidden Ancient.
- Play Battery Pack.
- Play Mark of the Lotus.
- Play Earthen Scales on your Forbidden Ancient.
- Play Azalina Soulthief.
- Play another copy of Mark of the Lotus.
- Play a second Battery Pack.
- Play another copy of Mark of the Lotus.
- Use two copies of Earthen Scales on your Forbidden Ancient.
16.
Dr. Boom's Survival Puzzle #3
16.1.
Hints
- This is another puzzle where the enemy will do 40 damage to your at the end of your turn, regardless of your maximum Health.
- The remaining cards in your deck are 4 copies of Steel Rager.
- Rusty Horn can be used to access targets protected by Taunt minions.
16.2.
Solution
- Play Oaken Summons
- Use Zilliax's Magnetic buff on your Recruited Steel Rager.
- Use Rusty Horn on your opponent's Turret Sentinel.
- Remove the Turret Sentinel with your Steel Rager.
- Play 2 copies of Branching Paths, picking +6 Armor for every choice.
- Use Earthen Scales on your Steel Rager.
17.
Dr. Boom's Survival Puzzle #4
17.1.
Hints
- Mal'Ganis is an easy way to avoid damage. Find a way to be able to play it.
- Soul Repressor is a great way to summon Demons without paying their Cost.
- Although it may seems really tempting, playing Kobold Librarian is not essential for the solution.
17.2.
Solution
- Play Phasing Portal on Mal'Ganis
- Play Demonic Research.
- Cast two copies of Sacrificial Pact on your 1/1 Imps.
- Play DOOM!.
- Play Witchwood Imp.
- Play Soul Repressor.
- Use the Carnivorous Cube on the Soul Repressor.
- Cast Dark Pact on the Voidlord summoned by your Soul Repressor.
- Cast another copy of DOOM!.
- Play Flame Imp on either edge of the board.
- Play Void Terror in between both Soul Repressors to ensure you pull Mal'Ganis from your hand.
18.
Dr. Boom's Survival Puzzle #5
18.1.
Hints
- Maximise the number of Djinni of Zephyrs you have to get extra value from your Earthen Scales.
- Red Mana Wyrm is a great primary target for Earthen Scales.
- Manage your board space carefully when using Ixlid, Fungal Lord.
18.2.
Solution
- Play Red Mana Wyrm.
- Play Ixlid, Fungal Lord.
- Play a Battery Pack.
- Play your Djinni of Zephyrs.
- Play Savage Roar.
- Play your second Battery Pack.
- Place Gloop Sprayer between your two Djinnis.
- Use Earthen Scales on your Red Mana Wyrm.
19.
Dr. Boom's Survival Puzzle #6
19.1.
Hints
- Plan ahead and make sure you have a way to remove minions from your board.
- Utilise the massive healing that comes from Spiritsinger Umbra and certain Deathrattle minions.
- Every Mana counts! Be careful not to waste any.
19.2.
Solution
- Play Explosive Sheep.
- Play Ixlid, Fungal Lord.
- Use Barkskin on Ixlid, Fungal Lord.
- Use your Hero Power.
- Play a Battery Pack
- Play Spiritsinger Umbra.
- Play Mistress of Mixtures.
- Use Voodoo Doll on your Explosive Sheep.
- Play your Plated Beetle.
20.
Changelog
- 24 Aug. 2018: Added puzzle images.
- 22 Aug. 2018: Guide added
Show more
Show less
This guide is presented to you by Kat, a professional Hearthstone player competing at the highest level since closed beta. She is a consistent legend player in both Wild and Standard with multiple high-rank finishes.
LATEST NEWS
- Hearthstone Brings StarCraft and Major Updates in 2025
- Blizzard at Gamescom 2024
- Icy Veins Seeking Writers for Zenless Zone Zero: Apply Today!
- No BlizzCon in 2024
- Blizzard Games Return to China: New Agreement Signed With NetEase
- Blizzard Reportedly Reuniting with NetEase to Bring Back WoW in China
- Ex-Activision Blizzard CEO Bobby Kotick Shows Interest in Buying TikTok
- Timeline of Blizzard Presidents